Viewing entries tagged
Bracketing

Comment

Camlyn Part 3- Here Comes the Sun

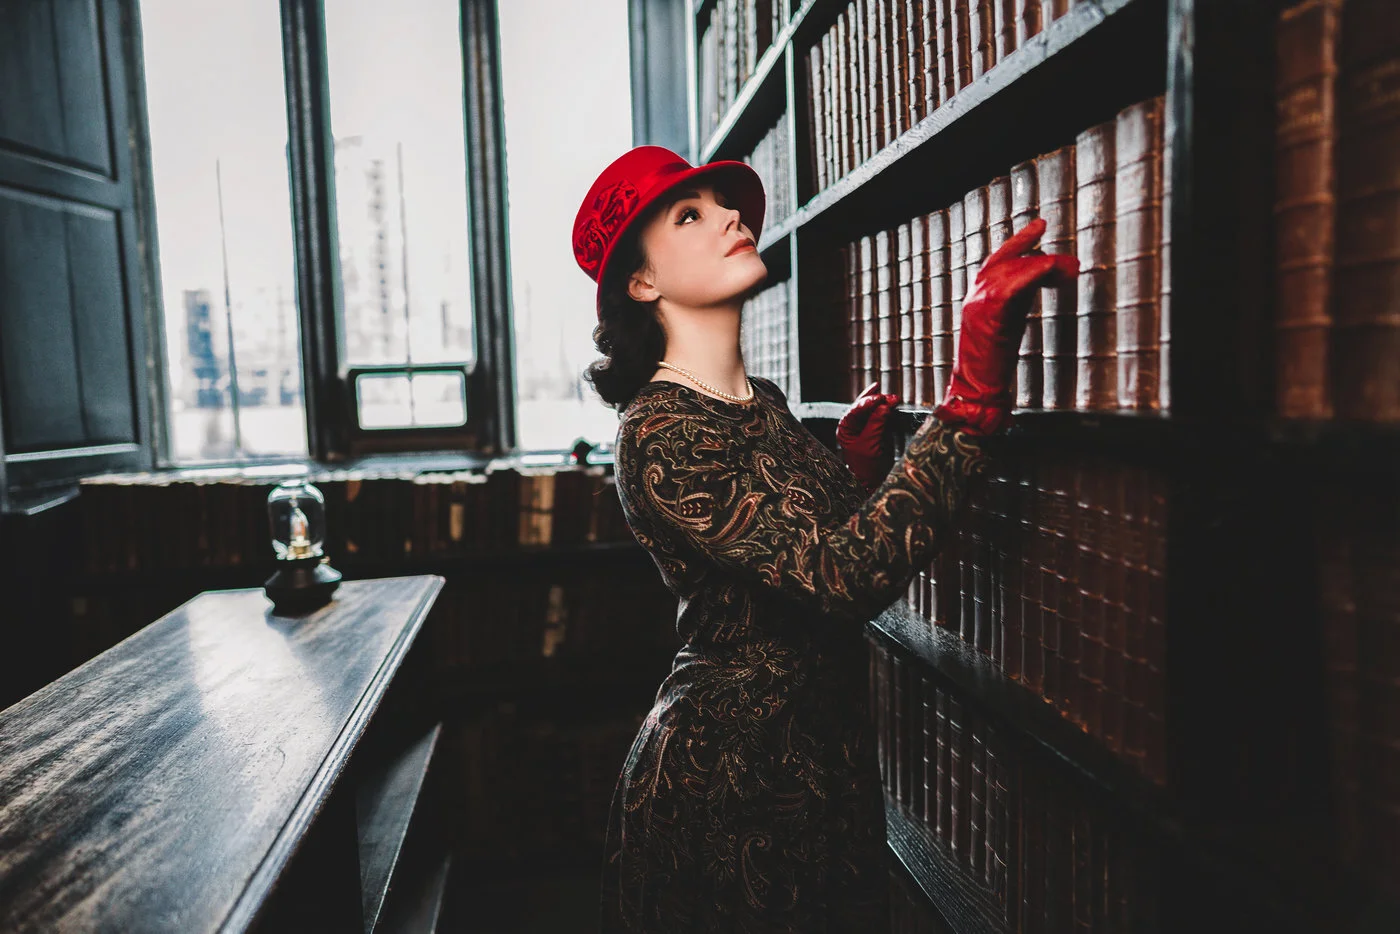
After spending the first half of the shoot in the dark we decided to find some sun. The most difficult thing about shooting in an area like a door frame as you see below is the fact that you are dealing with vastly different exposure areas from the inside to the outside. The best thing to do in these situations are to set the camera on a tripod (or hold it very still...I held it for these shots), and bracket the image exposure. Most cameras these days have bracketing available....check your user's manual.

The shot below is actually two shots, one exposed for the inside, her skin, etc, while the other is exposed for the sky....which is why I was able to get both shots. While learning and applying photoshop is very important....there is an art to capturing the image. I always tell people in my workshops that photoshop can't make a good shoot great....it can only make a great shot better. Getting the right shot in the camera is the way to ensure you get the images you want. Think of it as a cake. Photoshop is the decorative icing...but everything else is the shot. If you make a beautiful decorative icing but the cake is under/overcooked....it will taste nasty. The same is true for photography. First learn how to get it in the camera...and then move onto the icing to make it special......

Comment

2 Comments

Bracketing for Portraits using HDR

Even though I have a studio...I still prefer to do most of my portrait and photography work outside the studio....I prefer making a backdrop like the one you see below rather than taking a boring backdrop on paper....and those don't look real anyways.  So there are a couple of things to consider when shooting portraits outside.


2.  Put your subject in the picture and take the shot worrying only about the exposure for the subject, exposing particularly on their skin.  The key focal point for the portrait should be on their eyes.  So now you have some terrific focal points for your picture because you expose for the entire frame on your landscape shot while you expose for the eyes on the landscape....so now both are exposed...fixing another chronic problem for photographers.

3.  Using photoshop merge the backdrop shot and the subject image into one.  Put the subject image over the backdrop in photoshop, and using a mask wipe away all the boring areas of the subject image except for the subject (person)..in this case my son Michael.  Dodge and burn a little to make sure the person looks like they match the exposure of the backdrop and now you have created a beautiful portrait.


The result: you get a picture perfectly exposed and in focus.  The sky, clouds, everything in this image is natural even though you may look at it and think I photoshopped the heck out of this....I didn't.  I didn't add or take away anything...the only thing I did was underexpose the landscape shot for the sky and then using dodging to brighten up the plants and mountains, and a little burning where necessary to darken.  This was especially important in this shot because the forest was pretty dark while the sky and ocean in the background was very bright, so the only way to get it all exposed was using HDR bracketing.  

If you have any questions let me know!!


2 Comments