Viewing entries tagged
death valley

Best Photo Spot Locations in Death Valley National Park

2 Comments

Best Photo Spot Locations in Death Valley National Park

Wanna know the best locations to do photo shoots in Death Valley National Park? Here are 3 of the best spots to get incredible shots whether you’re doing a landscape shoot or a model shoot! Click the video below to check it out now:

Location #1- Mesquite Sand Dunes- whether you’re dong shots at sunrise, sunset, or during the middle of the day, the Mesquite Sand Dunes are one of my favorite places to shoot in Death Valley. Compared to other sand dunes that I’ve had the opportunity to shoot, this particular location offers a lot of parking and incredible views. Images from Mequite Sand Dunes are shown below:

Location #2- Dante’s View- way at the top of the mountain in Death Valley is Dante’s View. It offers unparalleled views of the entire park. It’s a windy road to get up there, but once you do it’s completely worth it. Try to get up there about an hour before sunset so you can capture some beautiful images during Golden Hour. Below are images taken at Dante’s View using just natural light.

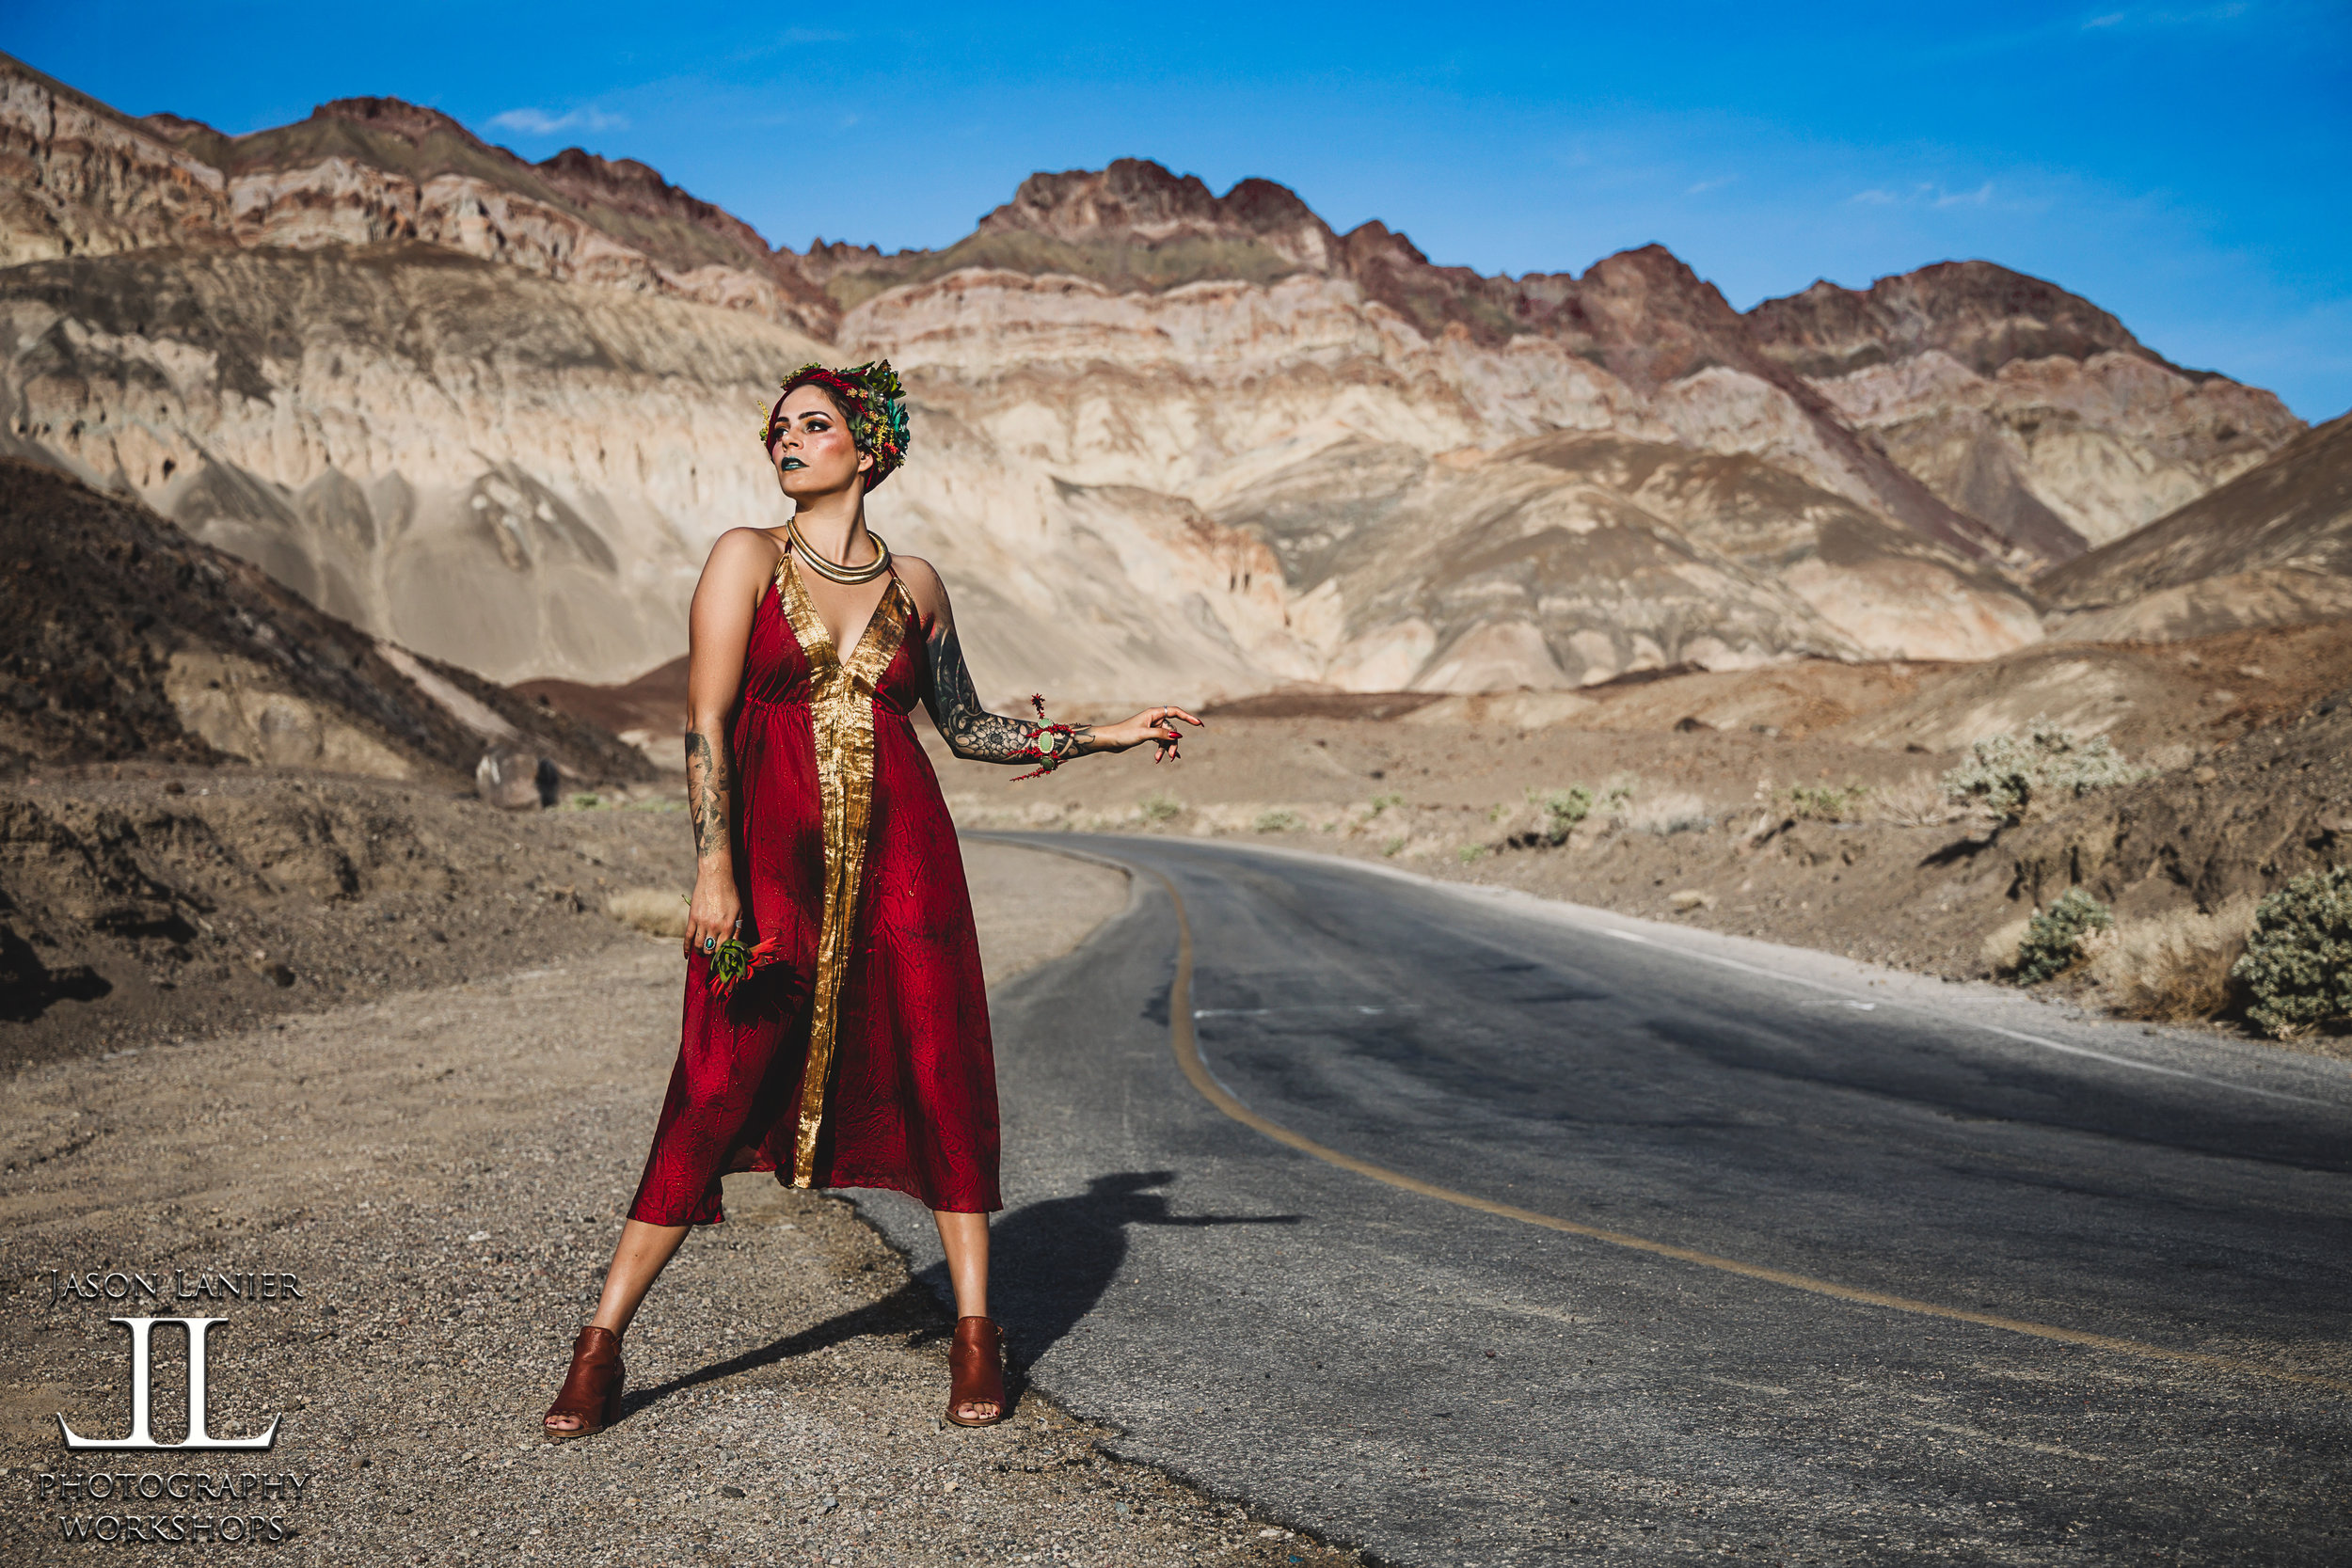
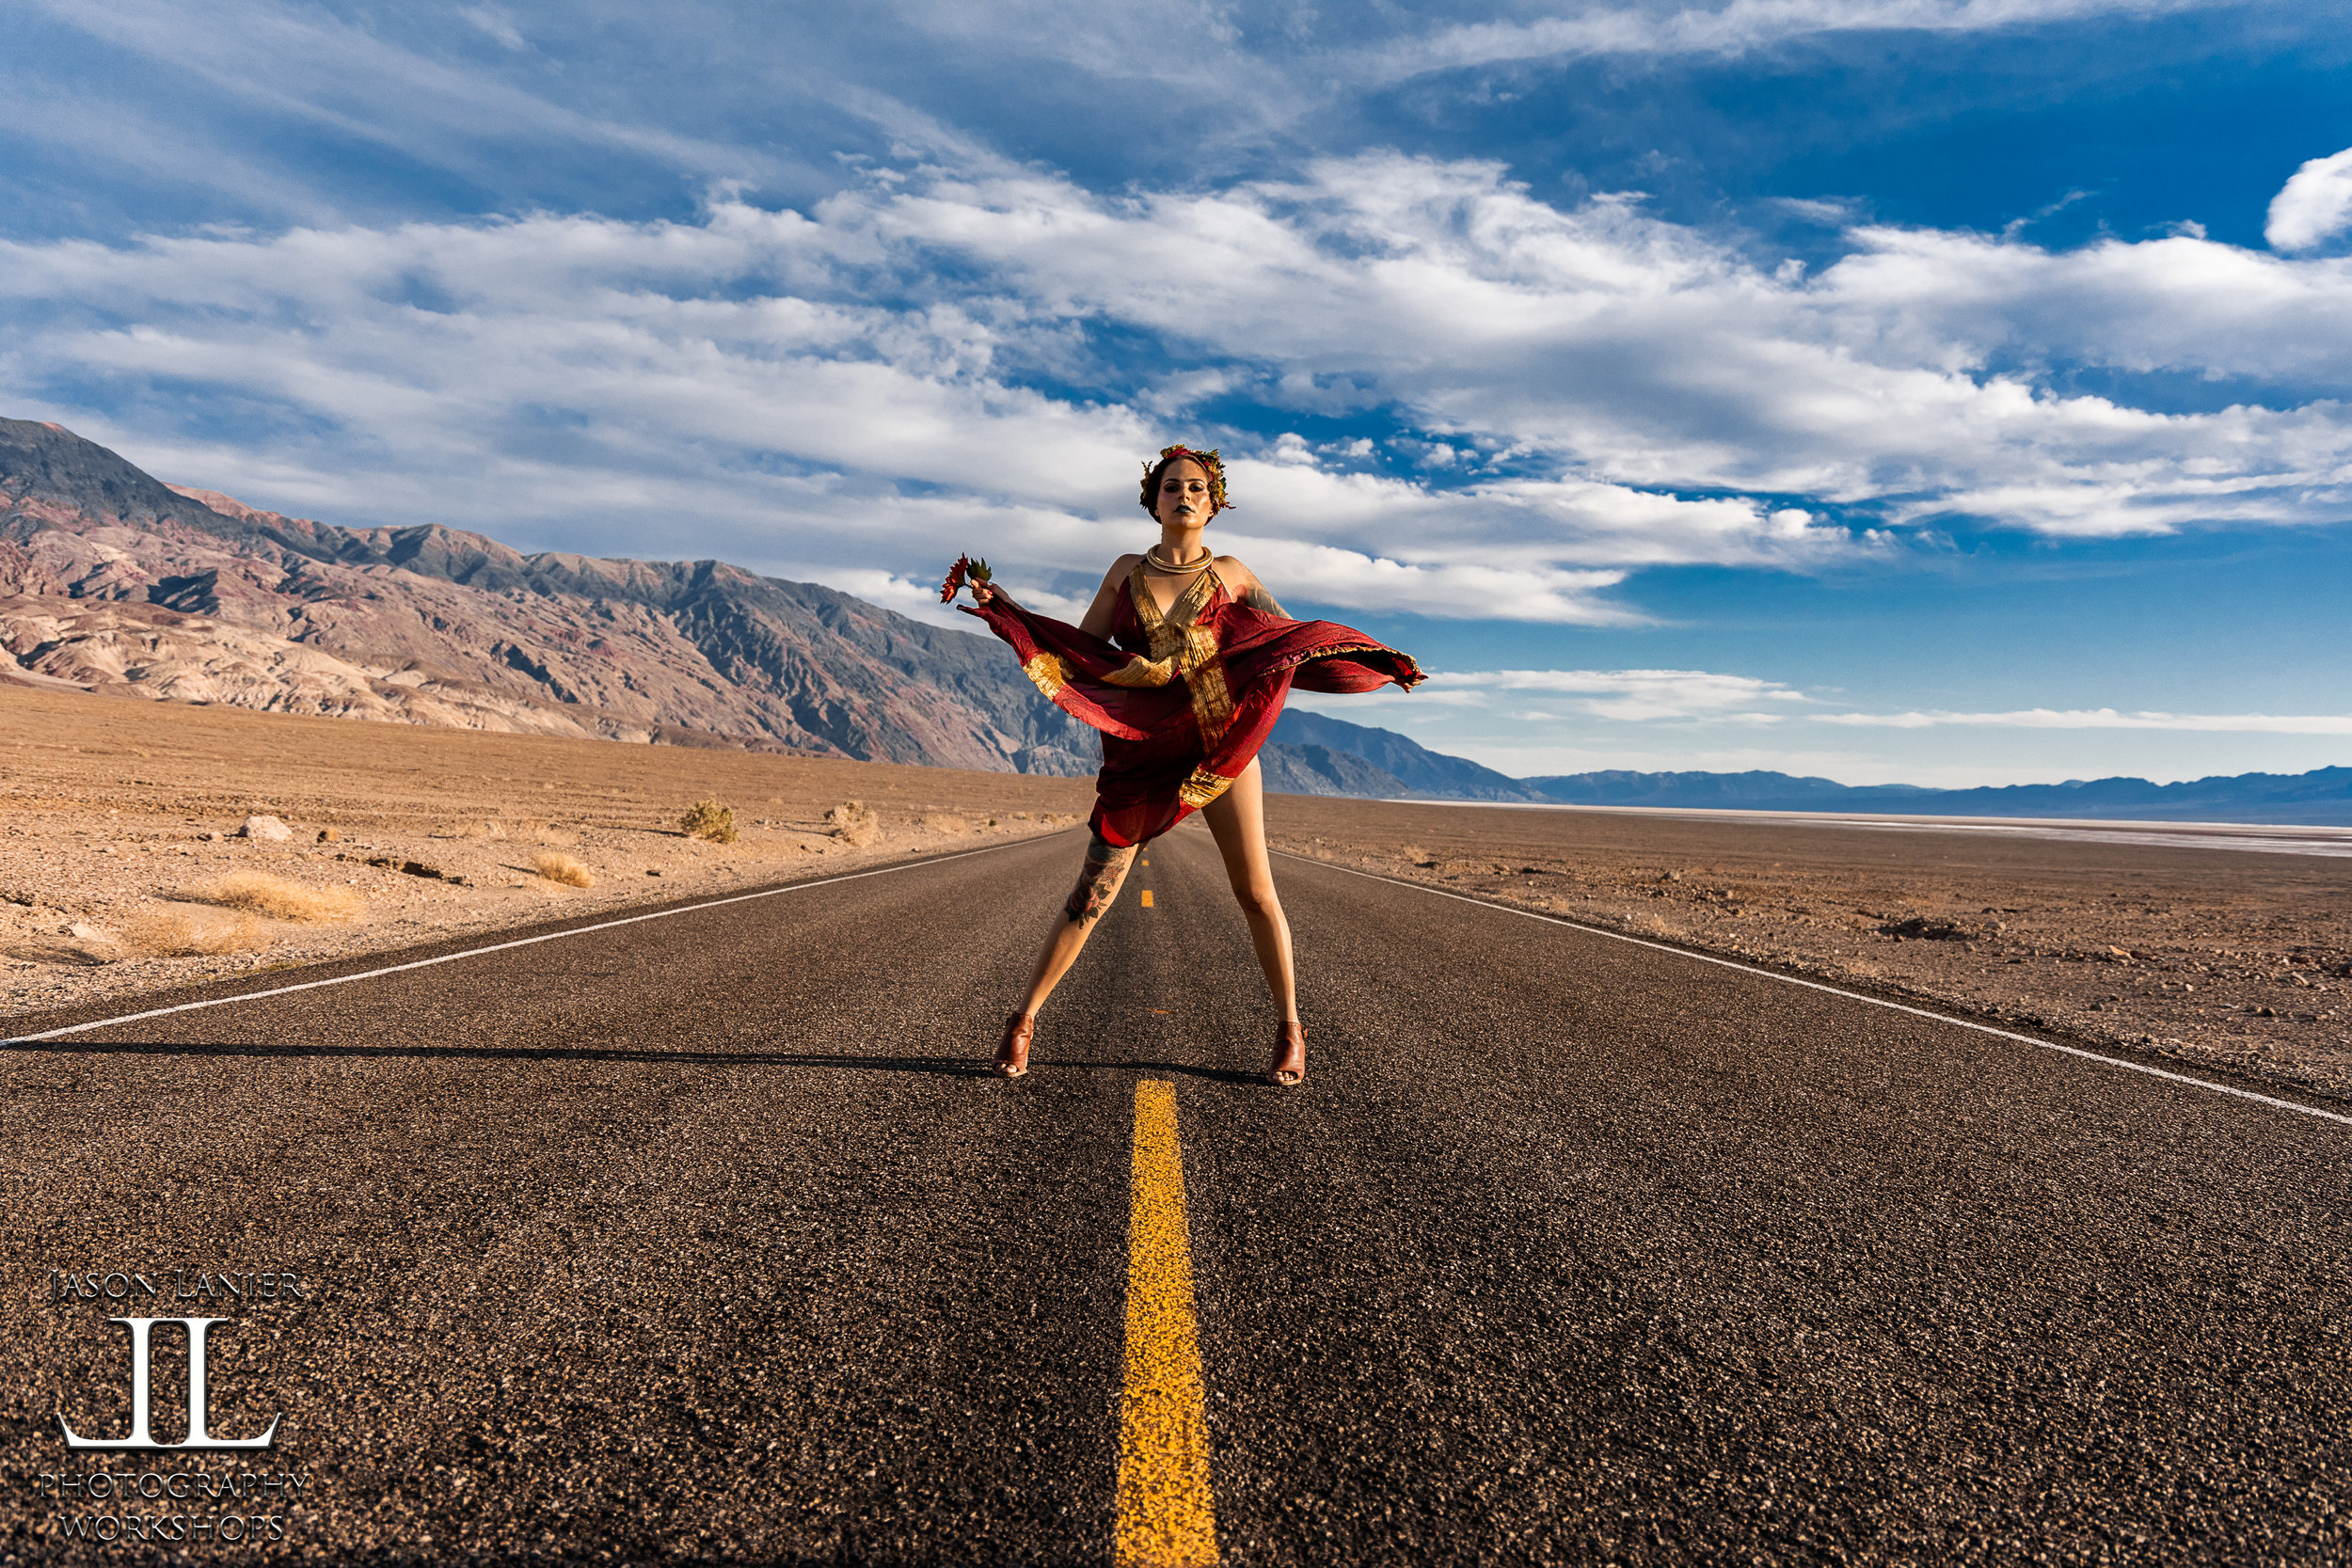
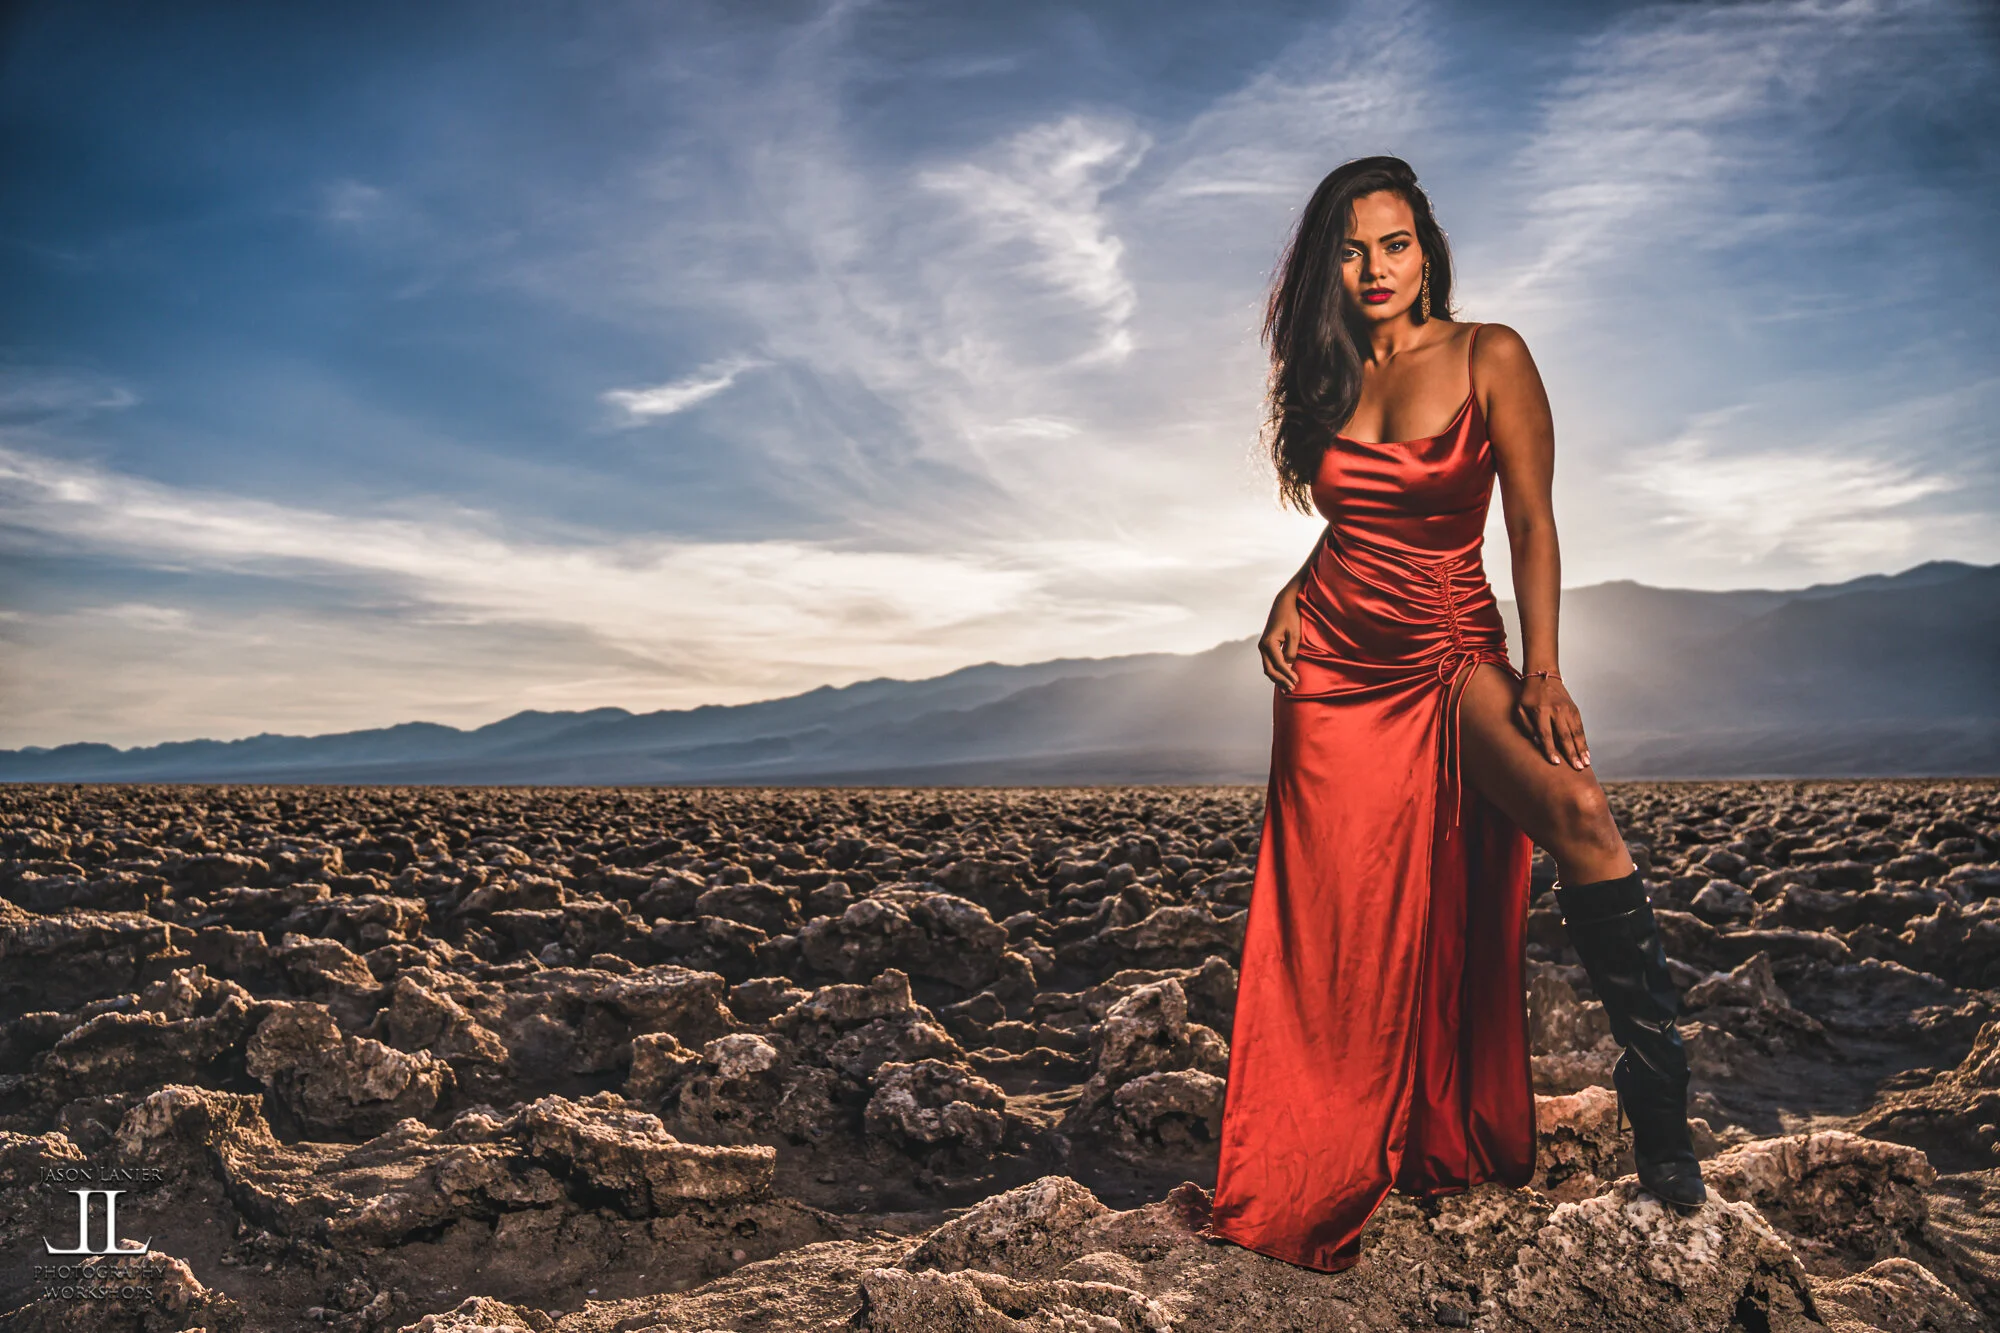
Location #3- Devil’s Golf Course- this is one of the most unique places I’ve seen on planet earth. Once you drive out there it gives you a 360 view of these crazy rock formations. Just make sure to bring good shoes because the rocks are sharp and you’ll want to be careful when moving around on them. Below are images taken about an hour before sunset with the sun at the model’s back for some beautiful shots. If you are doing a model shoot make sure to bring a flash to get the most flash to get the most out of this experience.

For these shoots I used the Sony A6500 with the Tamron 17-70mm lens, except for the shoot on top of Dante’s View which I used the Sony A9 with the Sigma 20mm Art lens. All of these locations tend to be very harsh environments so please be mindful of the weather and your needs to make sure you have the proper clothing and water to make these trips.

Links to Gear

*Sony A6500- https://bhpho.to/2B9VBqL

*Sony A9- https://bhpho.to/31qNTlv

*Tamron 17-70mm- https://bhpho.to/3g5D5Sv

*Sigma 20mm Art Lens- https://bhpho.to/2EUkyrY

**Links to Social Media**

Photographer: Jason Lanier

*Website- www.jasonlanier.com

*Podcast- www.jasonlanier.com/podcast

*Instagram- www.instagram.com/jasonlanierphotography

*Facebook- www.facebook.com/groups/jasonlanierworkshops

*Twitter- www.twitter.com/jlanierphoto

Model: Shalinitin

*Instagram: https://www.instagram.com/shalinitin_srivastava/

Please let me know what questions you have in the comments below. Thanks for watching!

Jason Lanier

2 Comments

The Canon Project Part #1- Natural Light Shoot at Death Valley with the Canon EOS R Mirrorless using the RF 24-105mm lens by Jason Lanier

7 Comments

The Canon Project Part #1- Natural Light Shoot at Death Valley with the Canon EOS R Mirrorless using the RF 24-105mm lens by Jason Lanier

2019 has been a fun year for me so far. While I’m a long time Sony user I’ve been able to try out many of the new mirrorless cameras that are hitting the marketplace. I’m a big believer in mirrorless cameras .and have been for years. This year alone I’ve already tried out the Nikon Z7 and the Olympus OMD ii. So now it was Canon’s turn.

Partnering with B&H Photo I am able to try out gear for longer than a 1 time shoot. That’s critical for this experiment. See, I’m not a big believer at all in the concept of getting a camera in your hands for 1 day, trying it out, and then compiling a review and assessment on that camera.

It takes longer. To really know a camera you need to do at least 4 or 5 shoots with it. You have to use it over an extended period of time. You have to get to know what you really love about it and what you really hate about it.

So this is video number 1 of the 7 or 8 shoots that I’ve done with the Canon over the past month and a half all over the world. This was done in Death Valley, one of the most scenic places on earth. And we did this one shooting natural light so we could how the camera performed without adding any lighting to set a baseline for it’s performance.

We’re calling this our Canon Project. A comprehensive look at this camera in a variety of different challenging shooting conditions that most photographers would use this camera in…and a few many wouldn’t.

Once we’ve released all of the videos with the Canon you will see a final review which will encompass all of the knowledge gained from the shoots that we did. This will represent the most thorough comprehensive review anywhere on this camera. And we really put it through it’s paces using the RF 24-105mm, the RF 50mm, and the RF 28-70mm.

I purposely did this shoot with the Canon RF 24-105mm lens only. This is the perfect focal length zoom to use in a place like Death Valley where I can go from very wide shots to very tight shots with a simple twist of the wrist. I’ve never been a huge fan of that focal length but I’ll tell you what, I was pretty blown away by that lens. Below are the shots from the shoot and to say that I was impressed with the colors is an understatement.

Issues with the camera on this particular shoot? Well, really just the buffer was an issue. I was pretty surprised by how fast I’d hit the buffer and the camera wouldn’t be able to continue shooting. This happened when I put it into High continuous drive mode to grab some shots of Emily as the wind made her dress and a sheet that she was holding blow.

The focus wasn’t as fast as I get with my Sony cameras but I don’t think anything will be. That is where Sony reigns supreme. That being said it did very well and really was a lot of fun to shoot.

The performance from a portrait photographer’s standpoint was pretty awesome. The colors are noticeably different in the camera even when reviewing pics on location. I edited these shots using the same manner that I edit my Sony images and they do seem to be richer in the colors than what I get from my Sony cameras.

The 24-105mm lens? I really enjoyed using it. Focus was fast and consistent and you’ll even see that in the video because I included video footage shot with the Canon as well. I think you’ll also notice the colors in that footage as well because it’s completely ungraded and shows you what the camera was producing without any editing. I could see this lens being a big seller for wedding photographers out there especially for things like the ceremony. It will struggle in lower light like at reception due to it being f/4, but for well lit places it really performs like a champ and is very well made.

Does this mean that I’m switching brands and no longer shooting Sony? No, it doesn’t. I filmed this entire series on my Sony cameras and they did amazingly well. What it means is I now have the ability to shoot whatever I want and am able to connect and relate to all of my followers no matter what brand they shoot.

I also gotta tell you that it’s very fun for me. I’m very curious by nature and to be able to try out so many different cameras and lenses is a hoot. It also helps me as a photography educator to be able to relate to anyone coming to my workshops and to have a strong knowledge base in their camera systems as well so I am better prepared to help them.

A HUGE THANKS to my partner in crime Emily Rinaldo for the amazing styling she did to make this shoot possible. She’s a creative lightning bolt and is such a tremendous muse who helps me to create this work. Please give her a follow on Instagram at www.instagram.com/em.explores

For links to gear please see below:

*Canon EOS R- https://bhpho.to/2U8W4Cd

*Canon RF 24-105mm lens- https://bhpho.to/2FFqnWX

Thanks again for following along on this adventure of mine in the world of photography. There’s never a dull moment and I’m so grateful for all of your support as I seek to unravel some of the mysteries that exist out there and share them with all of you.

Until next time, never give up on your dreams, find the right gear that works for you and remember, you only have one chance to get it right.

XOXO

Jason

7 Comments