Join Jason Lanier and Emily Rinaldo at an abandoned sugar mill used in scenes from Fast & Furious: Hobbs and Shaw. In this post, Jason completes a five-minute challenge using the Sony A7Riii, Godox AD 600 Pro, and 48” Westcott Rapidbox XXL with a little out of the box thinking approach!! Tune in to see what Jason does and let us know what you think in the comments below. Thanks for watching.
Viewing entries tagged
godox ad600 pro
Join me for a shoot in the Florida Everglades where my Godox AD600 Pro Battery was FRIED and quit working on me. This was a crazy shoot where my muse Emily Rinaldo and I found ourselves shooting for a short time before the sun set on a dilapidated boardwalk in the swamp. This was also a shoot that resulted in me getting my legs eaten alive by chiggers that necessitated a visit to Urgent Care.
In this shoot I was using the Sony A7iii with the Sony 12-24mm, 24-70mm G Master, and Sony Zeiss 50mm f./1.4 lenses.
**Links to Gear:
*Sony A7iii- https://bhpho.to/30TJbej
*Sony 12-24mm- https://bhpho.to/30V4R9W
*Sony 24-70mm G Master- https://bhpho.to/30VO0E6
*Sony Zeiss 50mm- https://bhpho.to/312J6oY
*Godox AD600 Pro Flash- https://bhpho.to/30XUcv4
I was using the Godox AD600 Pro for only the second time with the Westcott Rapid Box XL. I placed the light in some bushes in the swamp area as he didn't have a c stand or lightstand with me. If the light had indeed gotten wet, or the battery was impacted by the environment I certainly would mention it and show it as I have done so in the past with other videos where I have broken gear. This wasn’t the case this time around. Below are the images taken during the shoot. Some with flash, the latter shots with natural light after the light failed.
During the shoot the light started beeping repeatedly and the fully charged battery completely died. Upon returning back to the hotel that night I left the battery charging overnight. Typically it takes about 2-3 hours to fully charge a battery like this one. The battery never took a charge.
Upon asking other users about this issue it appears to be a bigger issue not related to just my experience. I contacted Godox and asked for a replacement battery which they quickly sent.
I plan on trying the light and batteries out again to see if my experience is the same or better than what I experienced on this shoot.
We thank you in advance for watching and invite you to stick around and watch a few more videos while you're here. Don't forget to click on NOTIFICATIONS and SUBSCRIBE so you're updated every time we release a new video.
Thanks!
Jason
Welcome to Part 2 of the Canon Project, a series of videos related to our time using the Canon EOS R. In Part 2 we showcase a workshop and shoot we did in Helen, Georgia in conjunction with an event we were doing for PPA (Professional Photographers of America) for their Georgia Chapter (GPPA).
**Links to Gear Used in This Shoot**
*Canon EOS R- https://bhpho.to/2U8W4Cd
*Canon RF 28-70mm lens- https://bhpho.to/2FCH9pI
*Godox AD 600 Pro- https://bhpho.to/2FH9gnu
The location for this video was the Bus Graveyard which is a REALLY cool place to shoot. This was Day 3 of our 4 day workshop that I was teaching for the PPA members and on this day the group asked me to demonstrate a shoot from start to finish as well as give them a heads up on how I recorded my Youtube videos.
So, that’s what my Assistant/Muse Emily and I did! You can follow her on Instagram at www.instagram.com/em.explores
For this shoot we used the Canon EOS R with the RF 28-70mm lens. A lens that quickly found it’s way into my creative heart. It’s one of my favorite lenses on the planet at this point.
But we just didn’t shoot in a cool location with a great model and a new camera/lens. We also wanted to illustrate the difference that using flash can make when shooting in conditions that aren’t ideal for lighting. There is nothing better than the best natural light. But that' only exists for about 1 hour a day. And that’s only if it happens to be facing the direction that you want to shoot.
So sometimes you need to have the ability to ADD light to your scenes to be able to capture what you or your clients want or need to create. Sometimes we don’t have the luxury of picking the time when we shoot. Sometimes we have to make our own light.
In this video I show the difference between the two, demonstrating images side by side showing images taken with flash vs. images taken with natural light. Take a look for yourself by checking out the images below:
The images with flash have much more light and color. Because color = light in the world of photography. I purposely chose to make this Part 2 of the project because Part 1 shows a natural light shoot done correctly which has plenty of color and light. But that’s only because it was shot at the ideal time of day.
Below are images from the shoot:
For this shoot I have to say the Canon EOS R did exceptionally well. Focus wasn’t as fast as I’m used to with my Sony cameras, but for a portrait session like this one it was more than fine. The color rendering and effect on skin tones is really nice.
And that LENS. WOW, the RF 28-70mm f/2 is just a pleasure to shoot. There will be people who complain about it’s size and weight. But for me if you want awesome results you shoot awesome glass. And that’s one thing that Canon has done right with their mirrorless system. They are bringing out ultra professional, high grade glass. Far better than the offerings made by the Nikon Z system and far better than what Sony brought out when it first rolled out it’s mirrorless cameras.
The Canon also did much better shooting flash than the Nikon Z. It didn’t require me to do anything special to shoot in HSS (High Speed Sync) mode which was great since all of these images were taken in HSS with the exception of the natural light shot.
I truly hope you enjoy the content. If you missed Part 1 of the Canon Project which is a Natural Light Shoot done in Death Valley using the RF 24-105mm lens, you can check it out now by clicking below:
Thank you so much for watching and make sure to check out our upcoming parts of the Canon Project where we explore things like Black Light, LED, LED flash and more! We thank you for joining us and invite you to click on NOTIFICATIONS and the SUBSCRIBE button on my Youtube Channel.
See you next time!
Jason
WOW! This was a FUN SHOOT! While I usually spend the vast majority of my time teaching and not shooting at my workshops, I’ve learned to do a demo shoot at every workshop to help my students understand exactly what I’m teaching. I’ve also received feedback over the years that for some of my students who are visual learners, the demo session of the workshop is invaluable to their learning experience.
The other thing that’s so much fun at my workshops is when I have fellow photographers who are attending bring lenses that I haven’t had the chance to use before. At my Houston workshop in December 2018 a photographer named Jose brought the Canon 300mm f/2.8. I was thrilled to be able to borrow it and see how it worked with my Sony A7Riii using the Metabones Mark 5 Adapter.
As an early adopter to the Sony Mirrorless system, I am very accustomed to using Canon lenses on my Sony bodies to be able to supplement the Sony lens lineup that was lacking when I first switched over. I currently own 7 Canon L lenses and have used the 400mm f/2.8 and the Canon 200mm f/1.8 on my Sony bodies….BUT, the 300mm f/2.8 was one I hadn’t gotten my hands on yet.
Until Houston.
Jose was so kind to let me borrow the lens and his Metabones Mark 5 Adapter. In the past I’ve always used the Metabones Mark 4 Adapter or the Sigma MC11 Adapter. To answer the easy question for those reading this and wondering…did I notice a difference using the Metabones Mark 5 over the others? No. So if you’re like me, you don’t need to rush out and spend money on it unless you currently don’t have an adapter.
But, back to the lens.
Yes, it’s heavy.
Yes, it requires an adapter to use.
But yes, it delivers some pretty stellar results. Check out the shots below from the shoot:
As you’ll see when you watch the video I tested this lens in a variety of ways. First I shot with it just doing portraits as most people would use it.
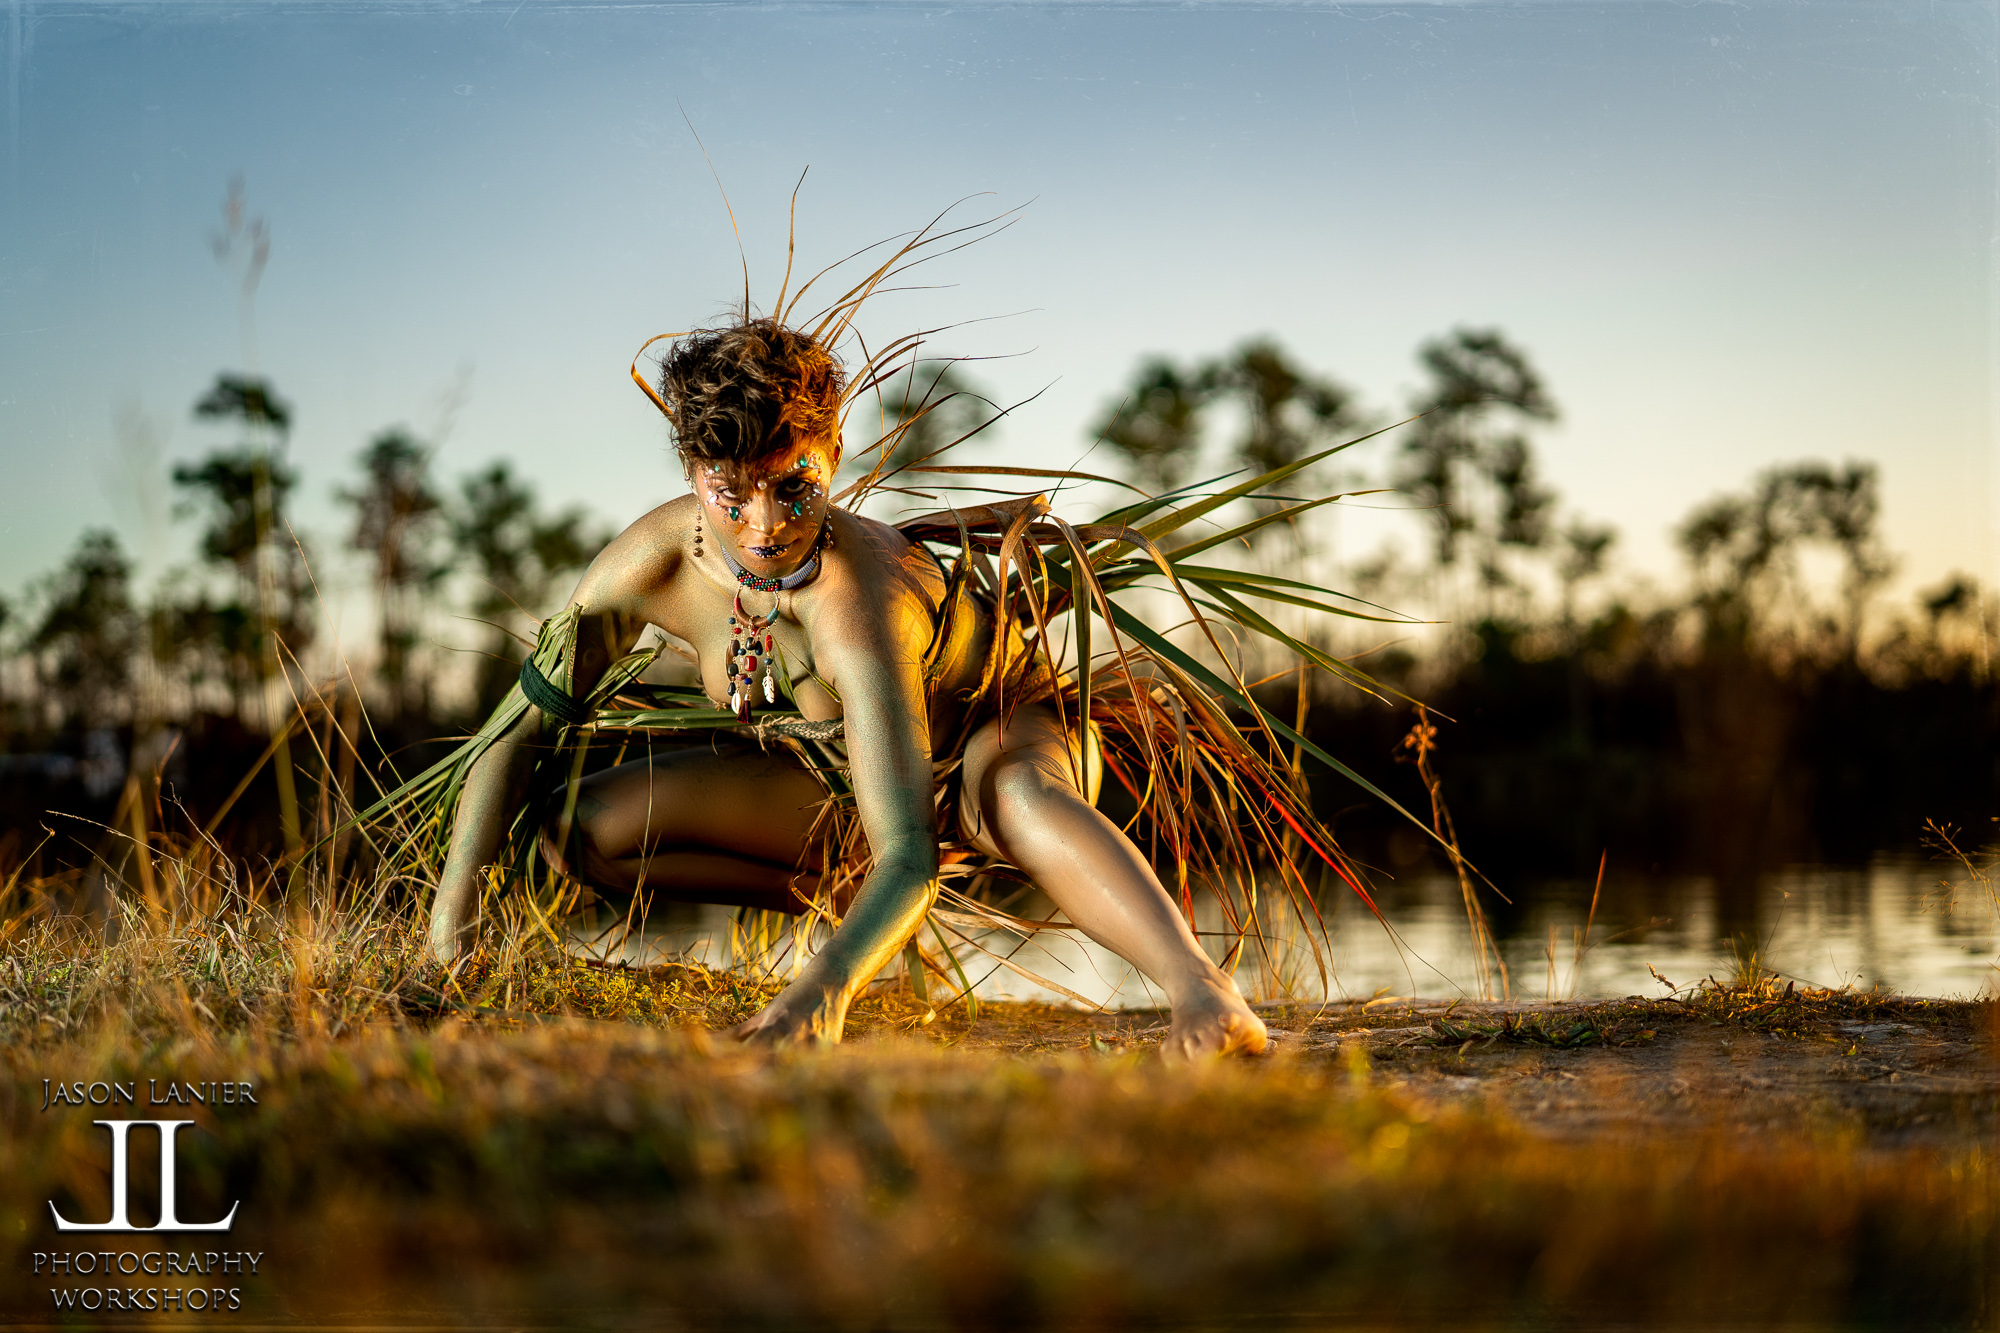
Then I decided to up the ante and added the Westcott Eyelighter to the equation with the Godox AD600 Pro light that I was using inside of the Westcott Rapid Box XXL.
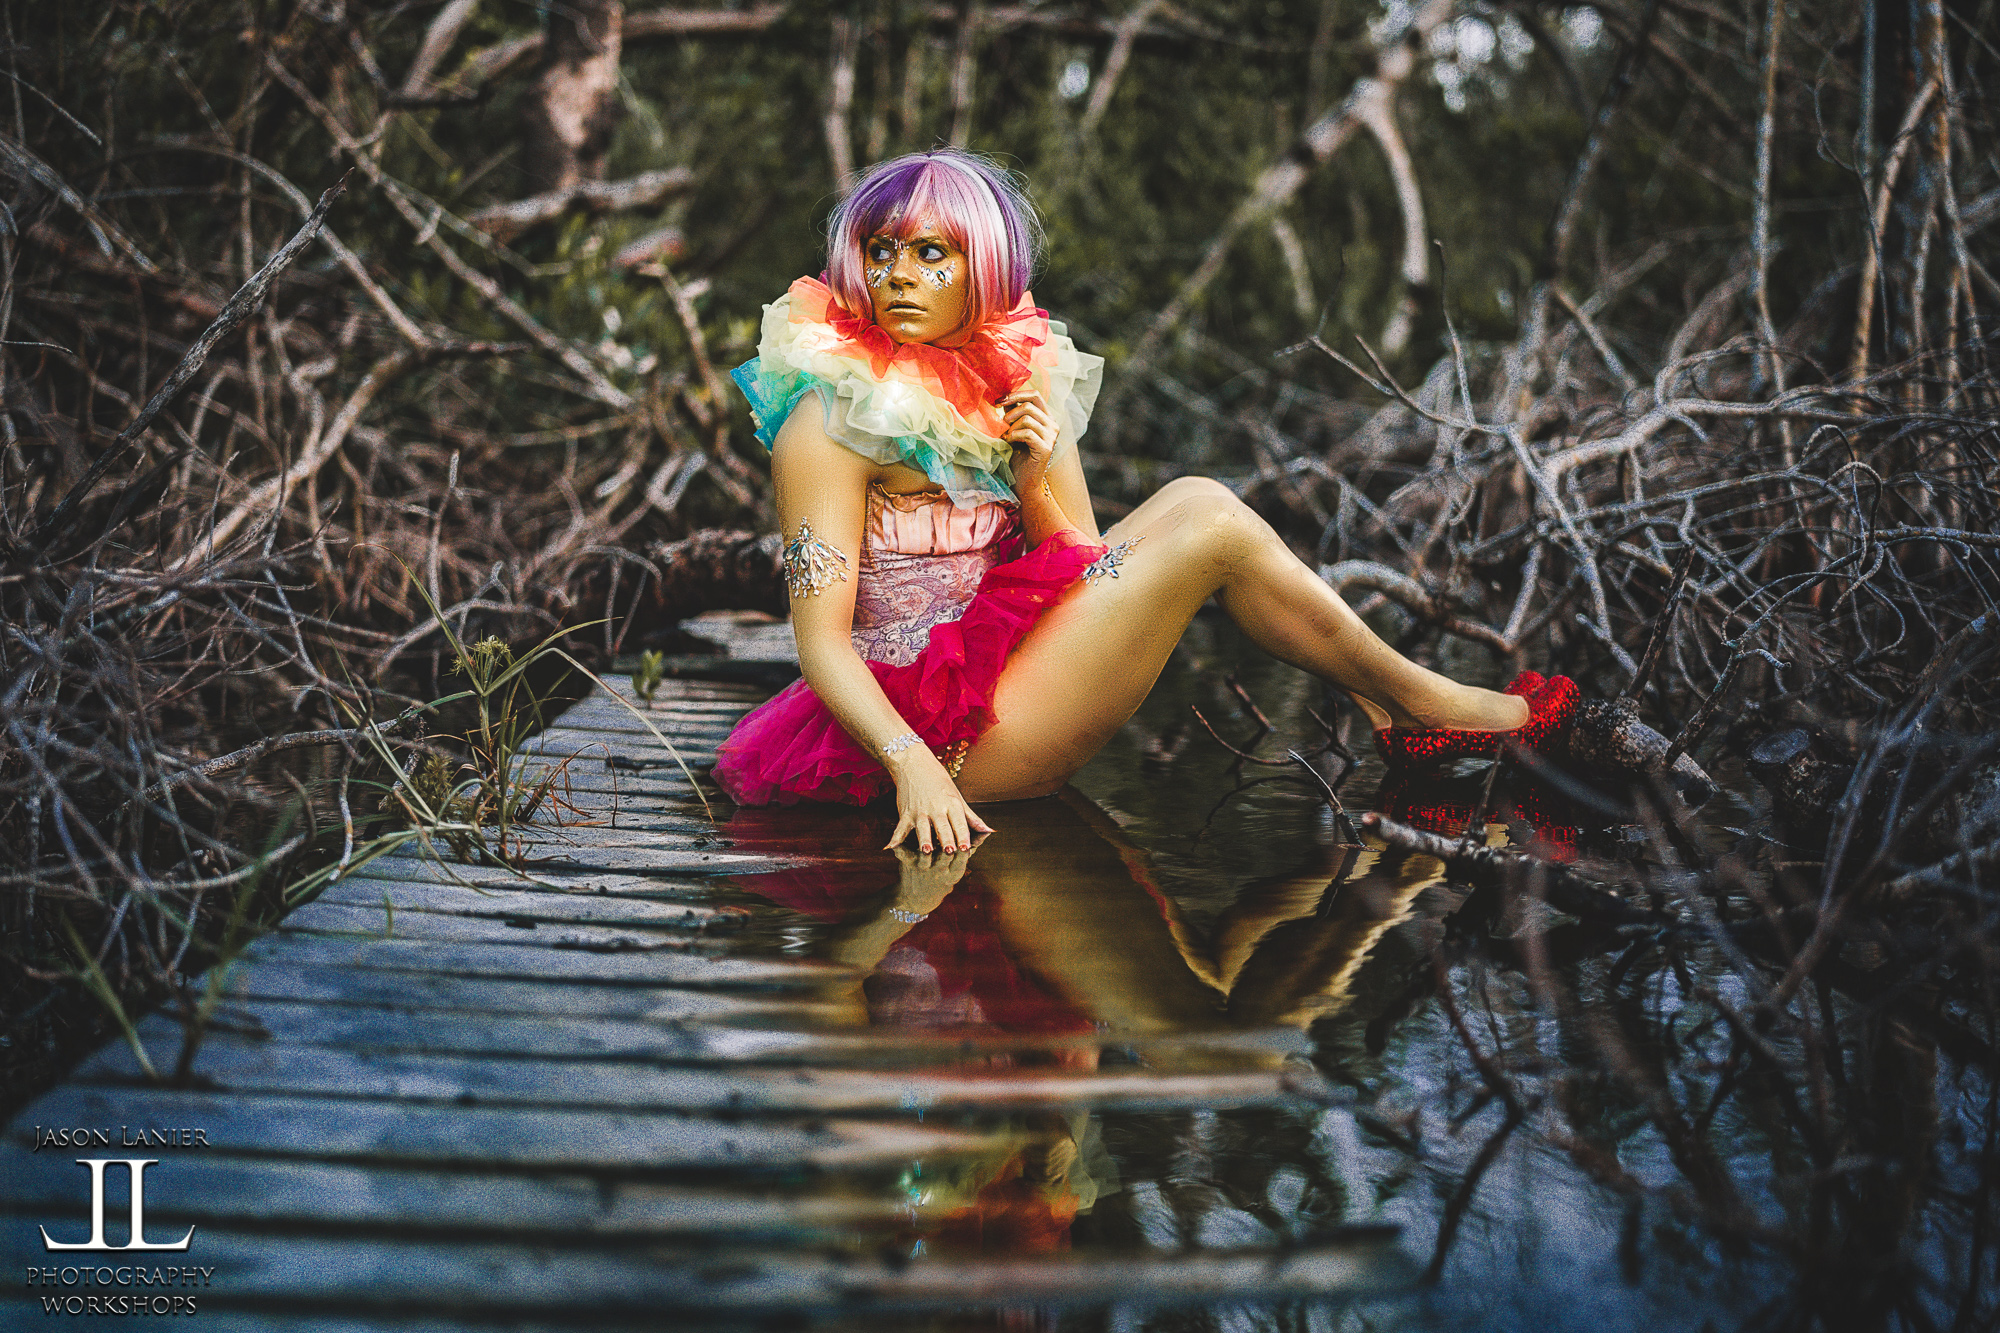
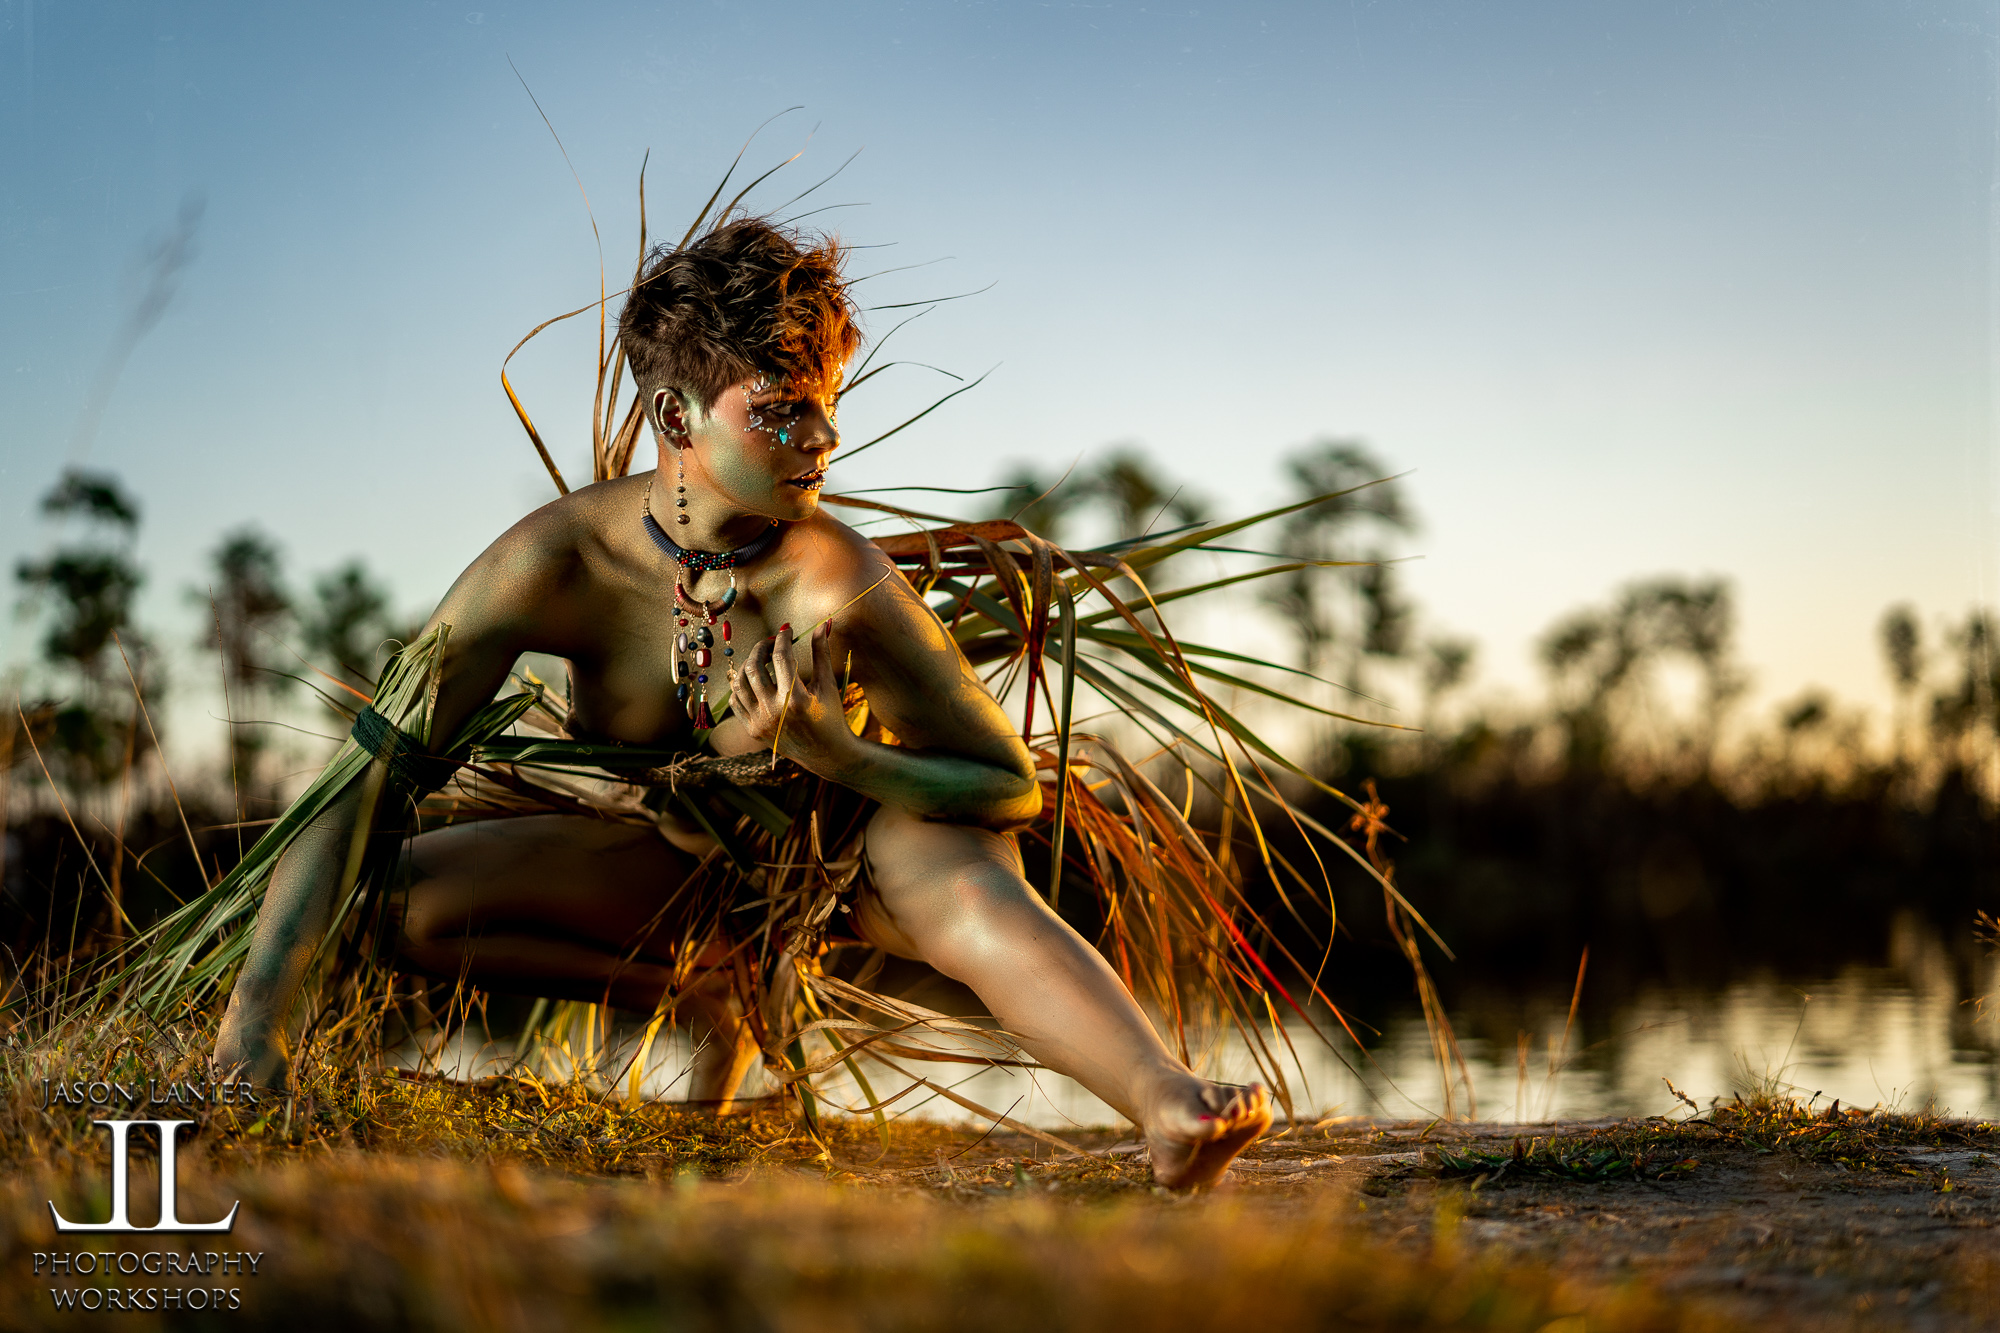
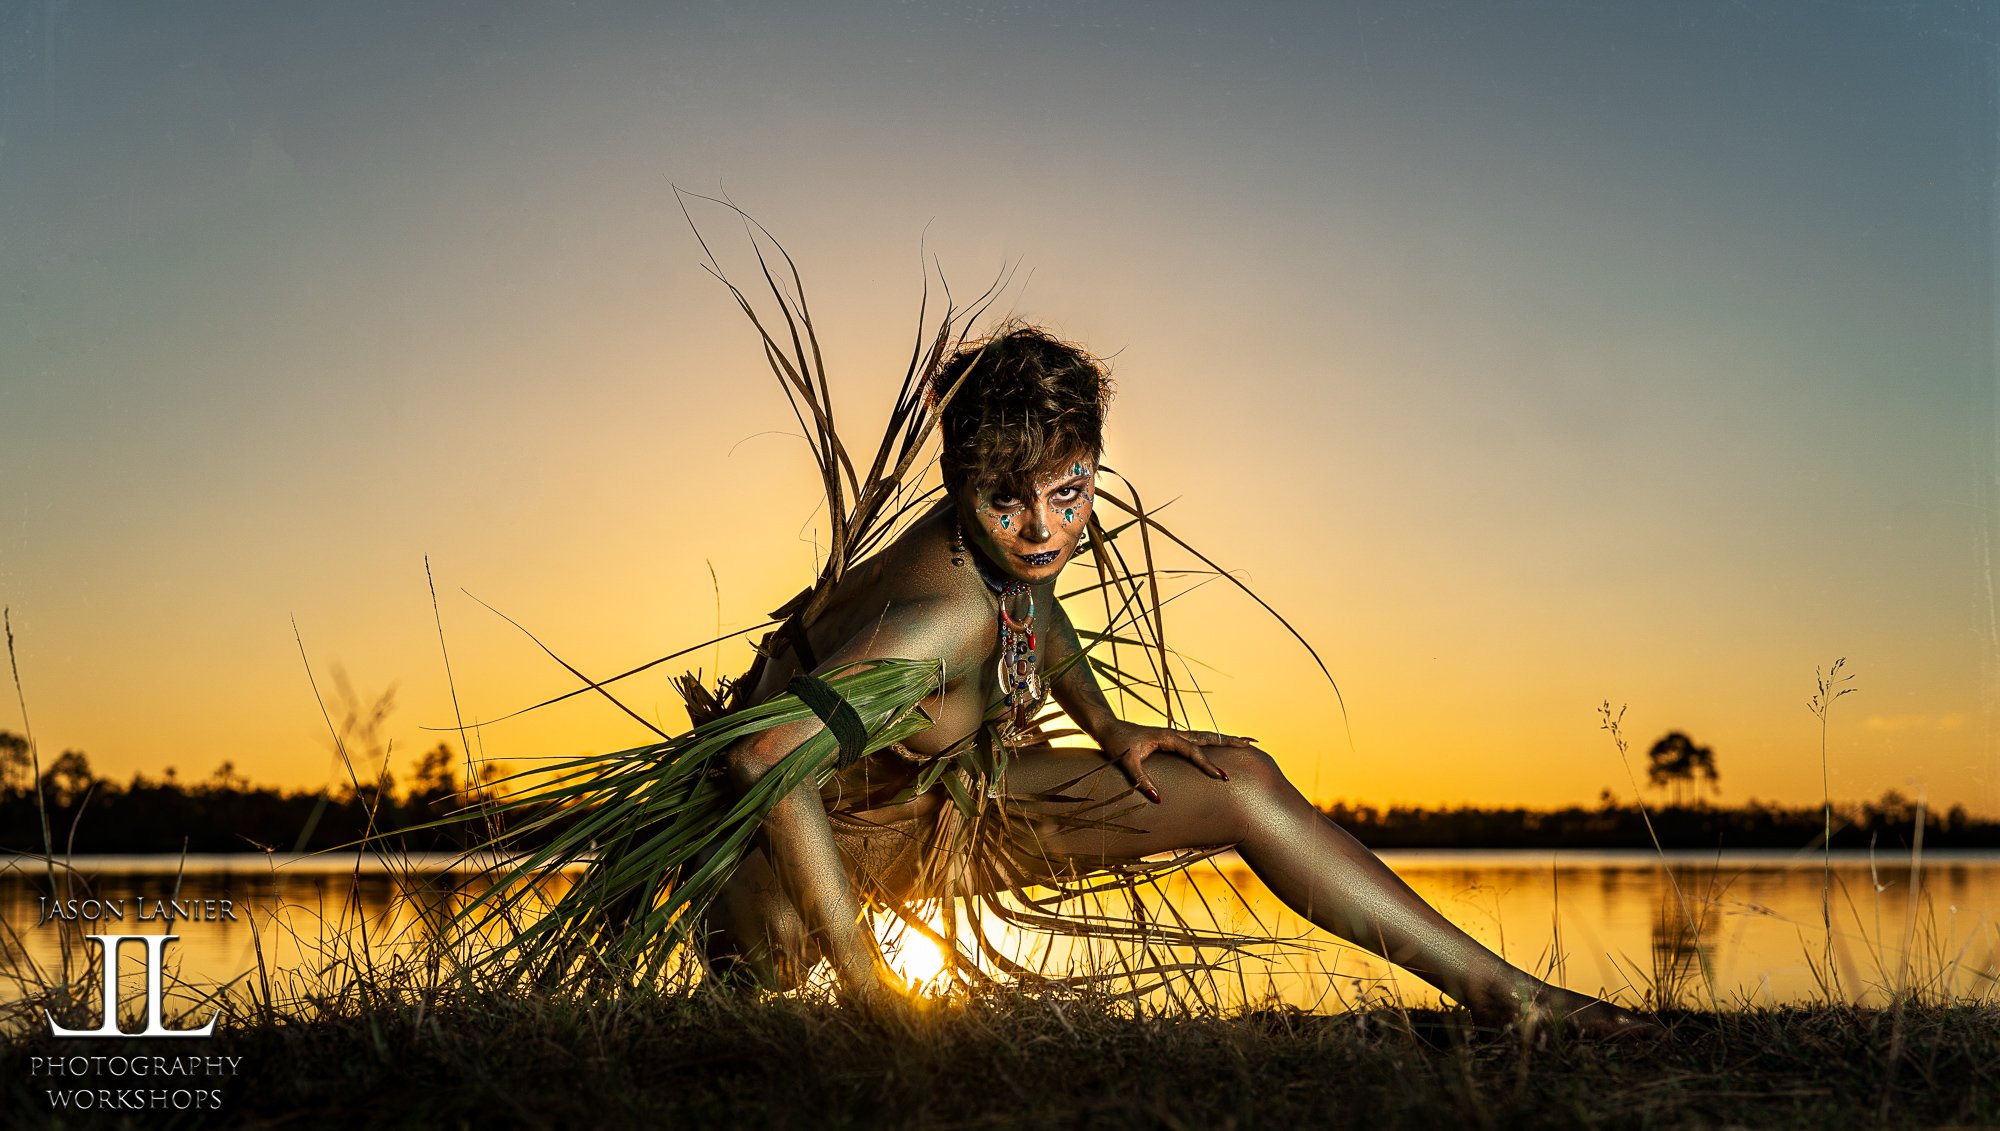
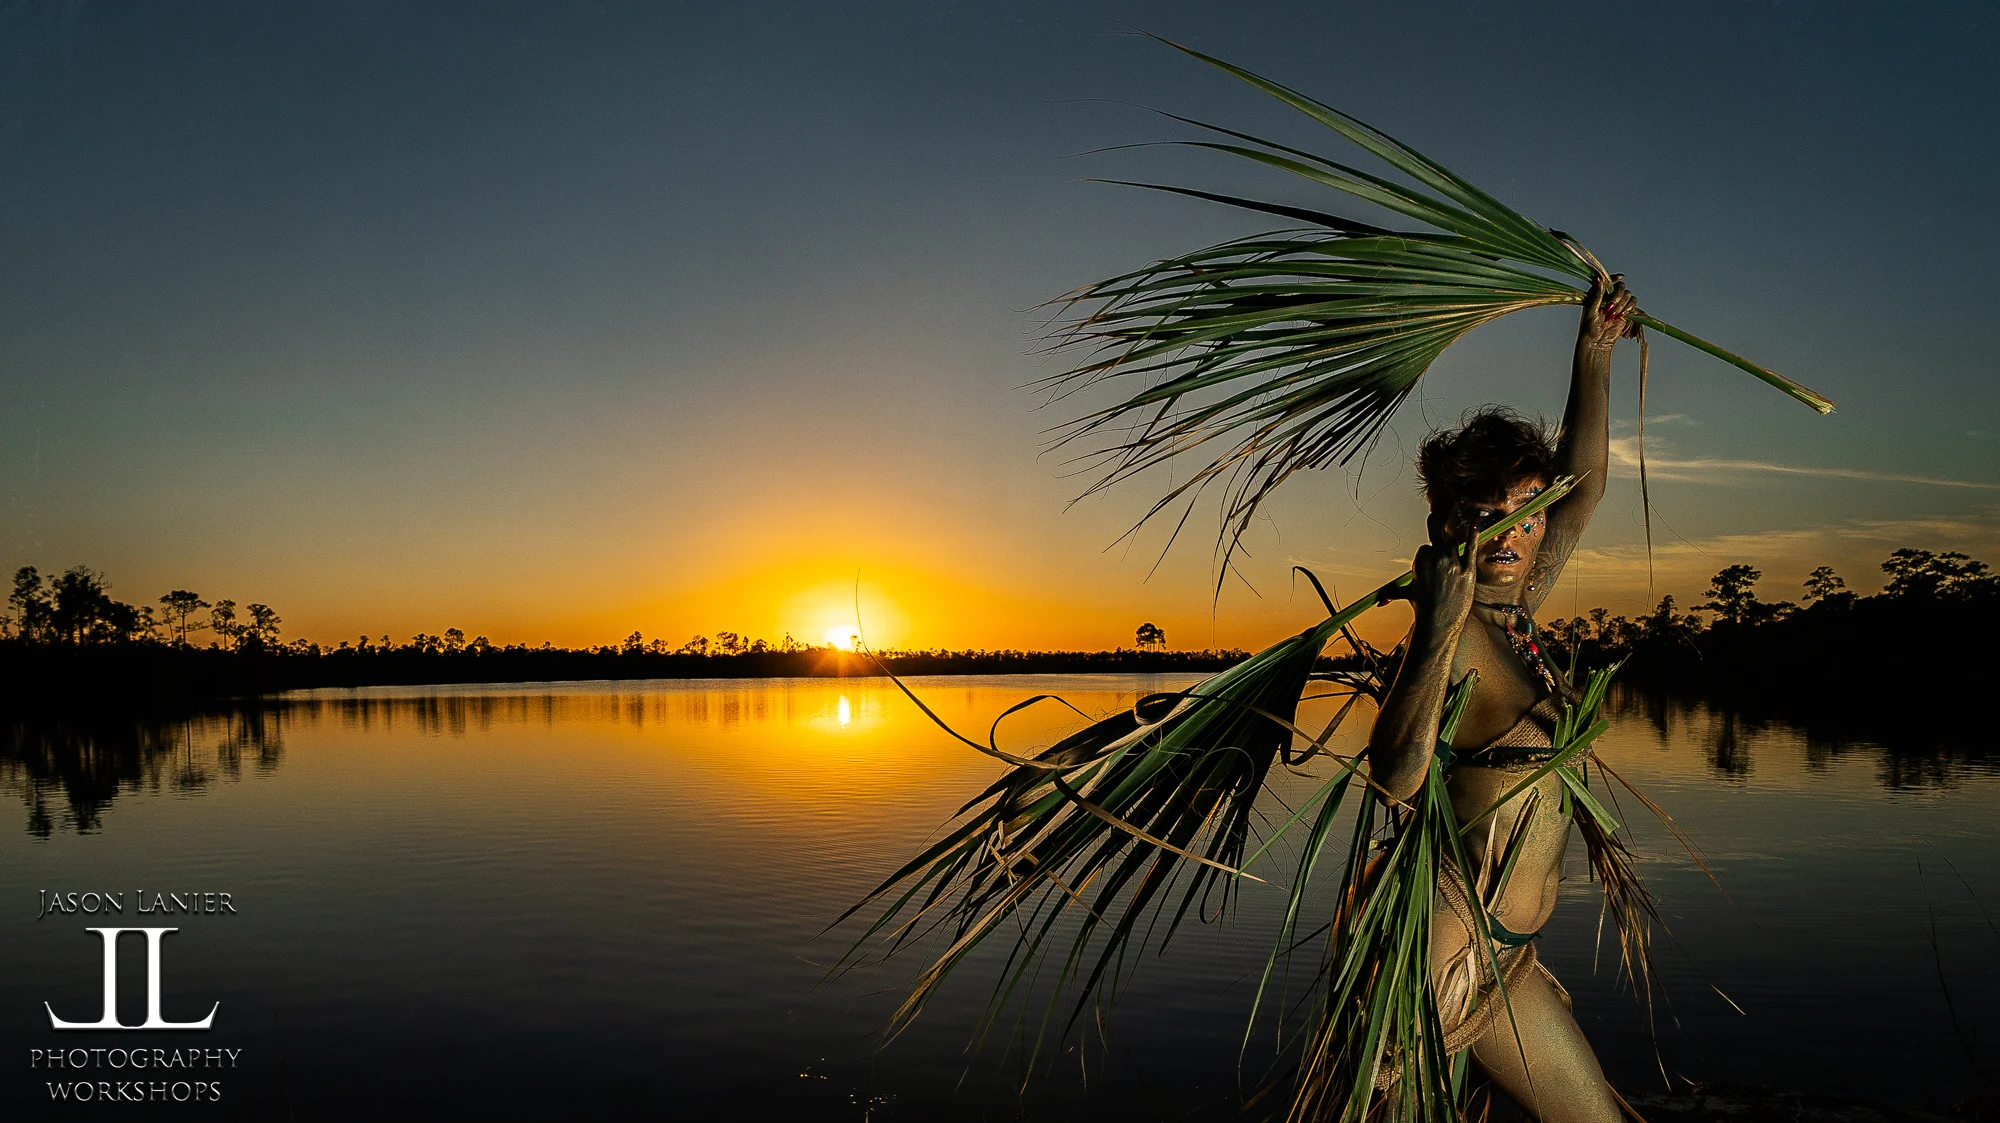
And THEN I decided to add some ambience to the background of the shots by asking the photographers there to throw sand and leaves behind the model (@macanoniii). You’ll also see that I added a rim light to the back of the shot by having a photographer hold the light behind the model to illuminate not just the model, but also all of the particles flying in the air.
Throughout the shoot I used different focusing modes to be able to adequately acquire focus. Did the lens acquire focus as fast and reliably as using the Sony 400mm f/2.8 lens? No. It didn’t.
Is it more than usable in most circumstances if you have the lens and want to use it on a Sony? Yes.
I switched to manual focus and had the lens situated on my model for the last set of shots when a lot of stuff was flying in the air because I didn’t want the lens to hunt for focus and miss the eyes of my subject.
I hope this helps!
If you have any questions about the lens or how it performed make sure to notate it in the comment section below.
Thanks again for being here and if you like what you see, make sure to check out some more of our posts and videos!
If you’d like to join us at a workshop please visit www.jasonlanier.com/register.
We also do a podcast called Jason Lanier Unfiltered that you can find on iTunes, Spotify and more.
Thanks again for stopping by!
Jason
Most experienced photographers know that when you use artificial light you should place it above your subject. That’s because when you do so, you are creating a lighting pattern that casts shadows down on your subject.
But there is a lighting technique called Feathering Light. That technique is utilized by having the edges of your light paint light onto your subject. This is done to minimize the effect of using light with your subject and even more importantly on the canvas of your image.
For example, if you want to do a shoot and don’t want there to be light spill or shadows on the ground coming from the flash, you would feather the light. This technique can also include facing the light up or even placing it on the ground so the light is shooting up.
Check out the video above of the shoot that I did in the Everglades which shows exactly what I’m talking about. This was a crazy shoot with my Model Emily who painted herself up and used palm fronds on the ground to create an amazing outfit.
This was done using the Godox AD 600 Pro flash inside of the Westcott Rapid Box XXL modifier with three layers of diffusion; the deflector plate, the inner baffle and outer sock.
As you’ll see in the video I use the edges of the light modifier to cast light onto Emily vs. what I’d normally do which is use the center of the light source. Below are the resulting images from the shoot. I’m breaking them into categories based upon the lens used.
Shots using the Sony Zeiss 50mm:
Shots using the Sony G 12-24mm lens:
Shots using the Sony Zeiss 35mm:
I really hope this helps some of you out there to explore some alternative ways of lighting. The pros to lighting like this include creating some dynamic shots in a way that allows your ground area to remain dark. The cons are that you have to be careful of where and how your shadows fall on your subject.
Immediately following this shoot we did a live video blog/podcast. To check that out click below:
Thanks for visiting my blog. I really appreciate your support and thank you in advance for your comments and for sharing the content with someone you think can benefit from it. To learn more with us online please visit www.patreon.com/jasonlanierphotography.
To learn with us in person please visit www.jasonlanier.com/register.
We’ll see you soon!
Thanks,
Jason