Viewing entries tagged
high speed sync

The Ultimate Guide to Shooting Flash with Rotolight!

Comment

The Ultimate Guide to Shooting Flash with Rotolight!

Ever wonder how to get the best out of using flash photography with Rotolight? Have issues connecting your transmitter to your light? Wanna use your third party transmitter system to fire a Rotolight? This video is for you.

This video was shot at the Salton Beach with the very familiar and welcome smile of Emily Rinaldo. In this video Jason and Emily detail the following:

  • How to Connect the Elinchrom Skyport Transmitter to your Rotolight

  • How to Control Your Rotolight remotely using the Skyport Transmitter

  • How to Connect Your Third Party Transmitter to the Rotolight using the PC sync port.

  • How to Change the White Balance Color and have it reflect that change in the color of the flash

  • What flash output you should be using when strobing with Rotolight

  • How to turn on flash mode on your Rotolight

  • How to update the firmware on your Skyport Transmitter

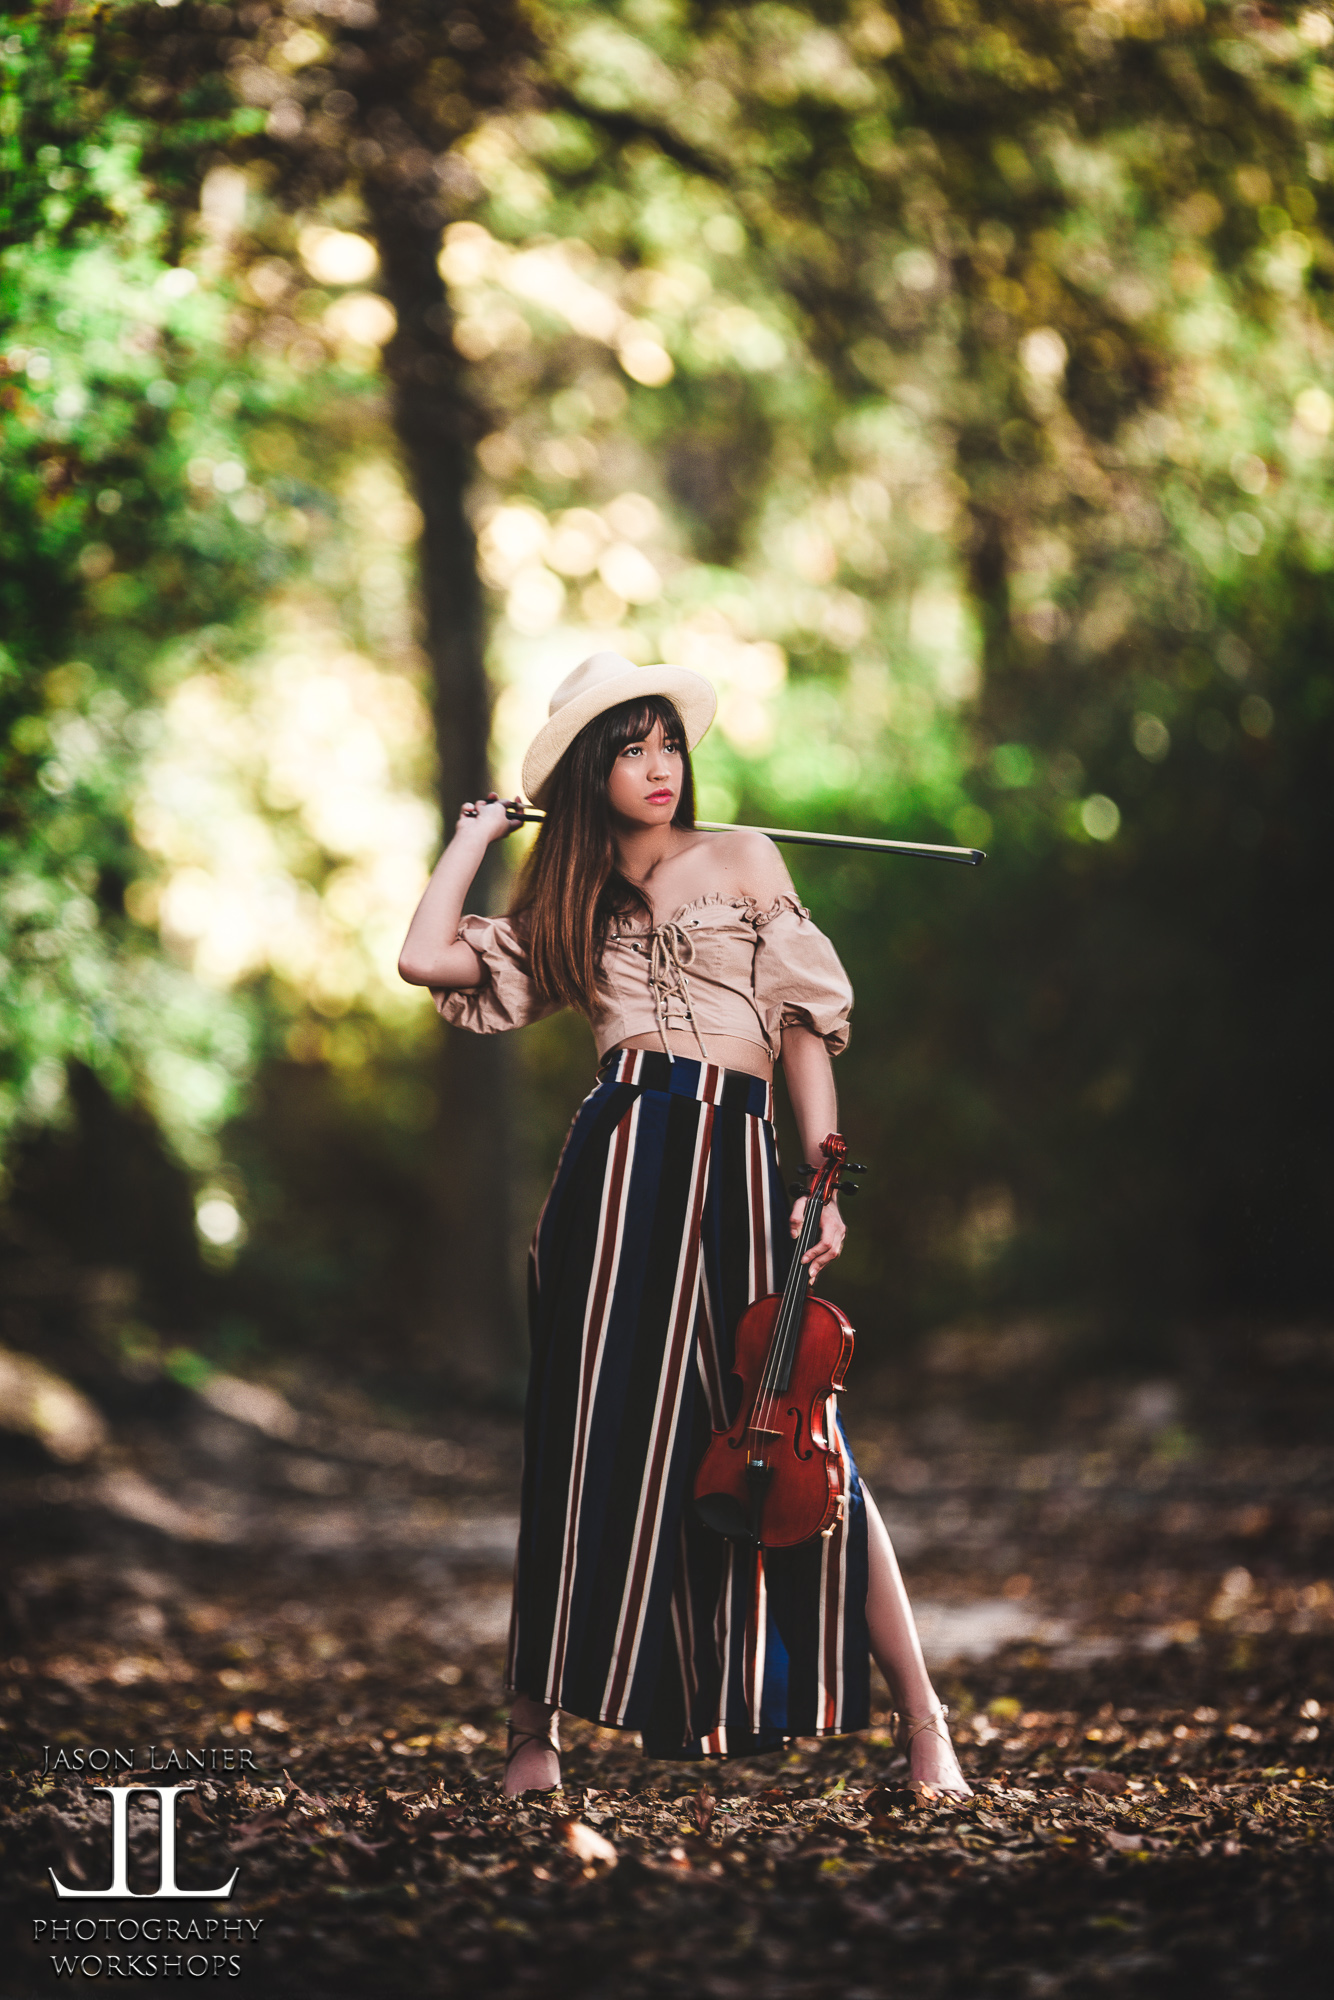
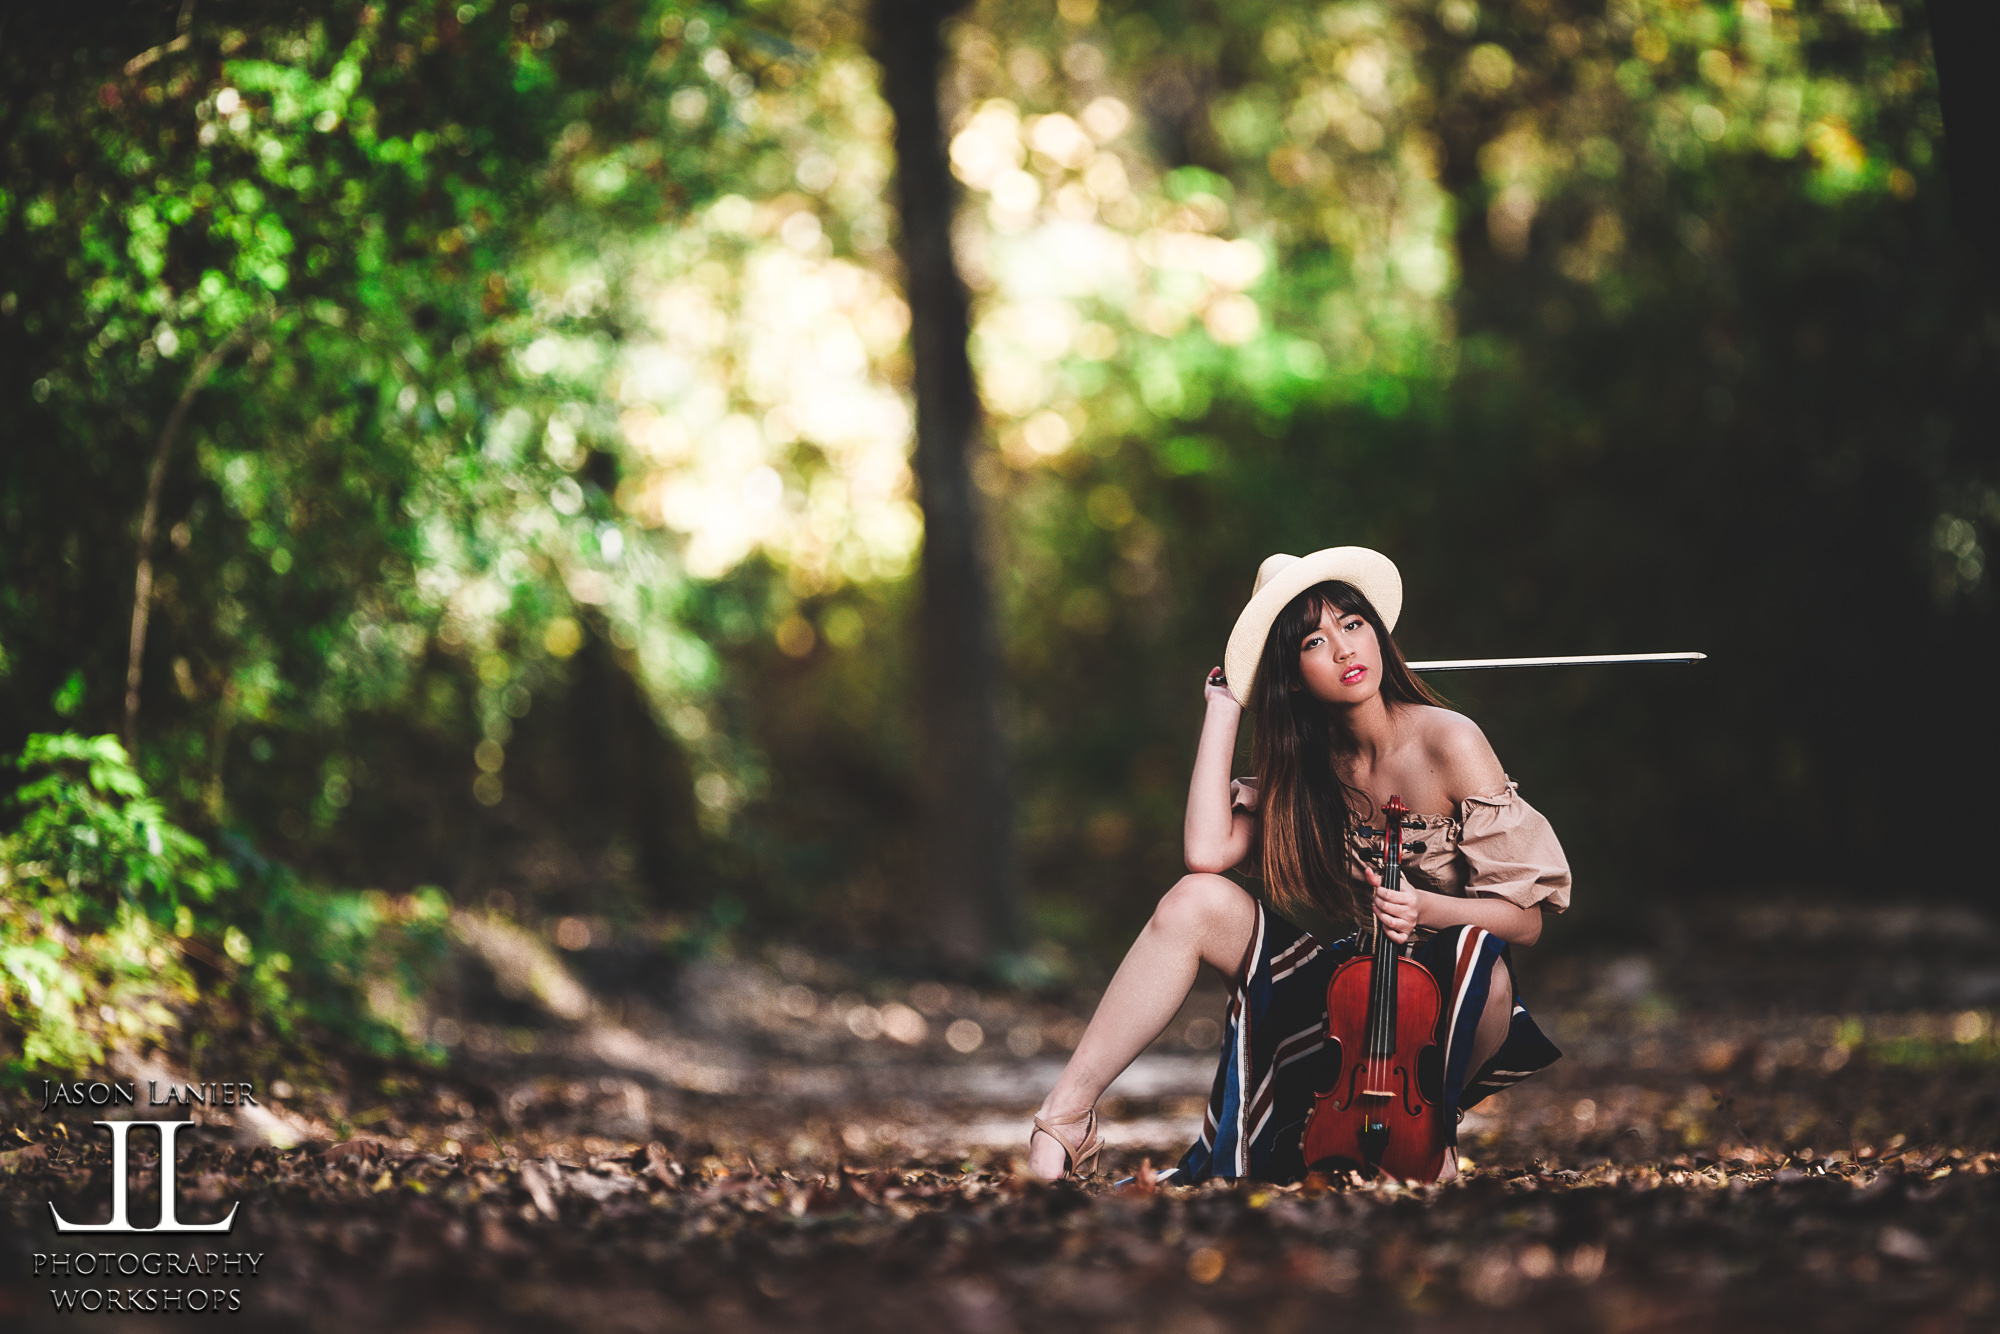
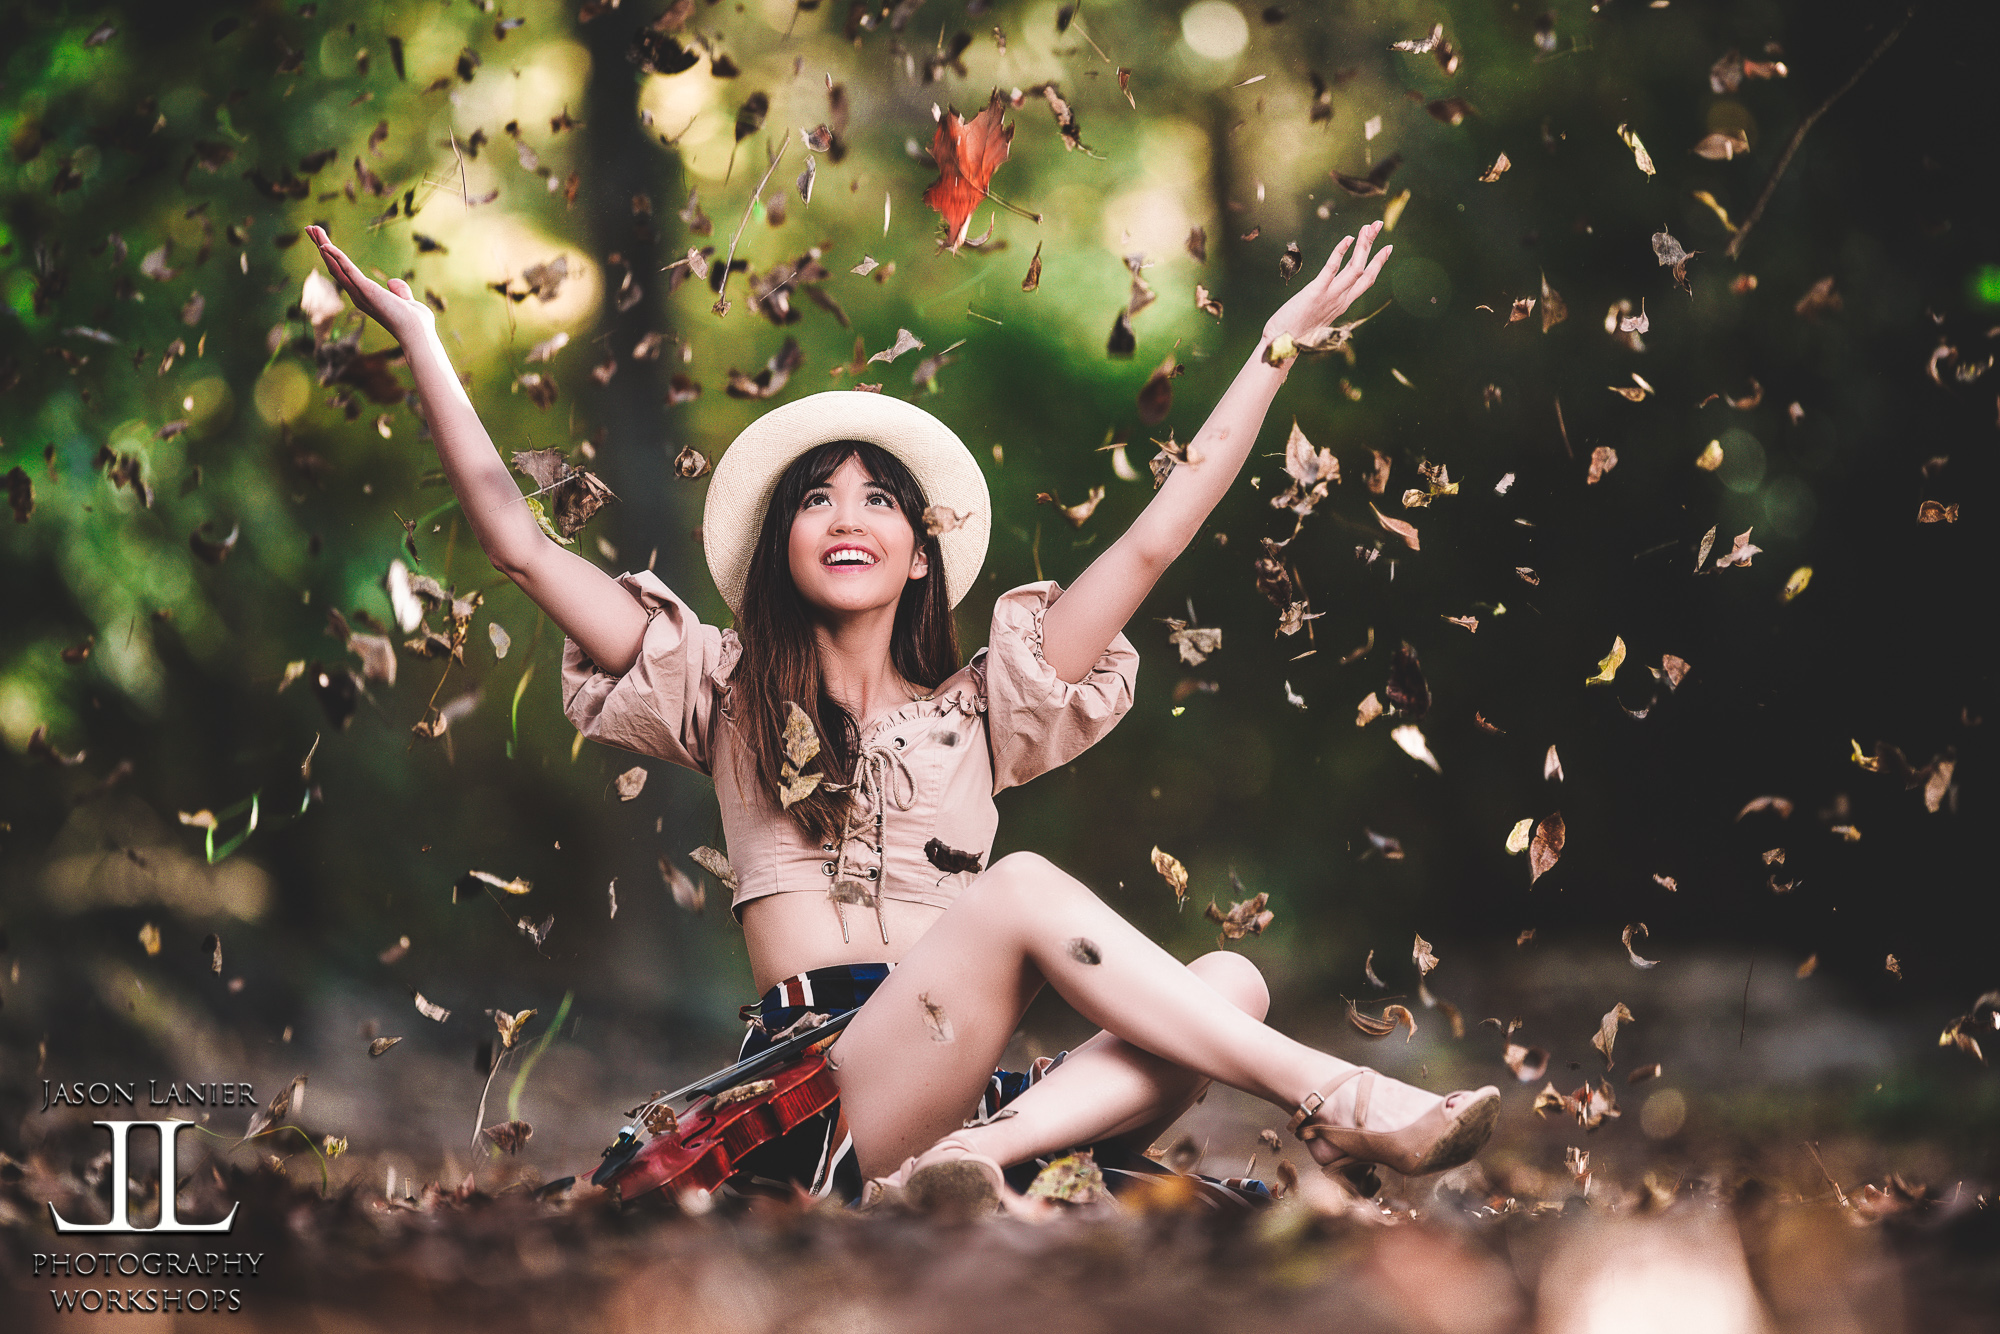
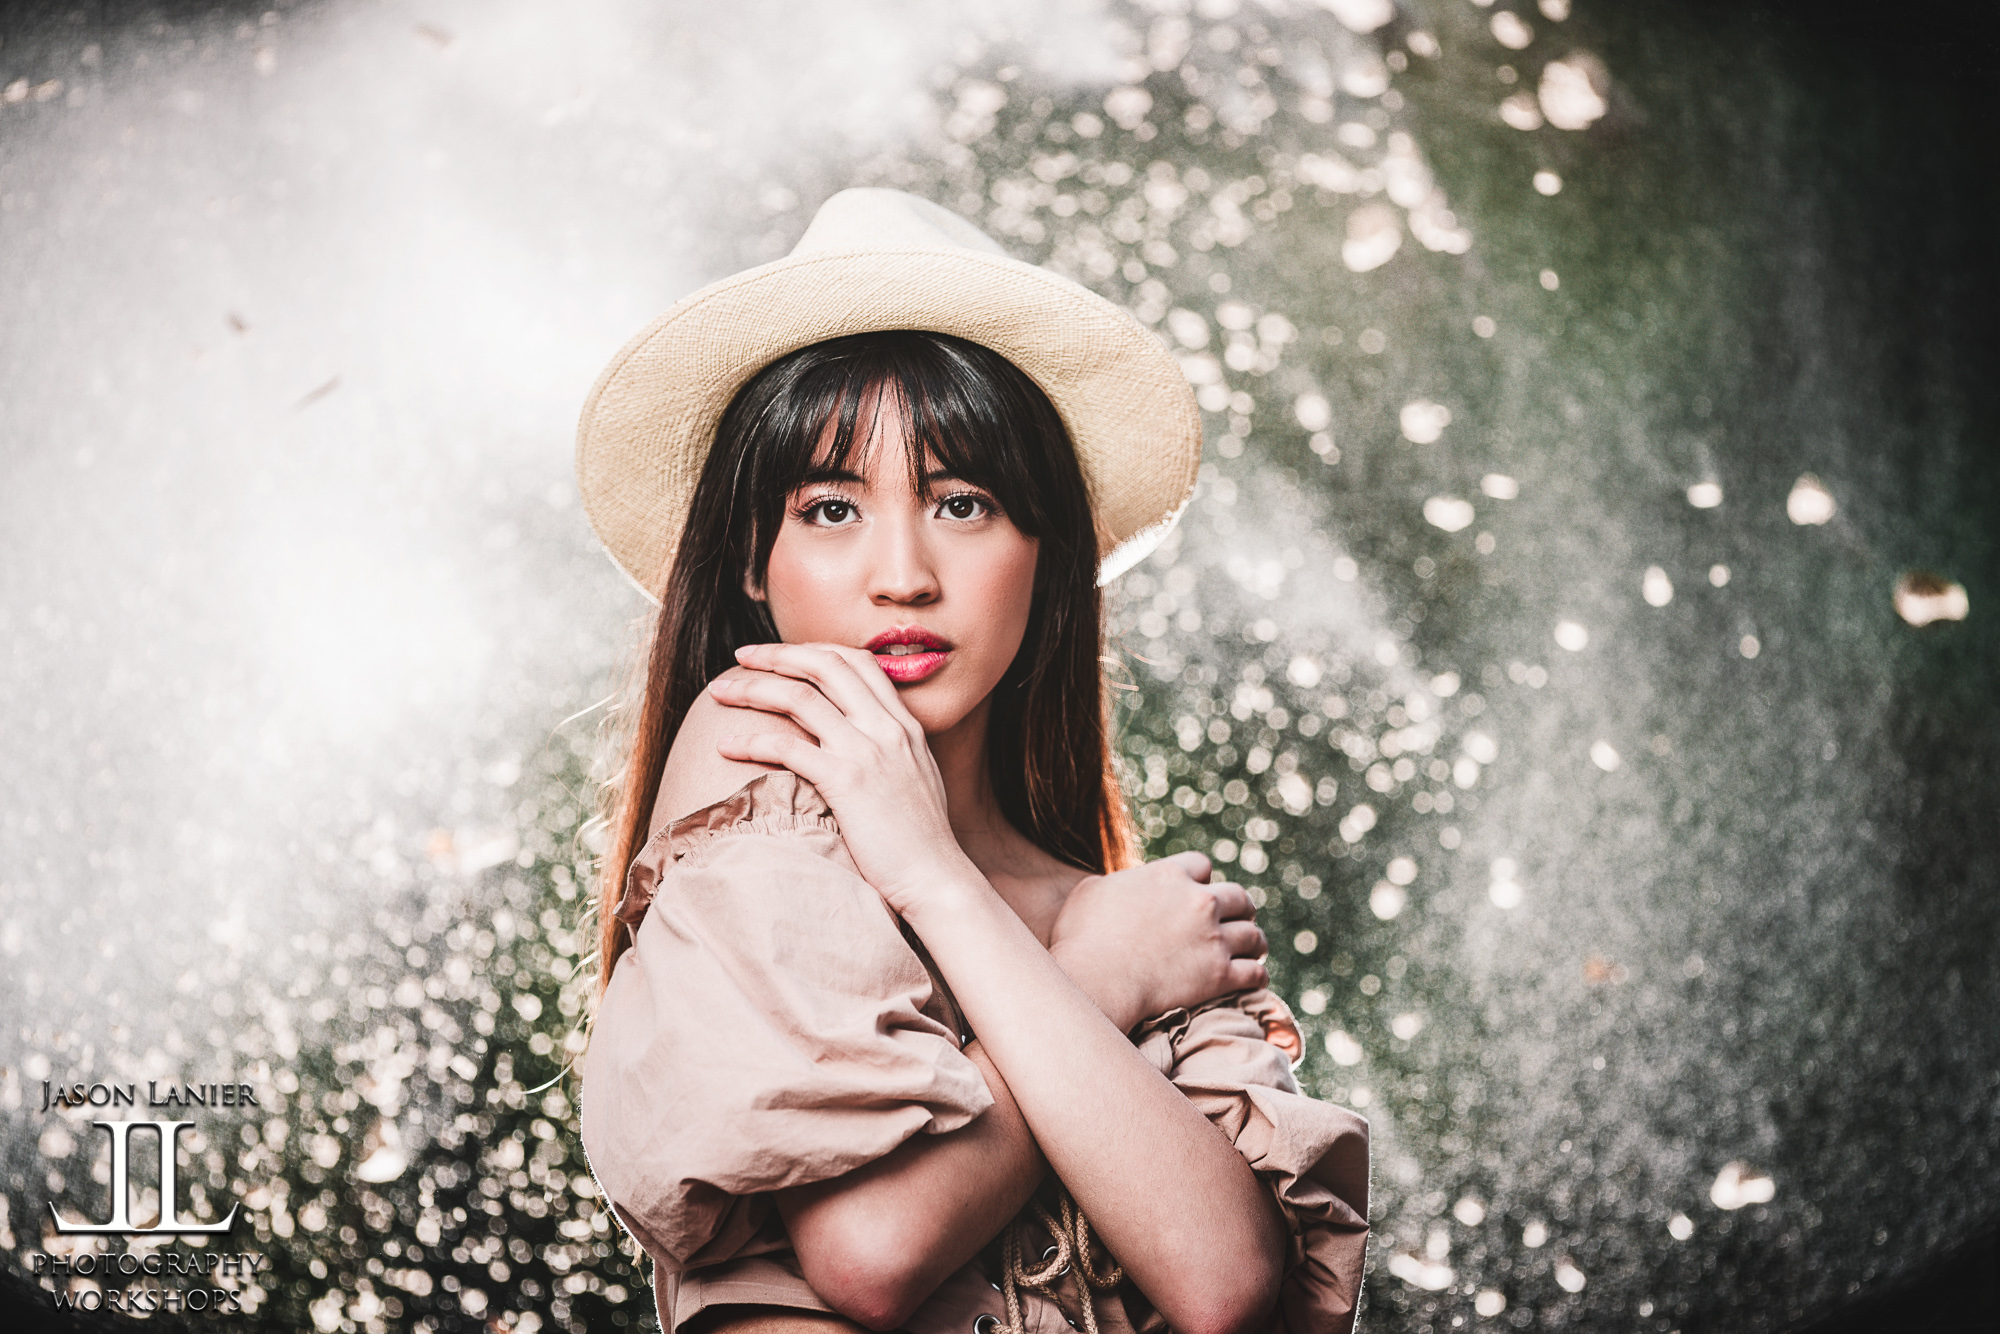
Even better the video features a shoot by Jason of Emily as only the two of them can do together. This shoot was done using the Rotolight Titan X1 in flash mode in an abandoned tire shop in some scorching hot desert conditions. Below are the images created by Jason and Emily.

If you're interested in unique deals and bundles on these lights that are custom made for Jason's followers, please visit: www.rotolight.com/jasonoffers

***Links to Gear

*Sony A9- https://bhpho.to/31qNTlv

*Sony Zeiss 50mm- https://bhpho.to/3hq8deF

**Links to Social Media**

Photographer: Jason Lanier

*Website- www.jasonlanier.com

*Podcast- www.jasonlanier.com/podcast

*Instagram- www.instagram.com/jasonlanierphotography

*Facebook- www.facebook.com/groups/jasonlanierworkshops

*Twitter- www.twitter.com/jlanierphoto

Model: Emily Rinaldo

*Instagram: https://www.instagram.com/em.explores

*Website- www.emilyrinaldo.com

We really hope this video helps people out there to learn how to get the most out of their Rotolight when using it in flash mode. Please let us know what you think and thanks for stopping by!

Jason Lanier Photography

#offcameraflash #rotolight #jasonlanierphotography

Comment

Canon Project Part #2- Creating Color with Off Camera Flash- Canon EOS R with the RF 28-70mm lens by Jason Lanier

2 Comments

Canon Project Part #2- Creating Color with Off Camera Flash- Canon EOS R with the RF 28-70mm lens by Jason Lanier

Welcome to Part 2 of the Canon Project, a series of videos related to our time using the Canon EOS R. In Part 2 we showcase a workshop and shoot we did in Helen, Georgia in conjunction with an event we were doing for PPA (Professional Photographers of America) for their Georgia Chapter (GPPA).

**Links to Gear Used in This Shoot**

*Canon EOS R- https://bhpho.to/2U8W4Cd

*Canon RF 28-70mm lens- https://bhpho.to/2FCH9pI

*Godox AD 600 Pro- https://bhpho.to/2FH9gnu

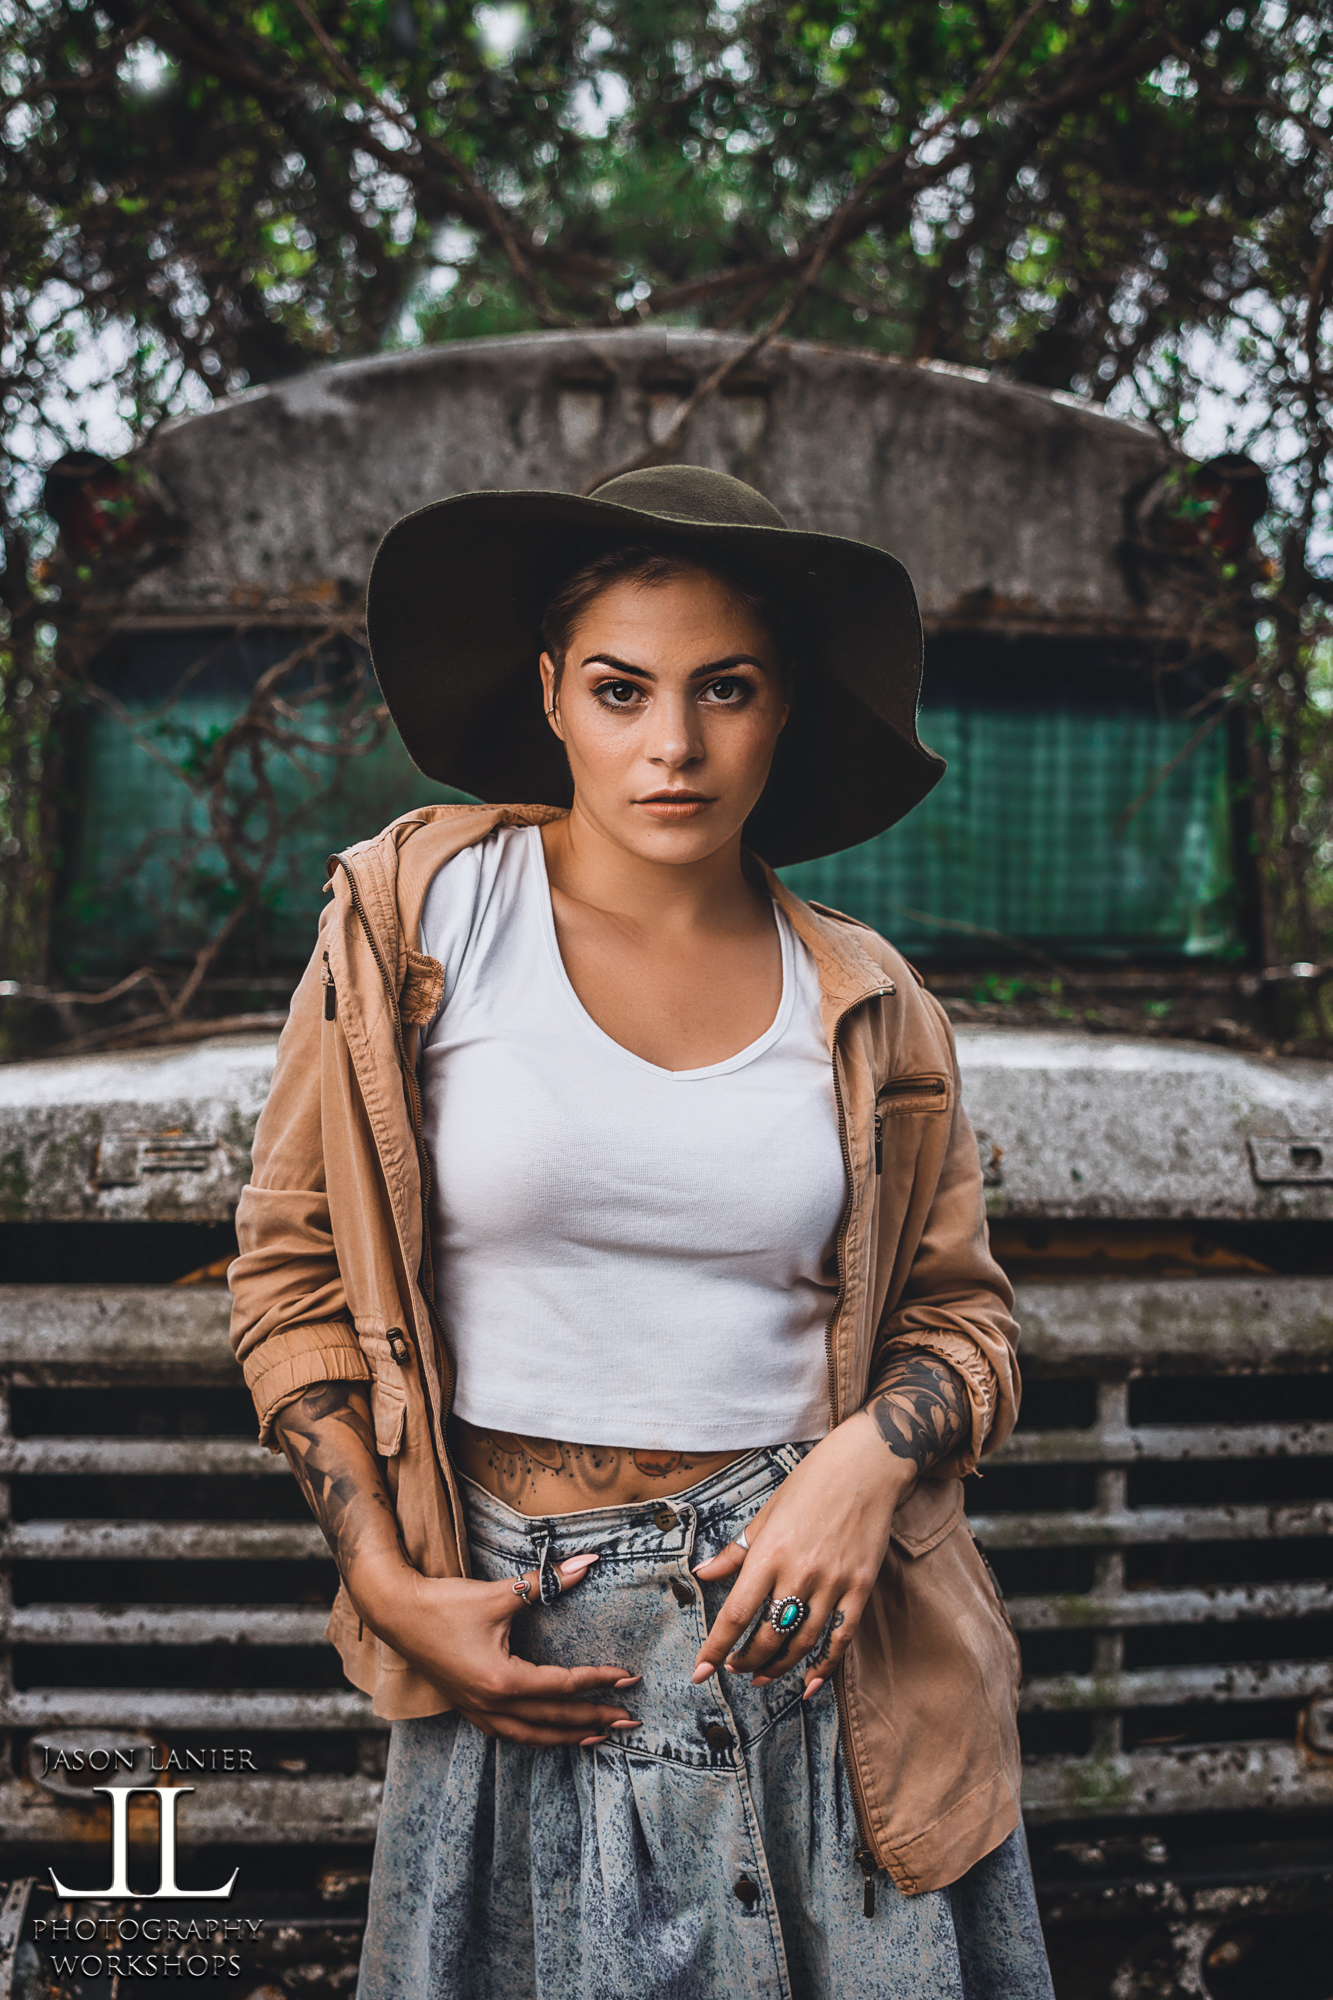
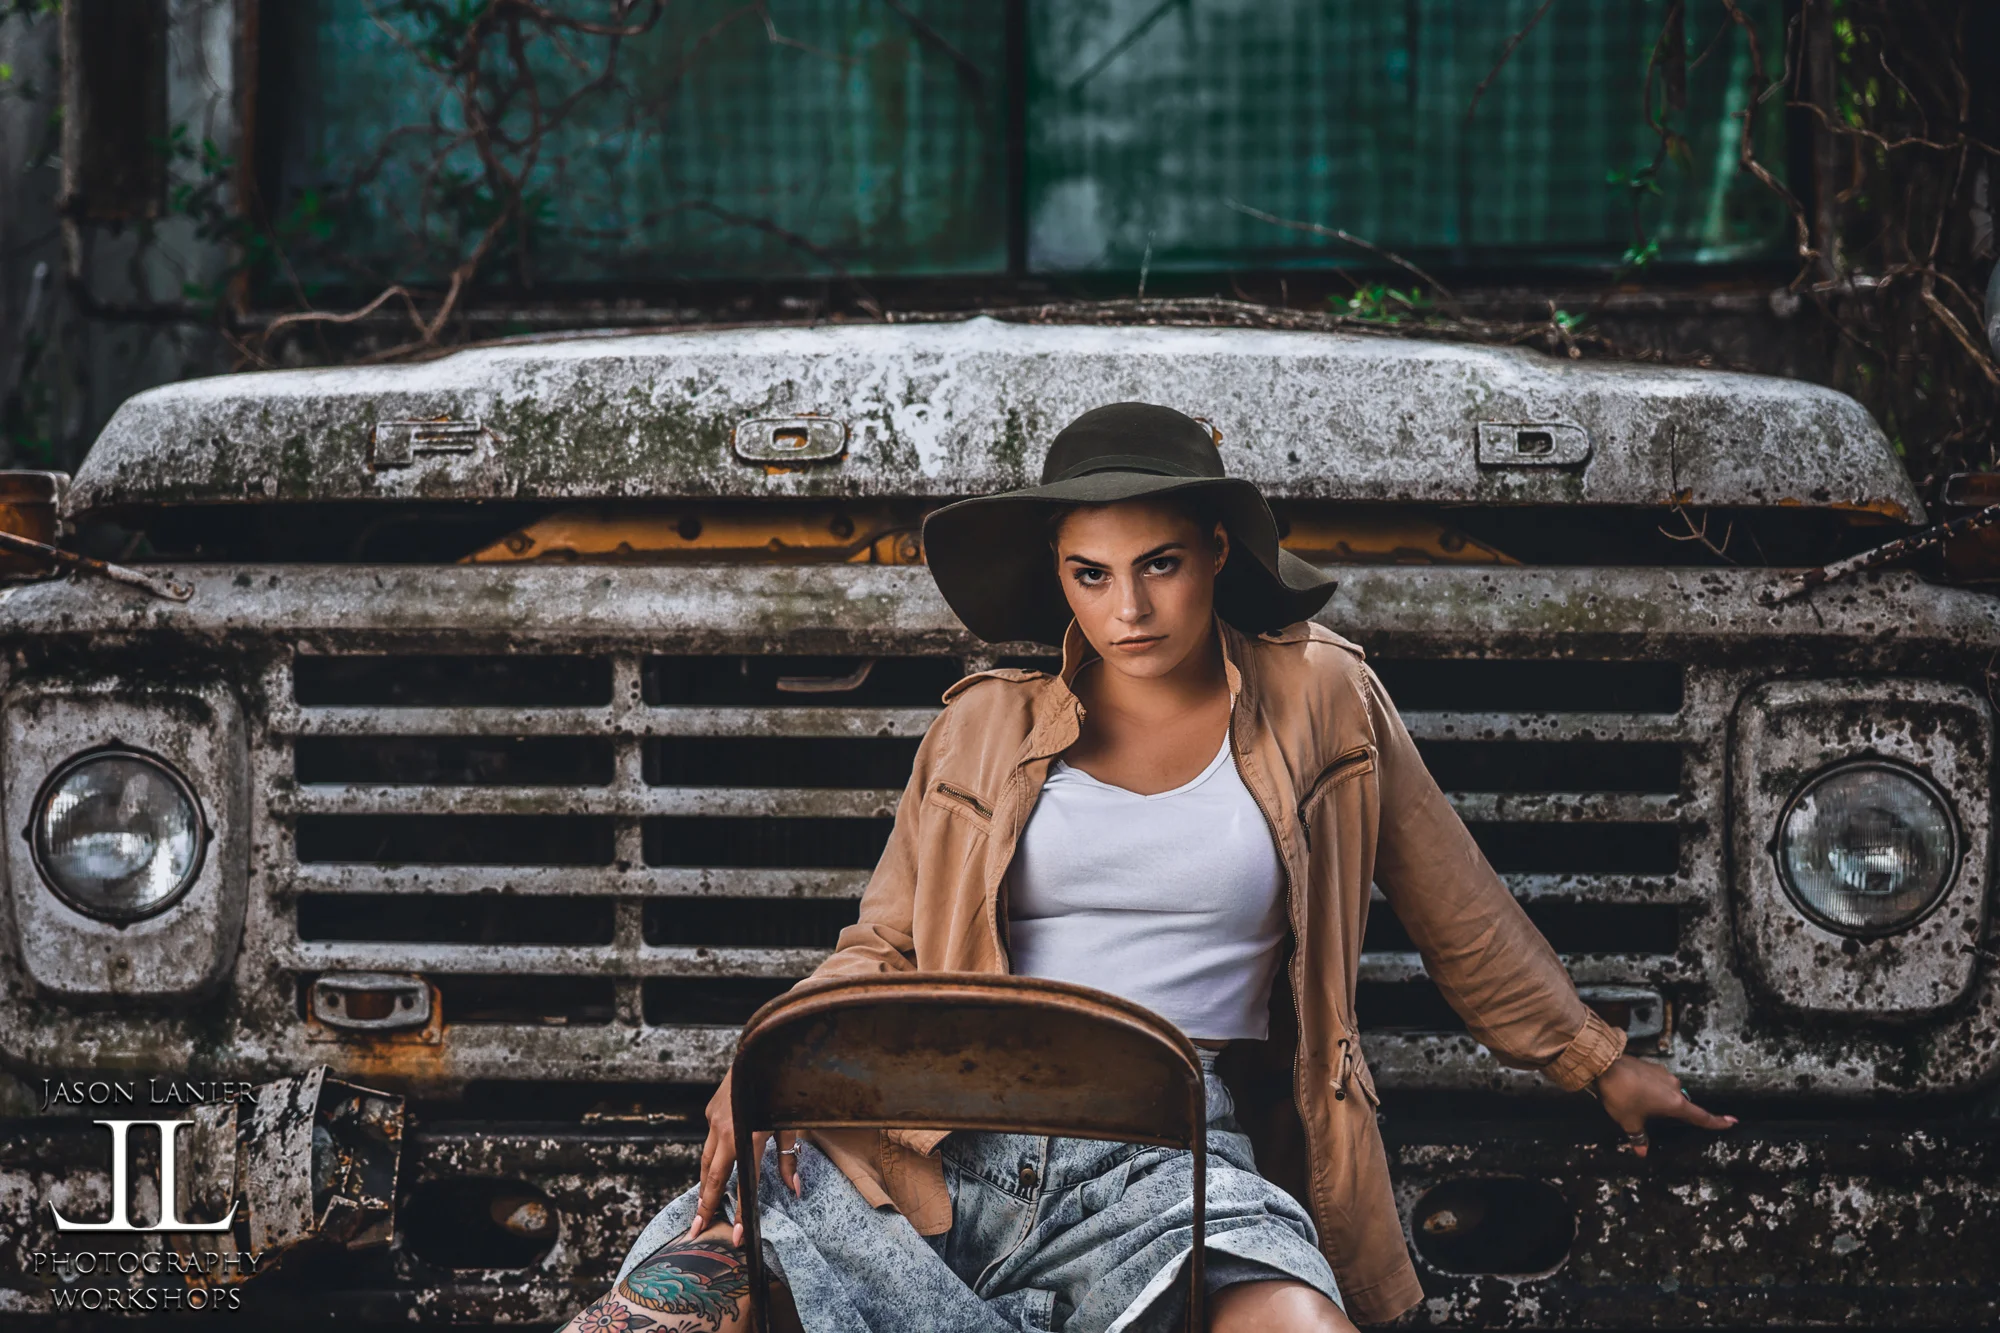
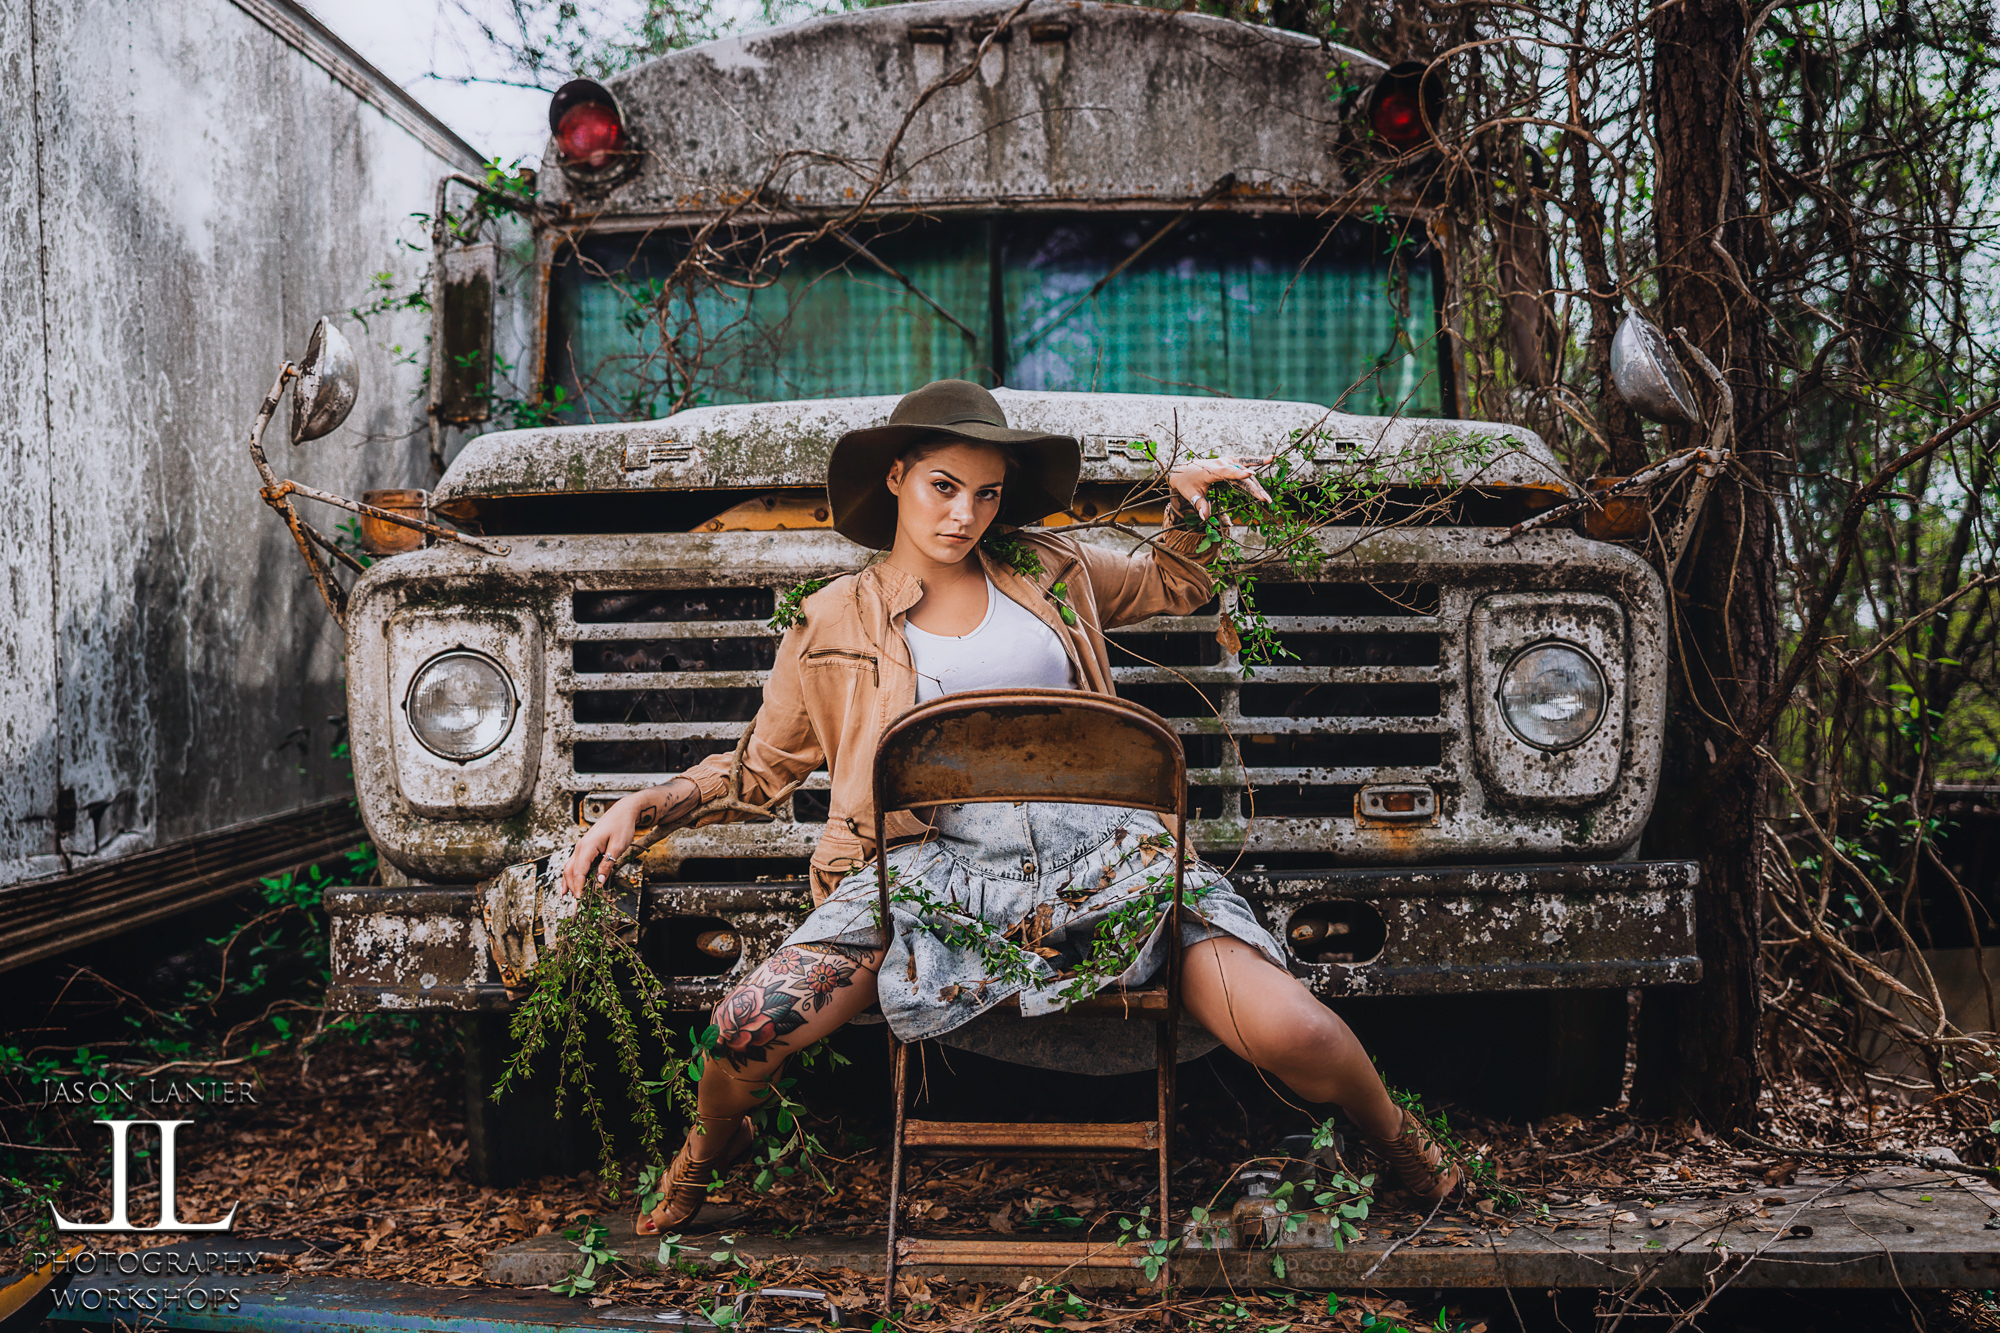
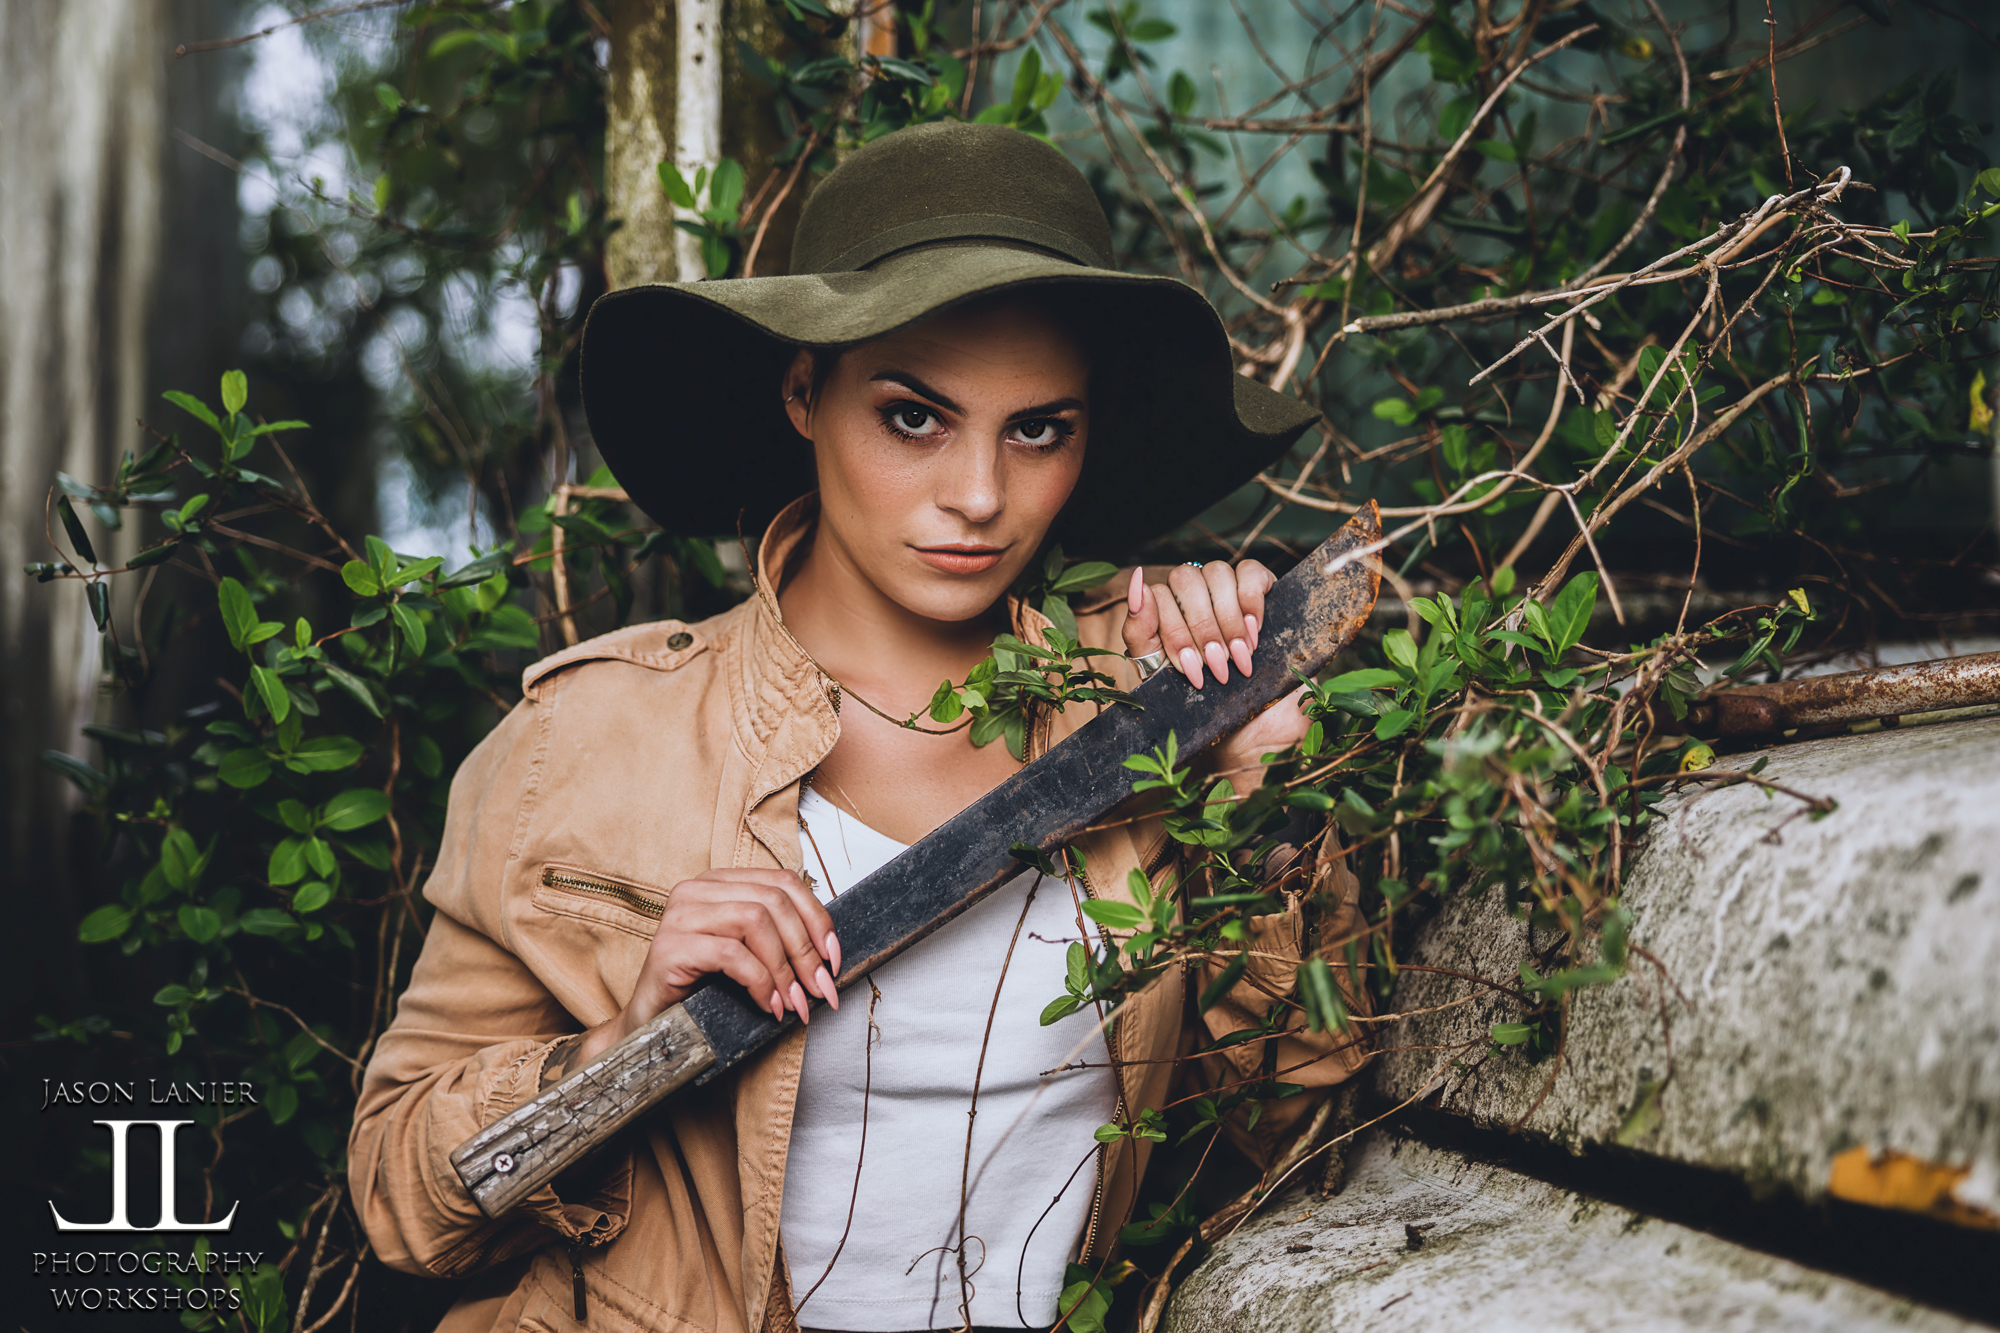
The location for this video was the Bus Graveyard which is a REALLY cool place to shoot. This was Day 3 of our 4 day workshop that I was teaching for the PPA members and on this day the group asked me to demonstrate a shoot from start to finish as well as give them a heads up on how I recorded my Youtube videos.

So, that’s what my Assistant/Muse Emily and I did! You can follow her on Instagram at www.instagram.com/em.explores

For this shoot we used the Canon EOS R with the RF 28-70mm lens. A lens that quickly found it’s way into my creative heart. It’s one of my favorite lenses on the planet at this point.

But we just didn’t shoot in a cool location with a great model and a new camera/lens. We also wanted to illustrate the difference that using flash can make when shooting in conditions that aren’t ideal for lighting. There is nothing better than the best natural light. But that' only exists for about 1 hour a day. And that’s only if it happens to be facing the direction that you want to shoot.

So sometimes you need to have the ability to ADD light to your scenes to be able to capture what you or your clients want or need to create. Sometimes we don’t have the luxury of picking the time when we shoot. Sometimes we have to make our own light.

In this video I show the difference between the two, demonstrating images side by side showing images taken with flash vs. images taken with natural light. Take a look for yourself by checking out the images below:

The images with flash have much more light and color. Because color = light in the world of photography. I purposely chose to make this Part 2 of the project because Part 1 shows a natural light shoot done correctly which has plenty of color and light. But that’s only because it was shot at the ideal time of day.

Below are images from the shoot:

For this shoot I have to say the Canon EOS R did exceptionally well. Focus wasn’t as fast as I’m used to with my Sony cameras, but for a portrait session like this one it was more than fine. The color rendering and effect on skin tones is really nice.

And that LENS. WOW, the RF 28-70mm f/2 is just a pleasure to shoot. There will be people who complain about it’s size and weight. But for me if you want awesome results you shoot awesome glass. And that’s one thing that Canon has done right with their mirrorless system. They are bringing out ultra professional, high grade glass. Far better than the offerings made by the Nikon Z system and far better than what Sony brought out when it first rolled out it’s mirrorless cameras.

The Canon also did much better shooting flash than the Nikon Z. It didn’t require me to do anything special to shoot in HSS (High Speed Sync) mode which was great since all of these images were taken in HSS with the exception of the natural light shot.

I truly hope you enjoy the content. If you missed Part 1 of the Canon Project which is a Natural Light Shoot done in Death Valley using the RF 24-105mm lens, you can check it out now by clicking below:

Thank you so much for watching and make sure to check out our upcoming parts of the Canon Project where we explore things like Black Light, LED, LED flash and more! We thank you for joining us and invite you to click on NOTIFICATIONS and the SUBSCRIBE button on my Youtube Channel.

See you next time!

Jason

2 Comments

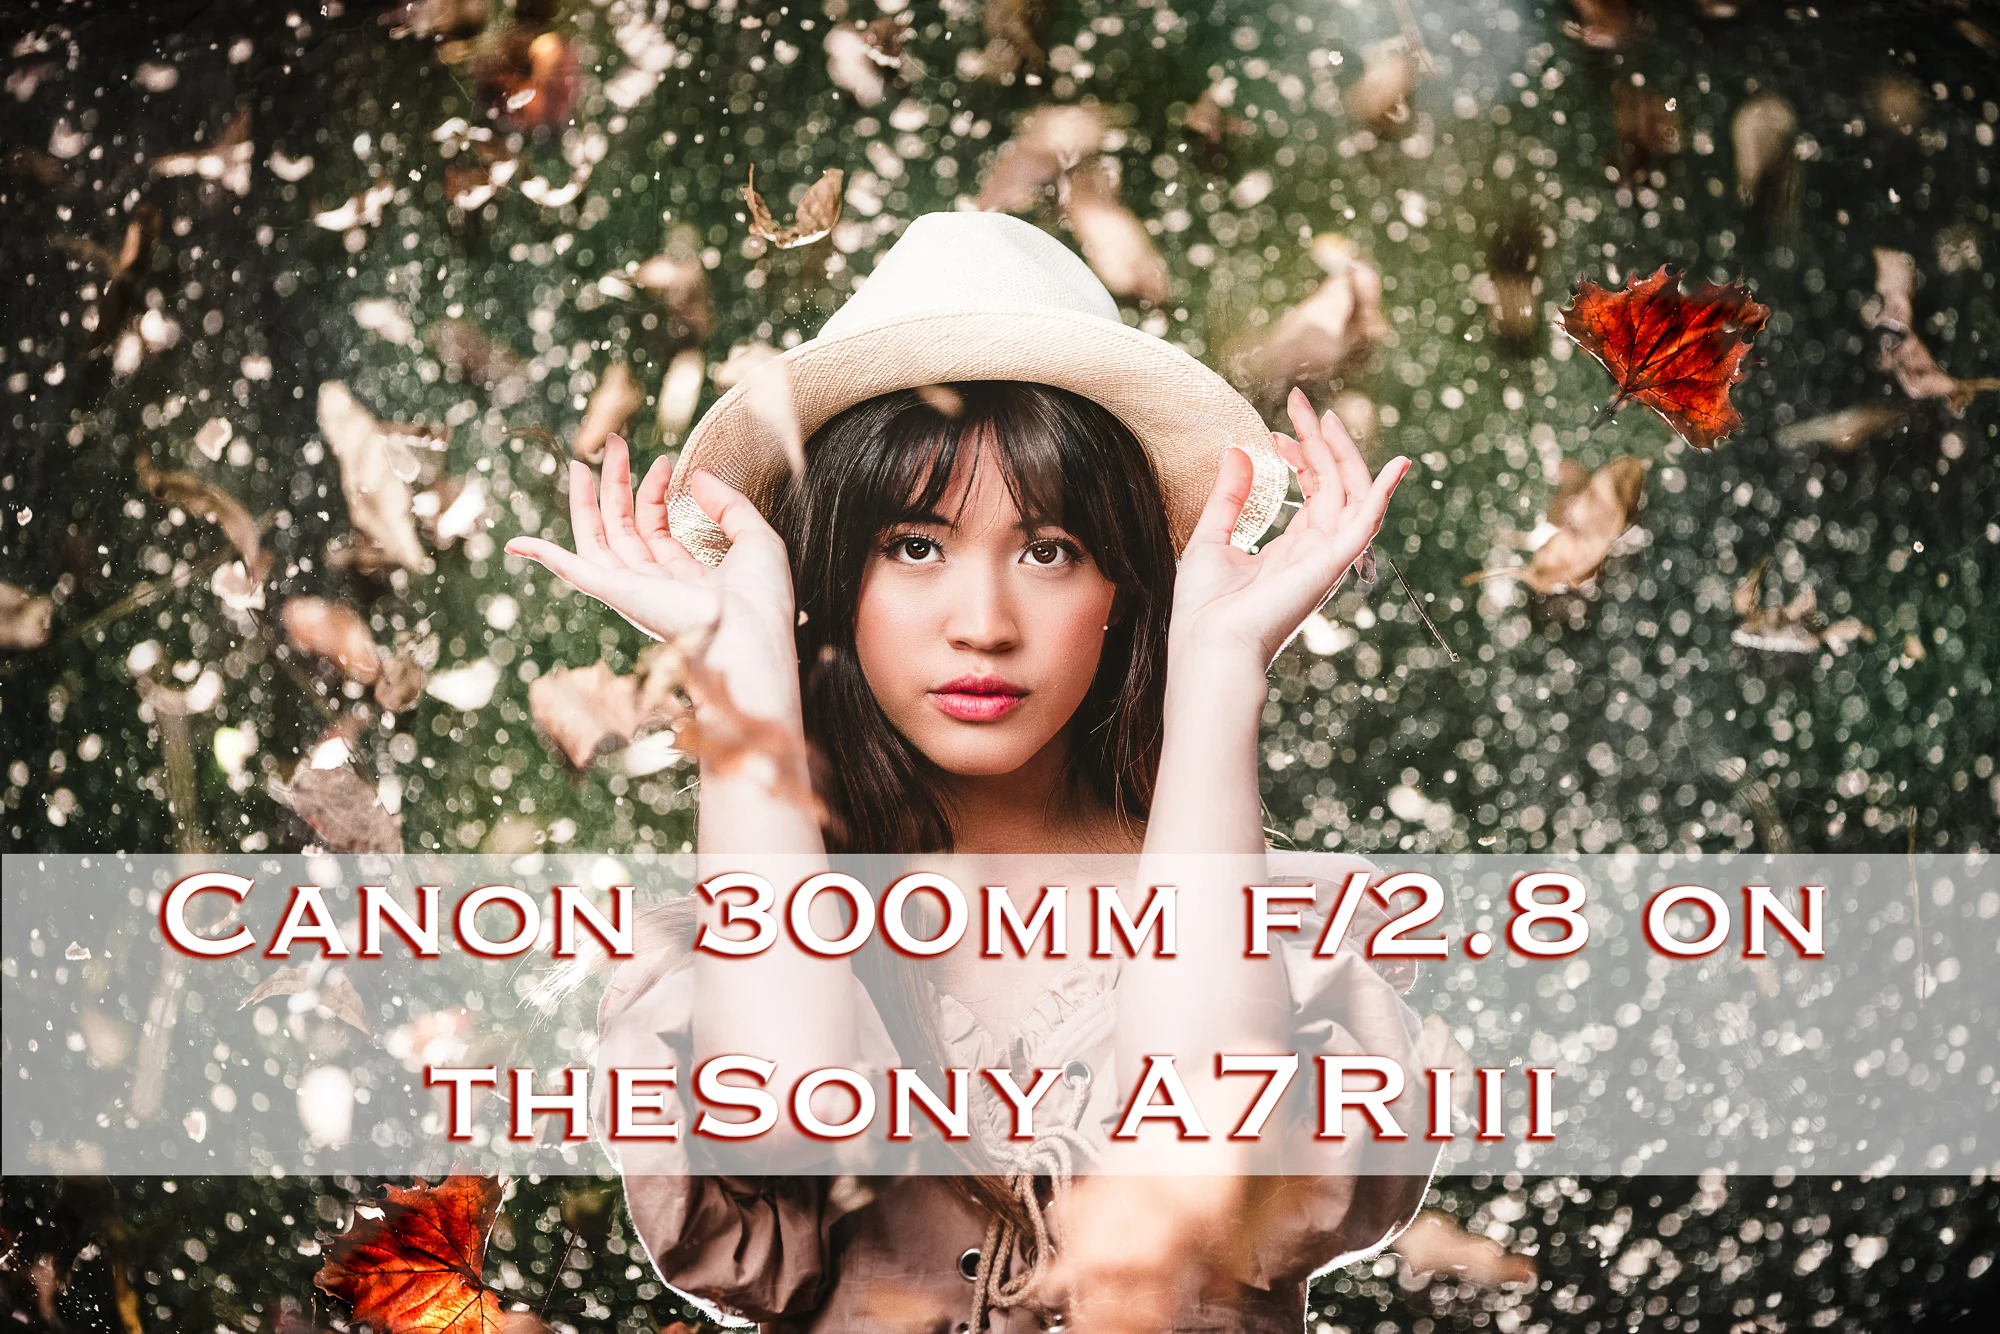
Shooting the Canon 300mm f/2.8 lens on the Sony A7Riii using the Metabones Mark 5 Adapter by Jason Lanier

6 Comments

Shooting the Canon 300mm f/2.8 lens on the Sony A7Riii using the Metabones Mark 5 Adapter by Jason Lanier

WOW! This was a FUN SHOOT! While I usually spend the vast majority of my time teaching and not shooting at my workshops, I’ve learned to do a demo shoot at every workshop to help my students understand exactly what I’m teaching. I’ve also received feedback over the years that for some of my students who are visual learners, the demo session of the workshop is invaluable to their learning experience.

The other thing that’s so much fun at my workshops is when I have fellow photographers who are attending bring lenses that I haven’t had the chance to use before. At my Houston workshop in December 2018 a photographer named Jose brought the Canon 300mm f/2.8. I was thrilled to be able to borrow it and see how it worked with my Sony A7Riii using the Metabones Mark 5 Adapter.

As an early adopter to the Sony Mirrorless system, I am very accustomed to using Canon lenses on my Sony bodies to be able to supplement the Sony lens lineup that was lacking when I first switched over. I currently own 7 Canon L lenses and have used the 400mm f/2.8 and the Canon 200mm f/1.8 on my Sony bodies….BUT, the 300mm f/2.8 was one I hadn’t gotten my hands on yet.

Until Houston.

Jose was so kind to let me borrow the lens and his Metabones Mark 5 Adapter. In the past I’ve always used the Metabones Mark 4 Adapter or the Sigma MC11 Adapter. To answer the easy question for those reading this and wondering…did I notice a difference using the Metabones Mark 5 over the others? No. So if you’re like me, you don’t need to rush out and spend money on it unless you currently don’t have an adapter.

But, back to the lens.

Yes, it’s heavy.

Yes, it requires an adapter to use.

But yes, it delivers some pretty stellar results. Check out the shots below from the shoot:

As you’ll see when you watch the video I tested this lens in a variety of ways. First I shot with it just doing portraits as most people would use it.

Then I decided to up the ante and added the Westcott Eyelighter to the equation with the Godox AD600 Pro light that I was using inside of the Westcott Rapid Box XXL.

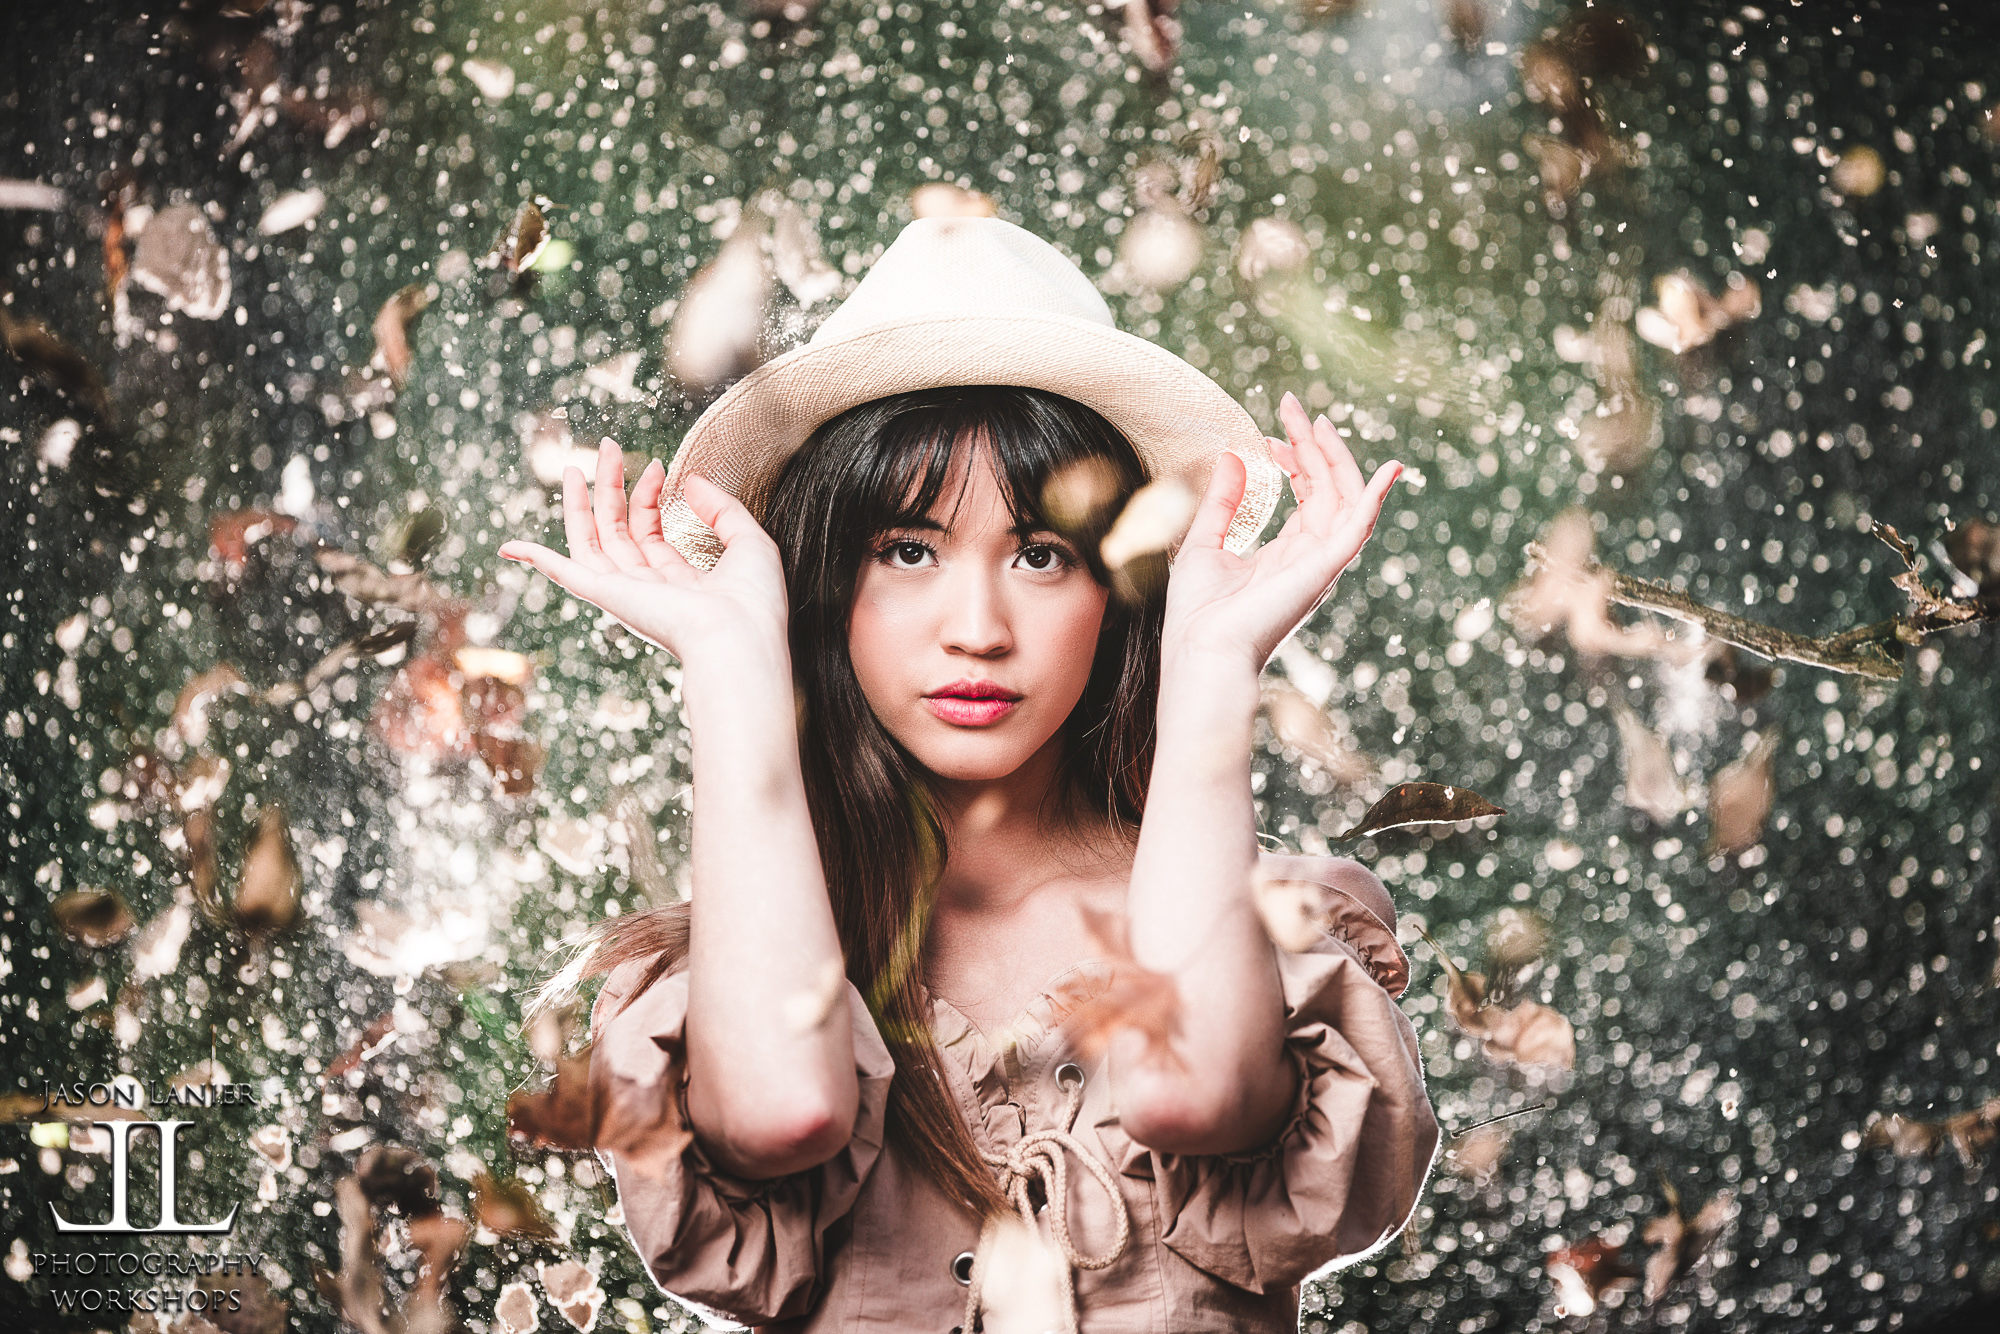
And THEN I decided to add some ambience to the background of the shots by asking the photographers there to throw sand and leaves behind the model (@macanoniii). You’ll also see that I added a rim light to the back of the shot by having a photographer hold the light behind the model to illuminate not just the model, but also all of the particles flying in the air.

Throughout the shoot I used different focusing modes to be able to adequately acquire focus. Did the lens acquire focus as fast and reliably as using the Sony 400mm f/2.8 lens? No. It didn’t.

Is it more than usable in most circumstances if you have the lens and want to use it on a Sony? Yes.

I switched to manual focus and had the lens situated on my model for the last set of shots when a lot of stuff was flying in the air because I didn’t want the lens to hunt for focus and miss the eyes of my subject.

I hope this helps!

If you have any questions about the lens or how it performed make sure to notate it in the comment section below.

Thanks again for being here and if you like what you see, make sure to check out some more of our posts and videos!

If you’d like to join us at a workshop please visit www.jasonlanier.com/register.

We also do a podcast called Jason Lanier Unfiltered that you can find on iTunes, Spotify and more.

Thanks again for stopping by!

Jason

6 Comments

CHEAP Lens Challenge- Shooting the Sony FE 50mm with the Sony A6500 in a train

16 Comments

CHEAP Lens Challenge- Shooting the Sony FE 50mm with the Sony A6500 in a train

I'm blessed....I'll admit it.  I work hard for what I've achieved, but I'm very grateful and humbled that I get to shoot with some of the best lenses in the world.  I've shot with Zeiss, Sony G Master, Sony Zeiss and many more.  I've also shot with nearly all of the Canon L lenses and many Nikon lenses to boot.

So one comment and/or request that I get quite frequently is, "Can you do some videos or shoots with some cheap stuff that the rest of us can afford?  We love seeing your shoots but I'll never be able to afford that stuff."

Fair enough.

I remember the days of saving up income for good amounts of time to be able to afford gear.  I REALLY DO.  Those days aren't too far in my past.  So I decided to start adding (yes I bought them), some cheaper lens options into my gear arsenal so I can represent and reflect all of the photographers that follow my work and my Youtube Channel.

So recently I did a shoot using the Sony FE 50mm with the Sony A6500 inside of an old train. The shoot was quick as we had only 15 minutes to complete it.  I think that's a good thing because it shows you what was able to be created without an elaborate setup or time that could honestly make the lens look better than it is.

**Links to Gear:

*A6500-  

*50mm FE lens-  

*DJI Osmo-  

*Westcott Rapid Box XL-  

If you haven't already please take a moment to check out the video that we rolled that will show the focus tests, the shots using natural and artificial light and more.  The video explains much more than I can properly articulate here in a blog post, so I kindly invite you to watch it now.  

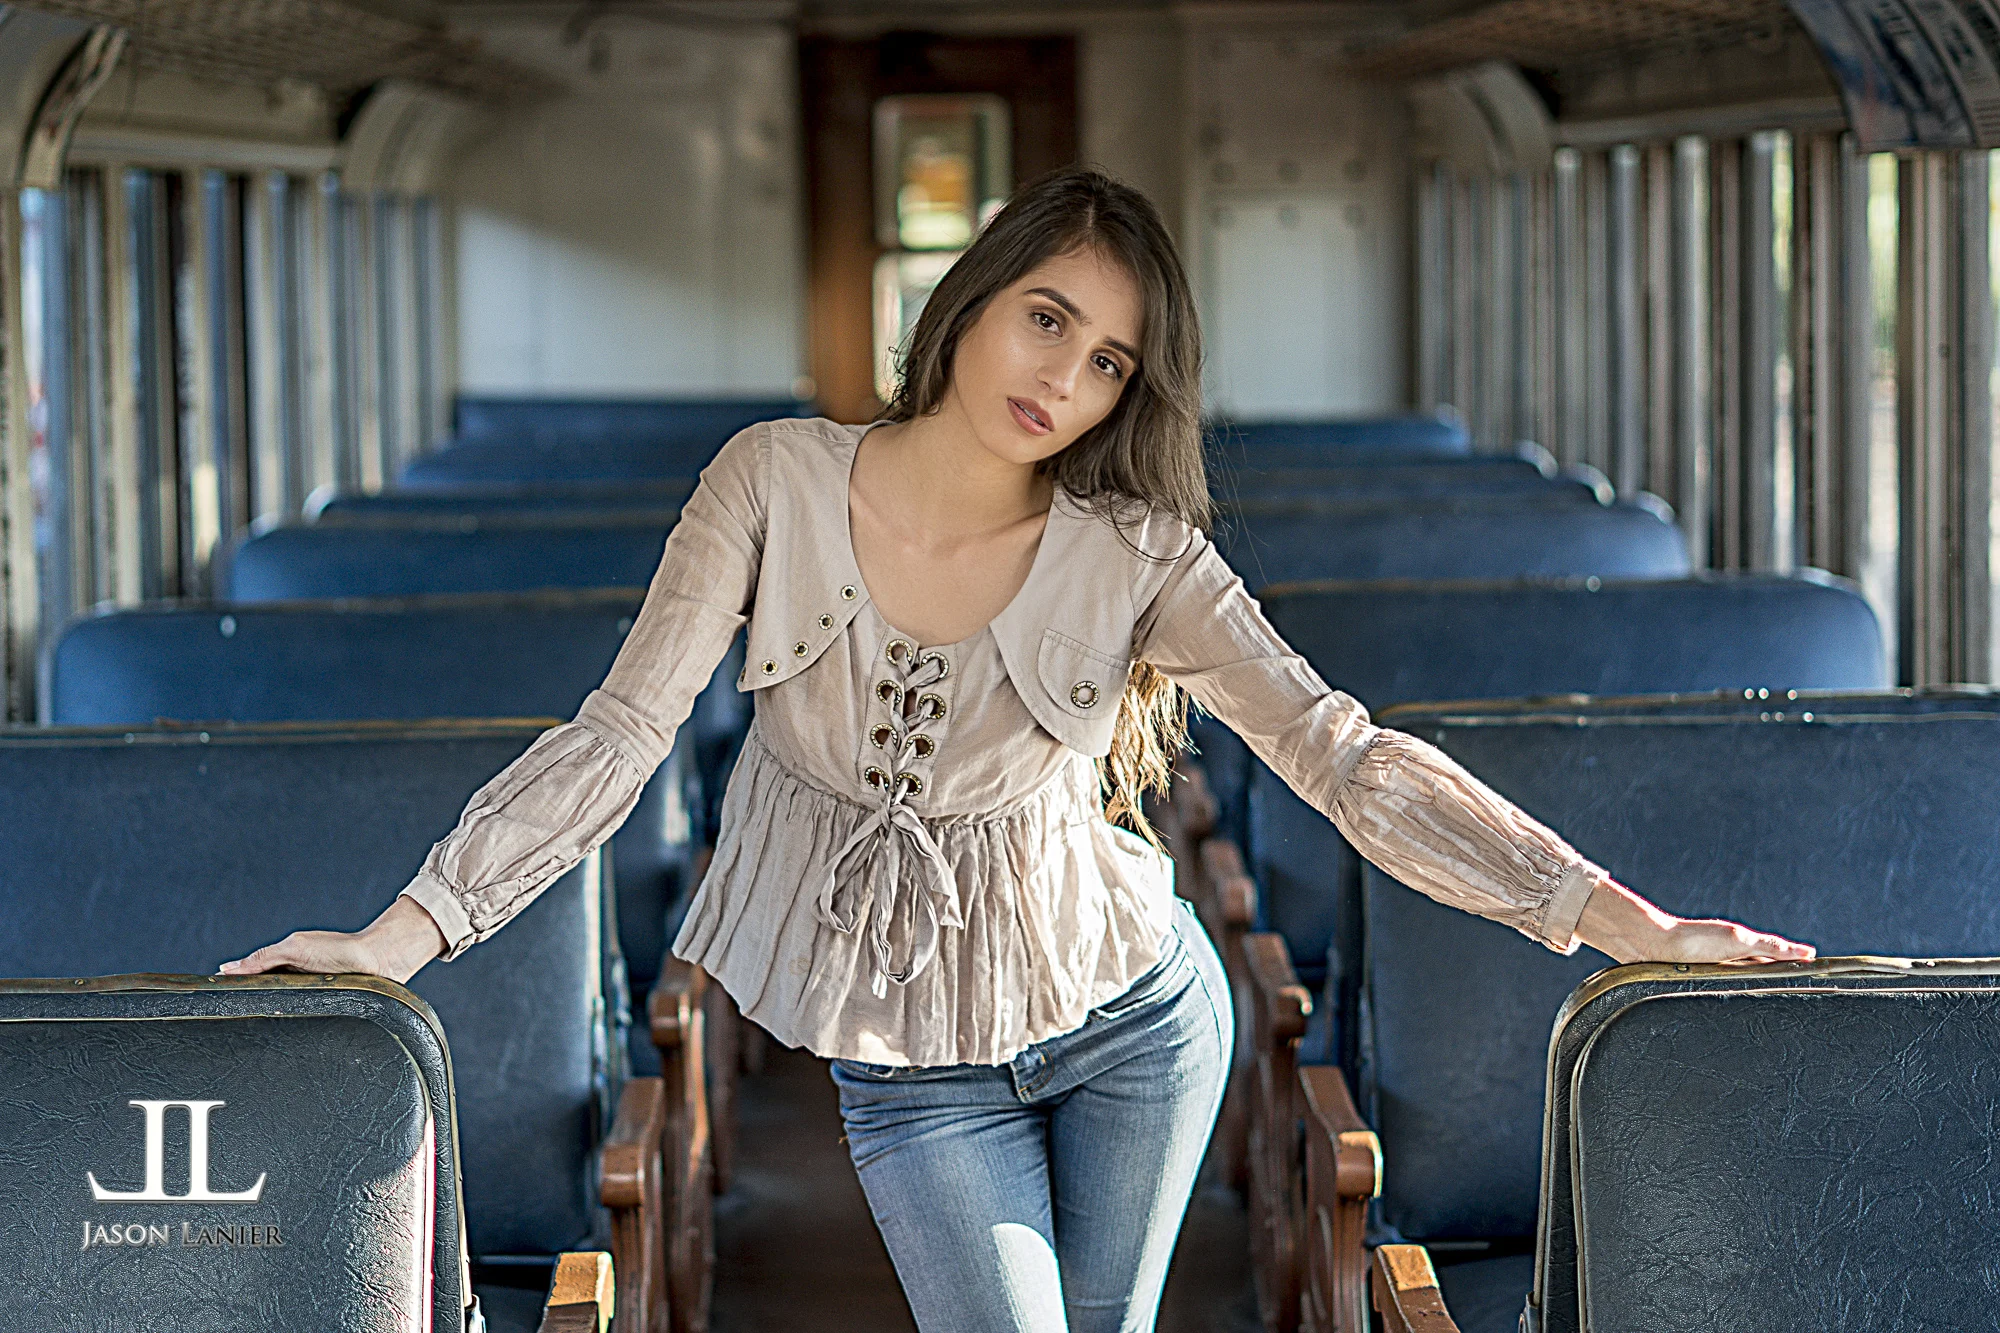
For those who have already watched it you'll know that for $200, I think it's a pretty sweet little lens that is a welcome budget friendly addition to the Sony mirrorless lens lineup.  Below are the shots taken at the shoot.  All of them have been edited using Lightroom and Photoshop.  I hope you enjoy...:)


The model is the beautiful Cassandra Caballero.  Please let me know what questions you have...and thank you for watching!!

Jason

16 Comments

What Pro Photographers Images Look Like Raw, Unedited or with Lightroom Edits Only

5 Comments

What Pro Photographers Images Look Like Raw, Unedited or with Lightroom Edits Only

So I get asked a lot about my images and work.  People wanna know how much of it is editing vs. what I capture in camera.  While I'm not opposed to photographers editing their images, I do take great pride in what I'm able to capture and create in camera vs. relying on post processing wizardry.  There's something so old school about creating it in camera.  I personally feel it's more gratifying and is also a greater challenge.

Maybe I get this attitude due to the fact that my roots are based in being a landscape photographer.  That's why I've always incorporated so much of nature into my work.  So from time to time I'll create posts and videos where I not only show my finished work, but also my completely unedited raw and straight out of the camera work as well.  Now for those wondering I won't be posting my raw files onto these posts.  Why?  Because I don't want other people taking my work and editing it for their use or pleasure.

Sometimes folks post raw shots for others to see.  But those are for the viewer to get a look at how a lens or camera performs for example.  Or the shot is posted so people can download it and try a certain photoshop technique.  This isn't that kind of a post.  This post is about showing how much I capture in camera vs. what I create afterwards and I hope it helps to shed some light on what I do.

To start off I pretty much use Lightroom for ALL of my work.  This is largely in part to time.  I'm not opposed to Photoshop in any way and kudos to those who choose to use it for their work.   But with a full time photography company and full time Youtube Channel, I just need the streamlined workflow of Lightroom to get my work done quickly.  The only times I would use Photoshop would perhaps be for images being submitted to a competition etc.  The work you see on Youtube and on my website is all Lightroom only.
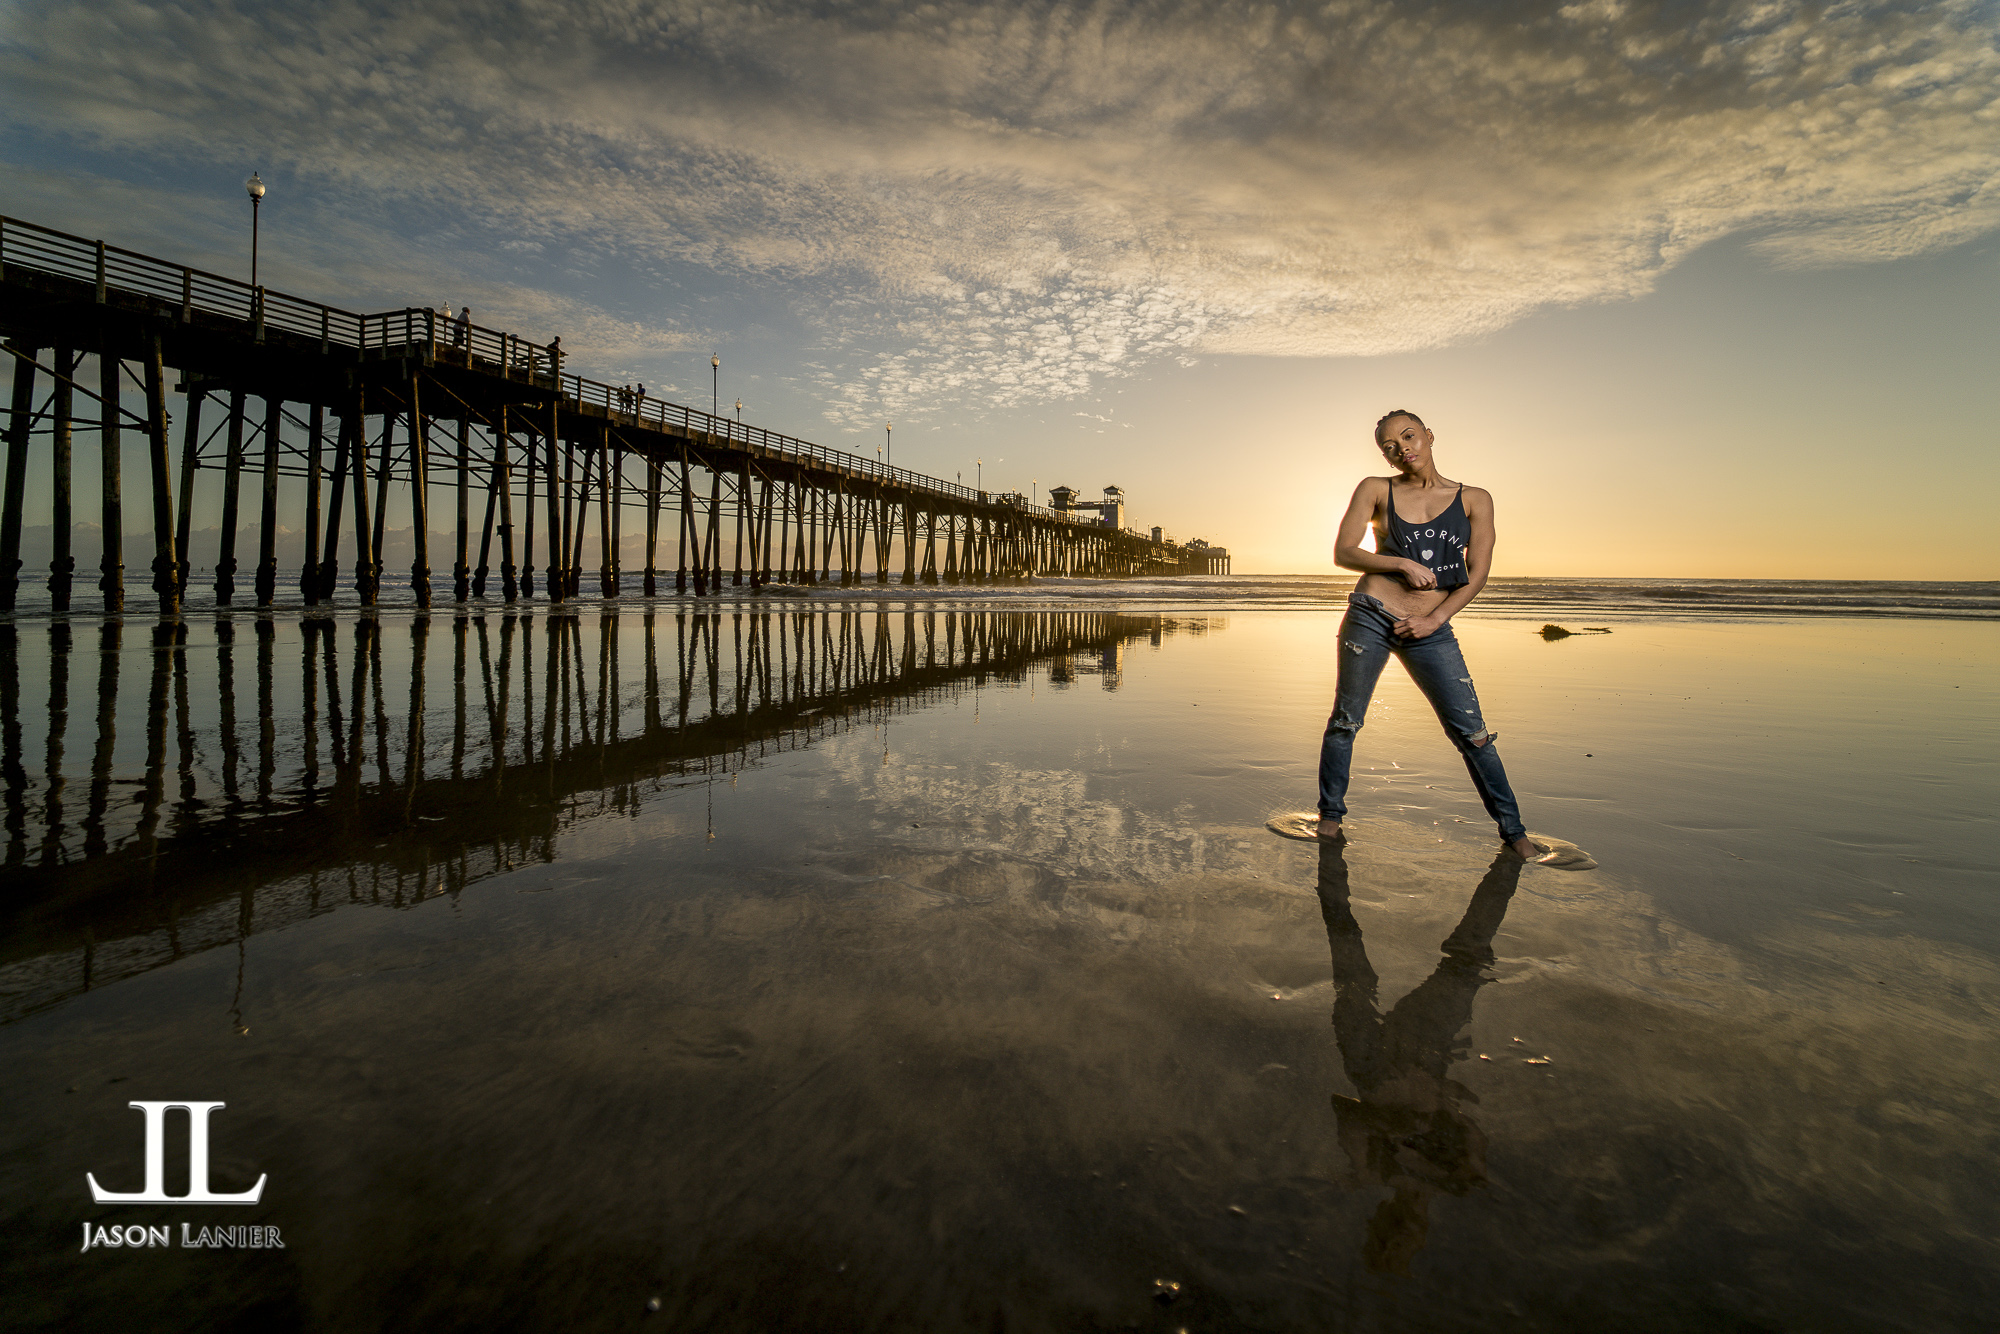
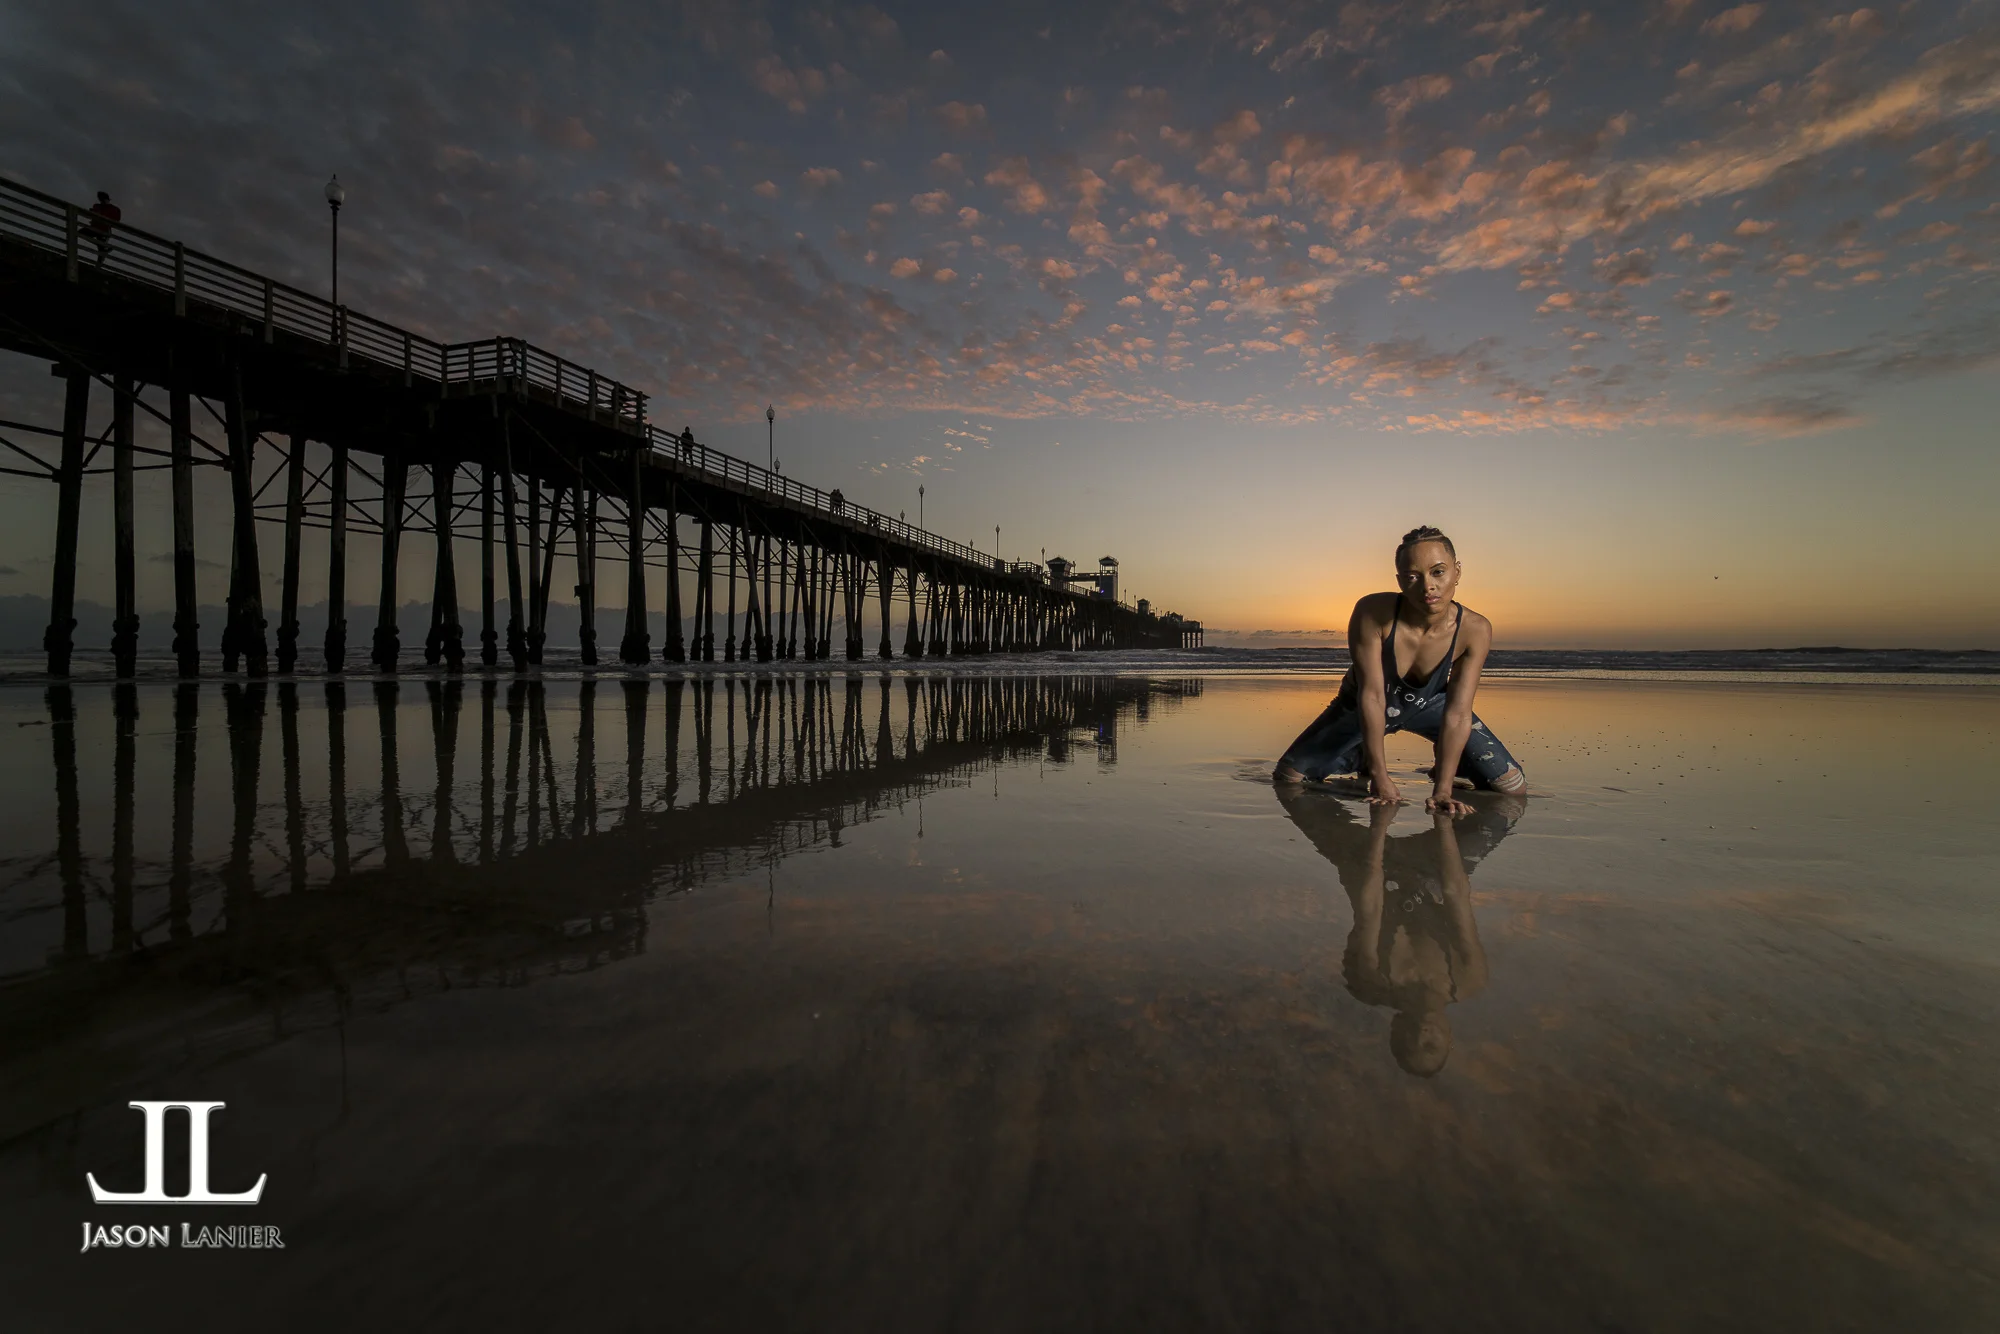
So I did this shoot with a beautiful model named Jazmen Parker in Oceanside, California.  I used the Sony A7Rii with the Rokinon 14mm f/2.8 lens.  I used the Flashpoint Xplor600 in High Speed Sync for off camera flash.

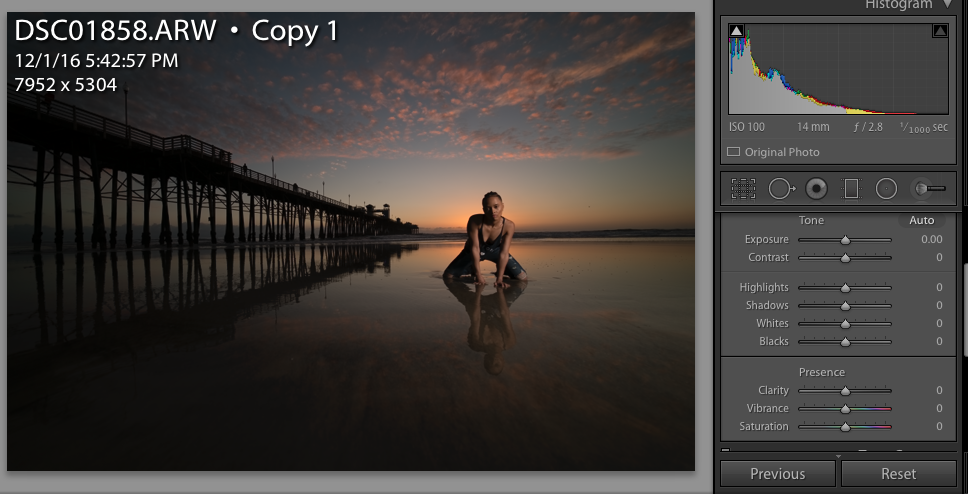
To be able to illustrate how my shots look in Raw I did screen captures of select images from the shoot while open in Lightroom.  These shots are seen in the gallery below:

I then exported these same shots as shown in the screen captures as completely unedited (SOOC) jpegs.  This gallery is below:

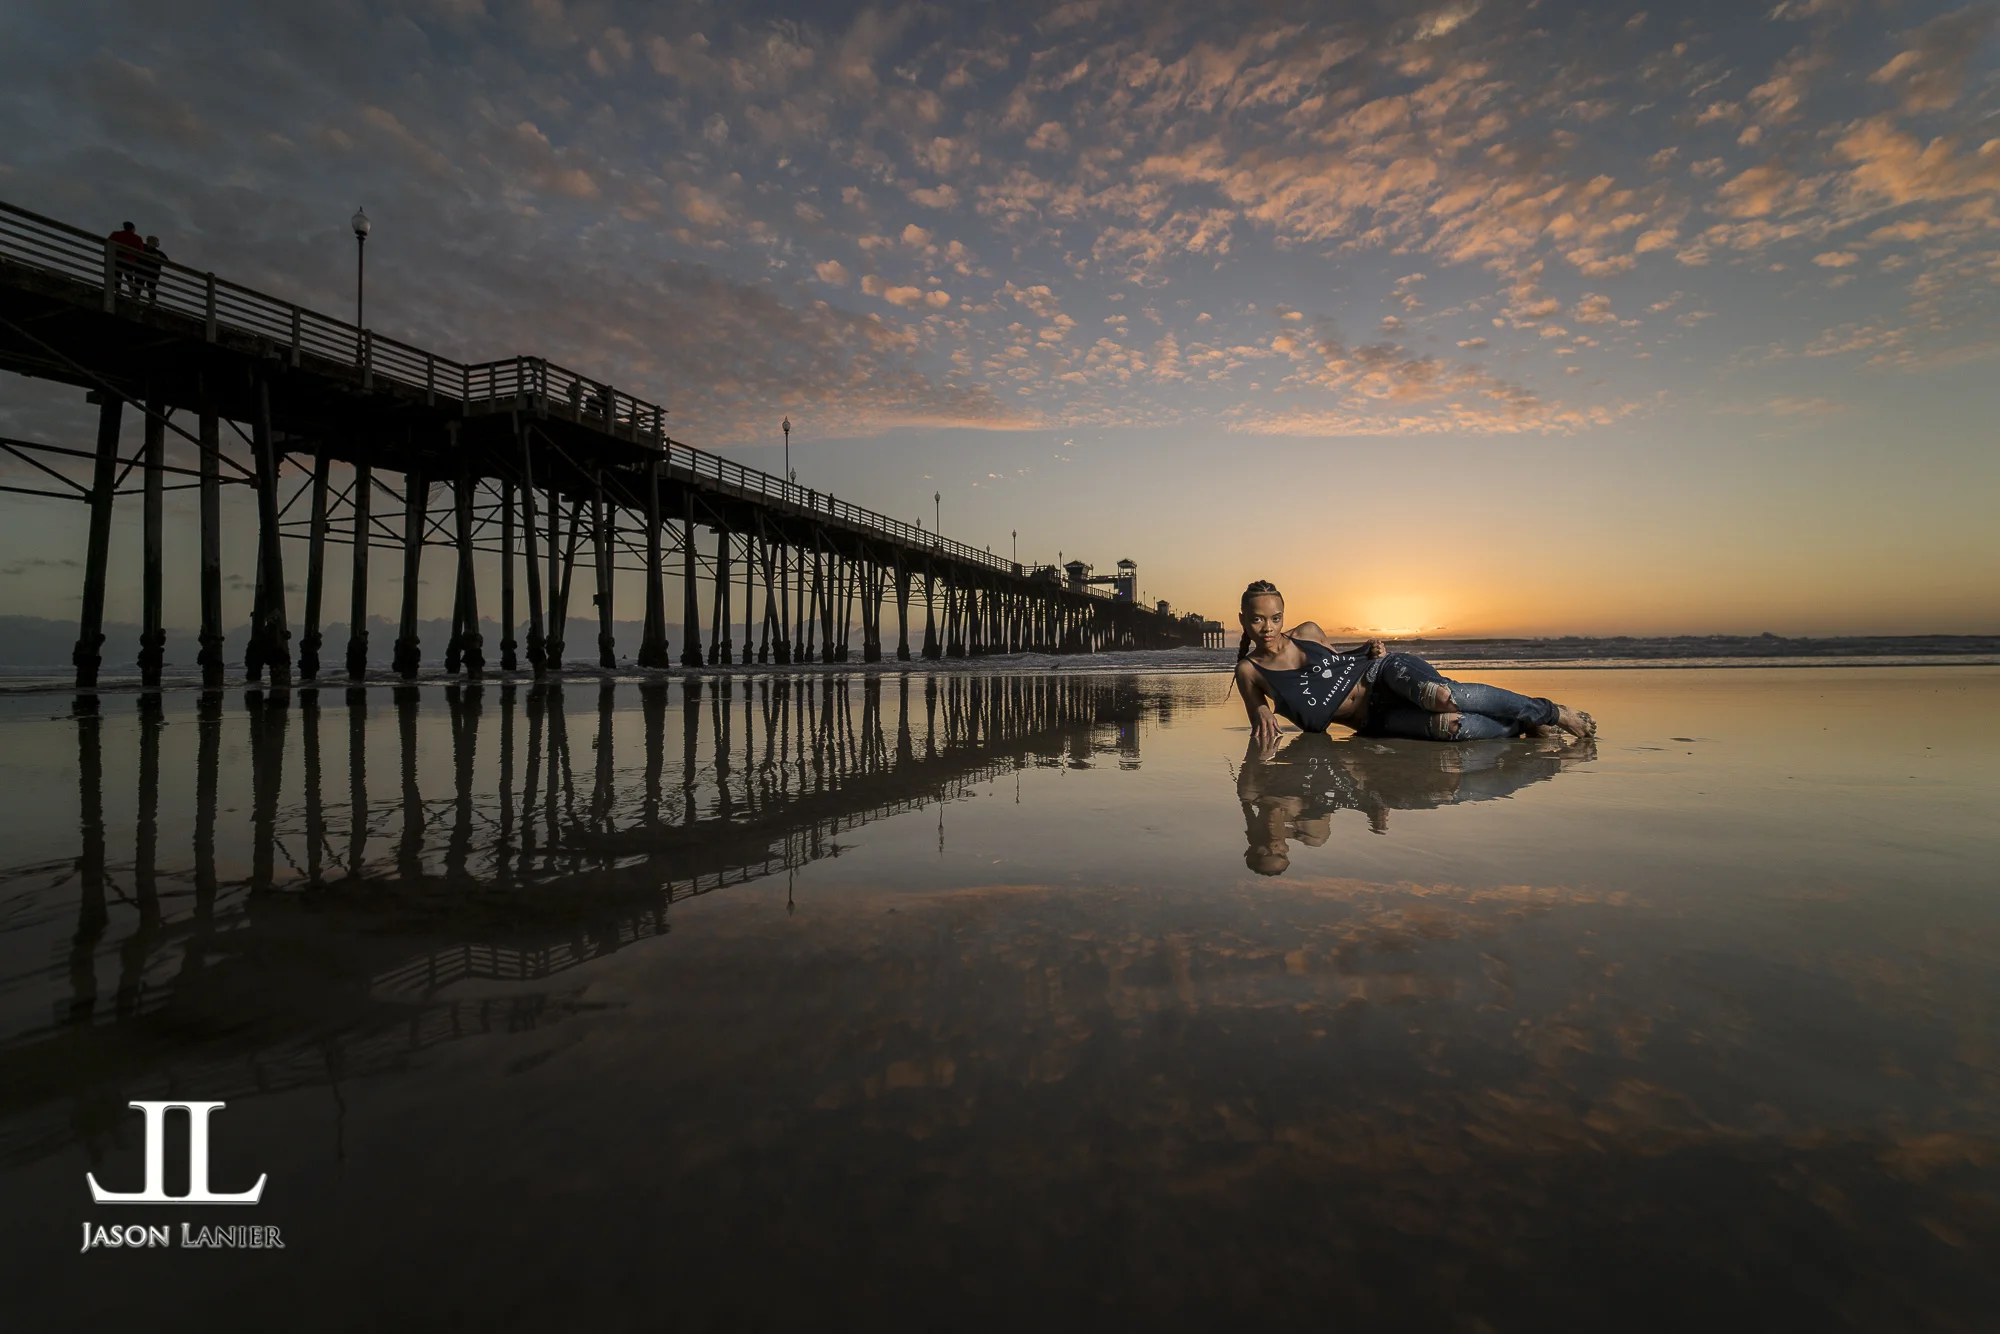
And here are my shots that were edited using Lightroom only

I truly hope this post helps to shed a little light on what images look like out of the camera for a professional photographer.  Links to gear are included below:

**Links to Gear:

*Sony A7Rii-  

*Rokinon 14mm f/2.8-  

*Flashpoint Xplor 600-  

*Westcott Rapid Box XL-  

Jason

5 Comments