Jason Lanier 8/17/18 Jason Lanier 8/17/18 11 Essential Tips To Wedding Photography for Lead and Second Shooters by Jason Lanier Read More Jason Lanier 1/2/17 Jason Lanier 1/2/17 Groom Getting Ready and Groom Portraits at a REAL Indian Wedding Workshop Read More Jason Lanier 12/19/16 Jason Lanier 12/19/16 Using the Sigma MC-11 Adapter with Sigma and Canon Lenses Read More Jason Lanier 12/15/16 Jason Lanier 12/15/16 Wedding Bridals in Balboa Park Read More
Jason Lanier 8/17/18 Jason Lanier 8/17/18 11 Essential Tips To Wedding Photography for Lead and Second Shooters by Jason Lanier Read More
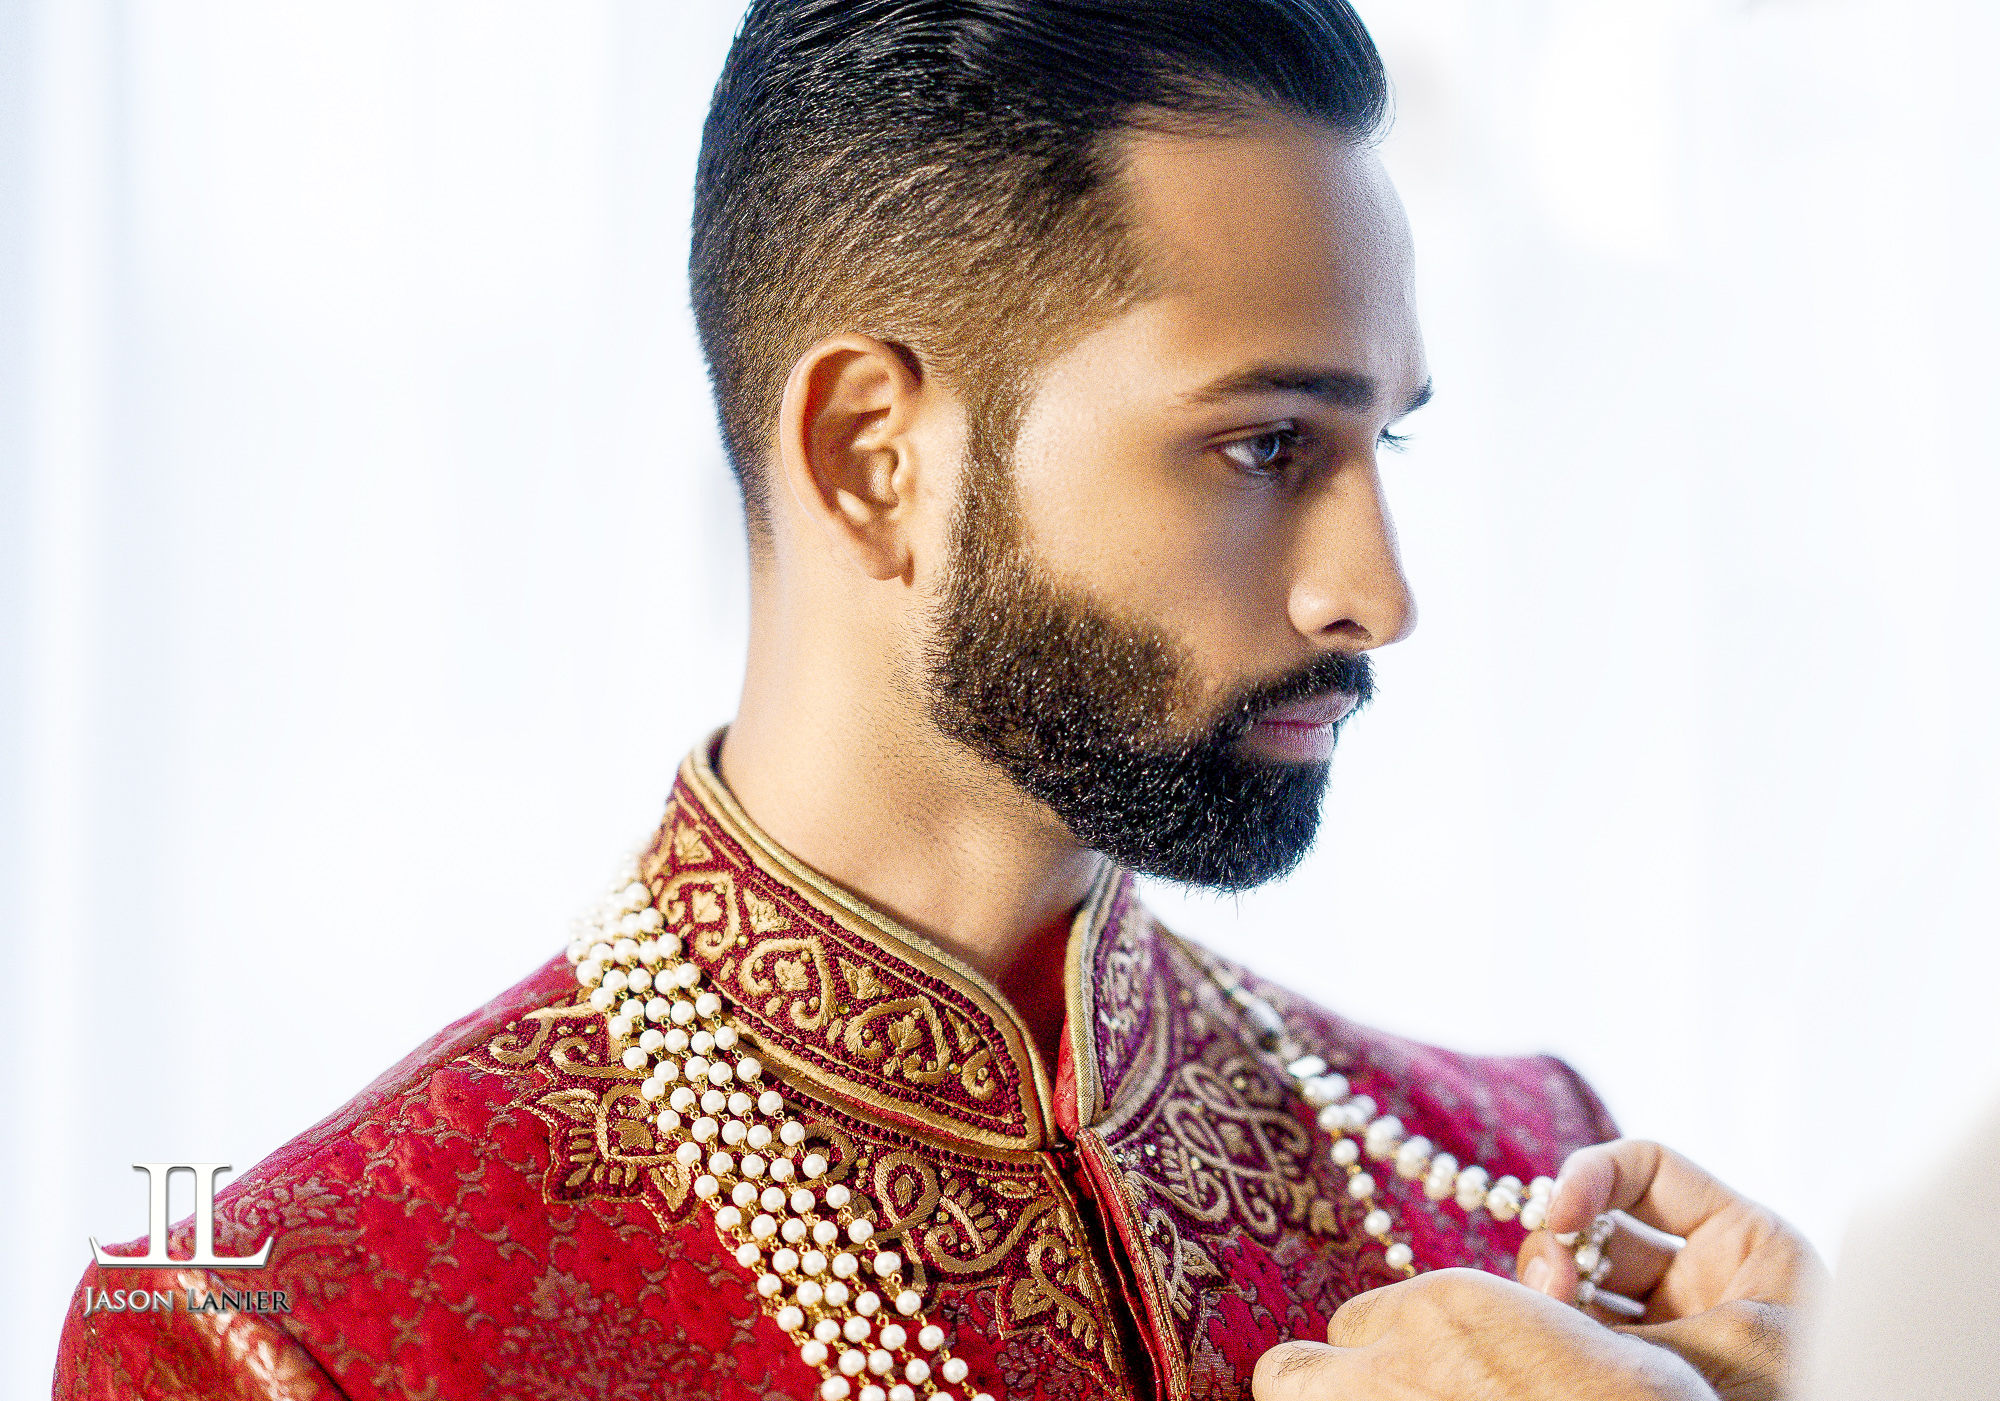
Jason Lanier 1/2/17 Jason Lanier 1/2/17 Groom Getting Ready and Groom Portraits at a REAL Indian Wedding Workshop Read More
Jason Lanier 12/19/16 Jason Lanier 12/19/16 Using the Sigma MC-11 Adapter with Sigma and Canon Lenses Read More