
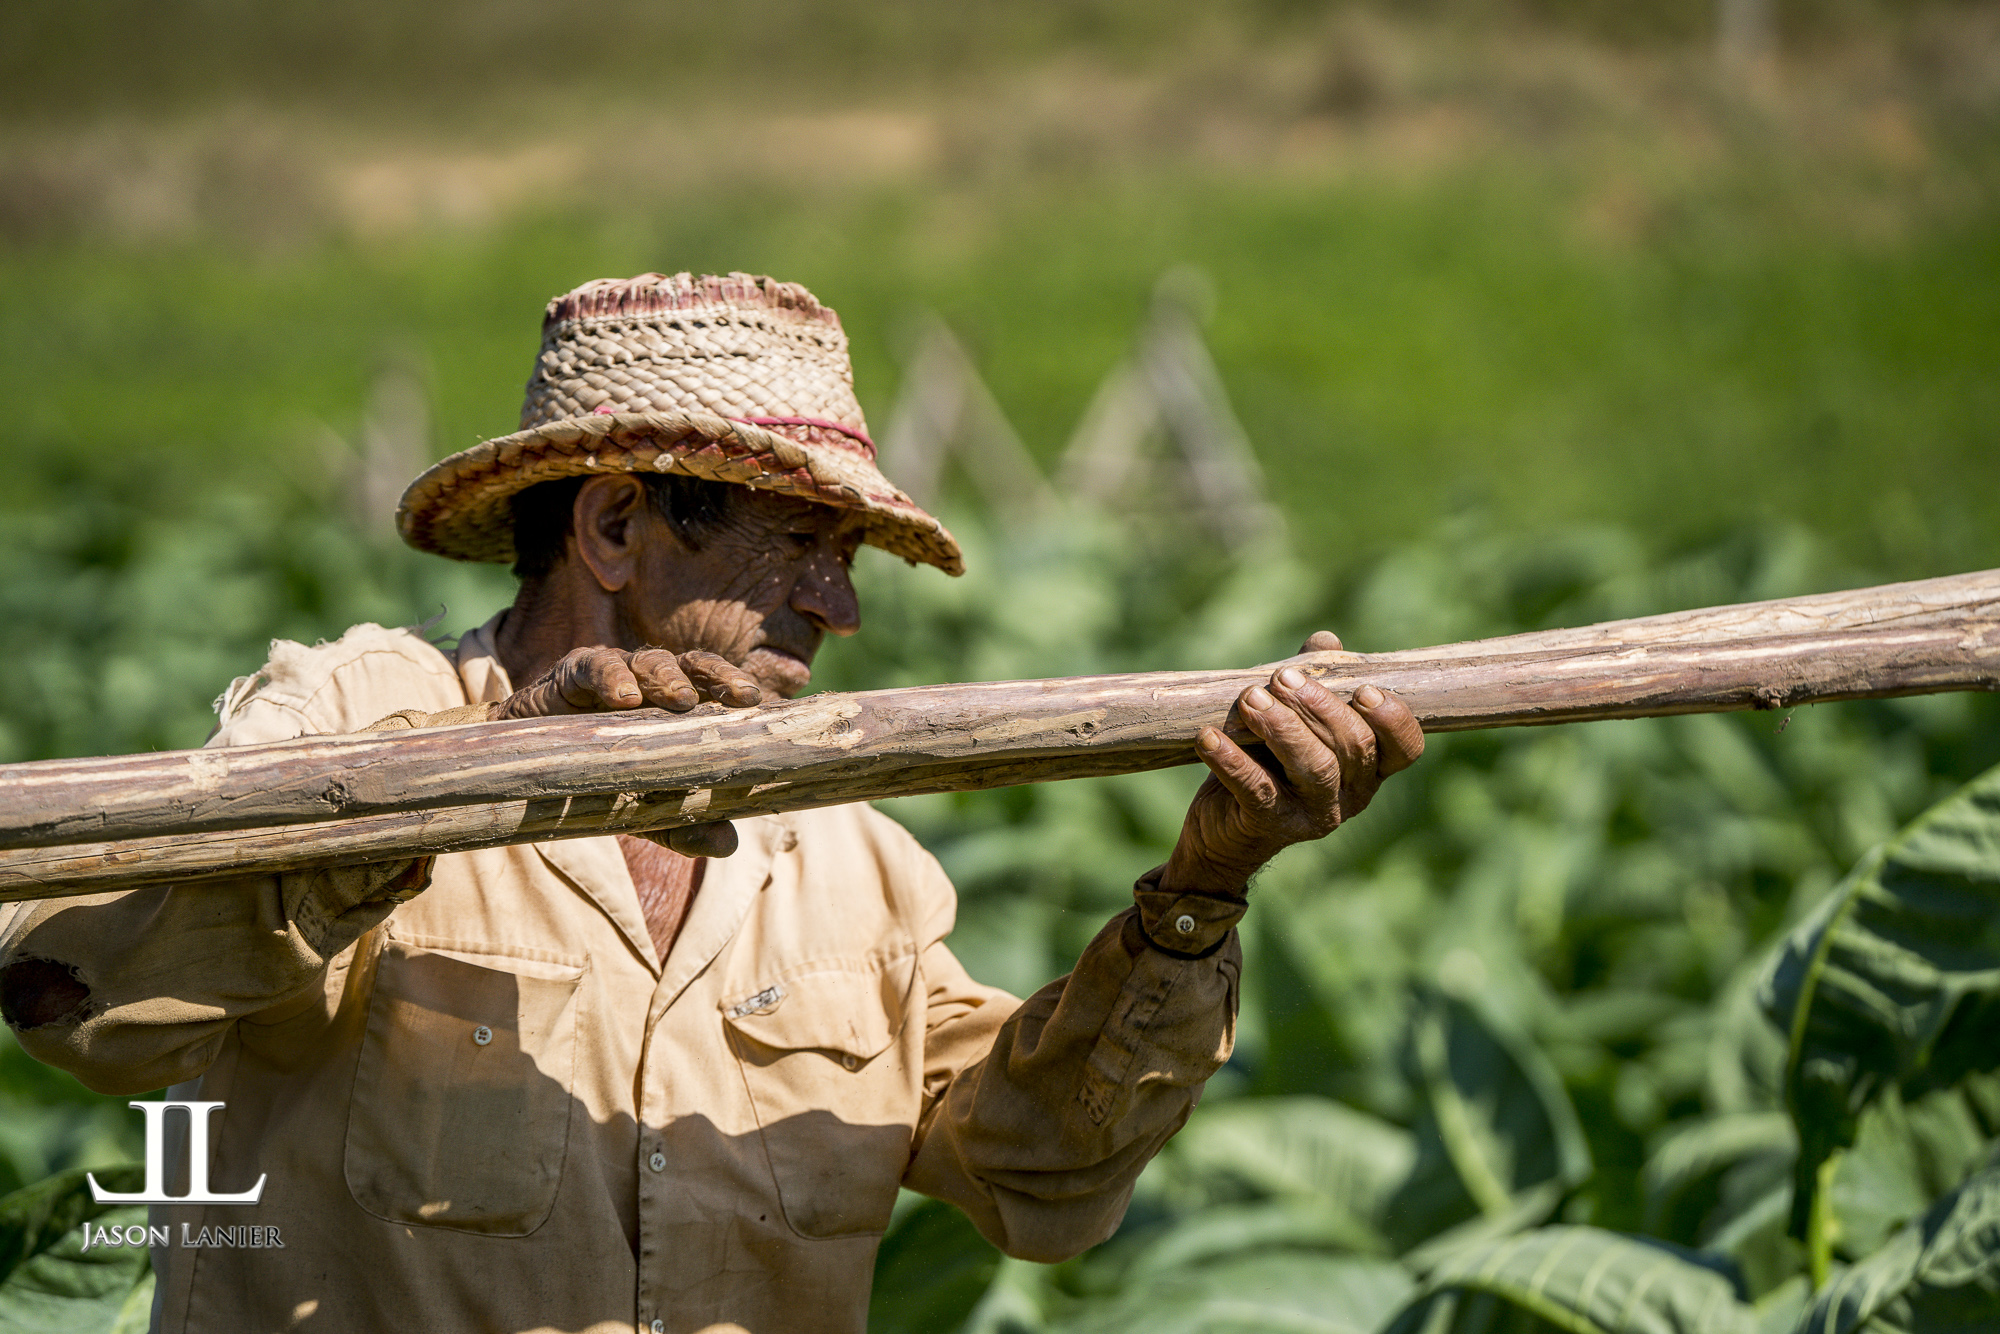
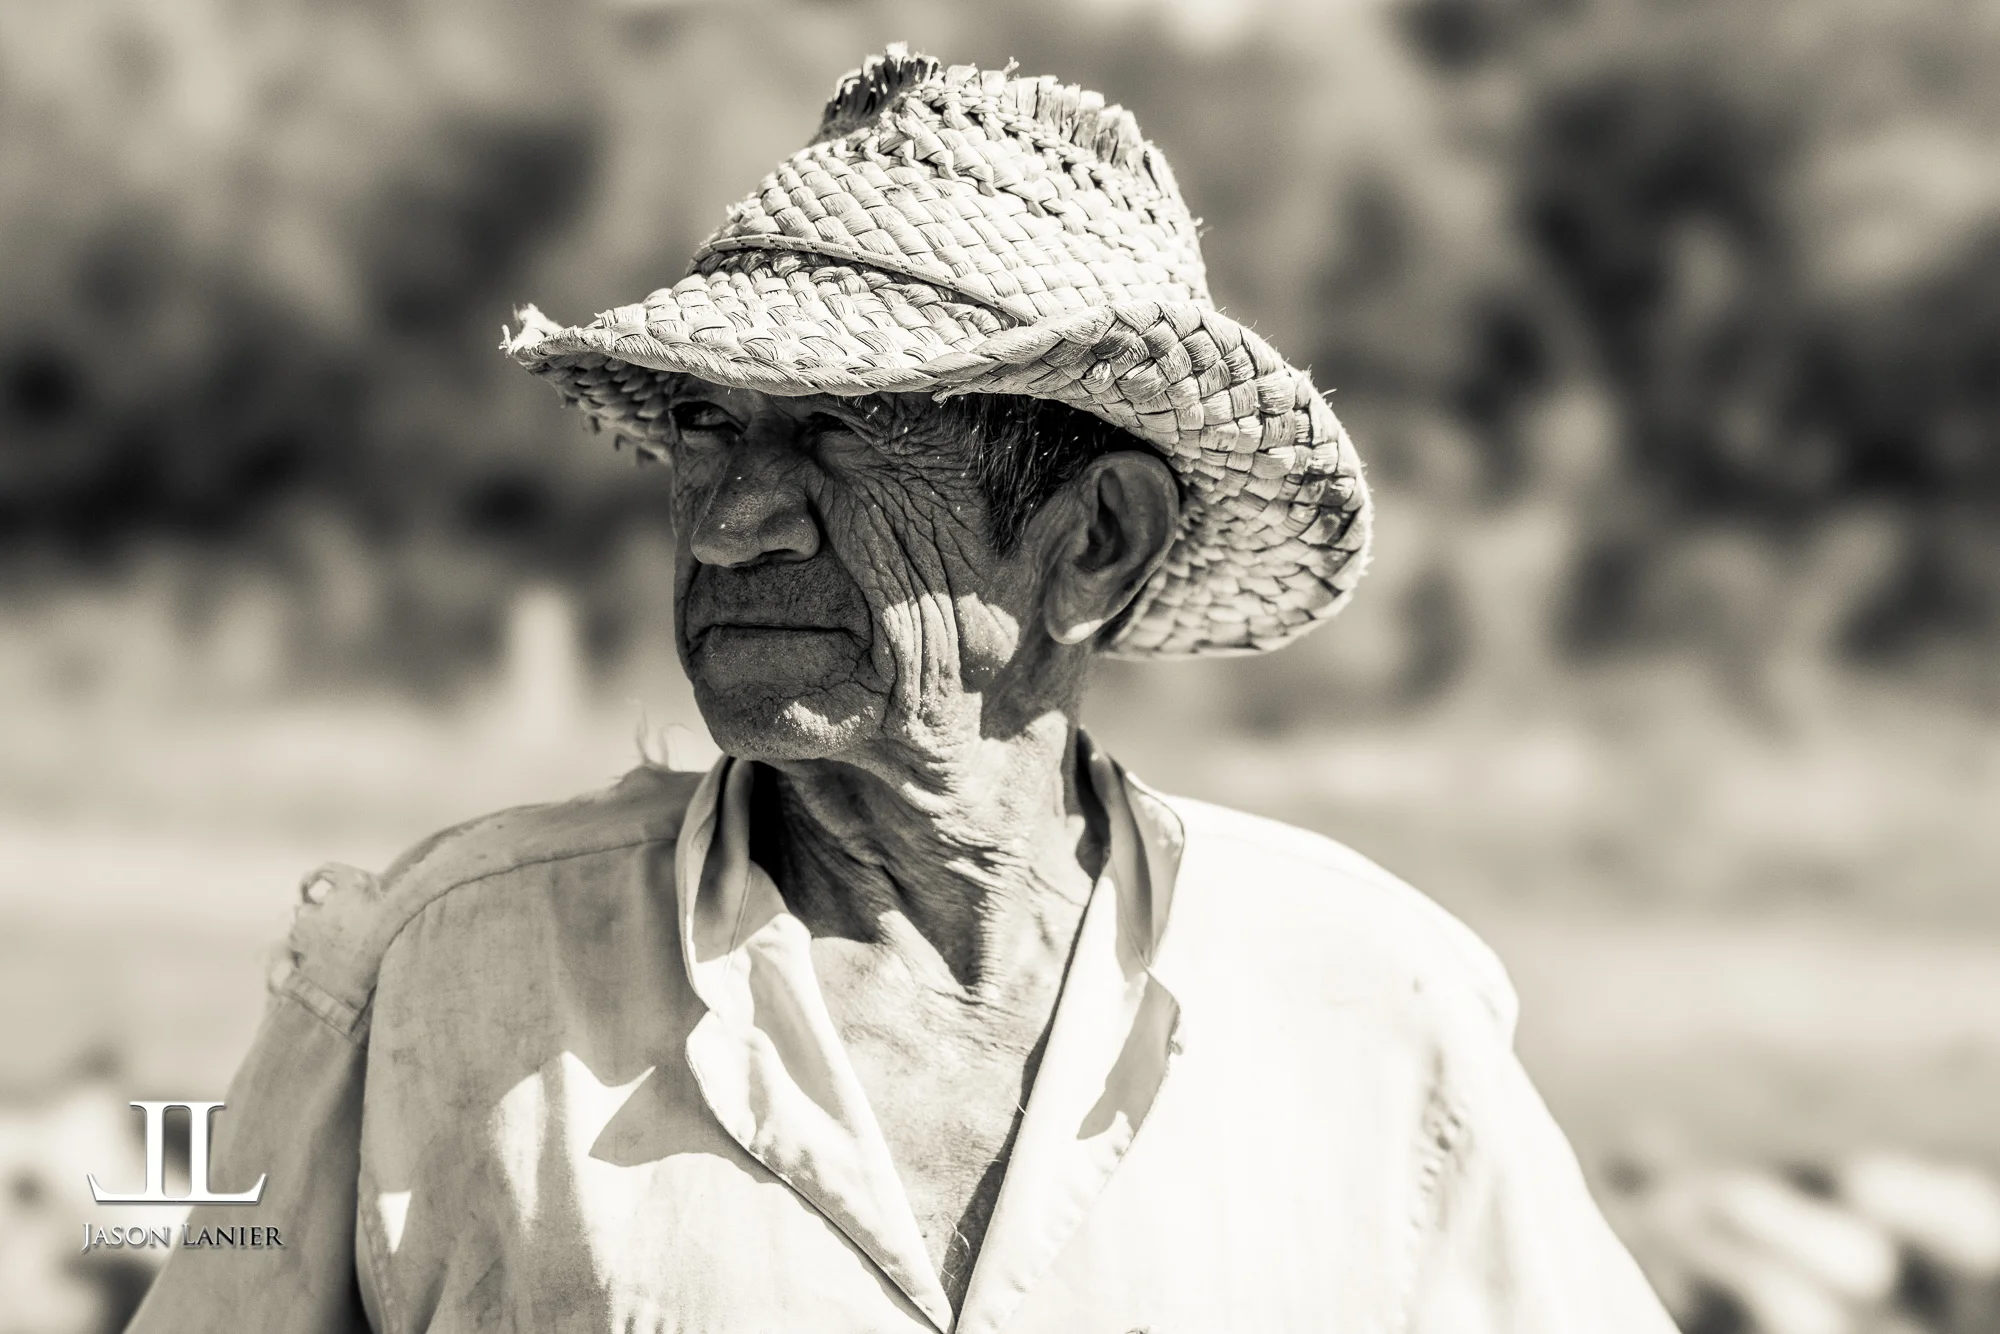
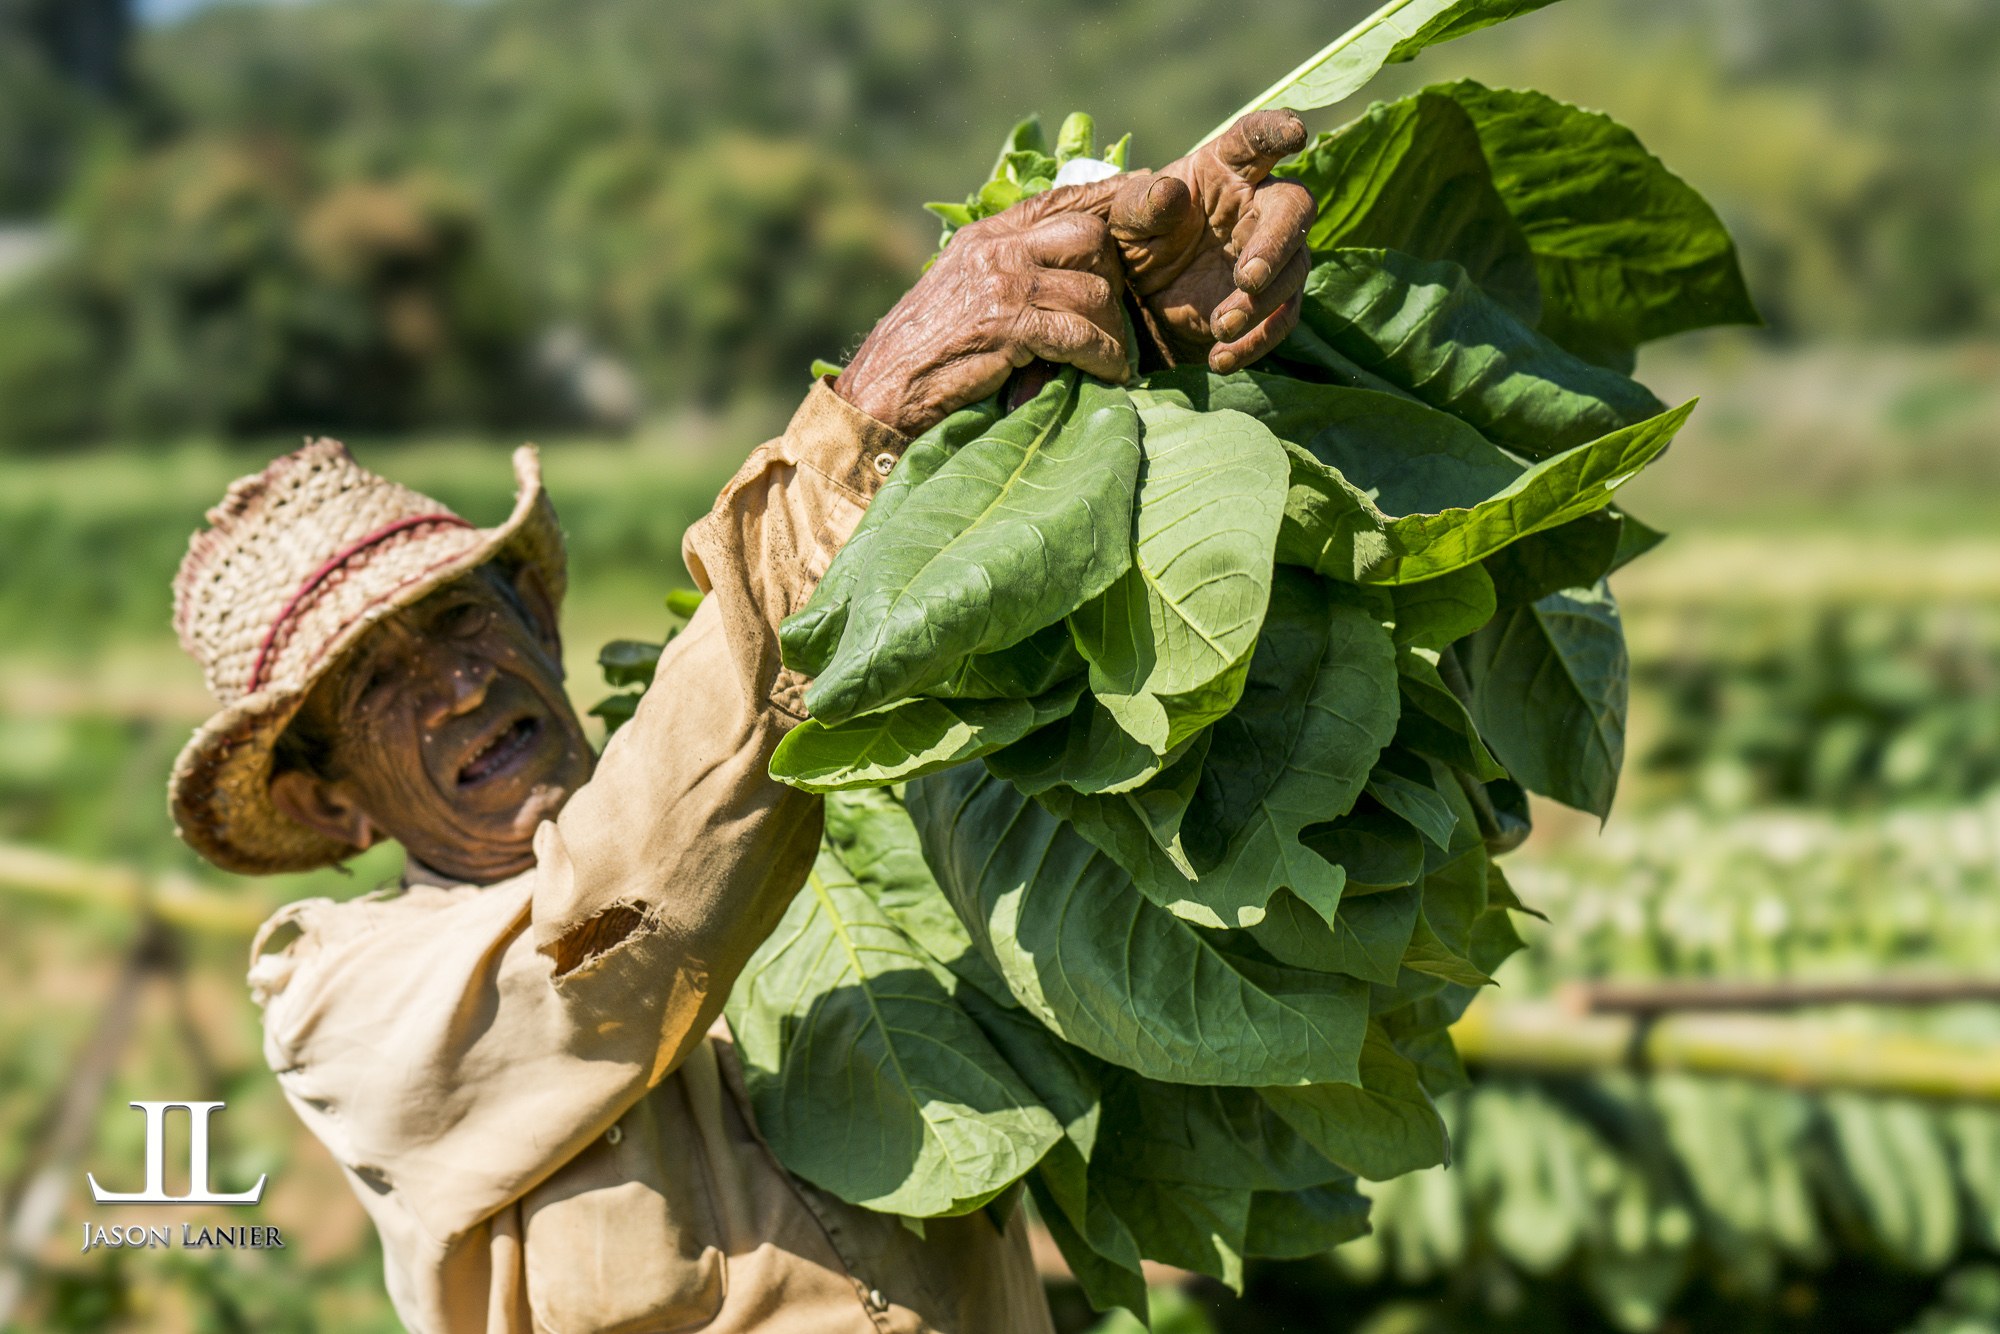
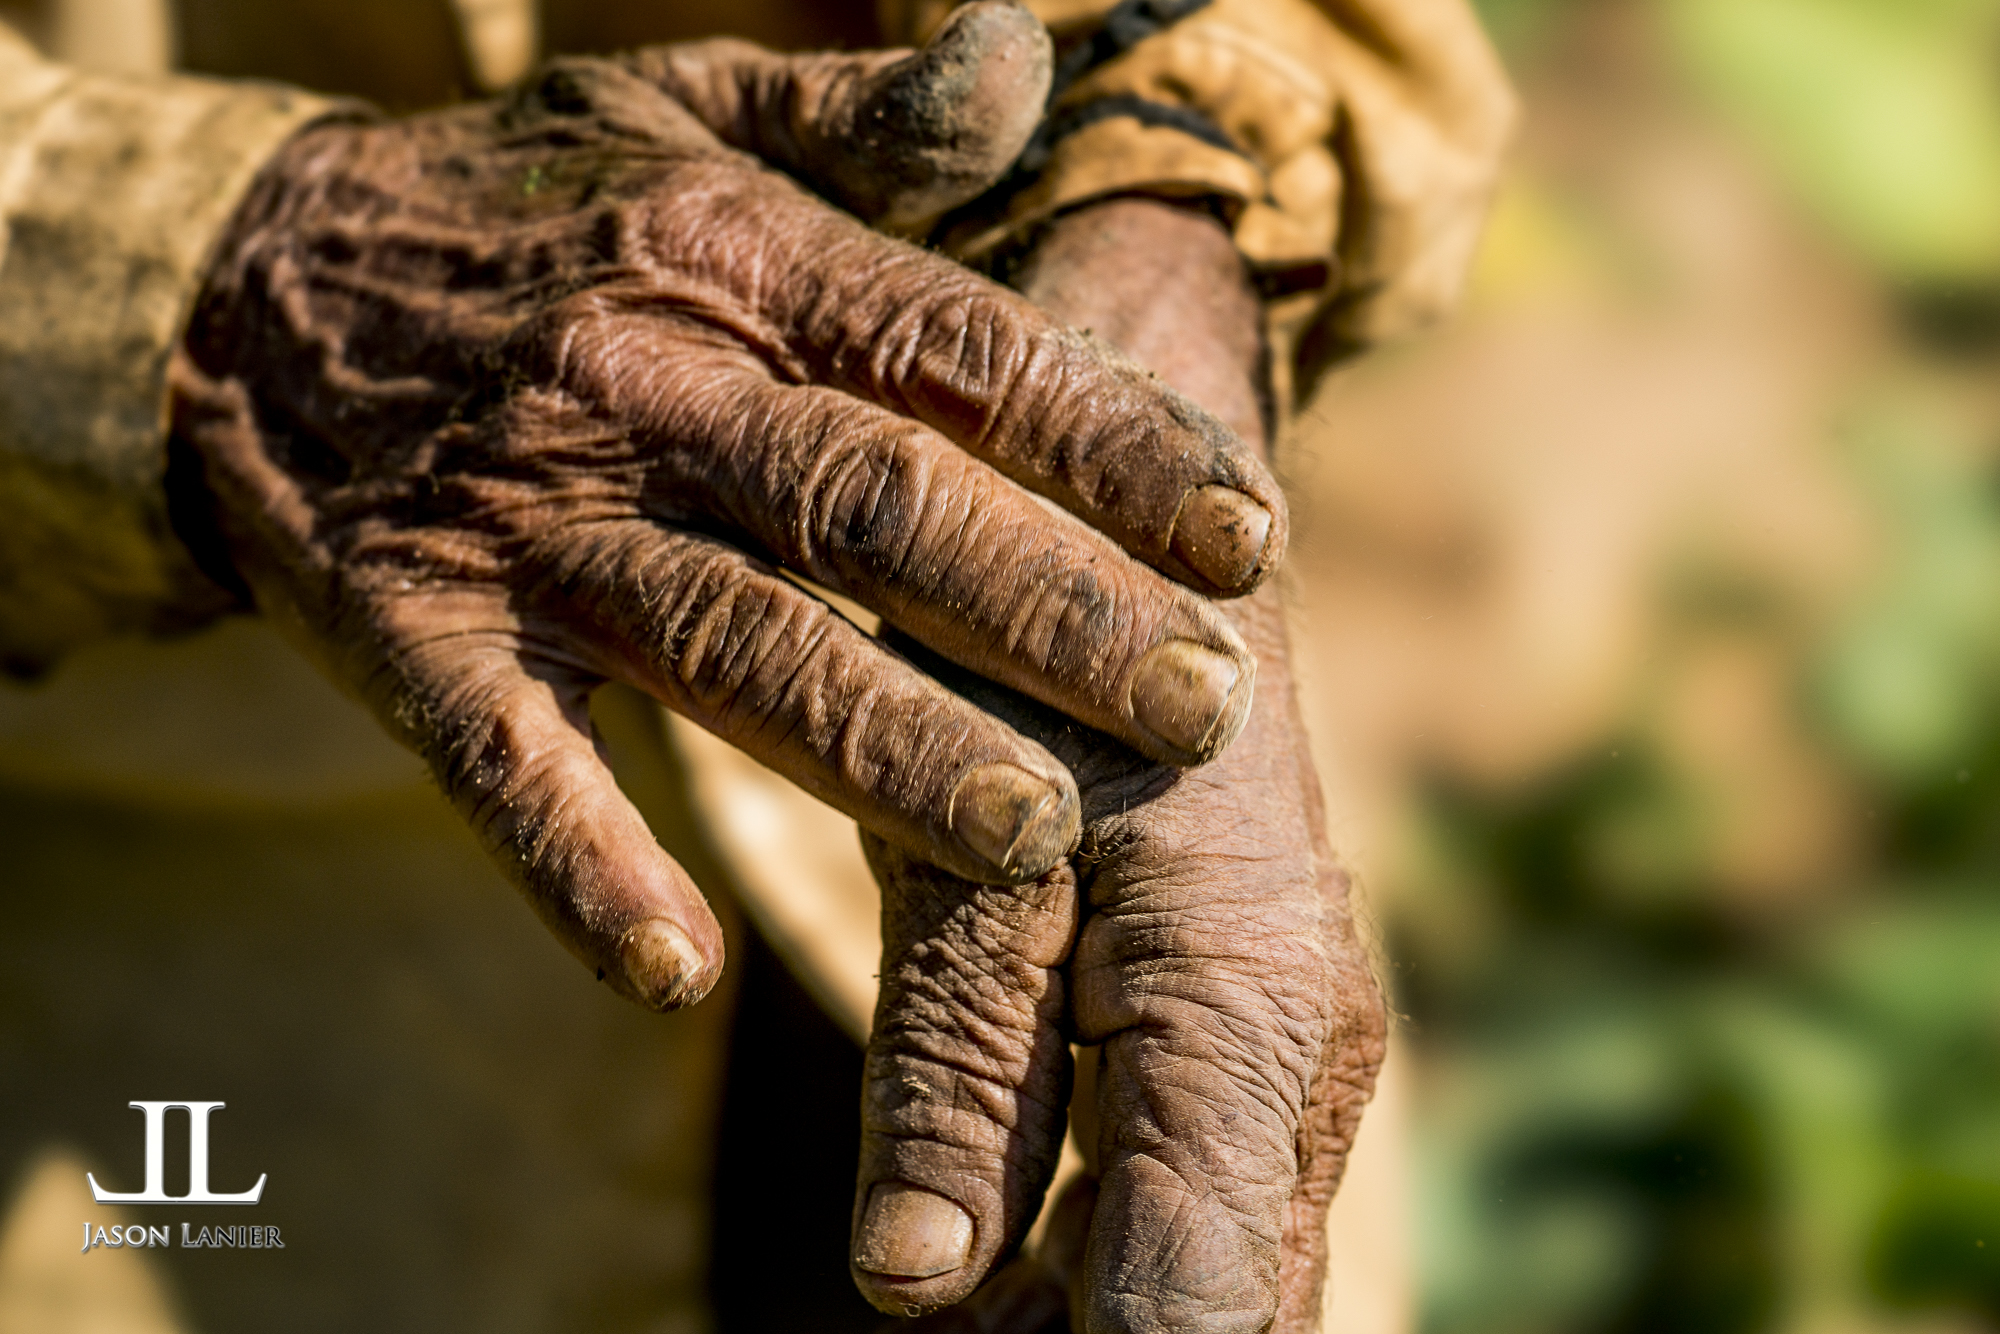
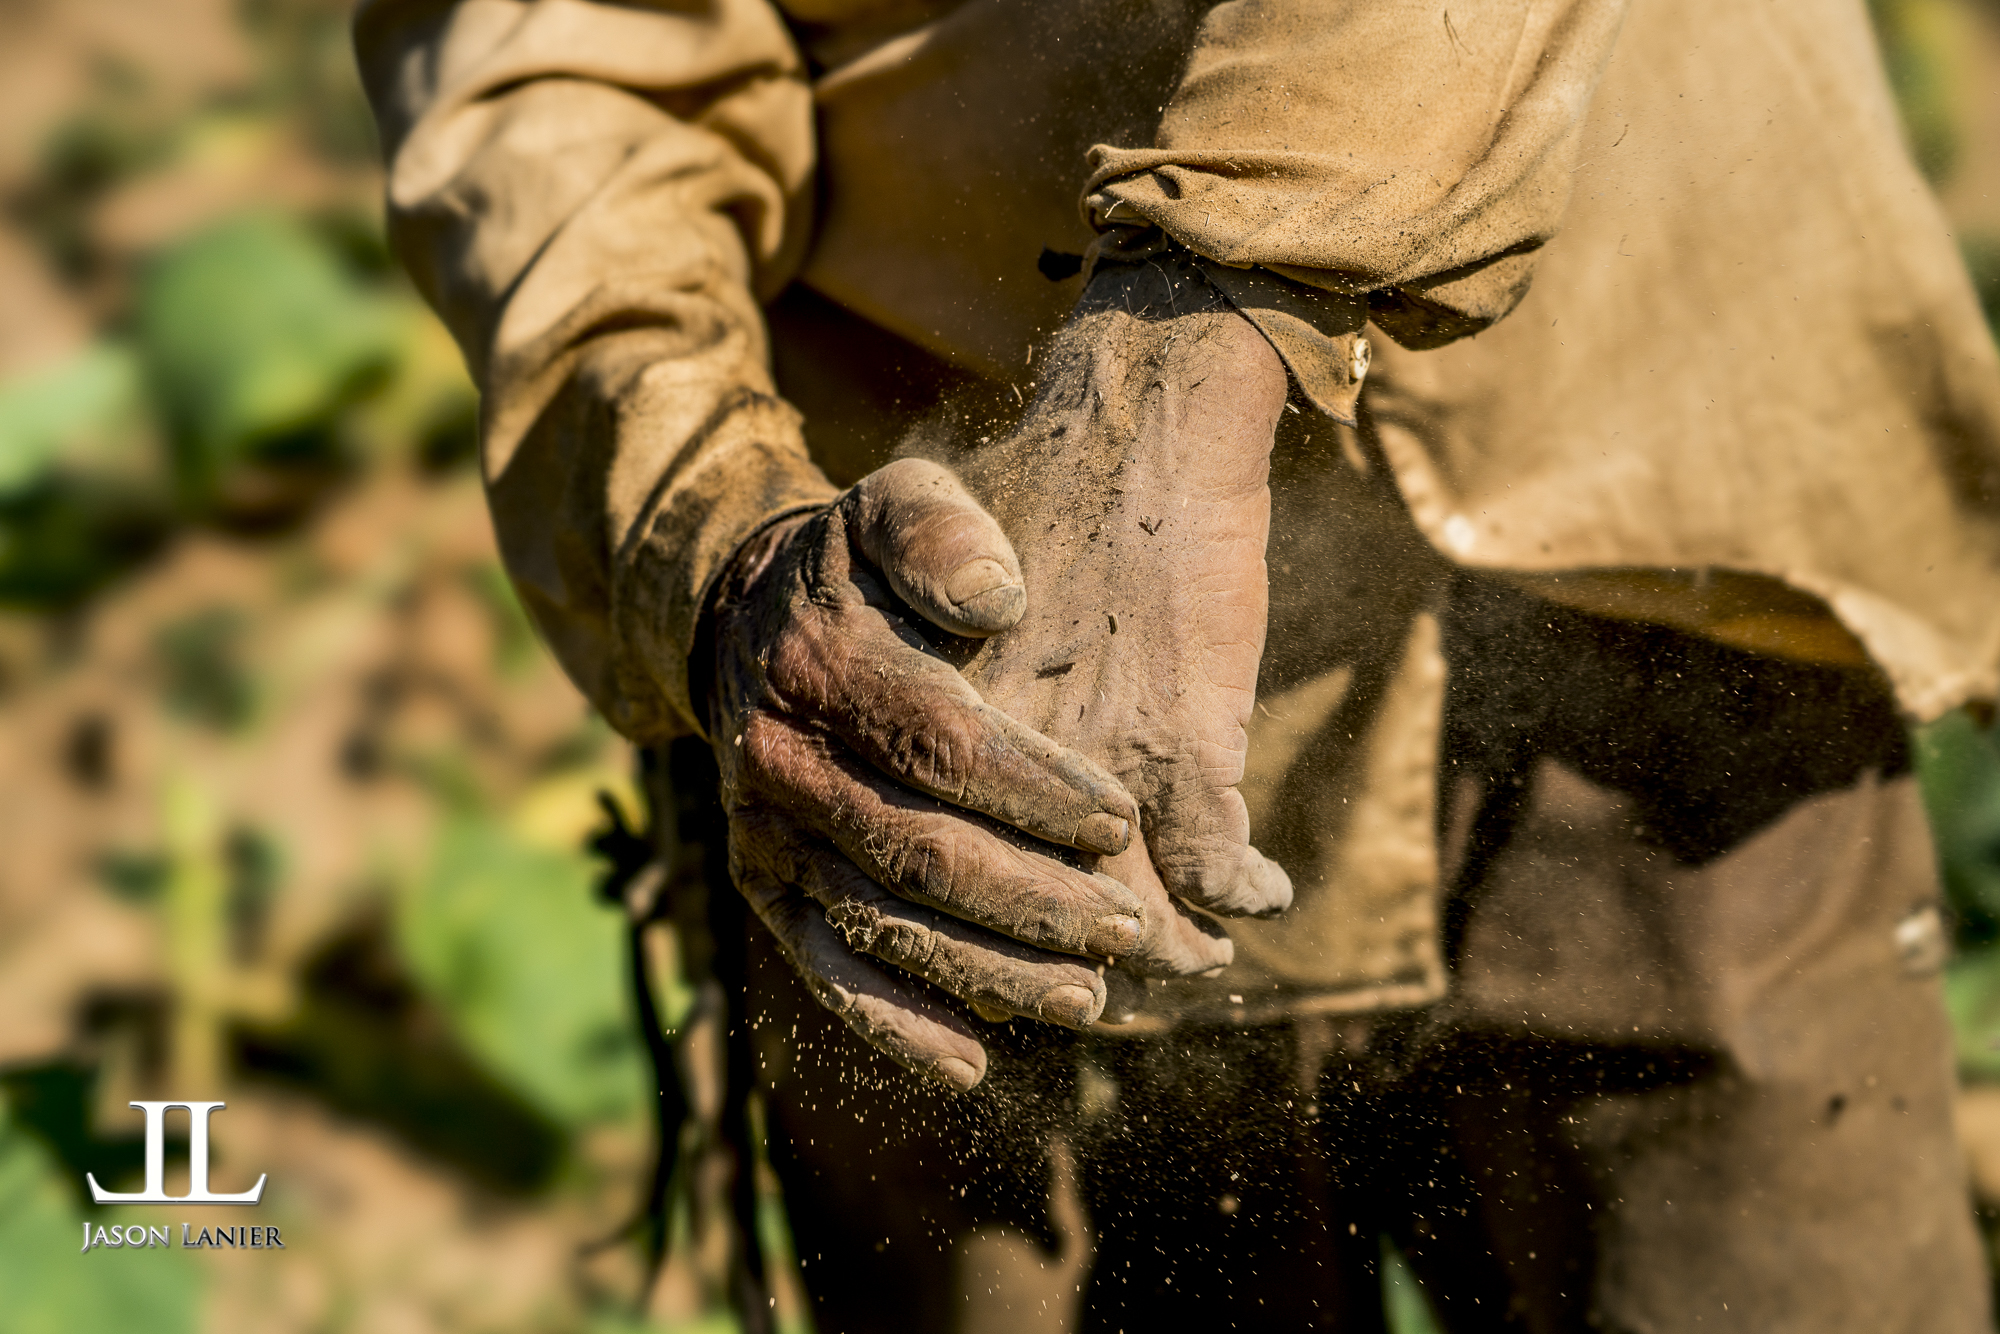
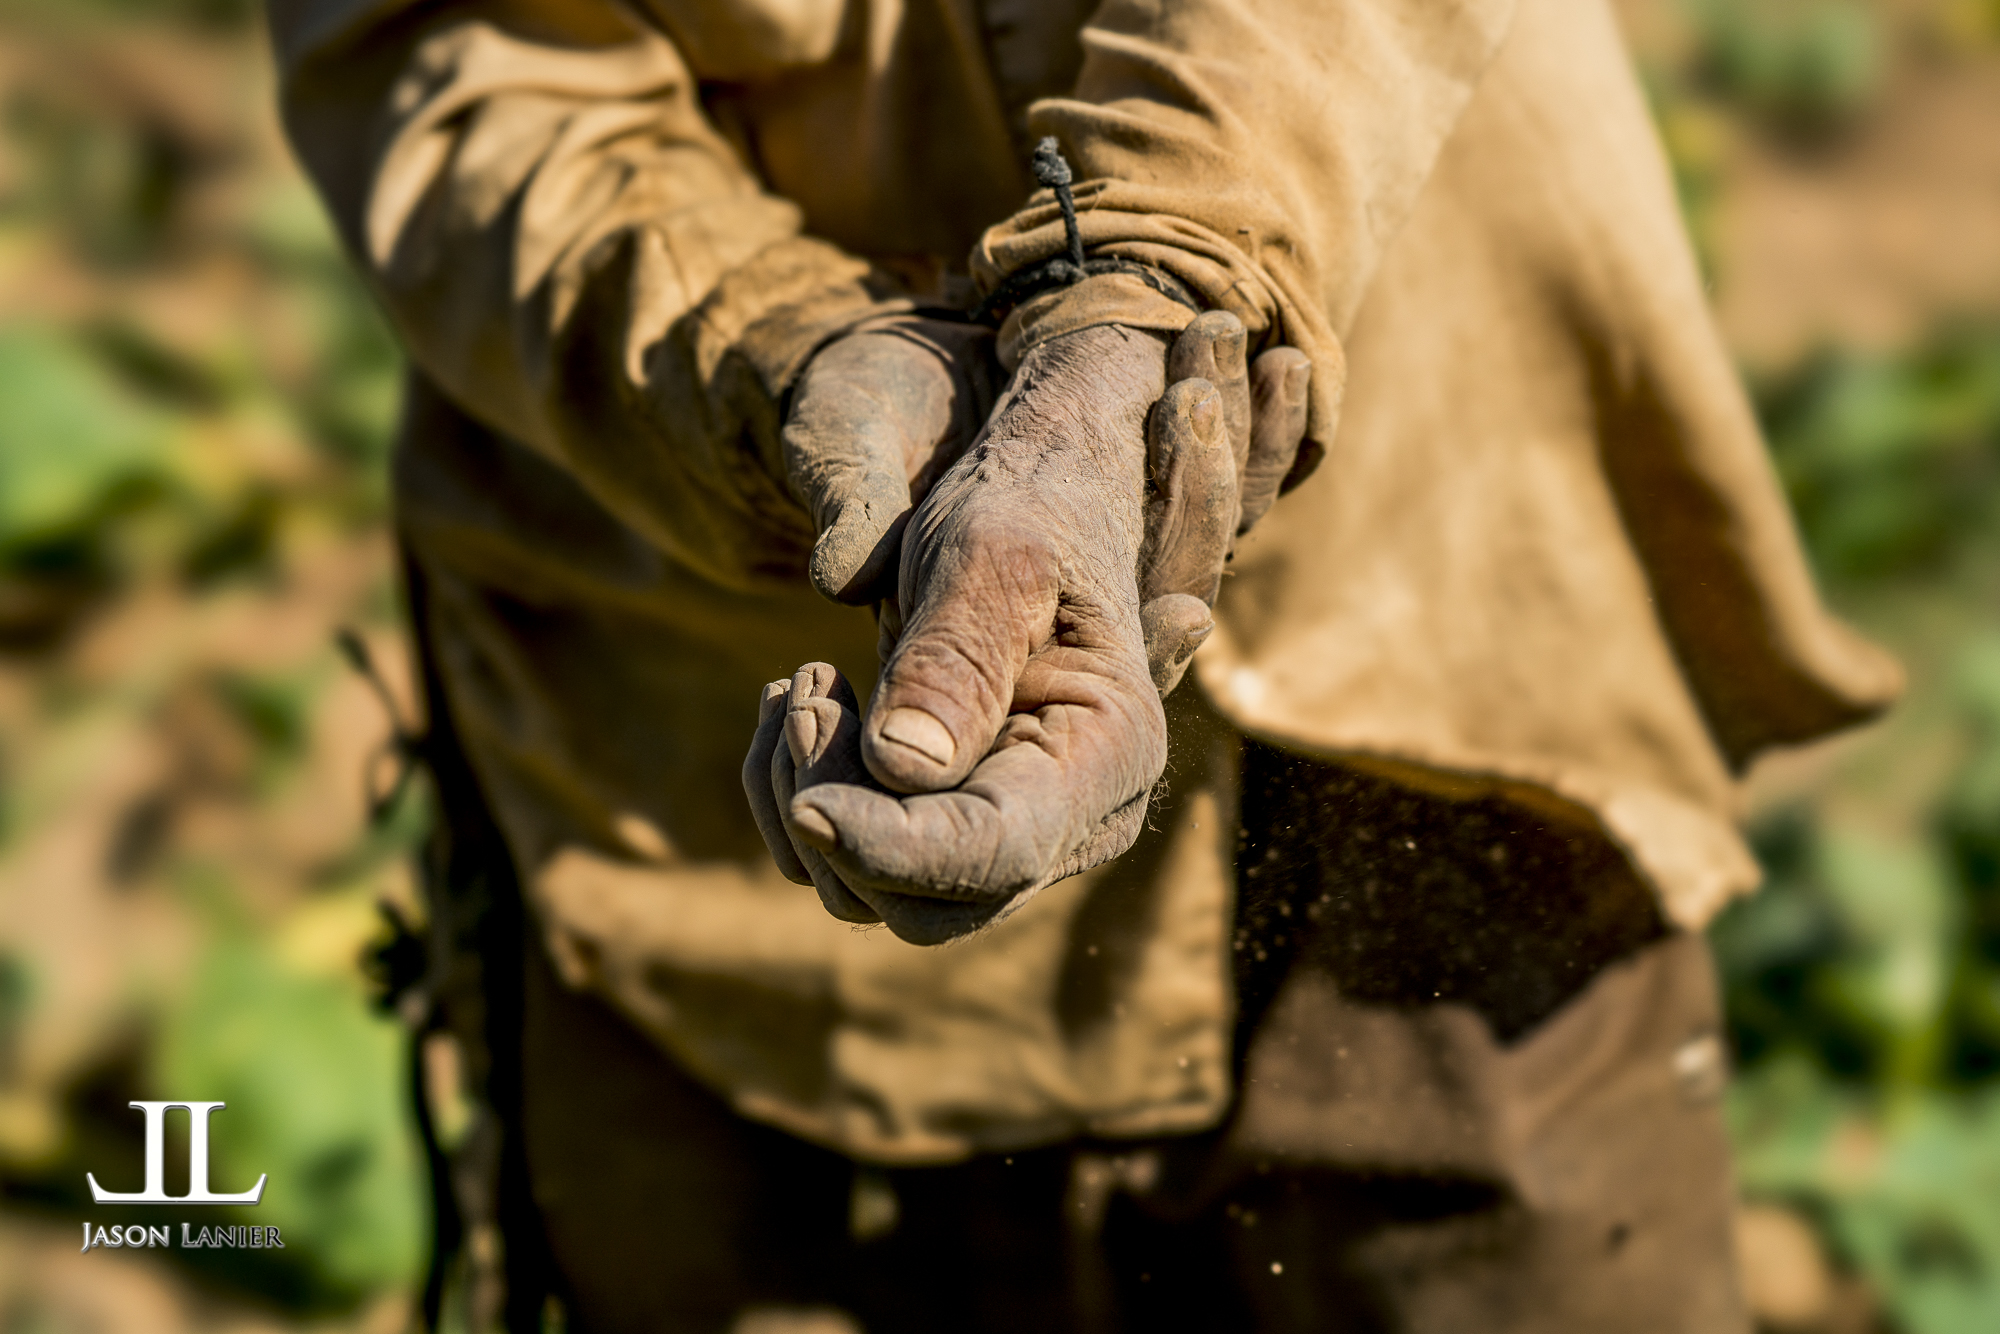
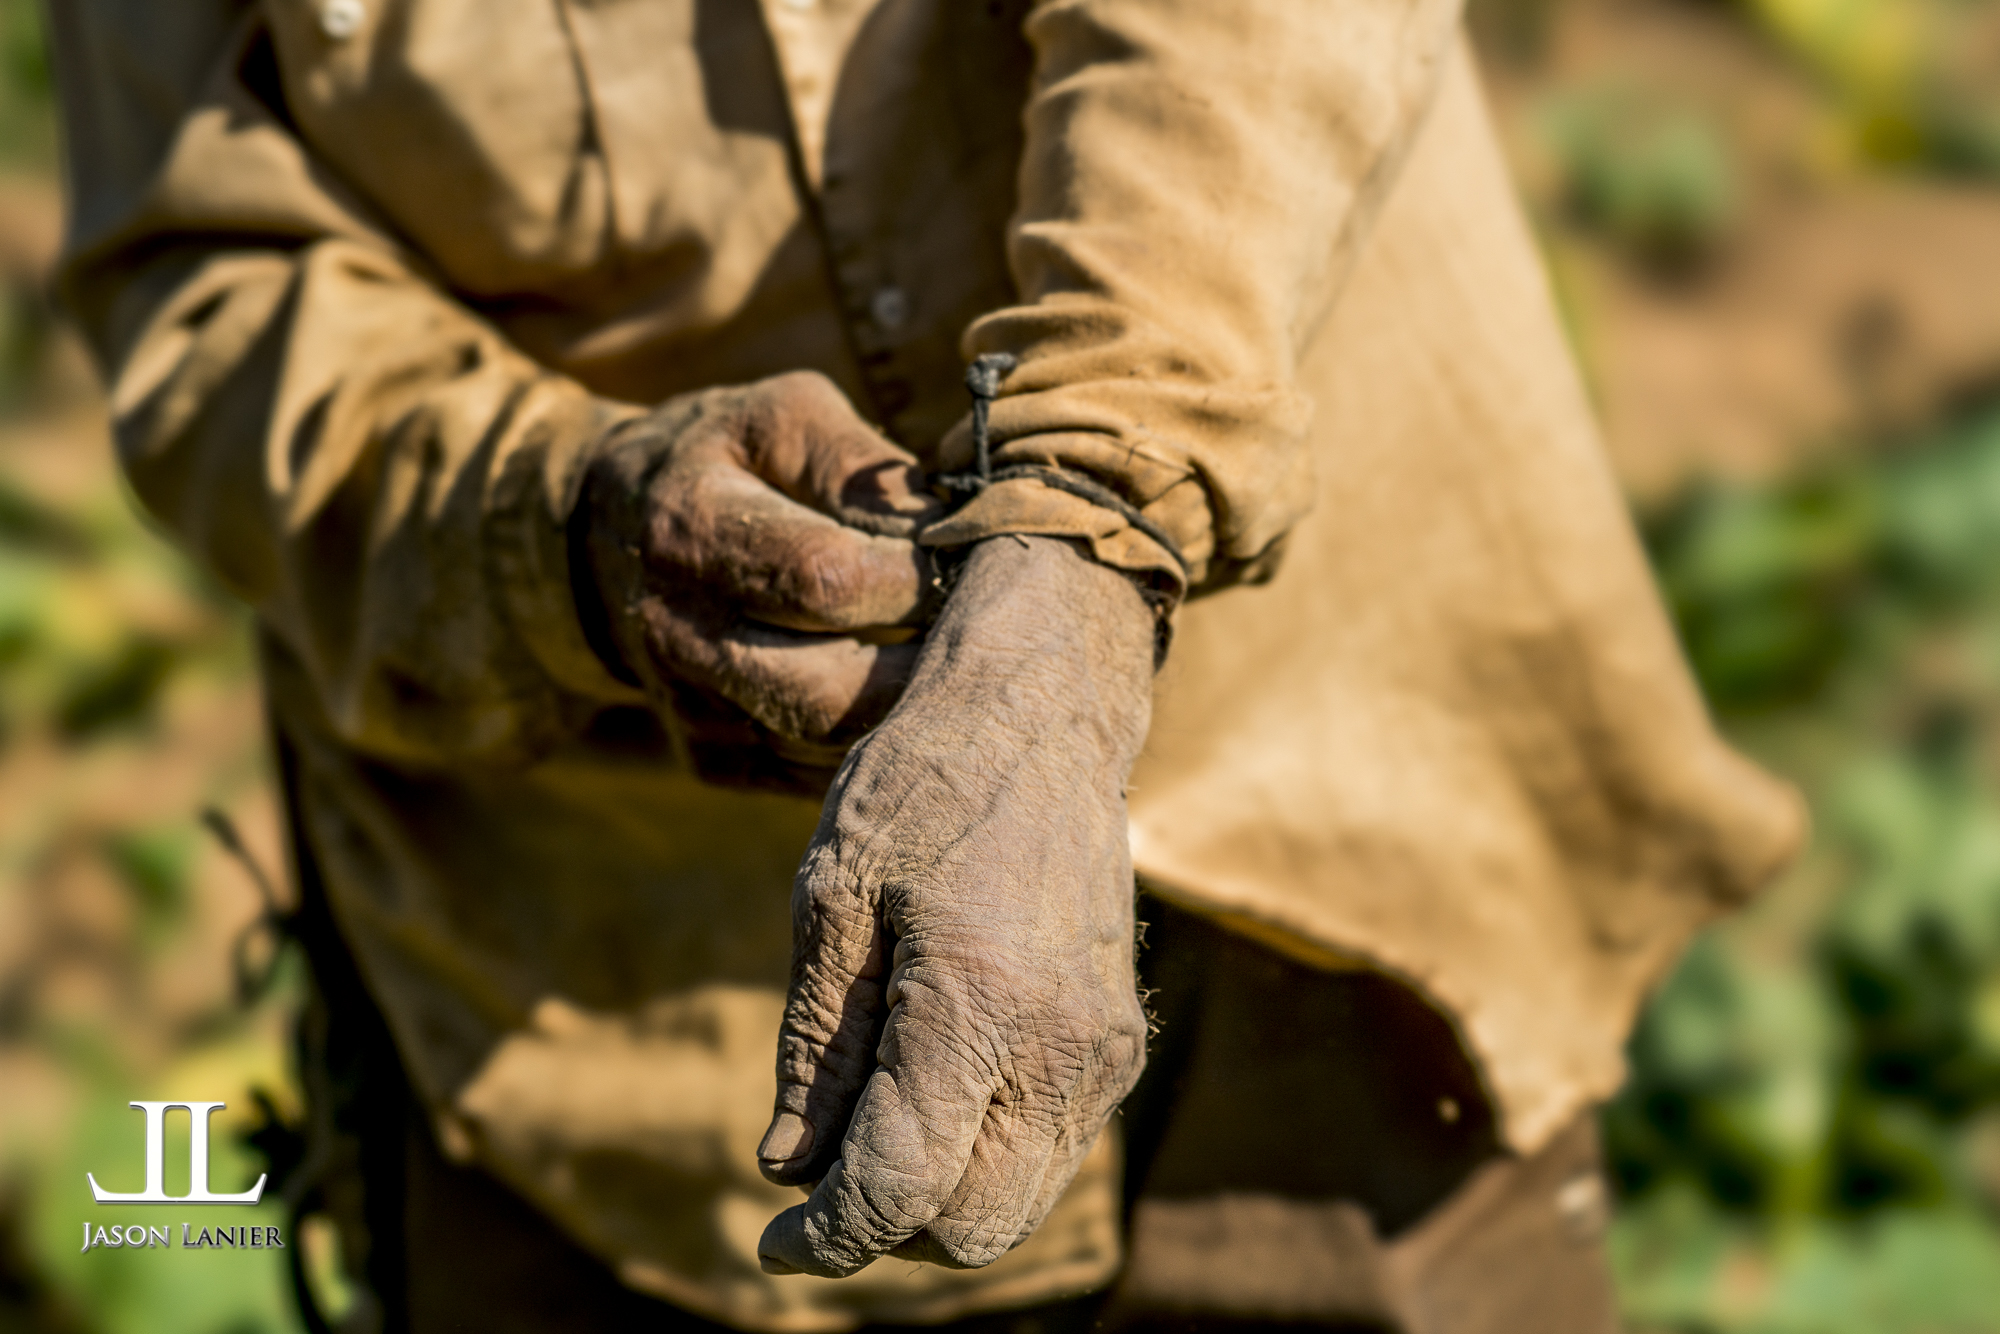
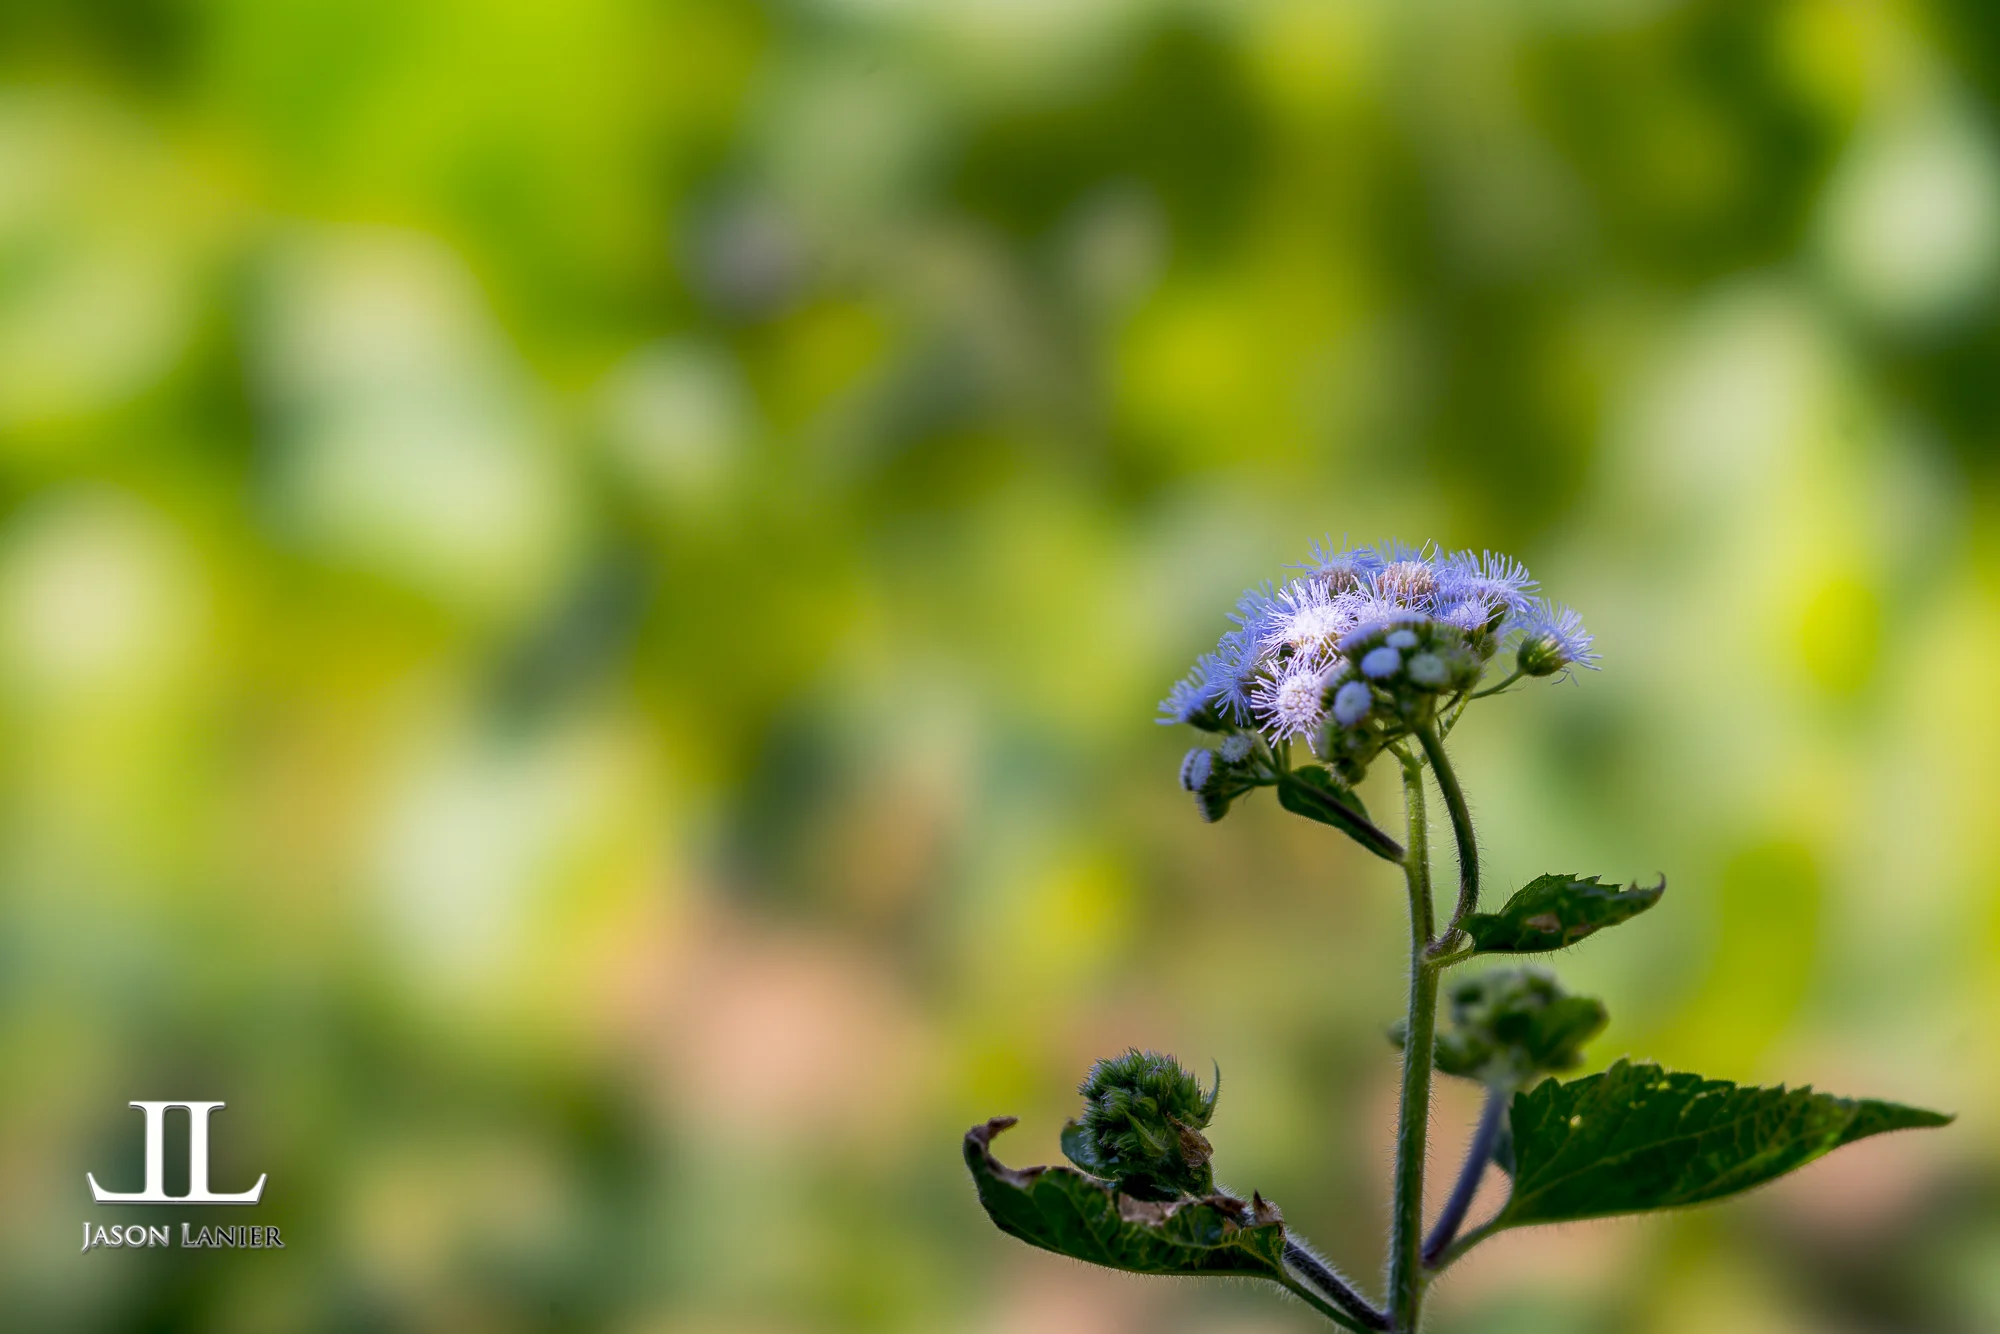
Recently I had the opportunity to visit Cuba for the first time. Like many folks from the United States I was very excited to do so since it has been closed off for visiting for the last 60 years. One of the main things I wanted to do was to visit some traditional Tobacco Farms. It isn't because I'm a smoker, because I'm not. It's because Cuba is world famous for their Tobacco and I just had to visit the farms that create this product that is coveted the world over.
So my Assistant Brenda and I ventured into the beautiful countryside of Vinales on horseback where we found some beautiful people and locations to shoot. I really recommend watching the video above to get a real feel for the shoot. I also did a voice over in the video to explain everything going on and why I decided to use what lenses.
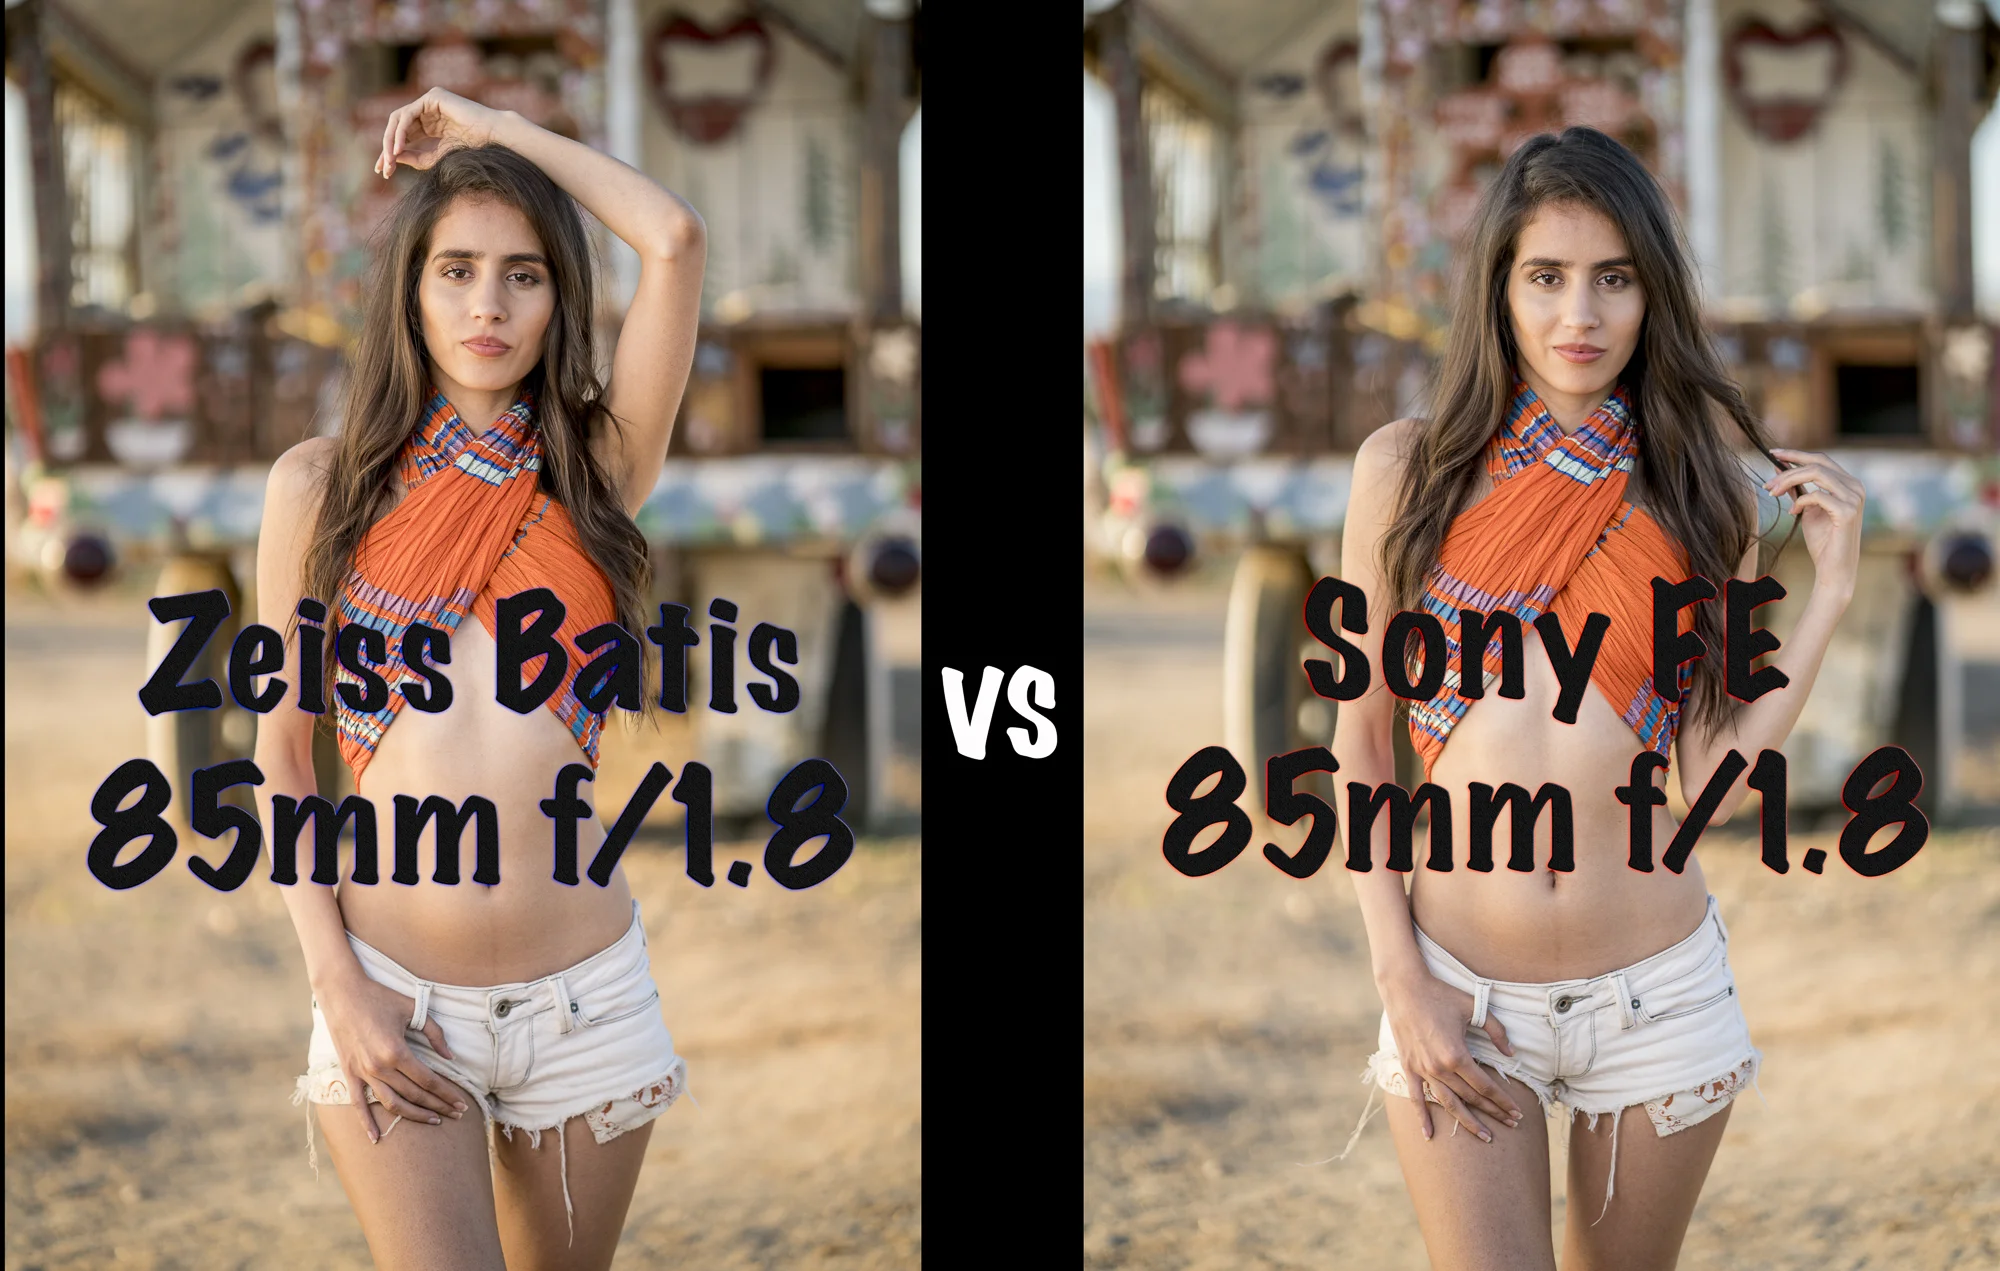
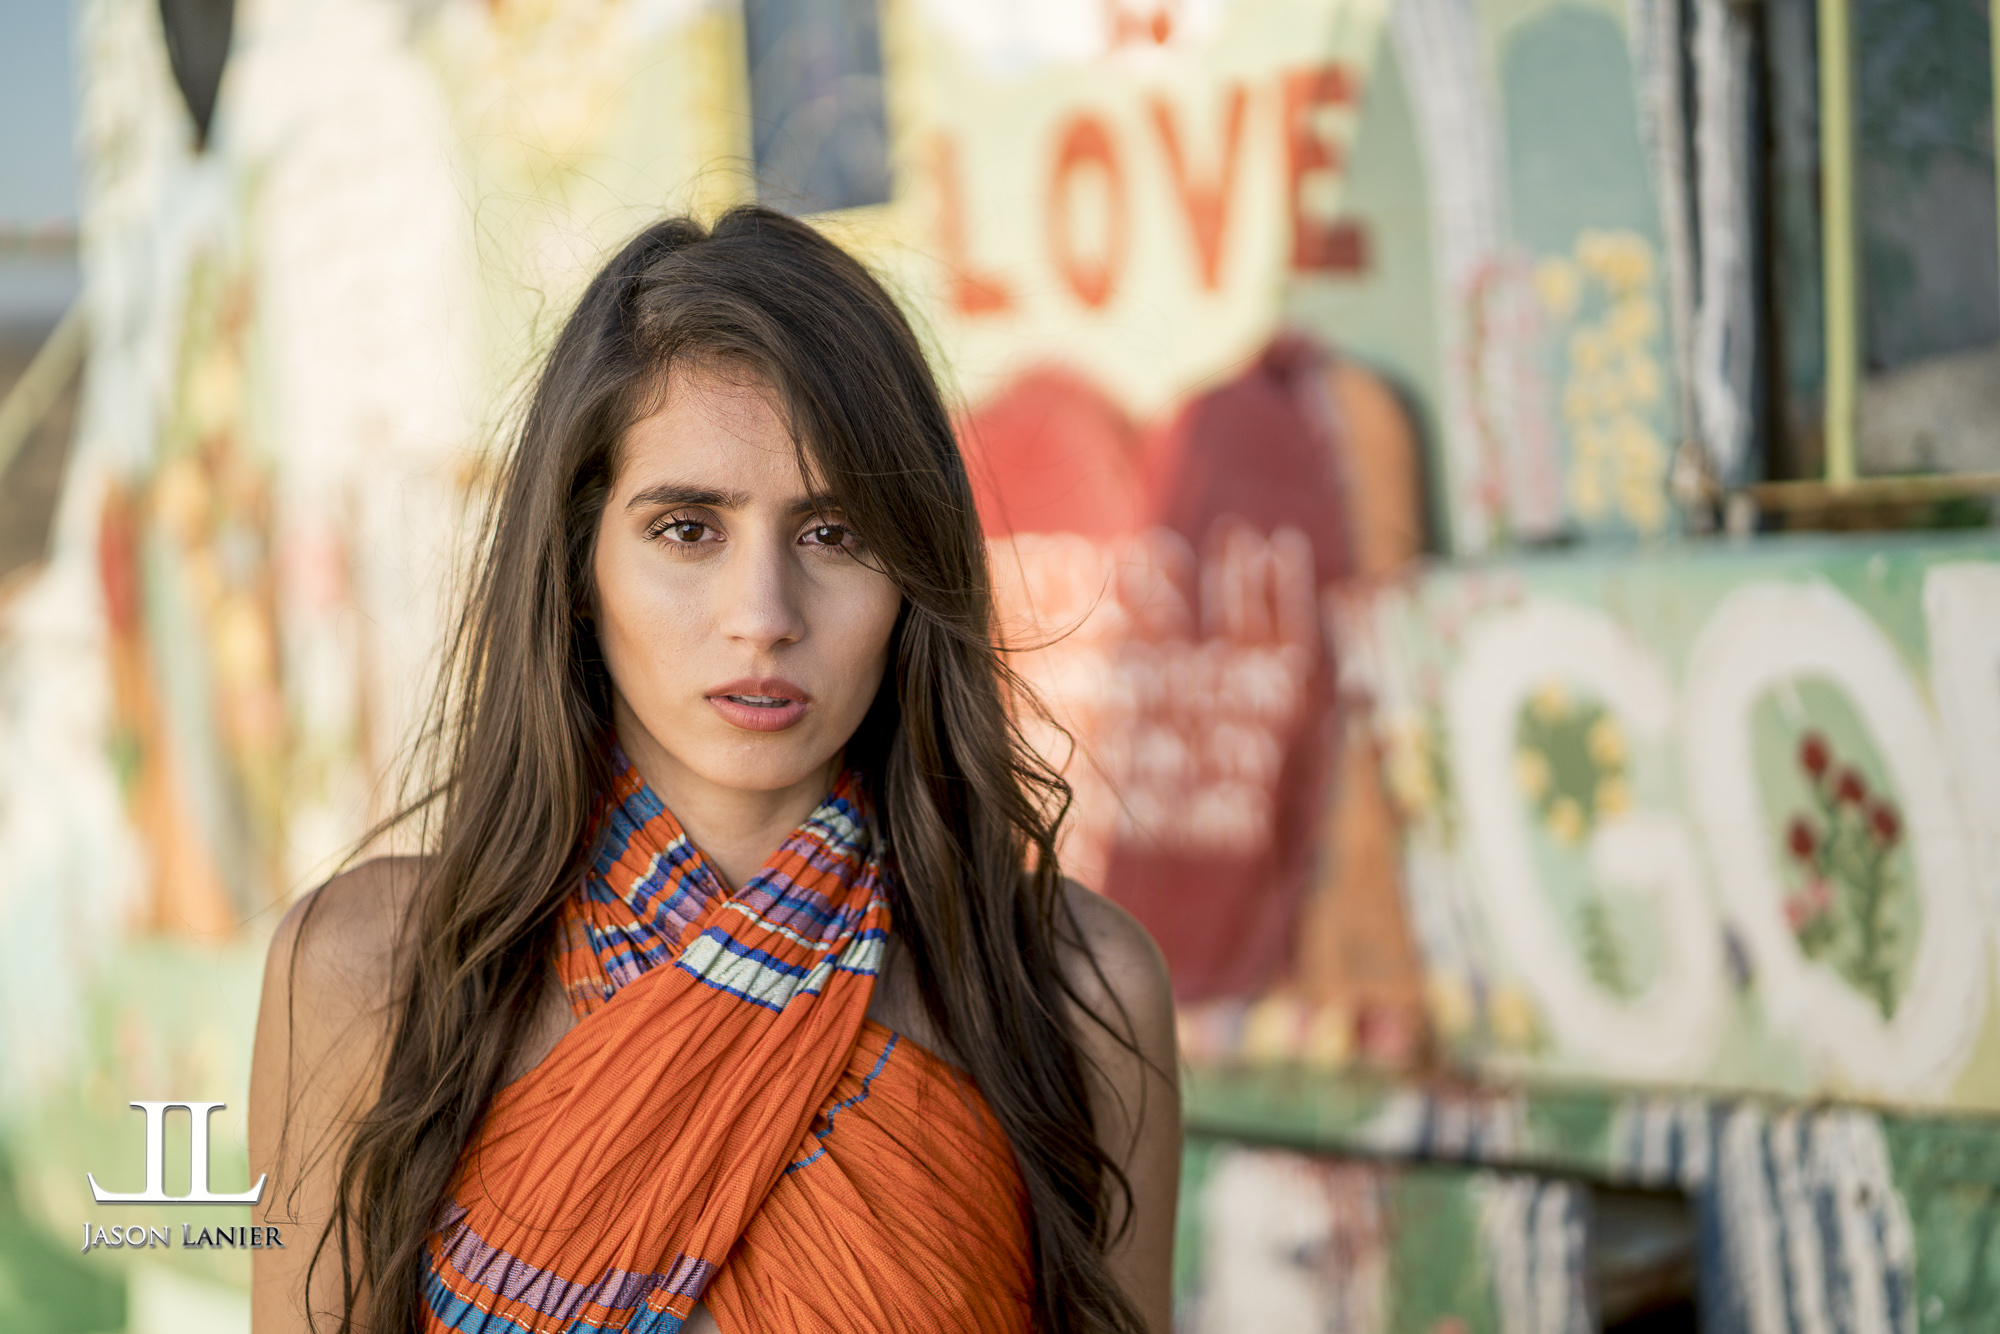
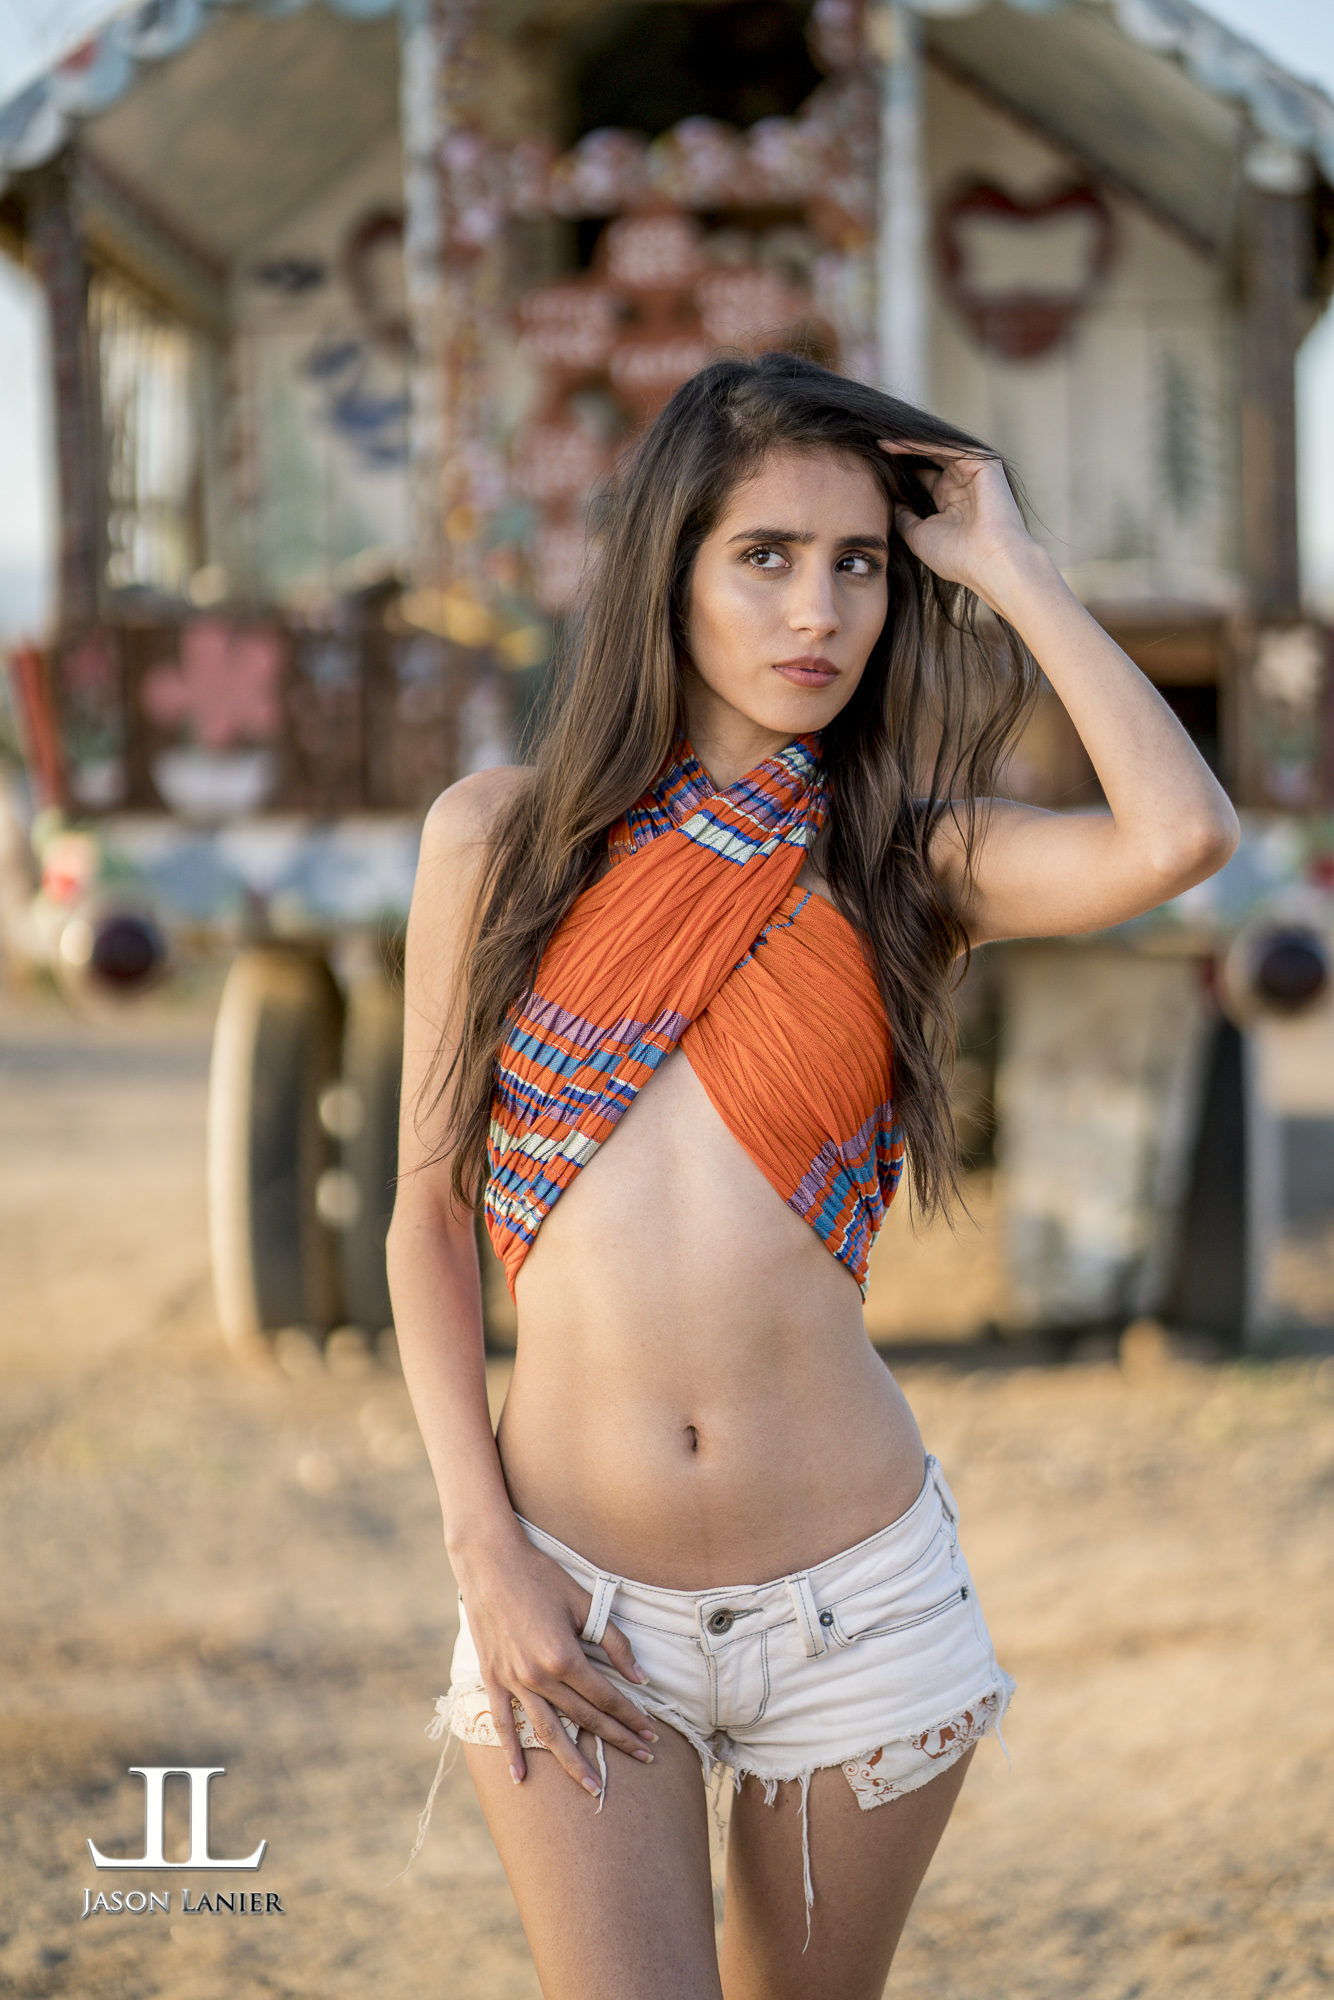
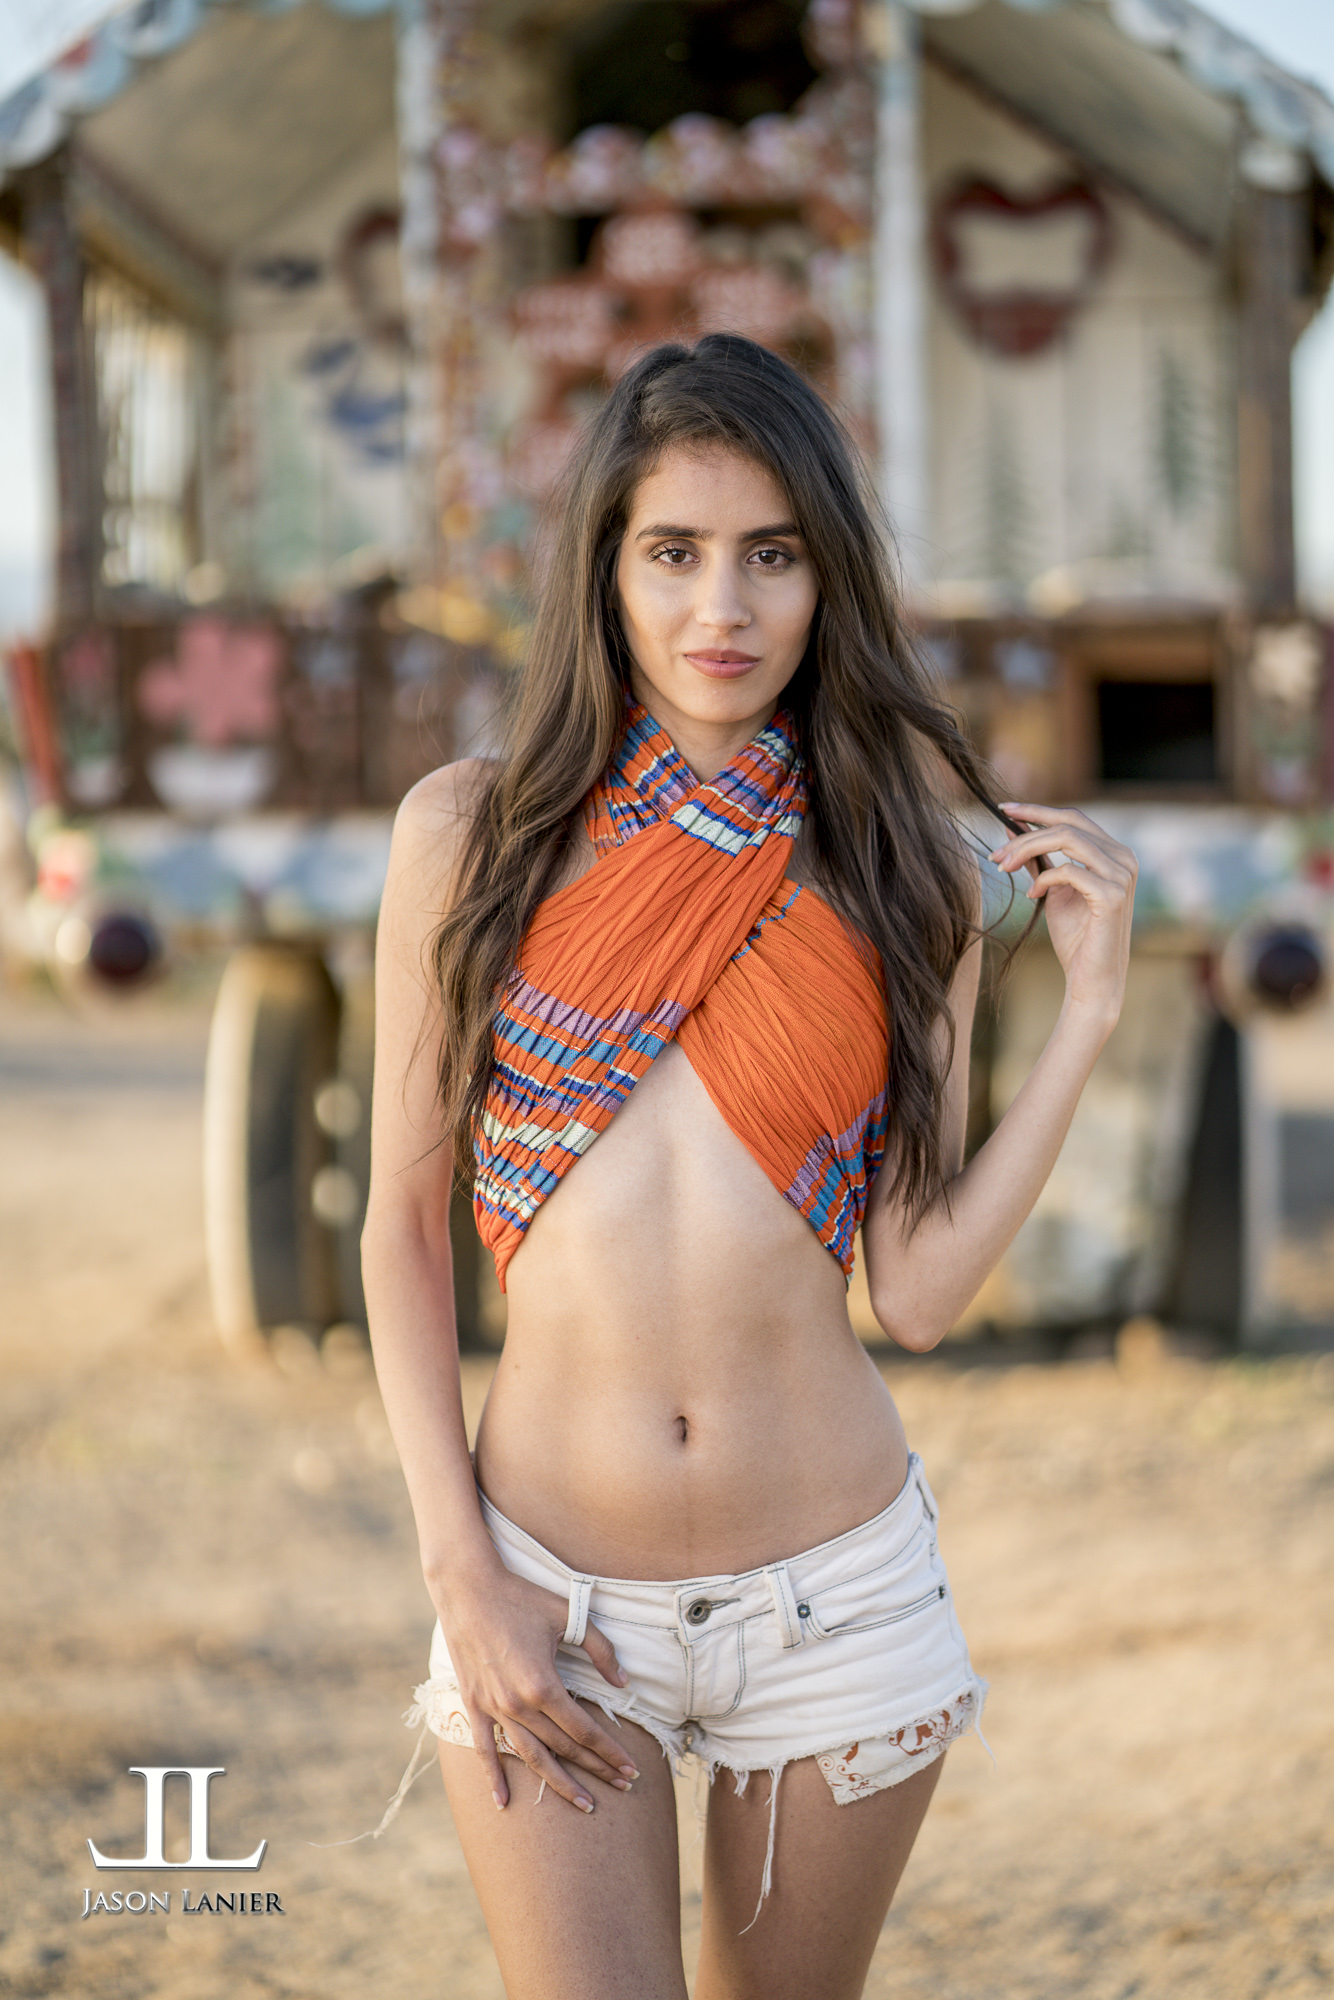
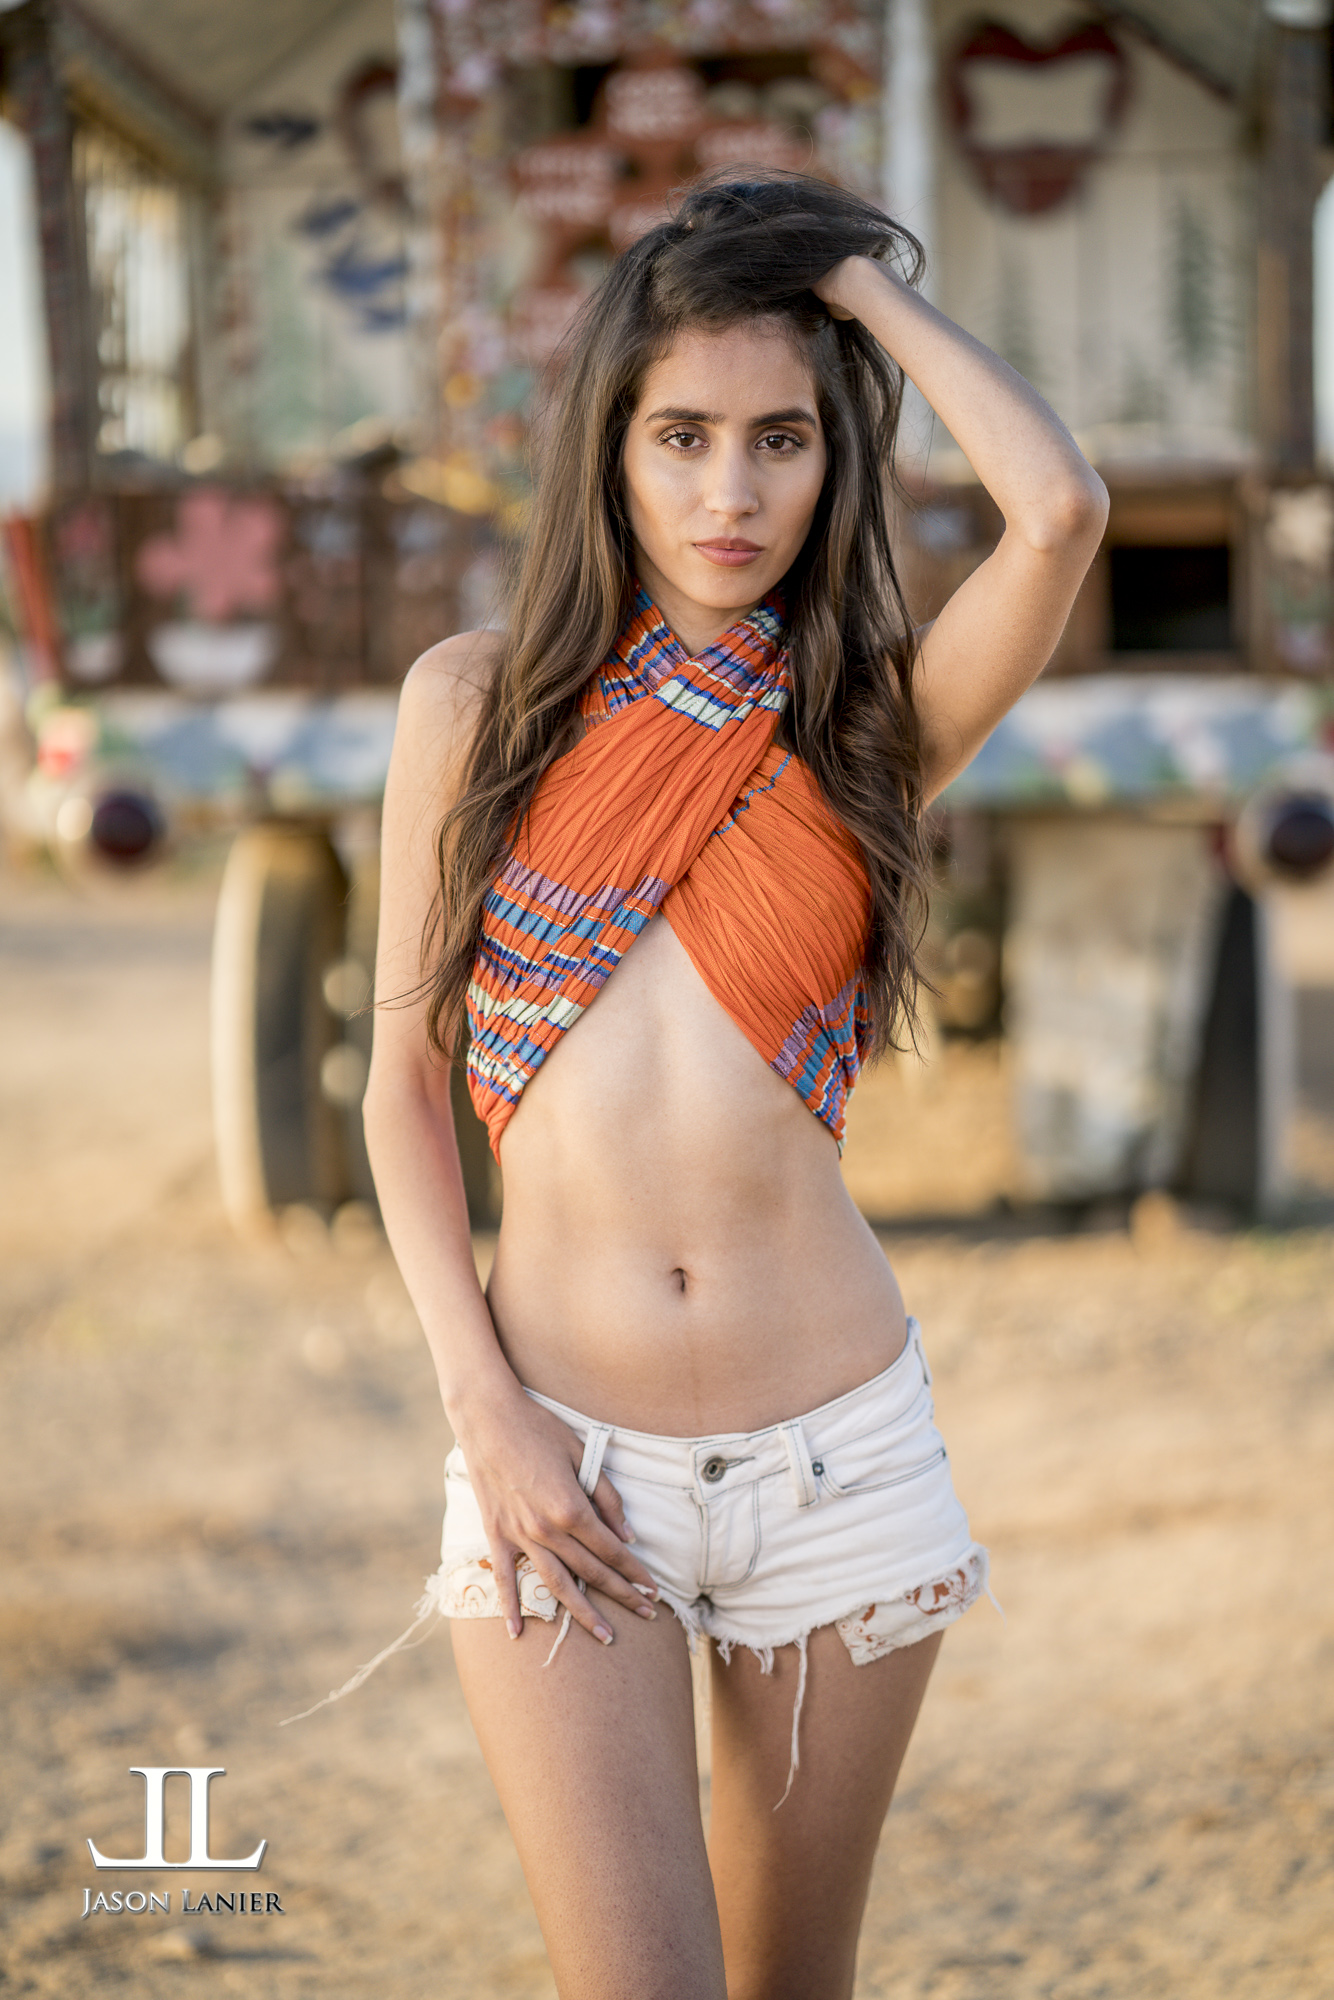
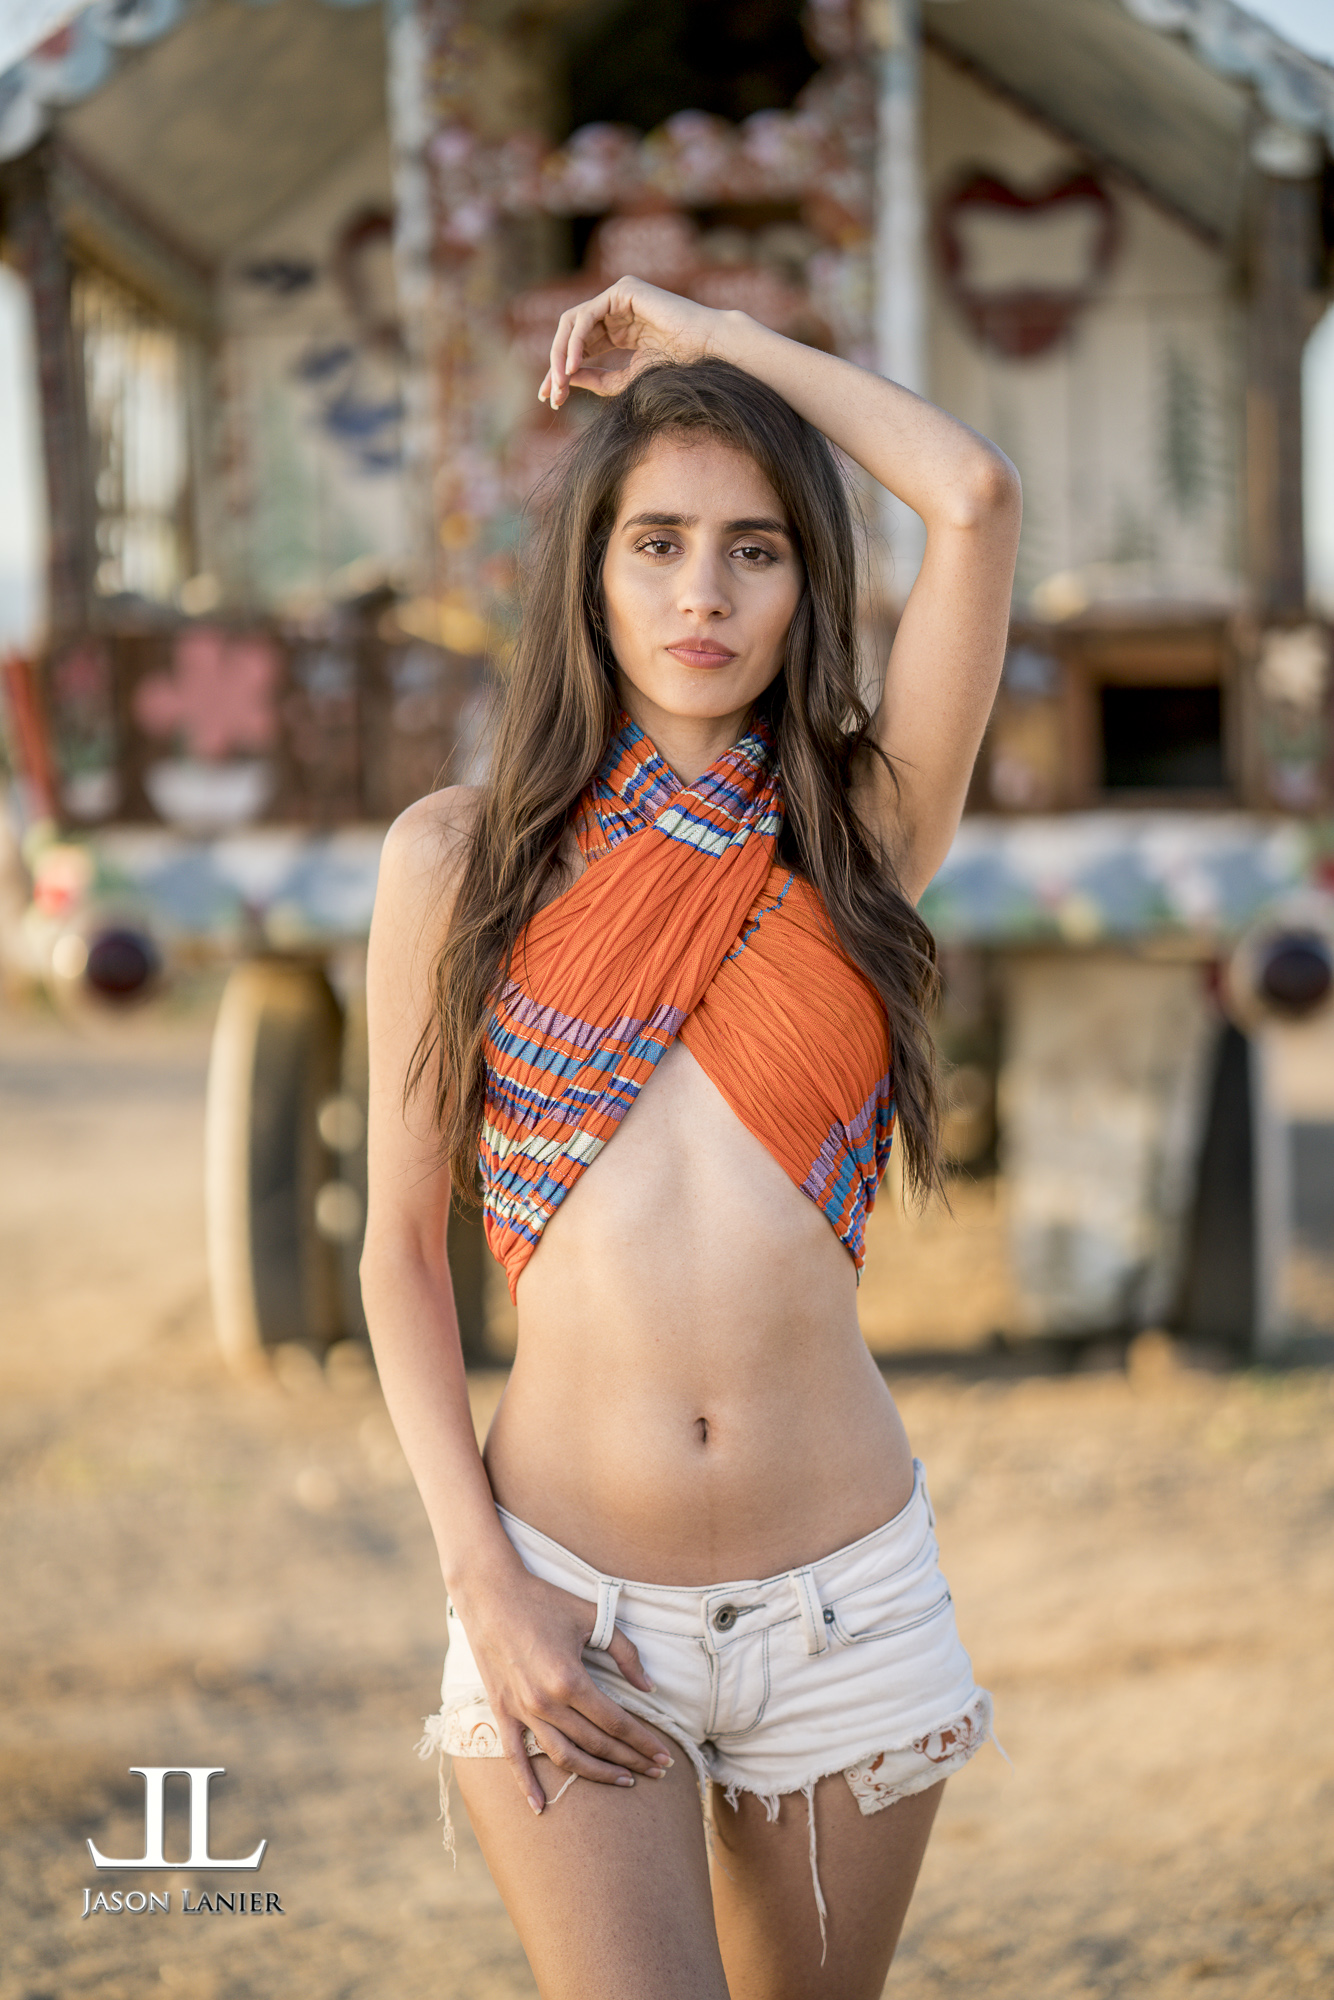
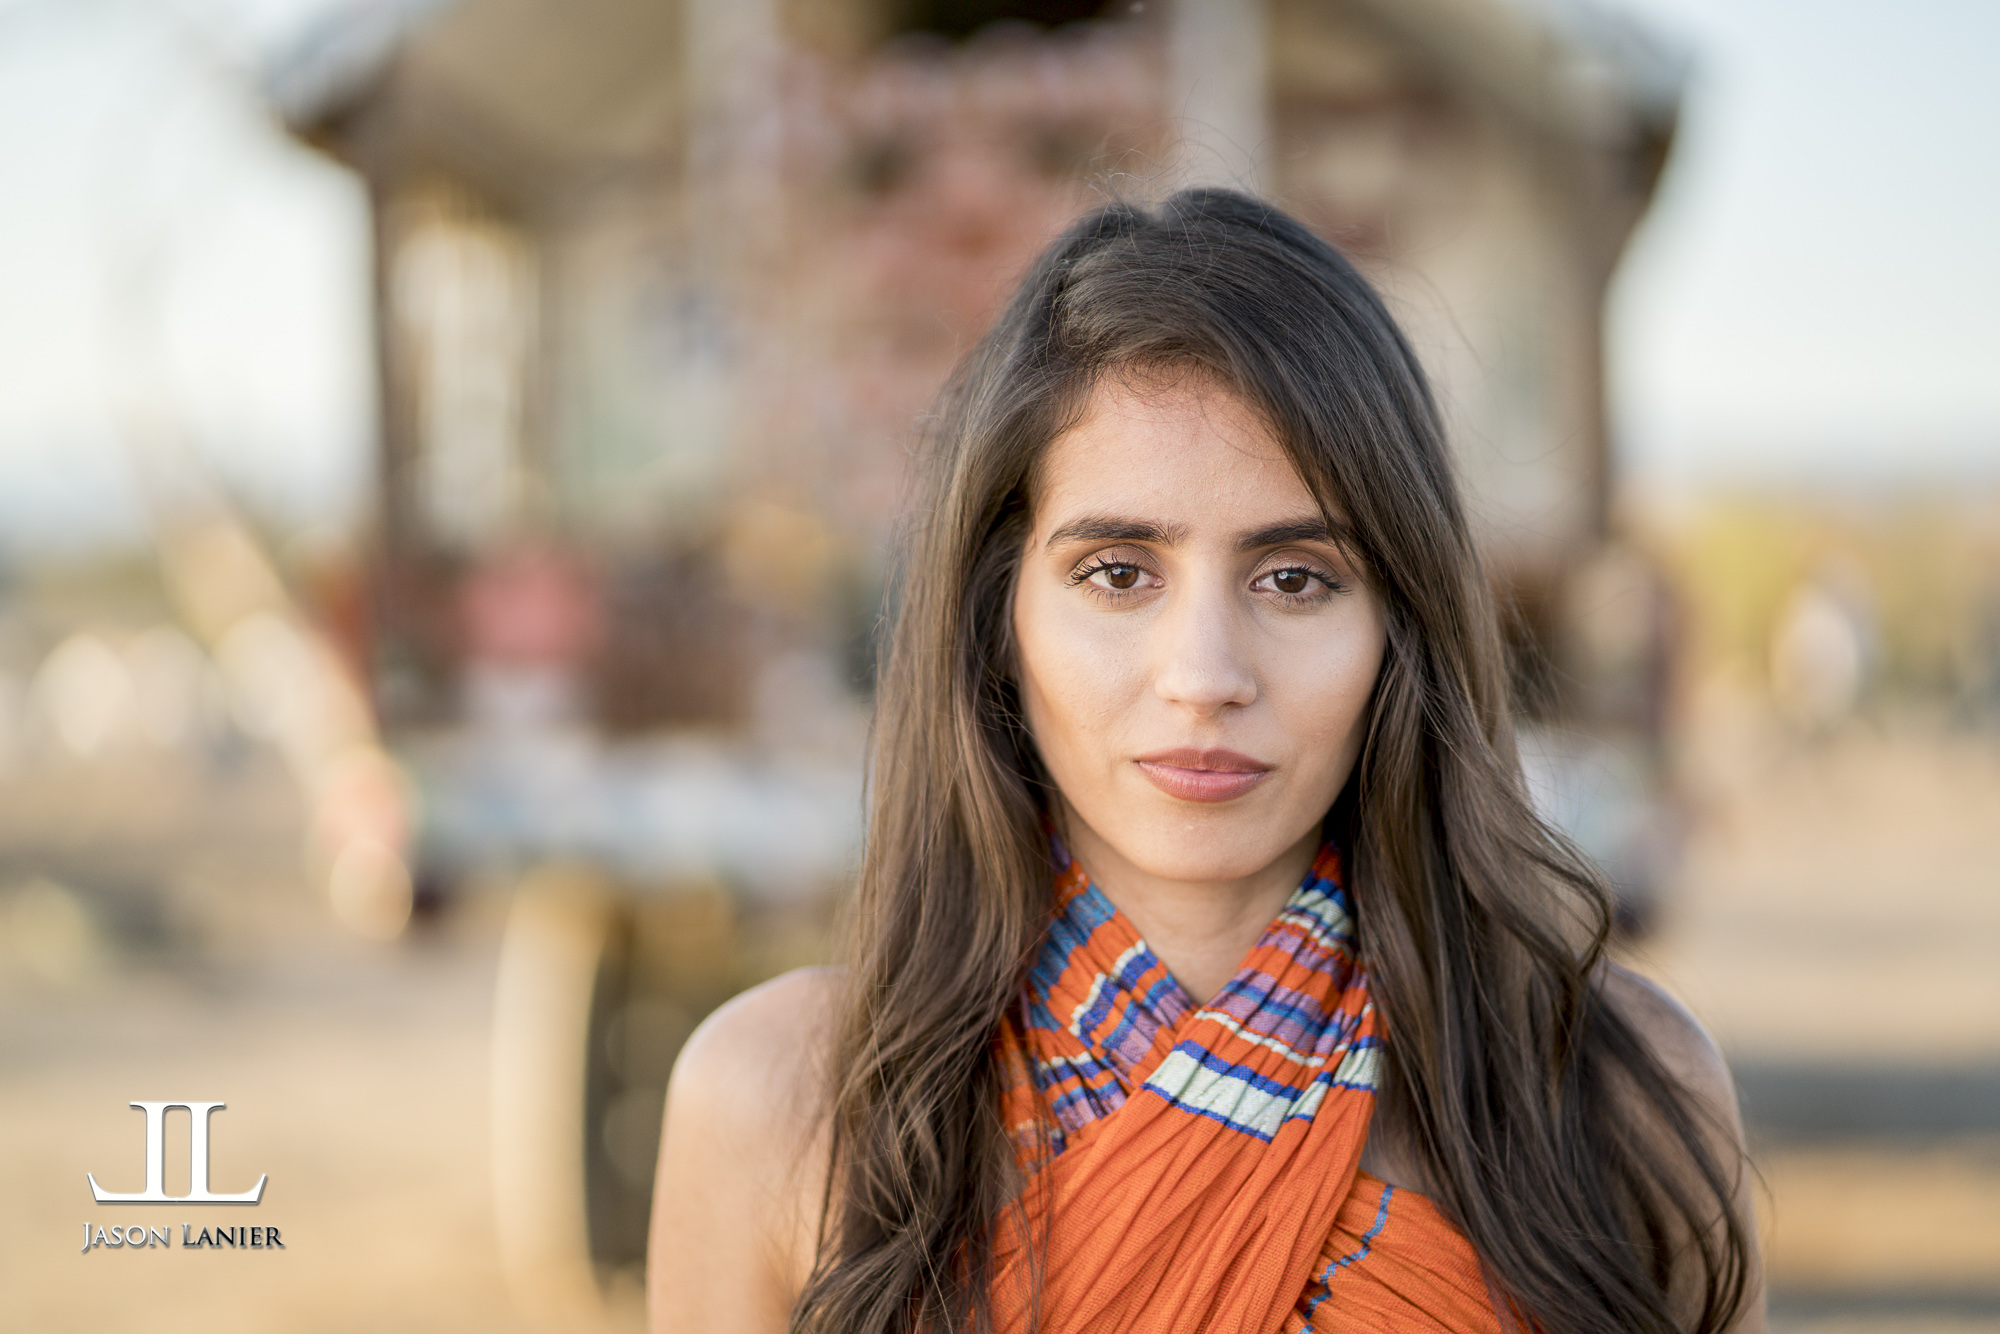
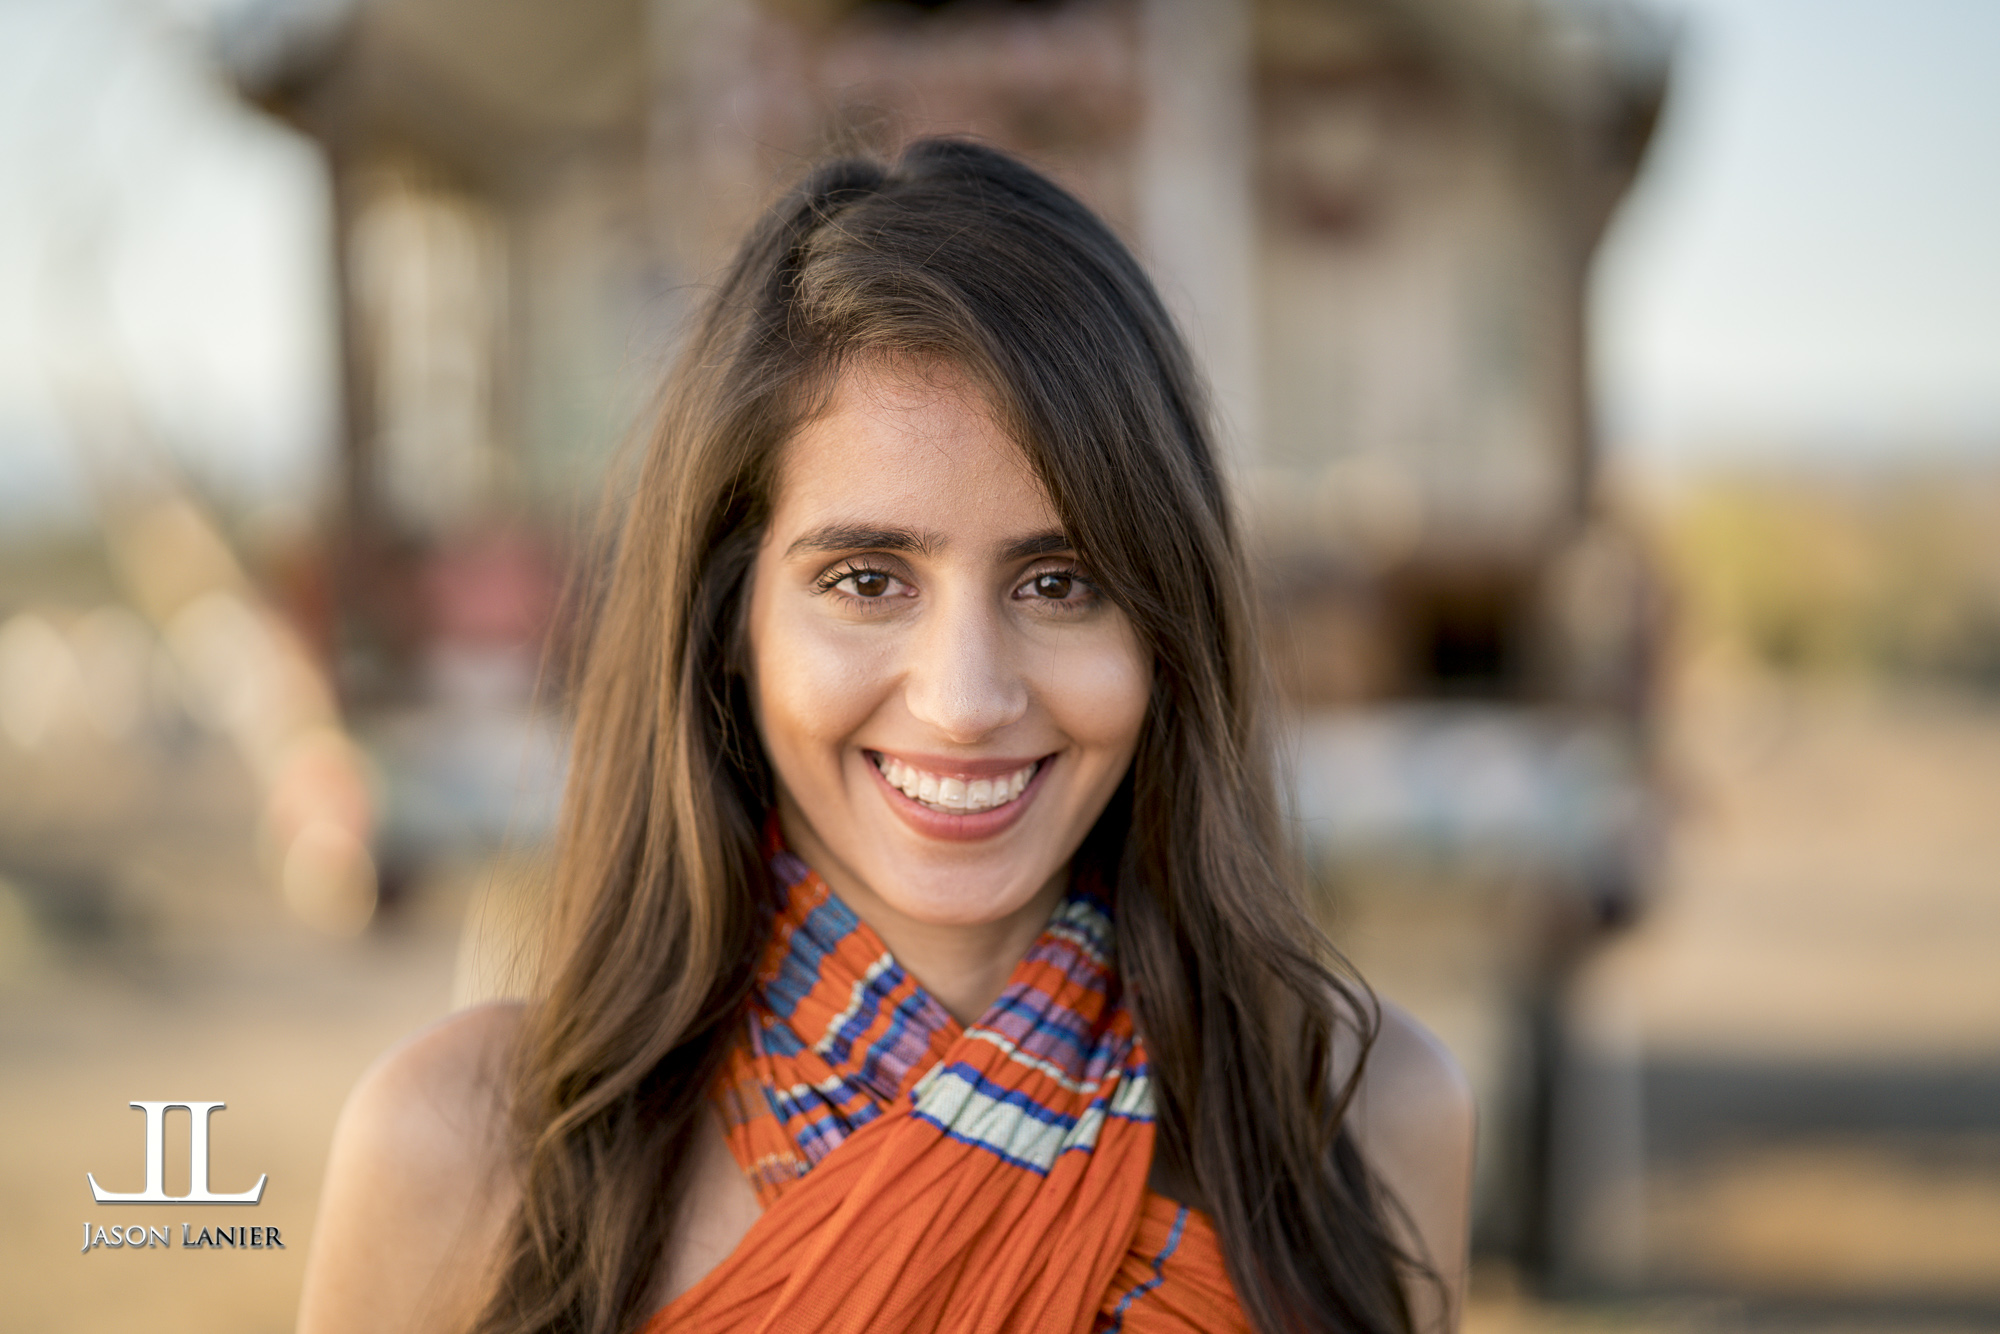
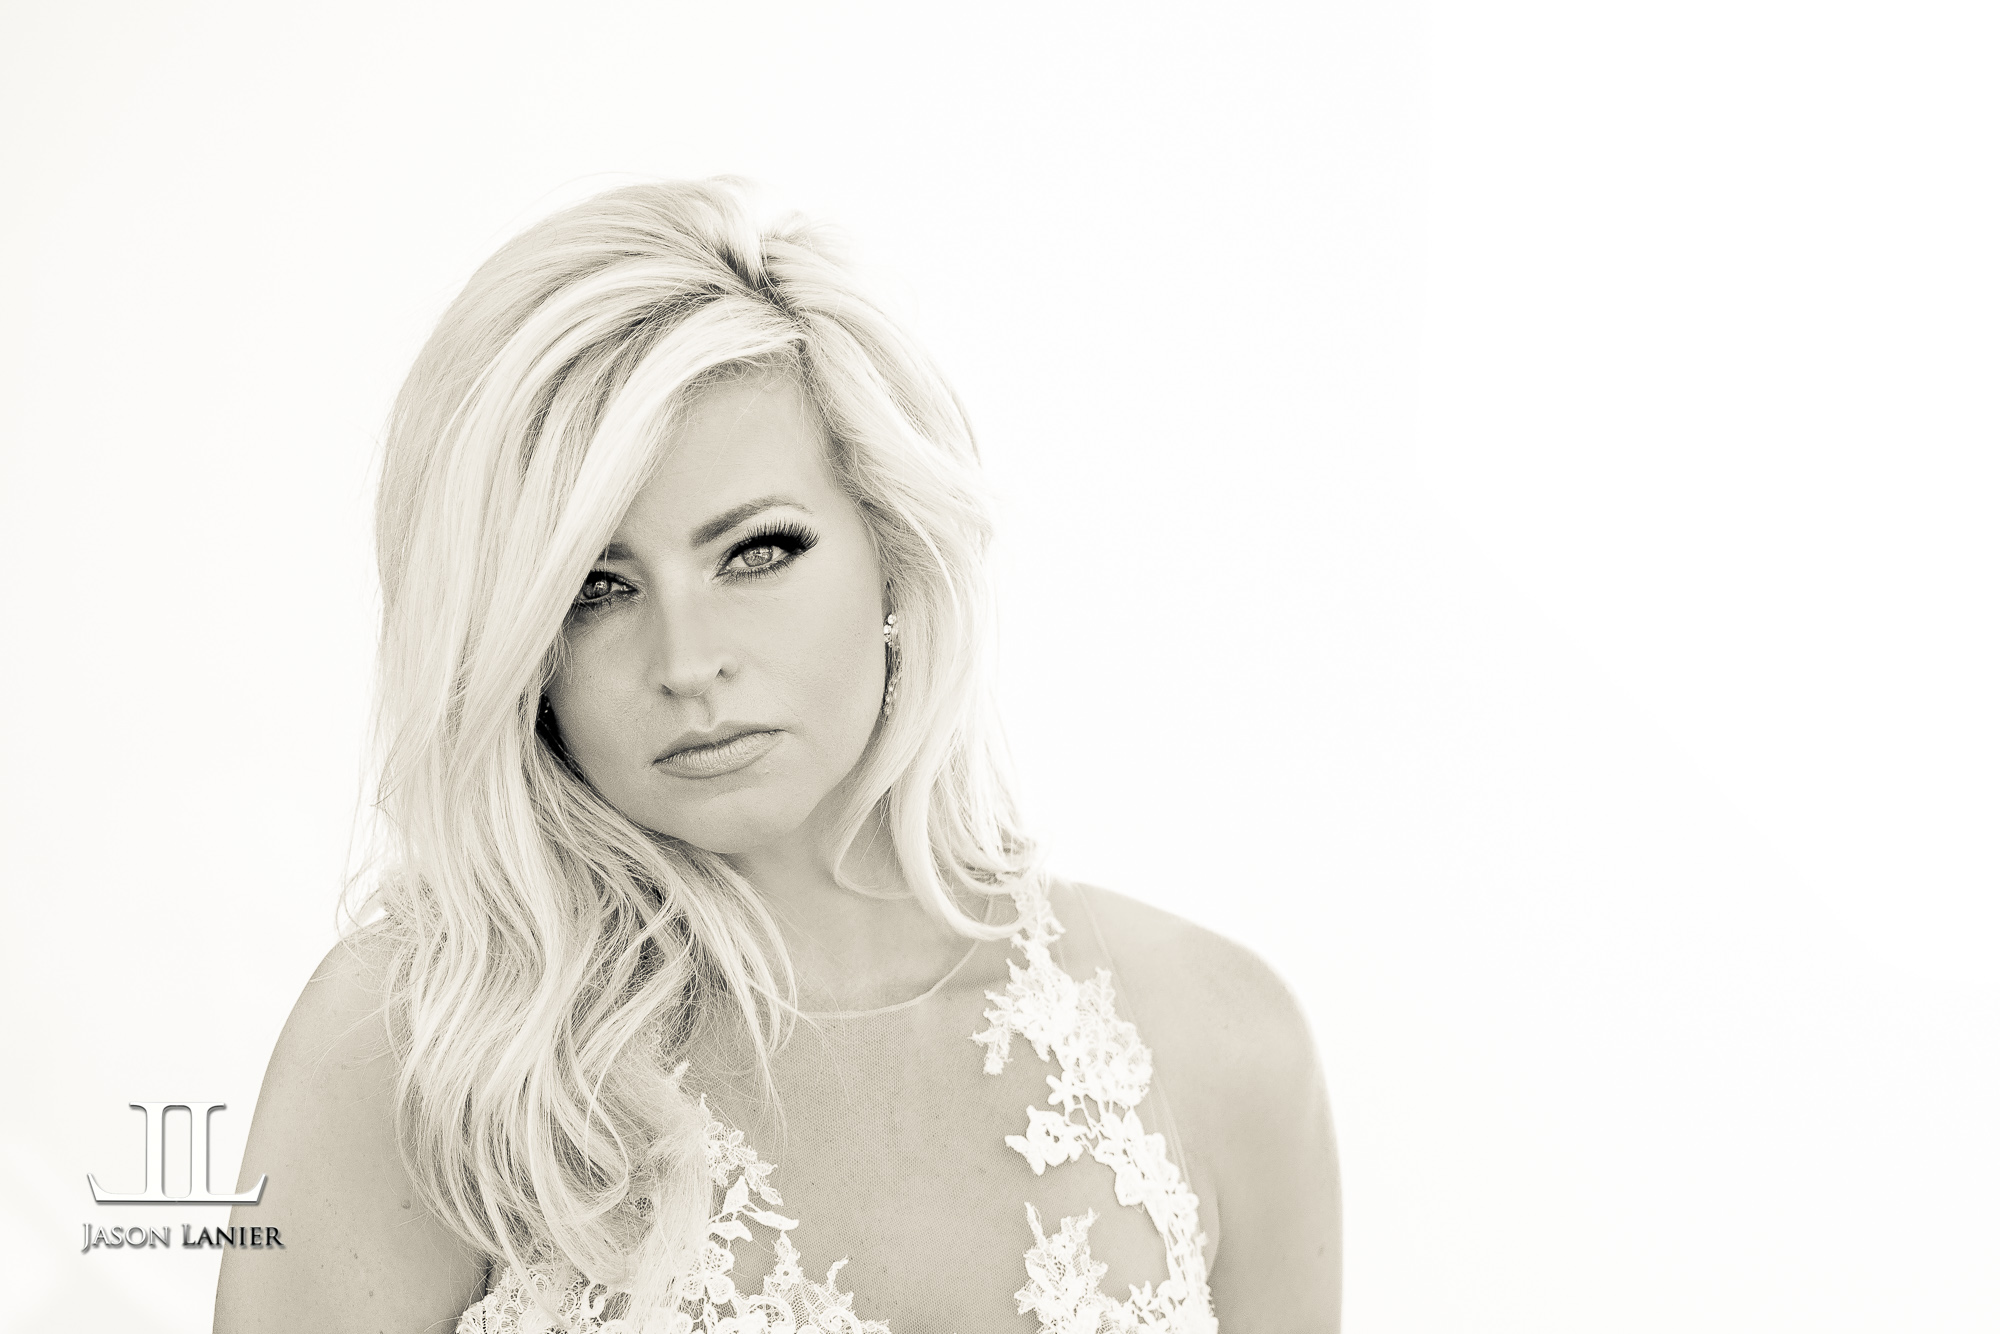
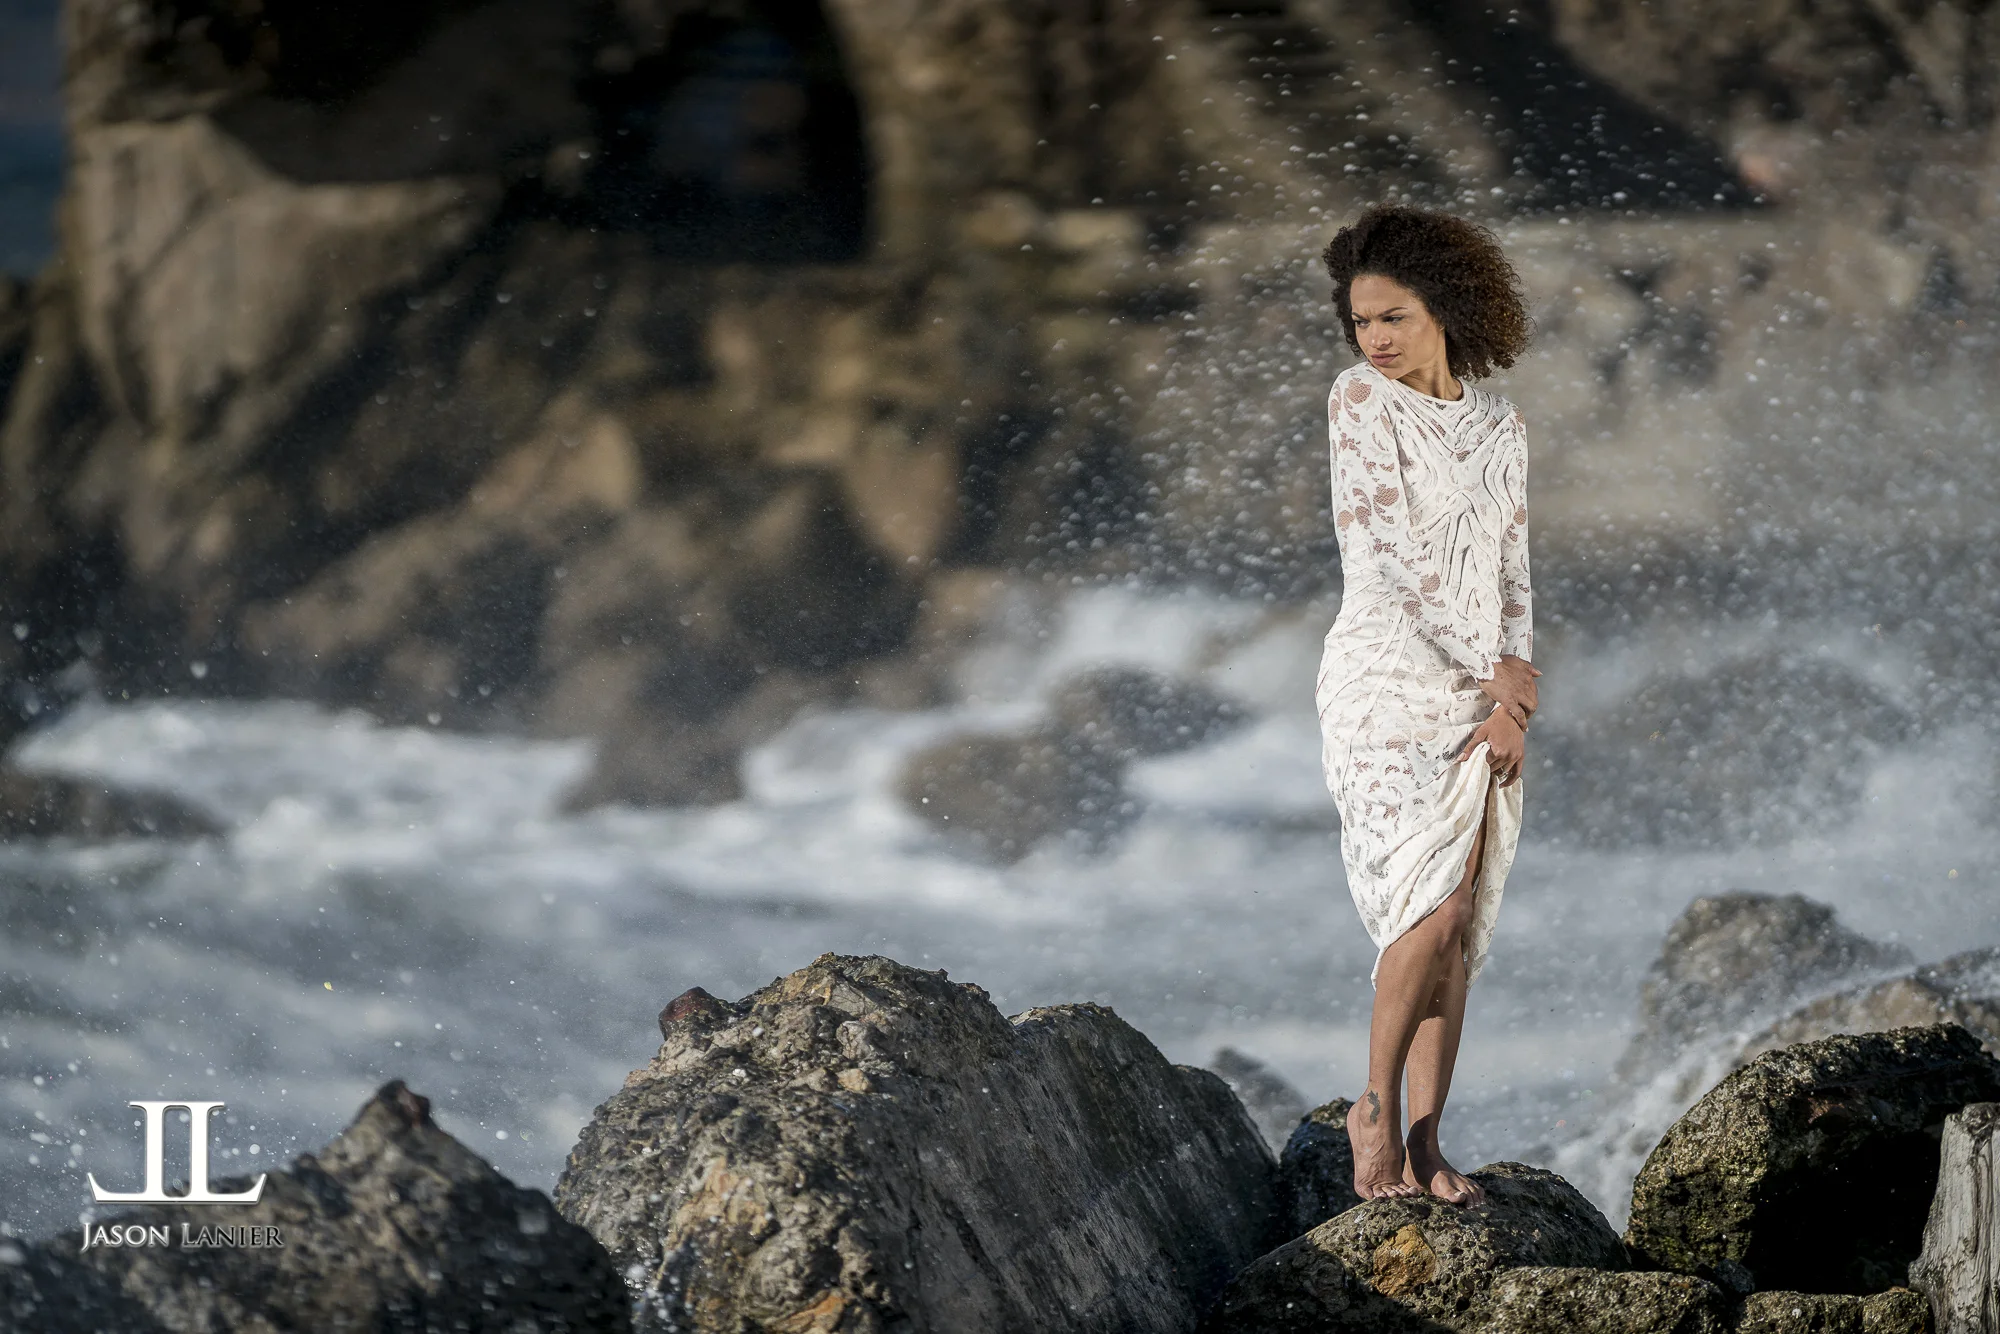
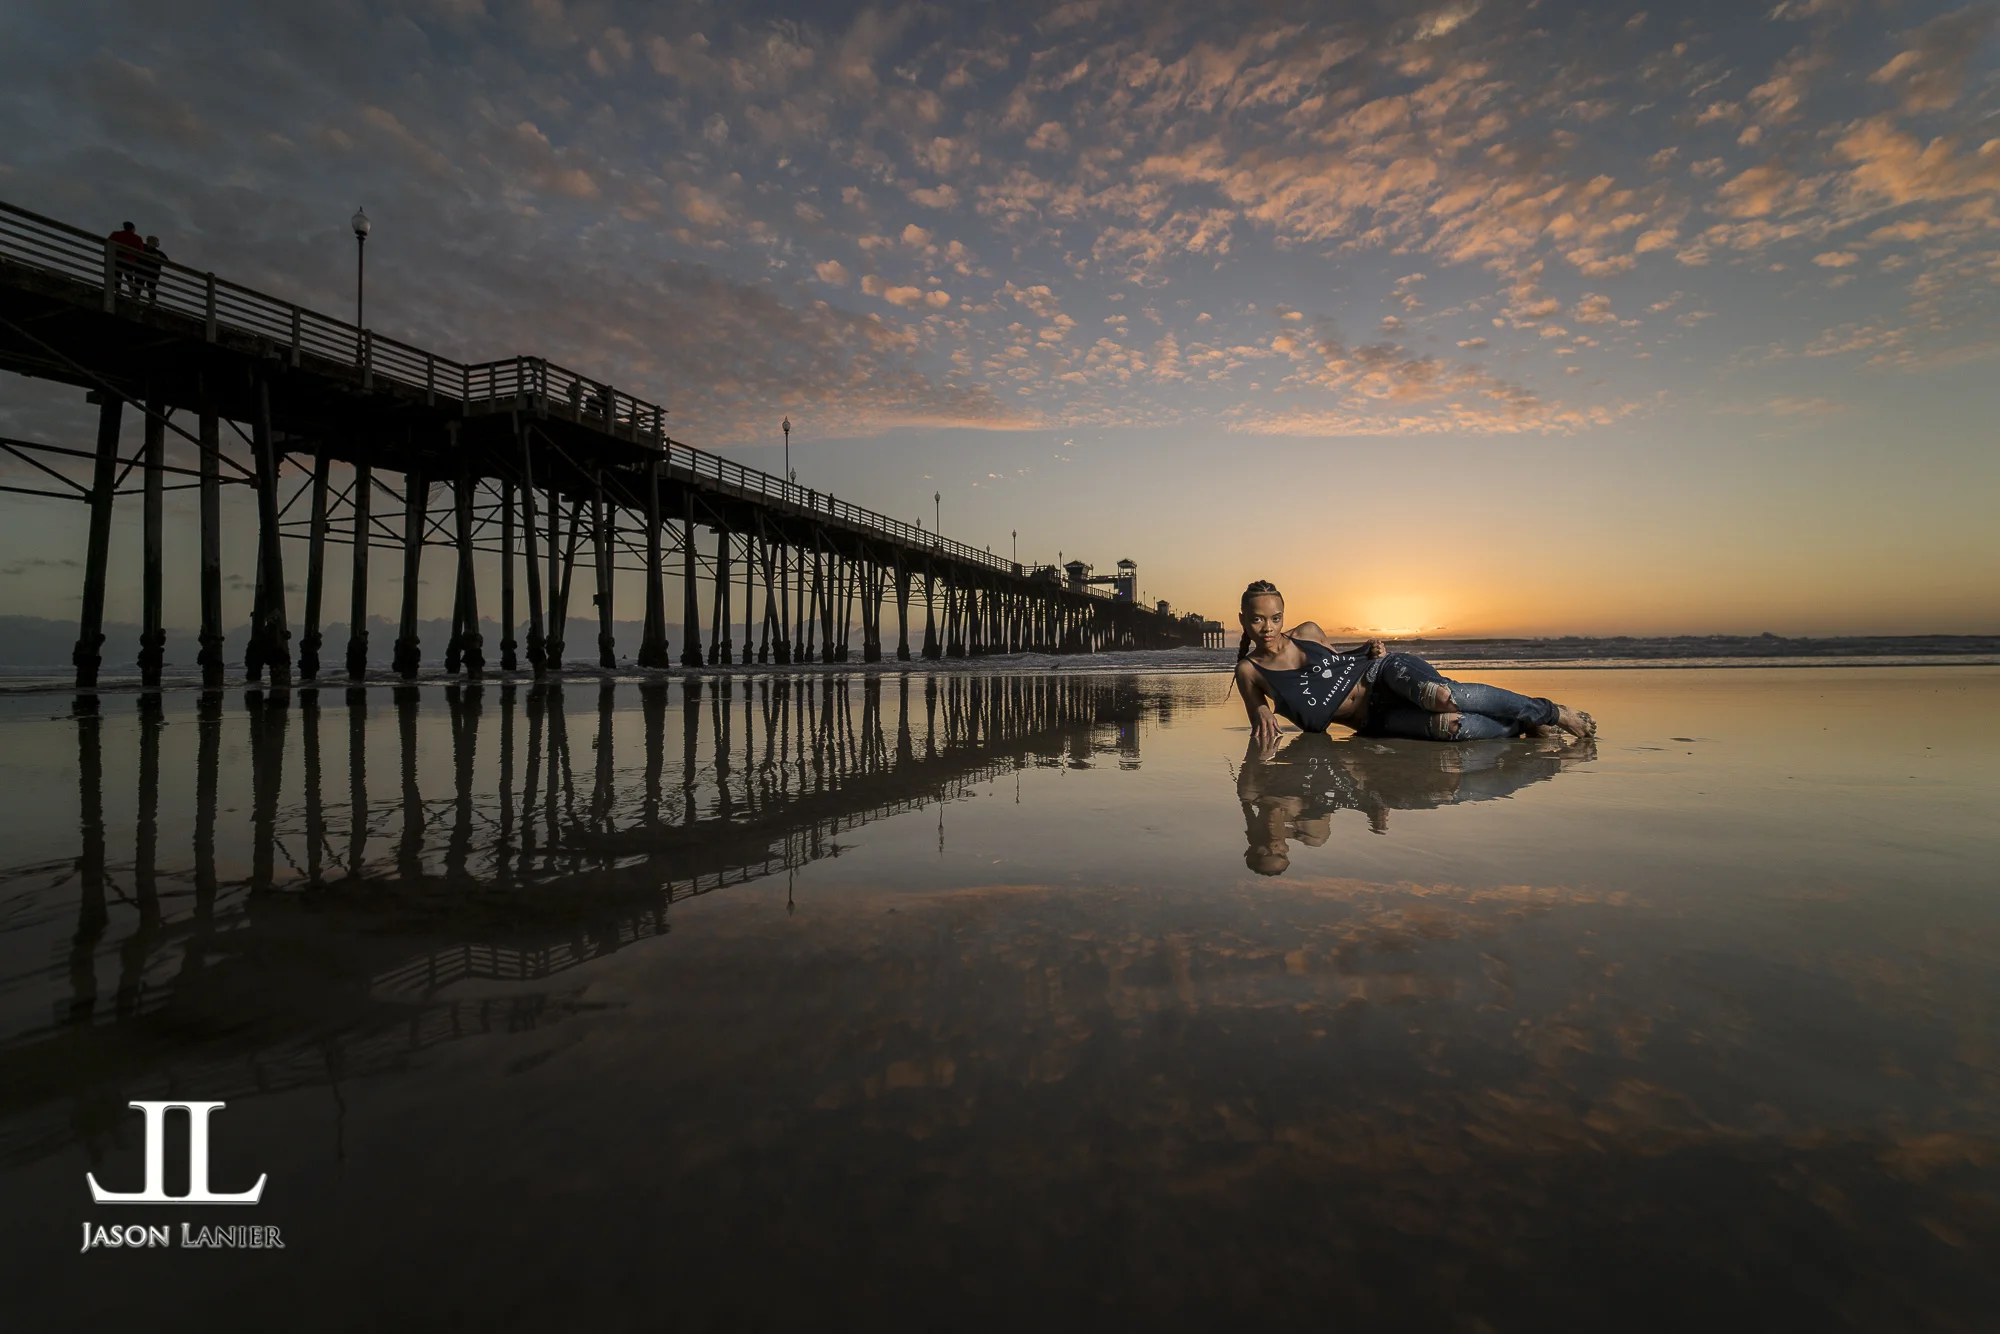
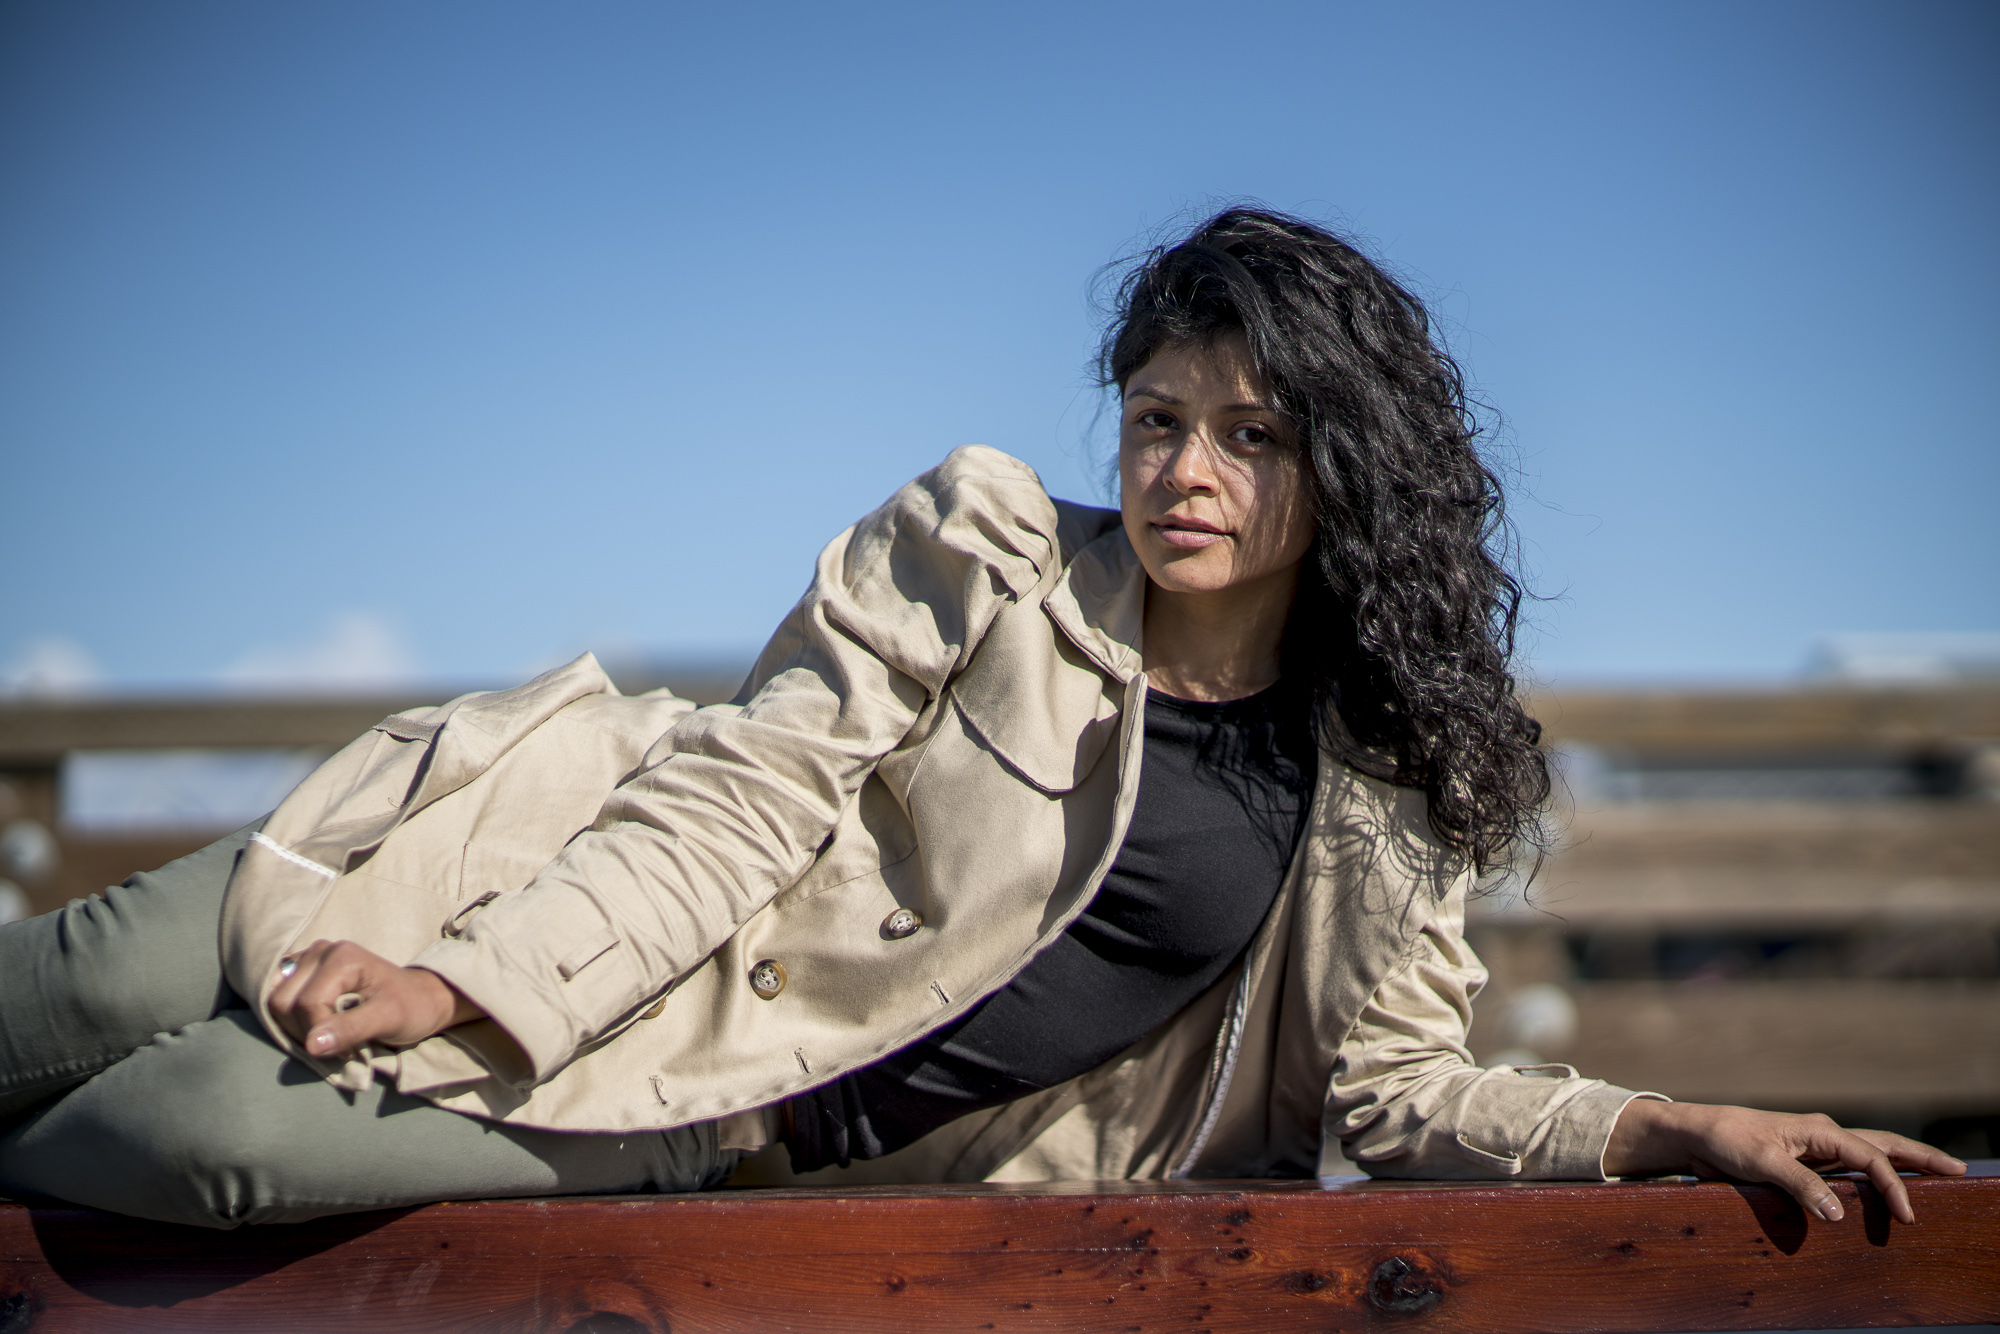
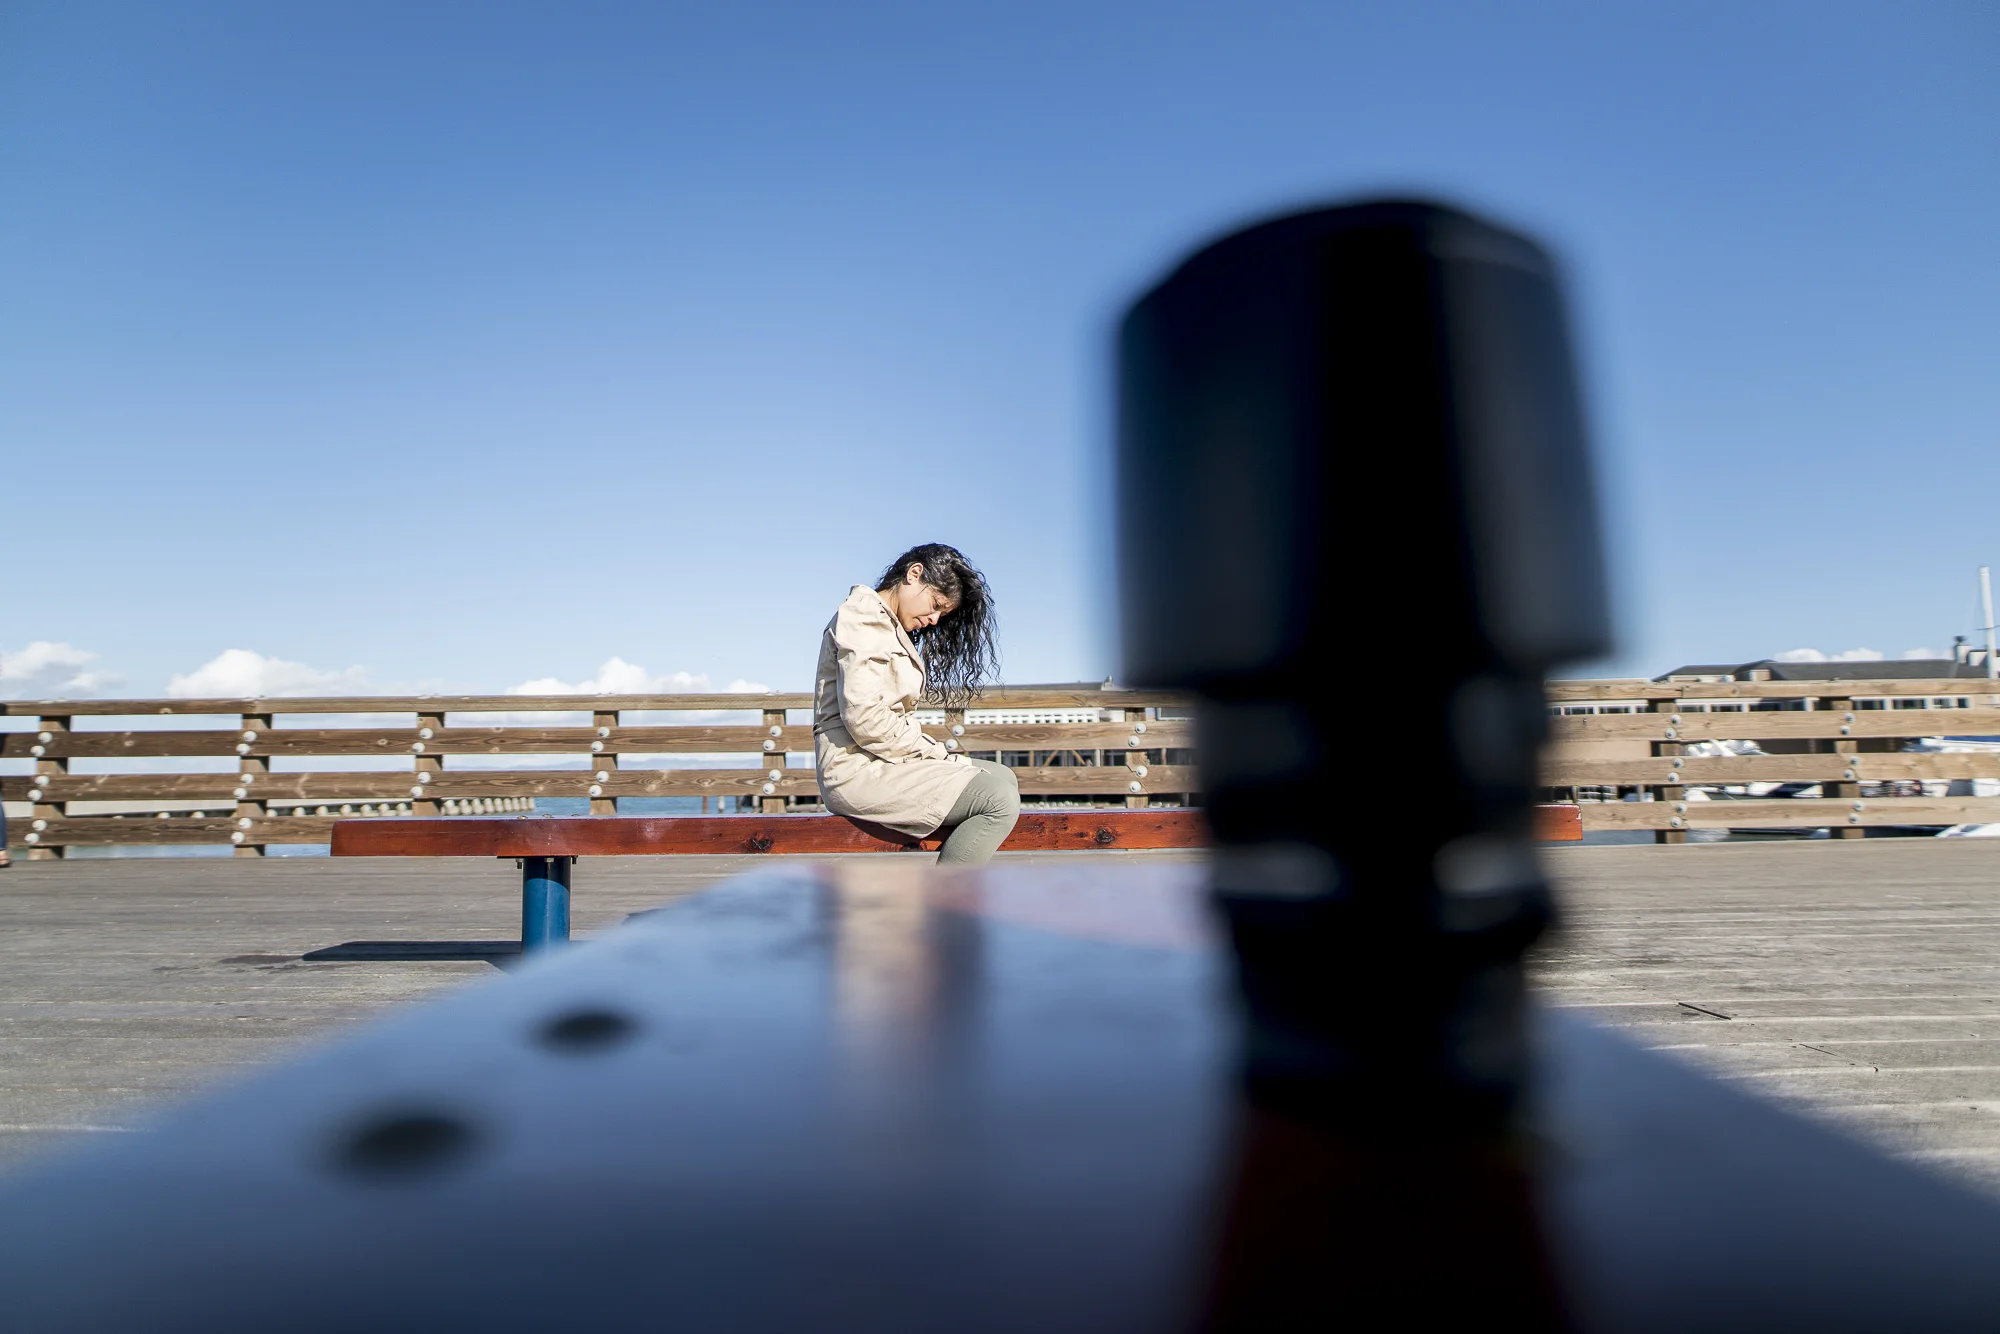
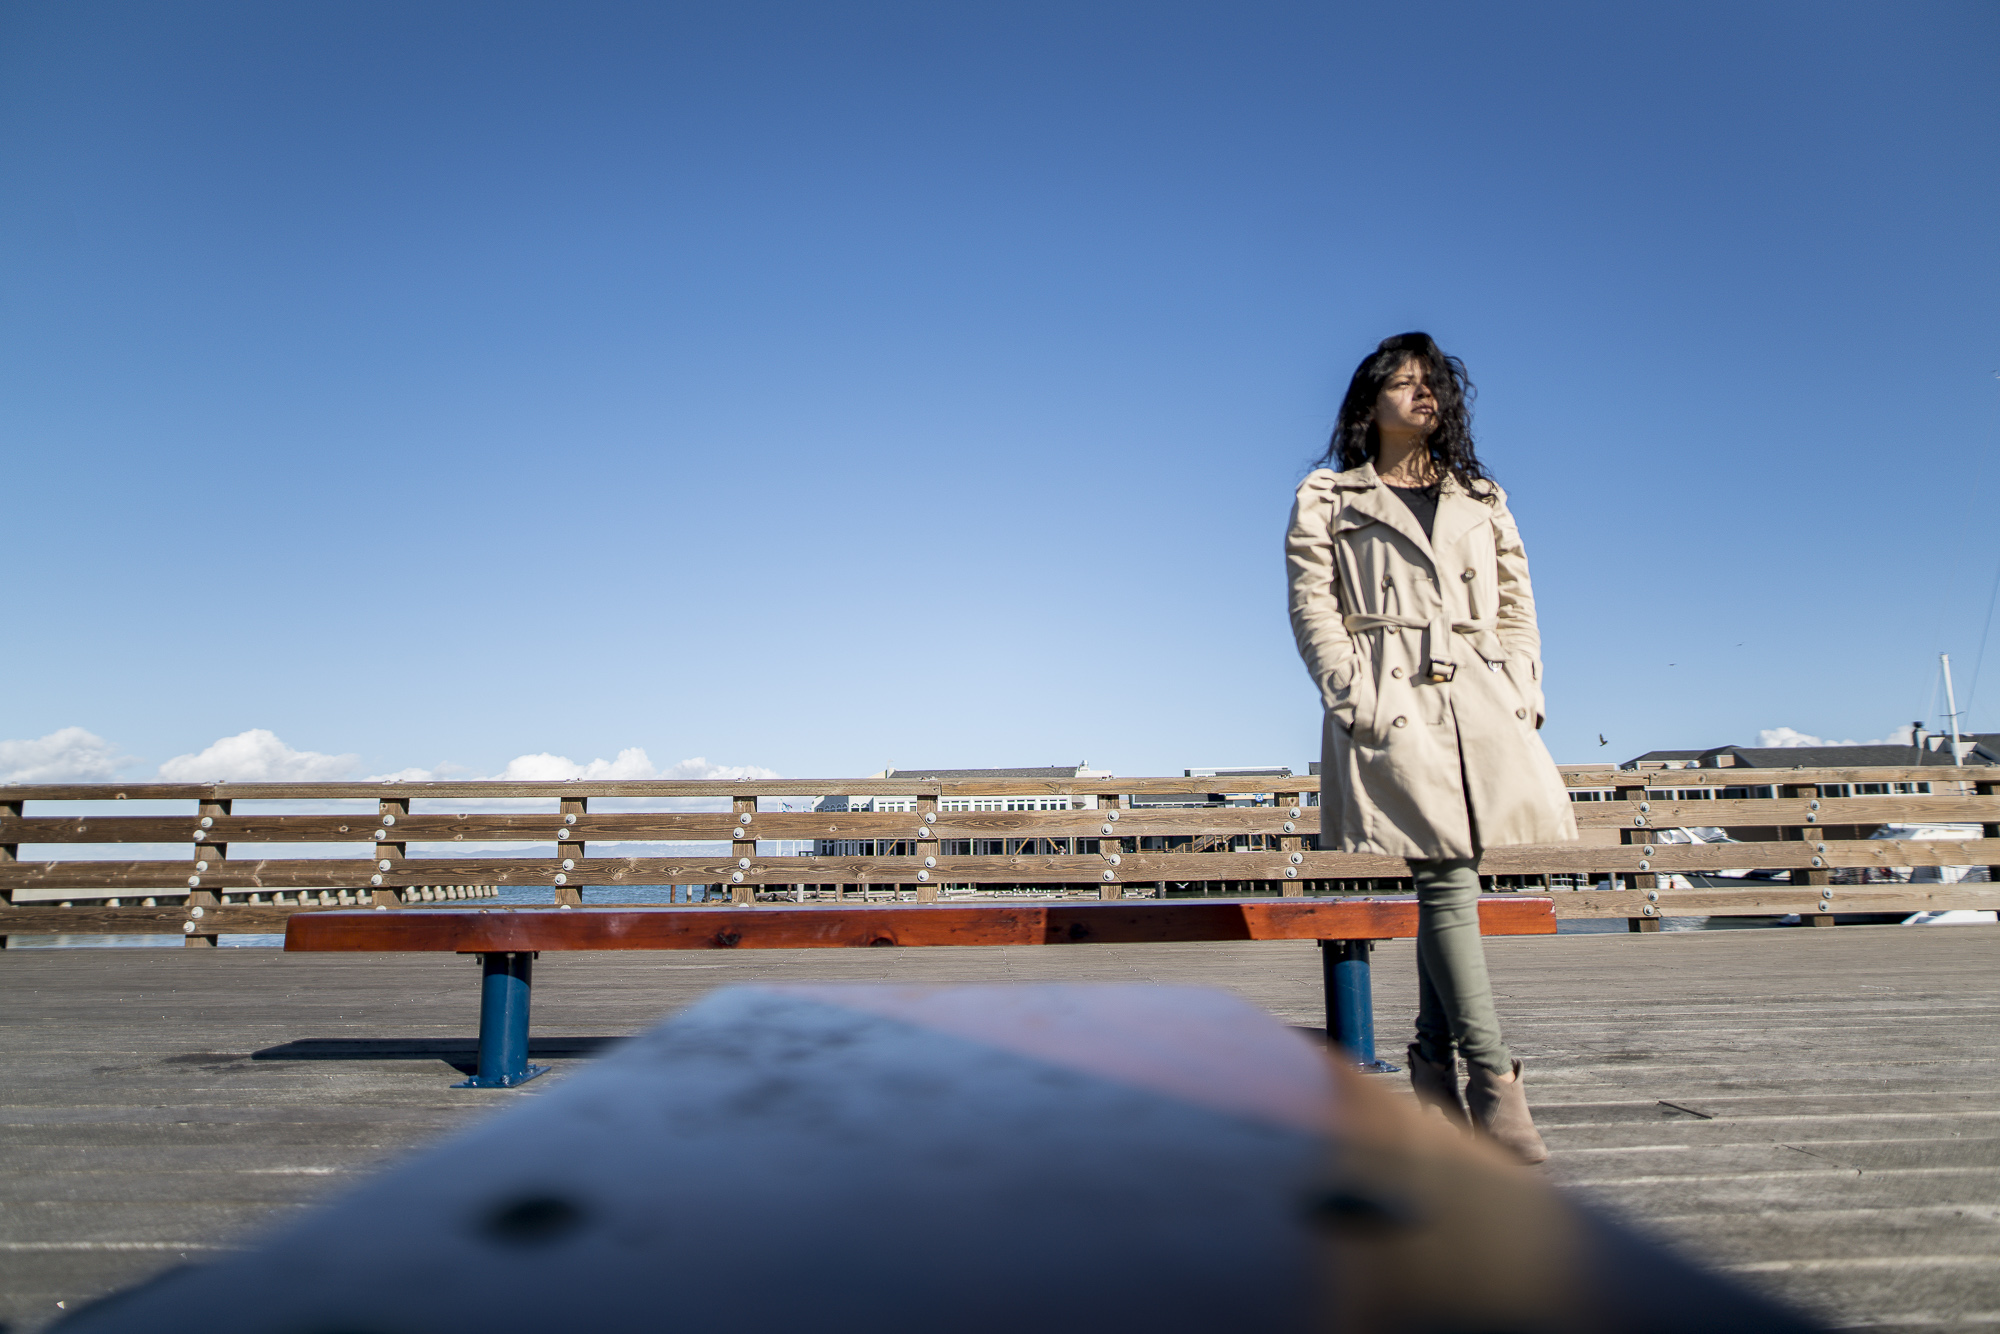
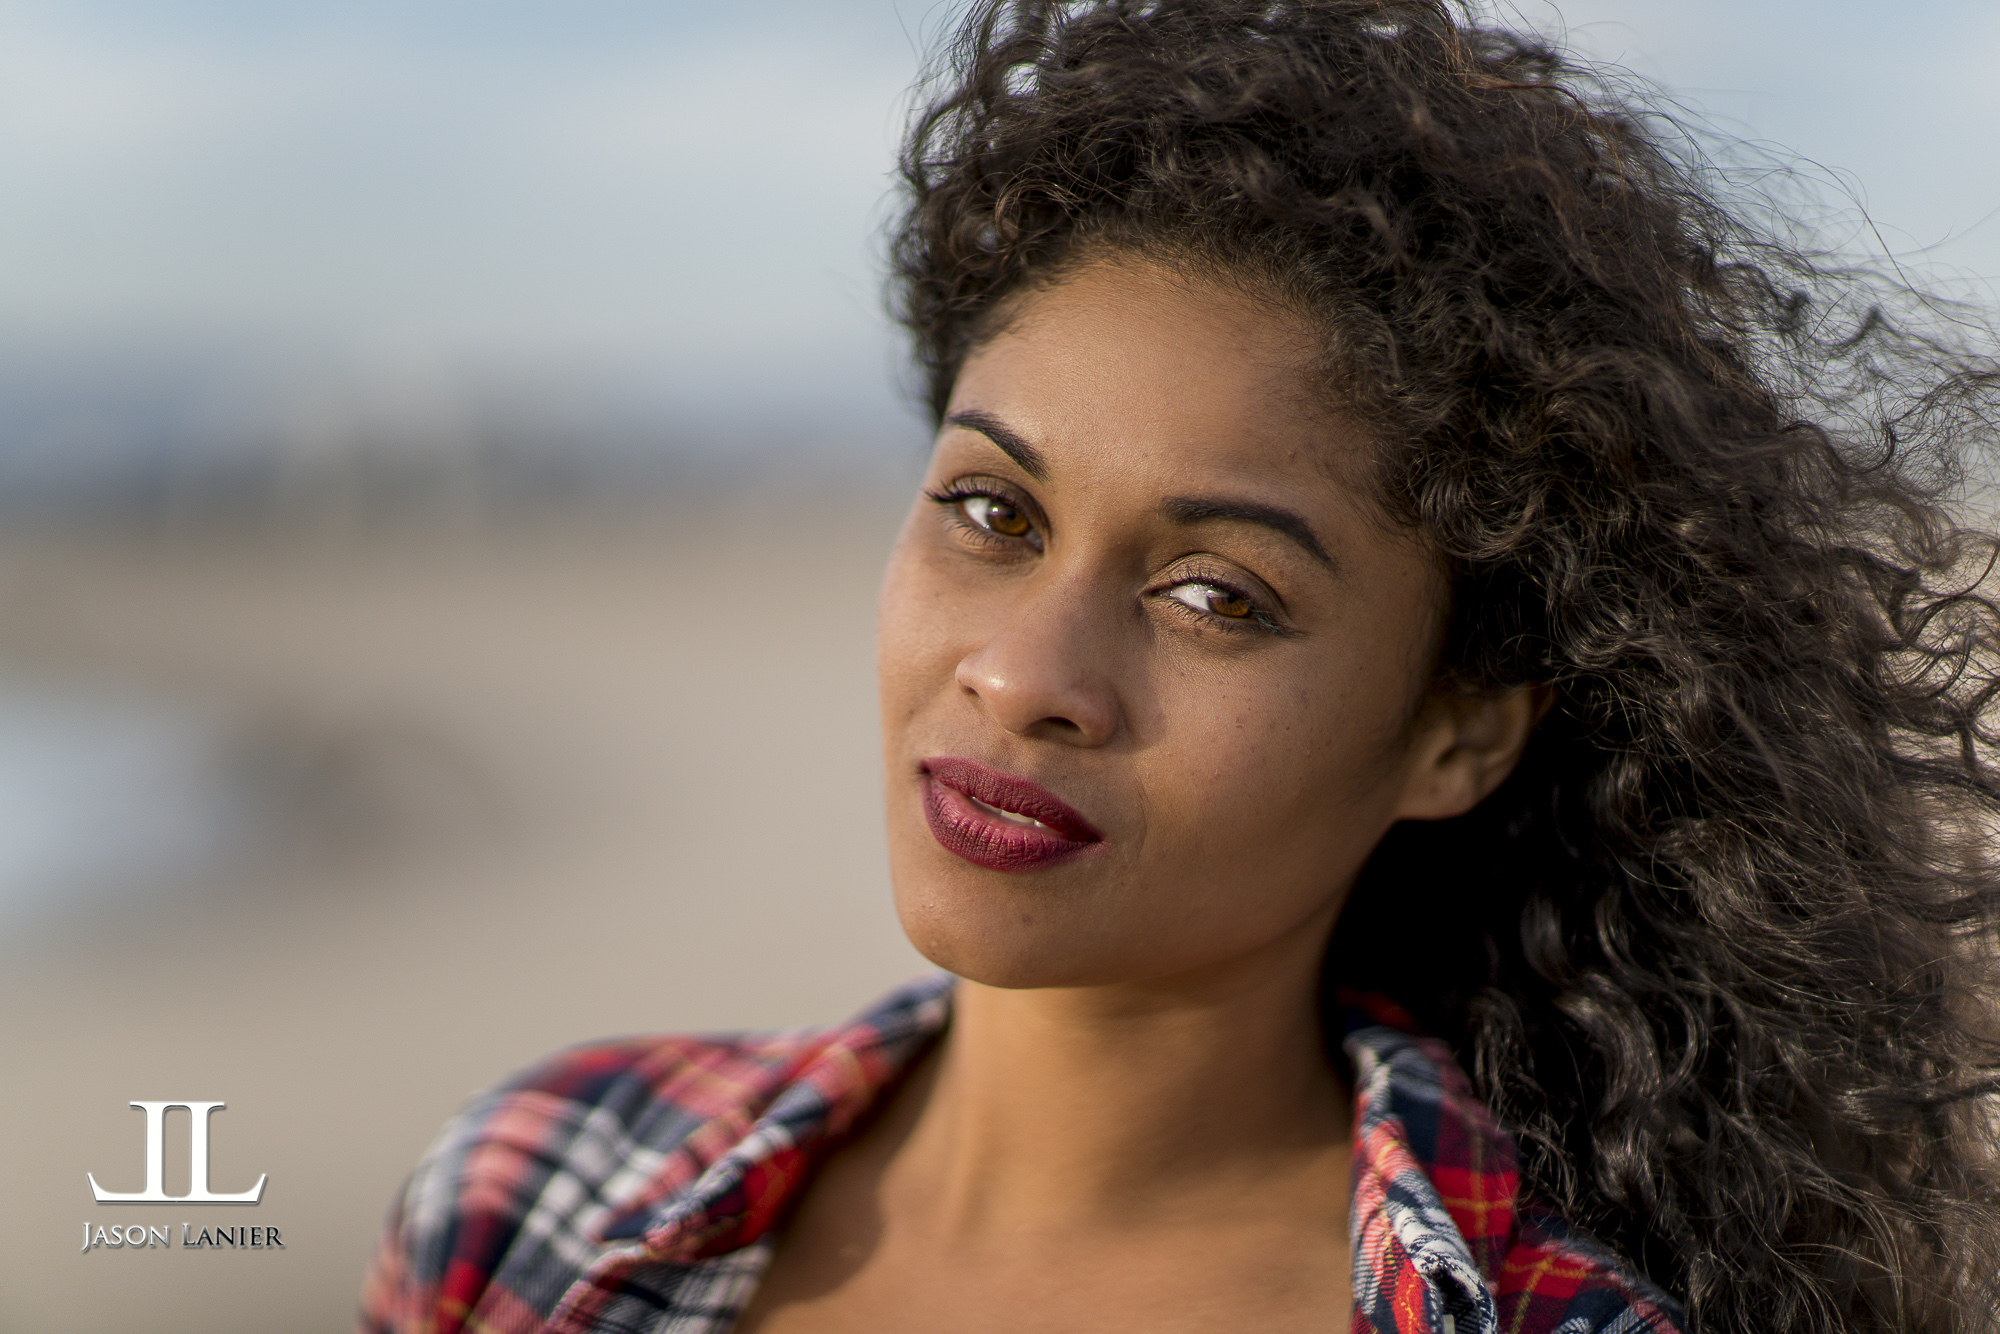
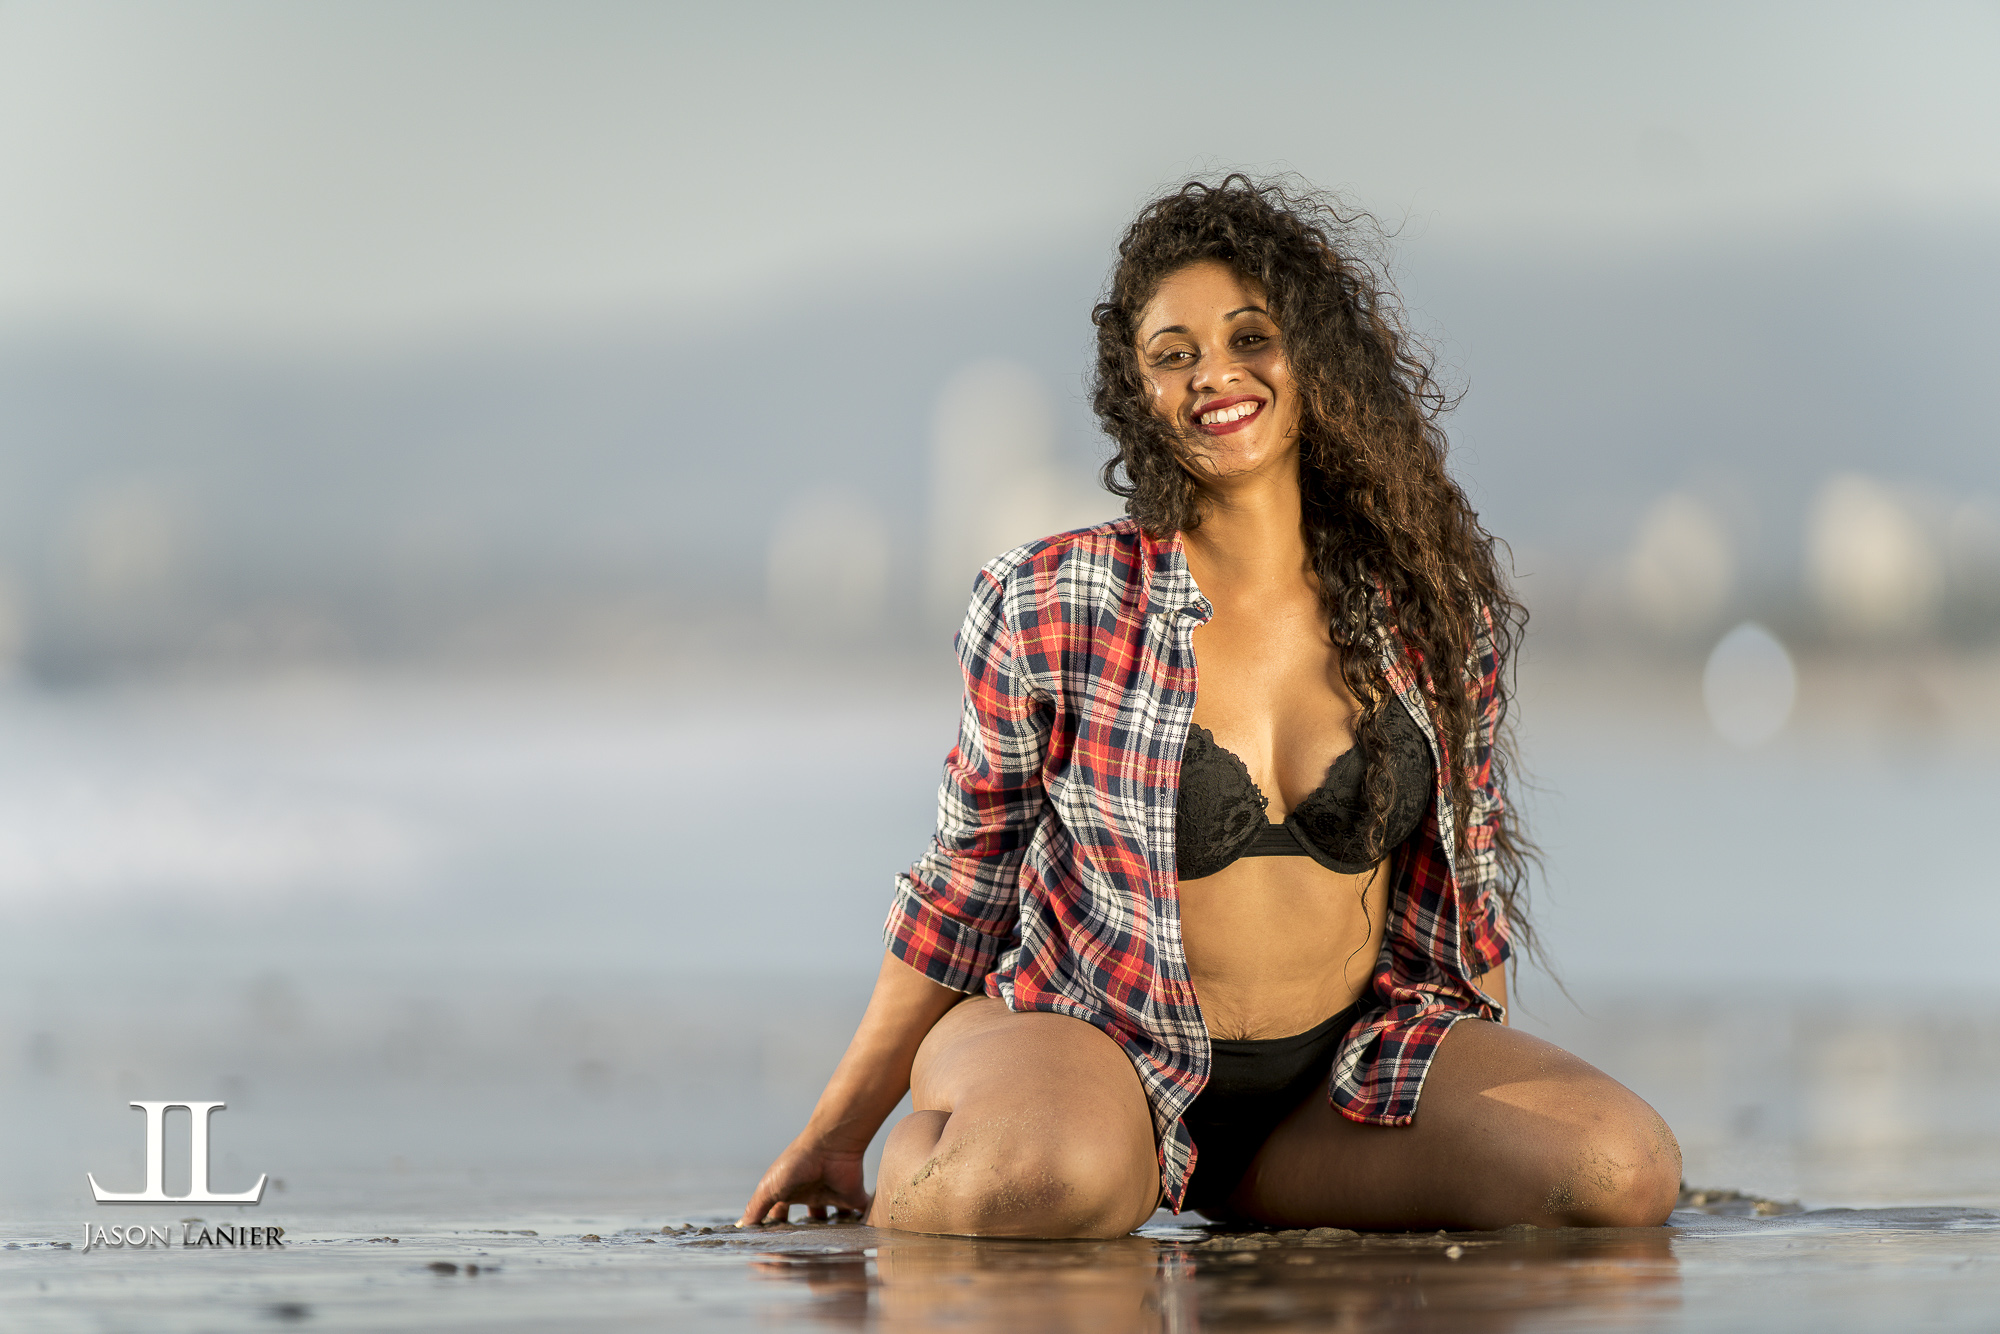
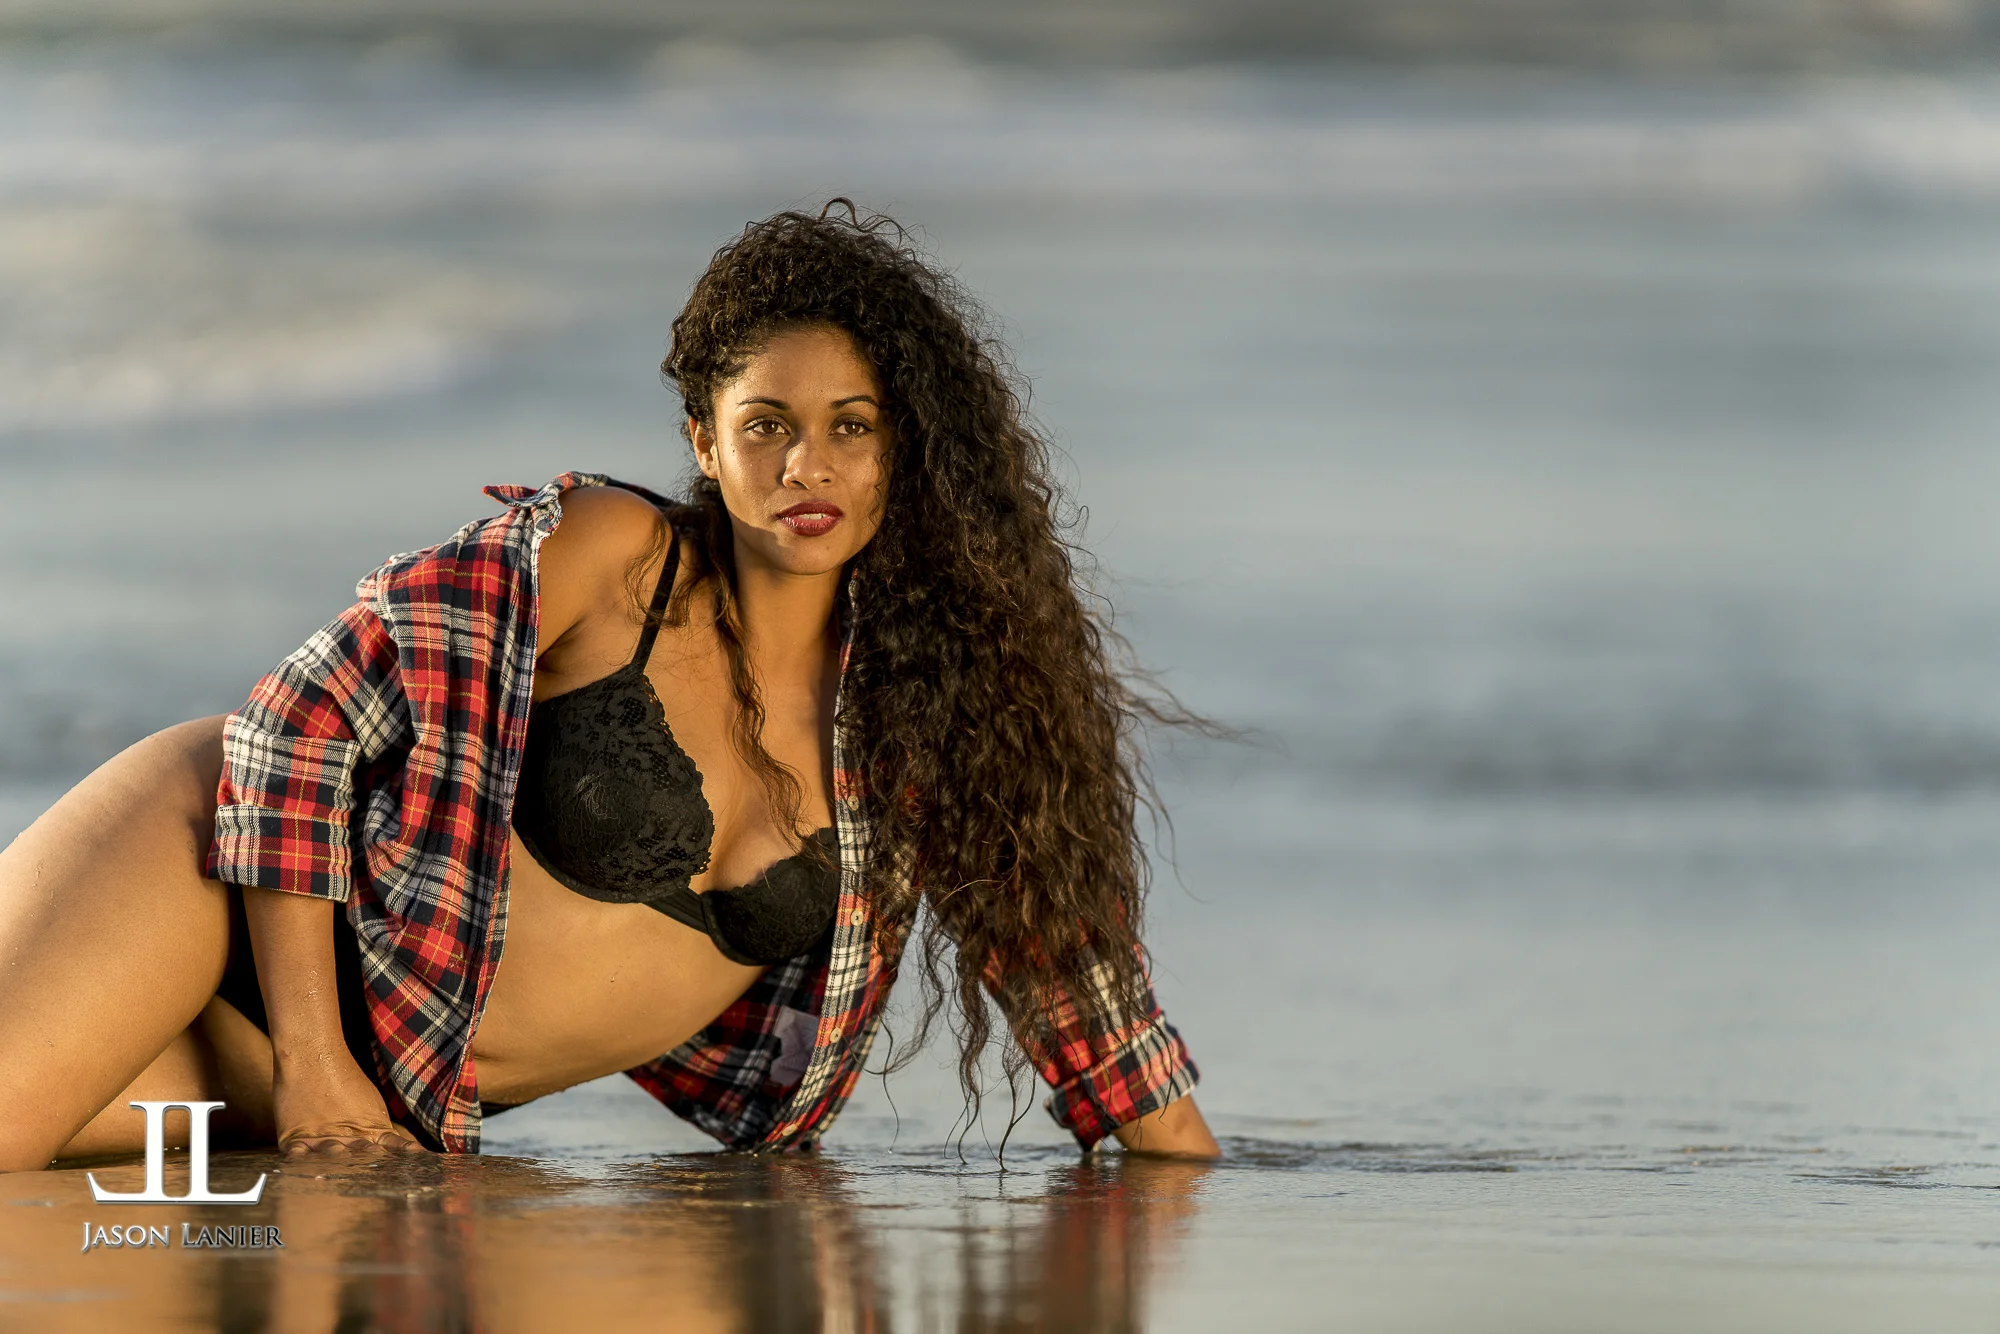
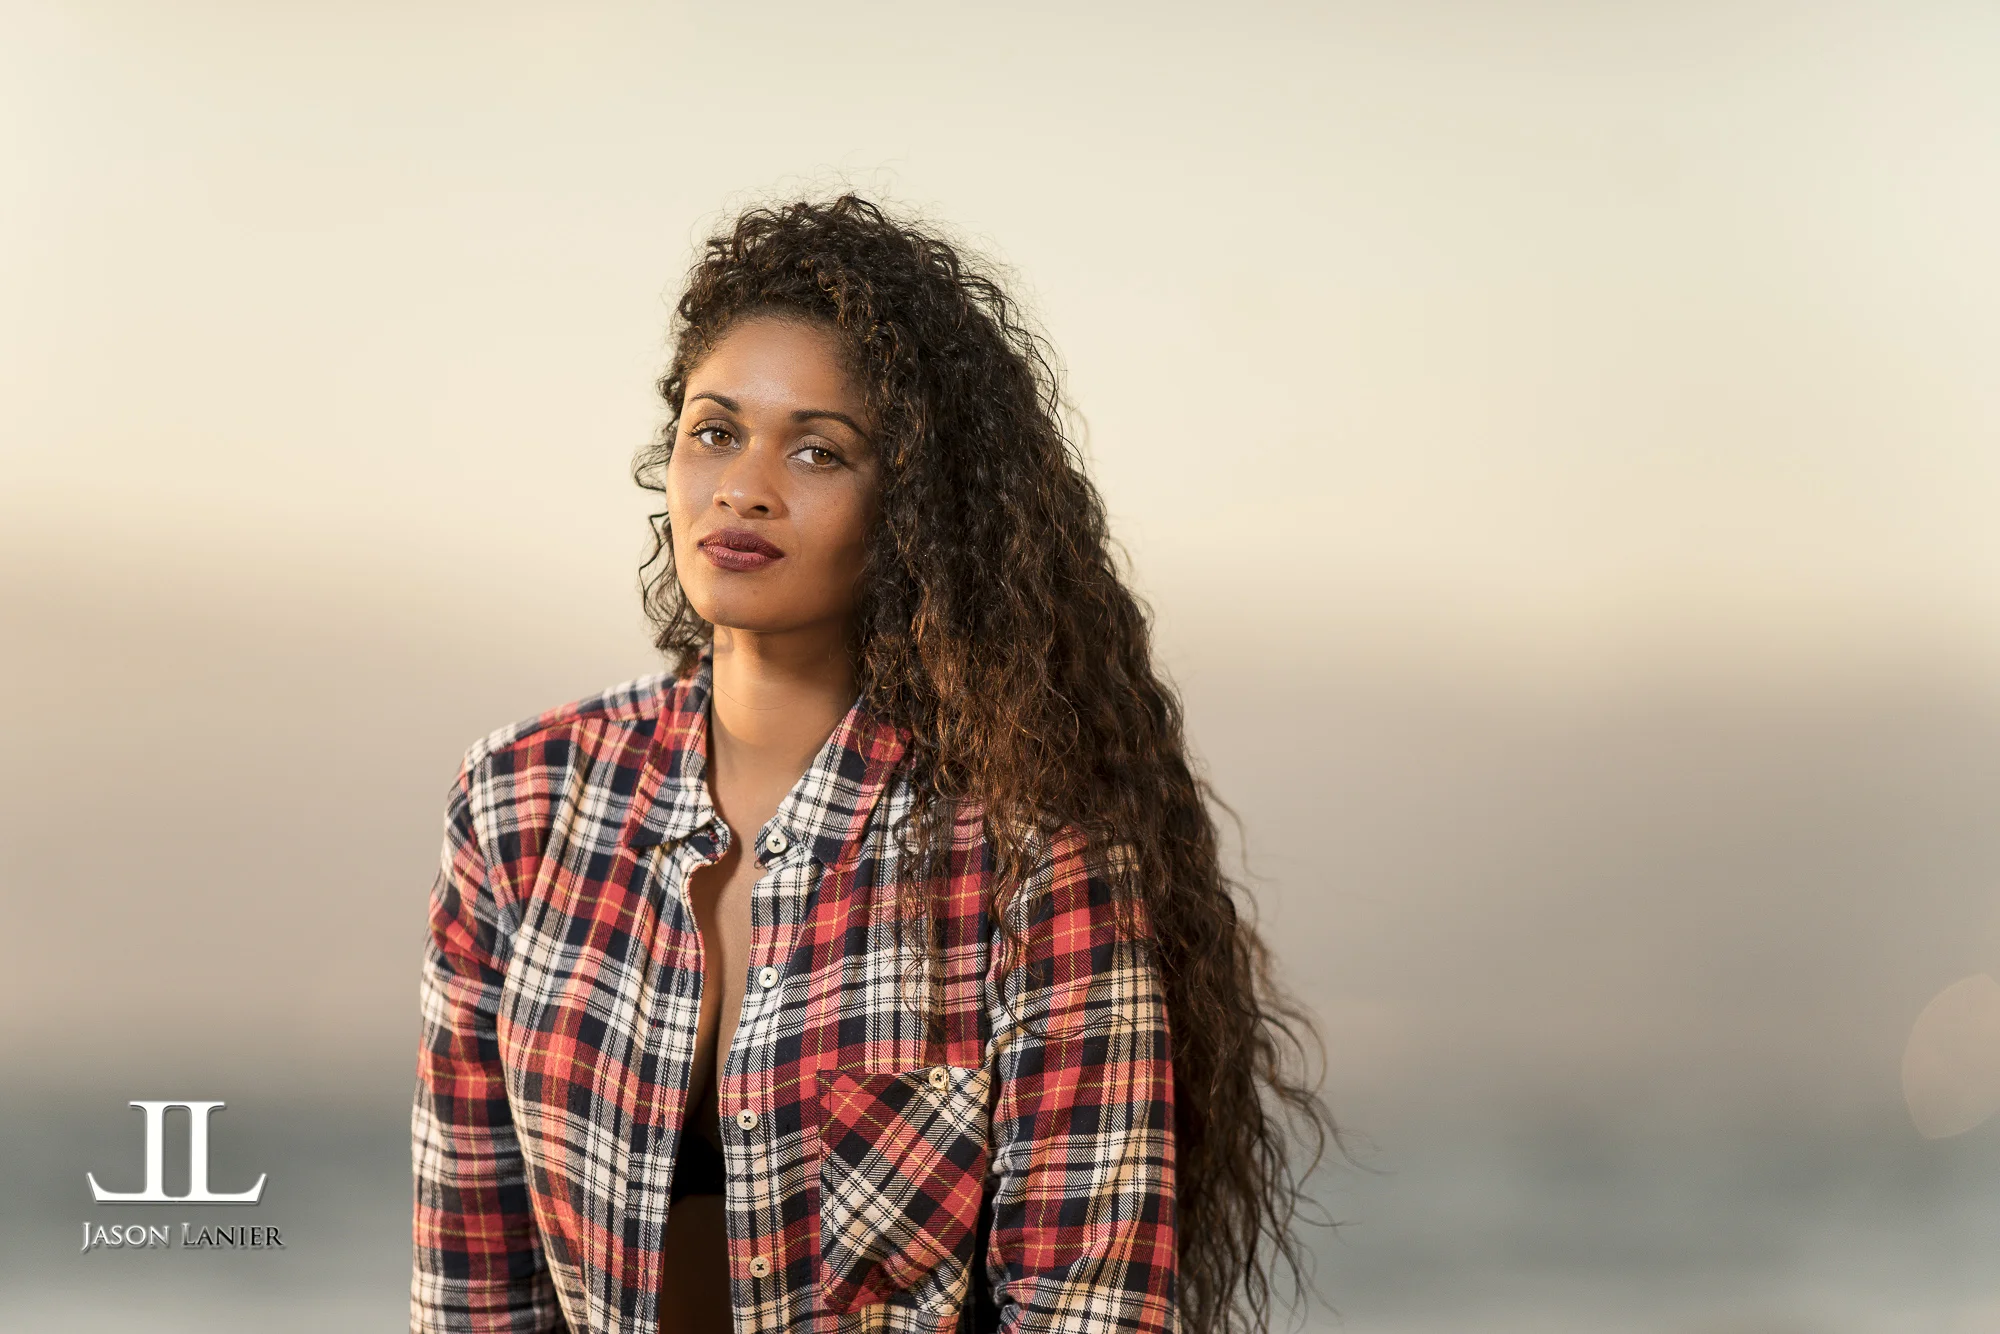
Below are the images taken during the shoot and I'm separating them by the lens used. Both sets of images were taken with the lenses shooting wide open at 100 ISO with the Sony A7Rii.
Images taken with the 70-200 G Master Lens

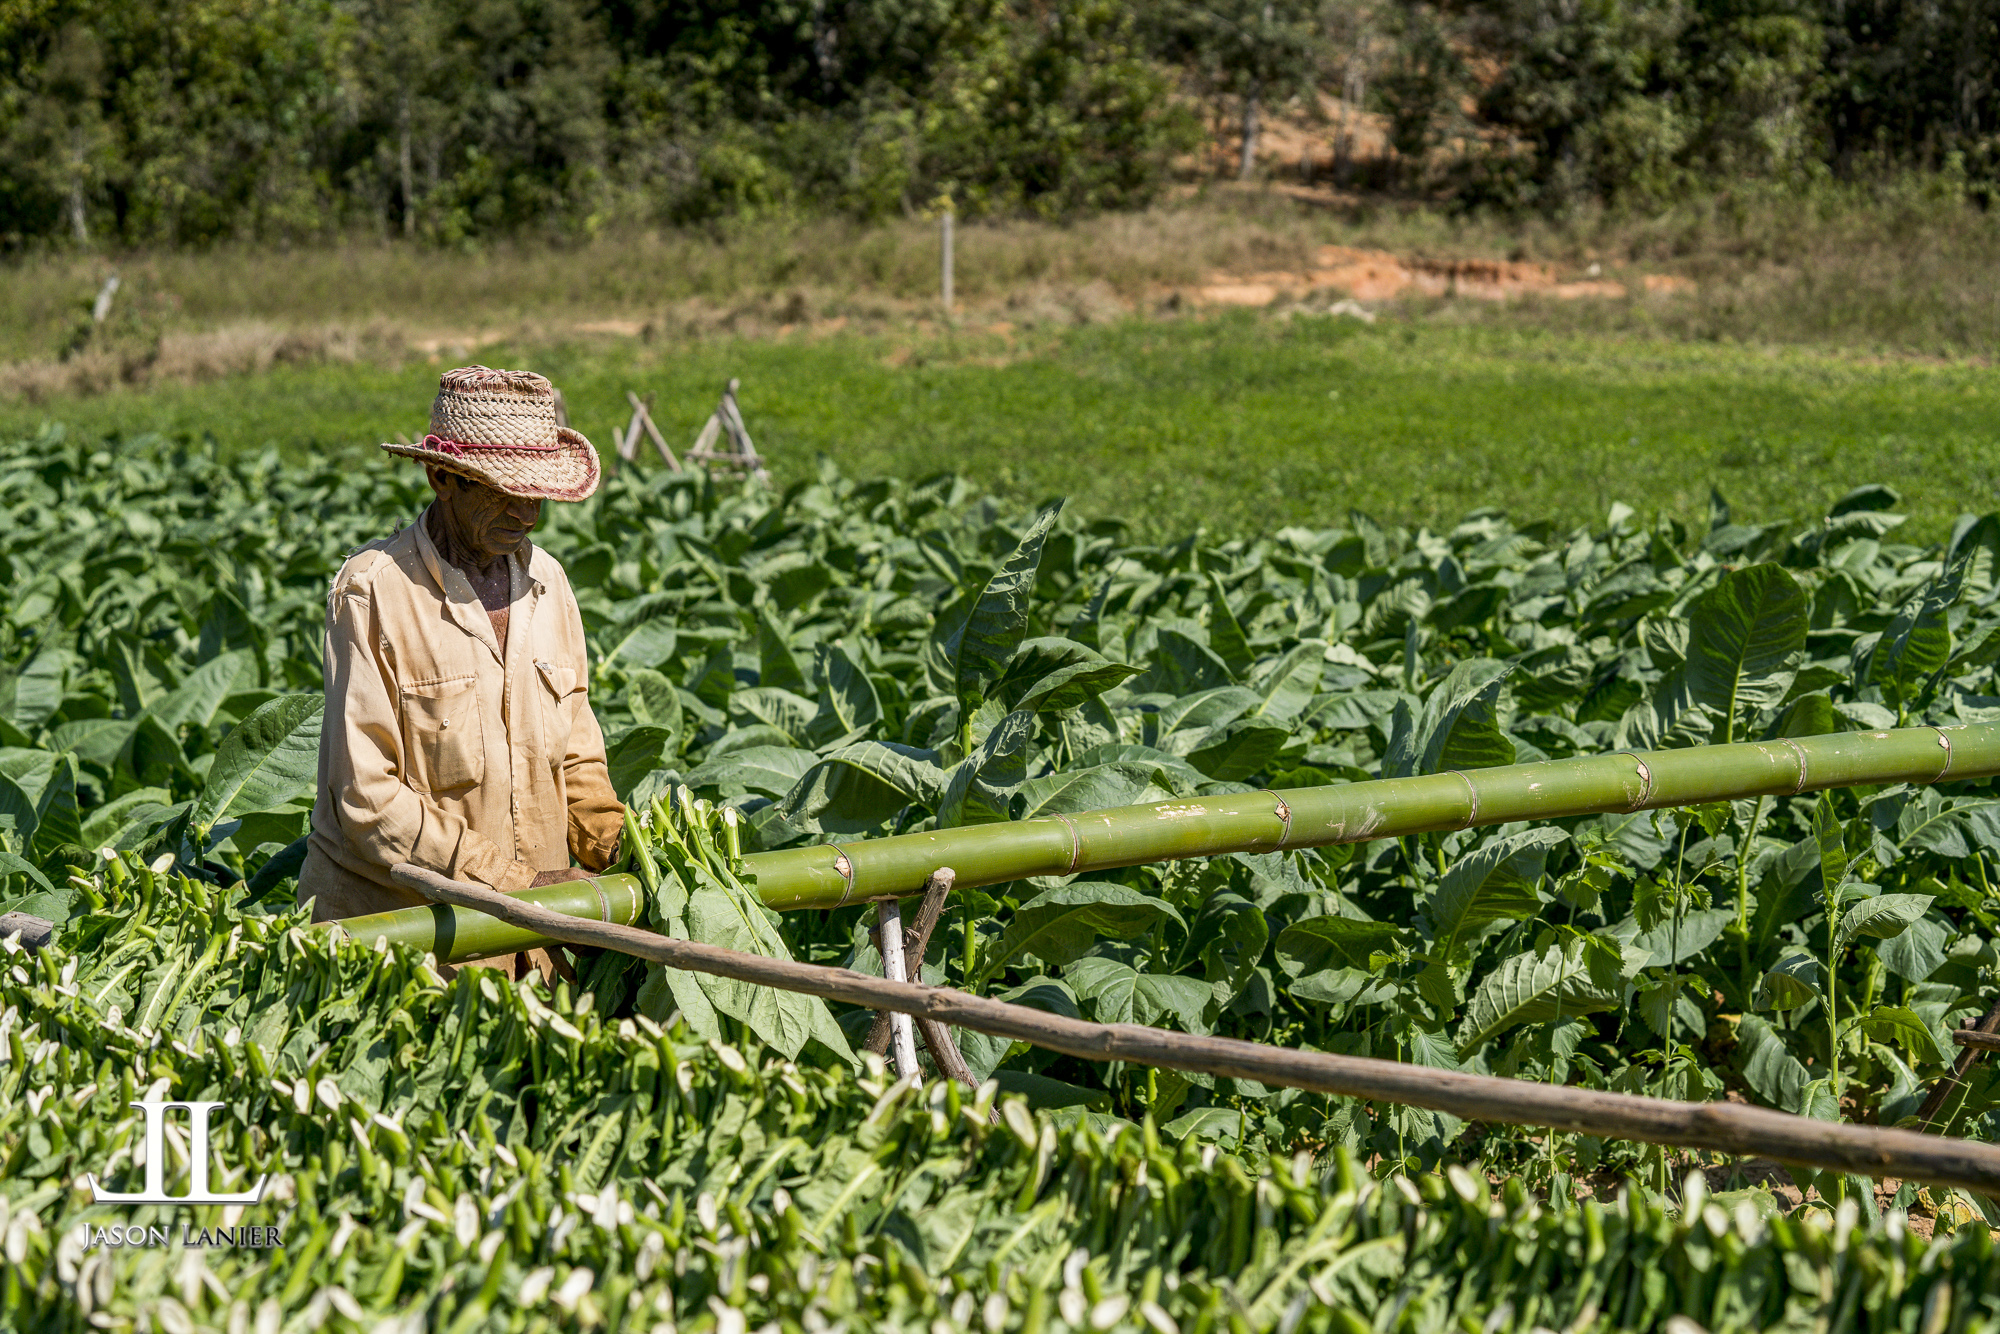


Images taken using the Sony FE 100mm STF lens


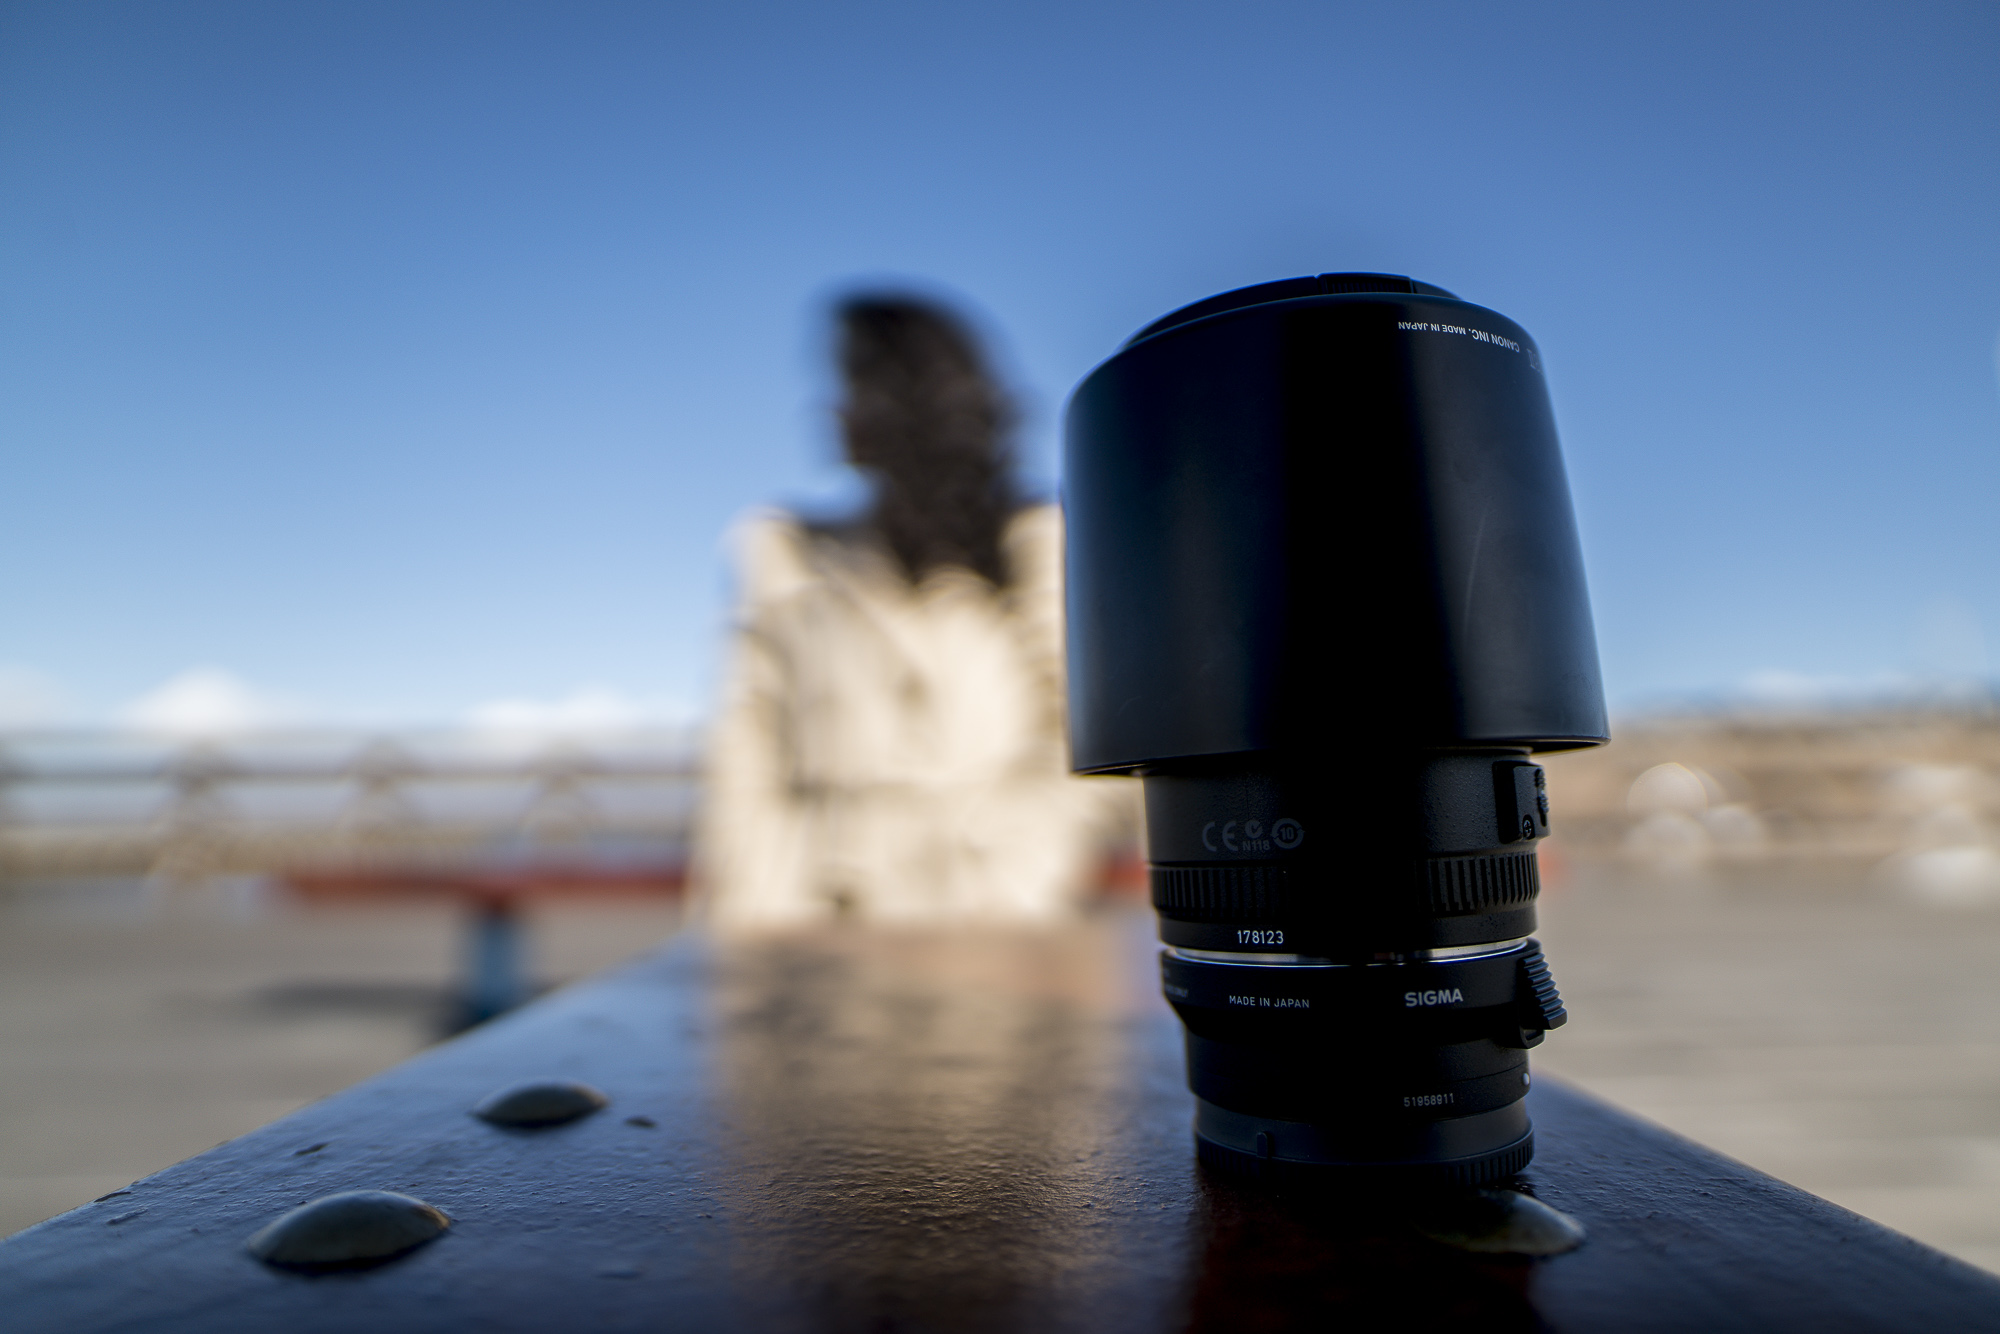
***Links to Gear***
I really hope you enjoy the video and this complementary blog post. I invite you guys to subscribe to both my Youtube Channel and my blog and thank you for visiting today.
Adios!
Jason