Viewing entries tagged
sony zeiss 35mm

Hands on Review of the Fuji 23mm f/1.4 lens for Fuji Crop Sensor Cameras

Comment

Hands on Review of the Fuji 23mm f/1.4 lens for Fuji Crop Sensor Cameras

How does the 23mm Fuji lens (35mm equivalent) hold up to it’s full frame competitors like the Sony Zeiss 35mm? Wanna see comparison pics as well as finished images from model and landscape shoots? Check out the video review of this lens below that shows it all to help you see what this lens can do when used with the Fuji X-S10 crop sensor body. Click below to watch it now:

This lens is a little less expensive than the Sony Zeiss 35mm which I’ve used for years and is one of my favorite lenses. So I thought comparing the two lenses side by side would be beneficial because the 23mm is an equivalent of 35mm (1..5x crop factor) since it’s being used on a crop sensor body.

Below are the images from the two cameras. What do you think? Both sets of images were shot in Raw, Auto White Balance, and are completely unedited.

This is the Sony A9 with the 35mm f/1.4 Sony Zeiss

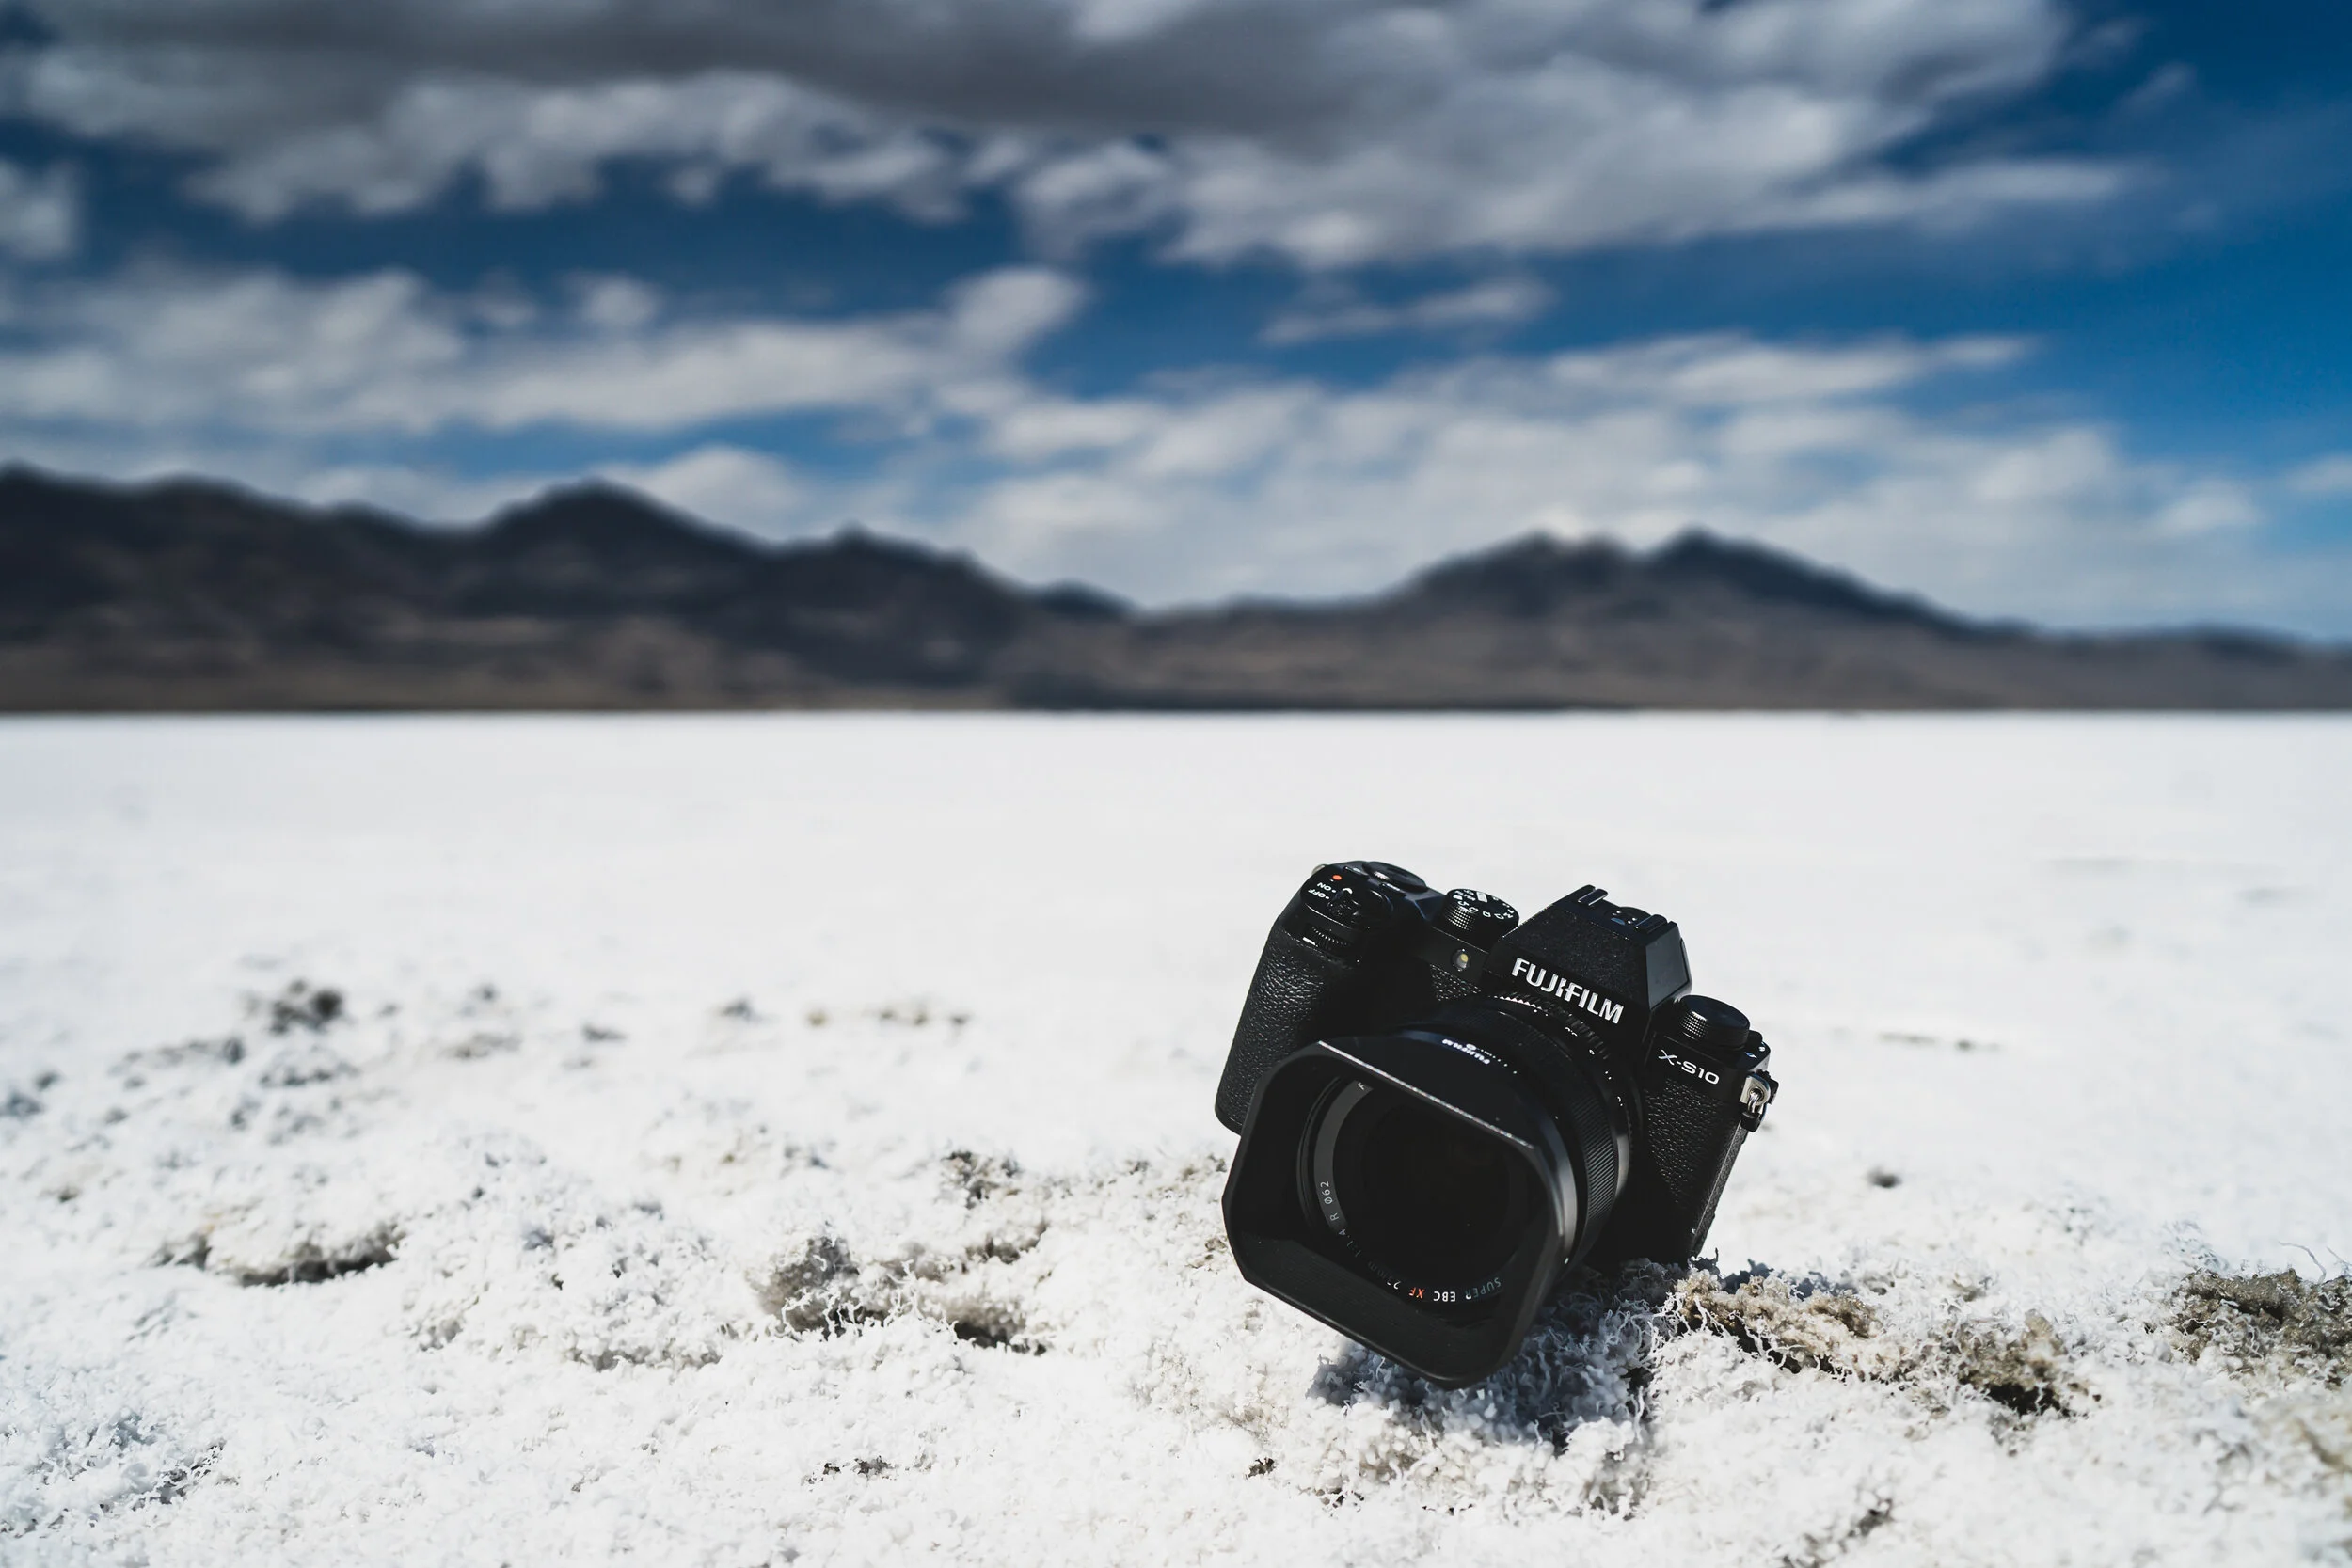
This is the Fuji X-S10 using the 23mm f/1.4 lens

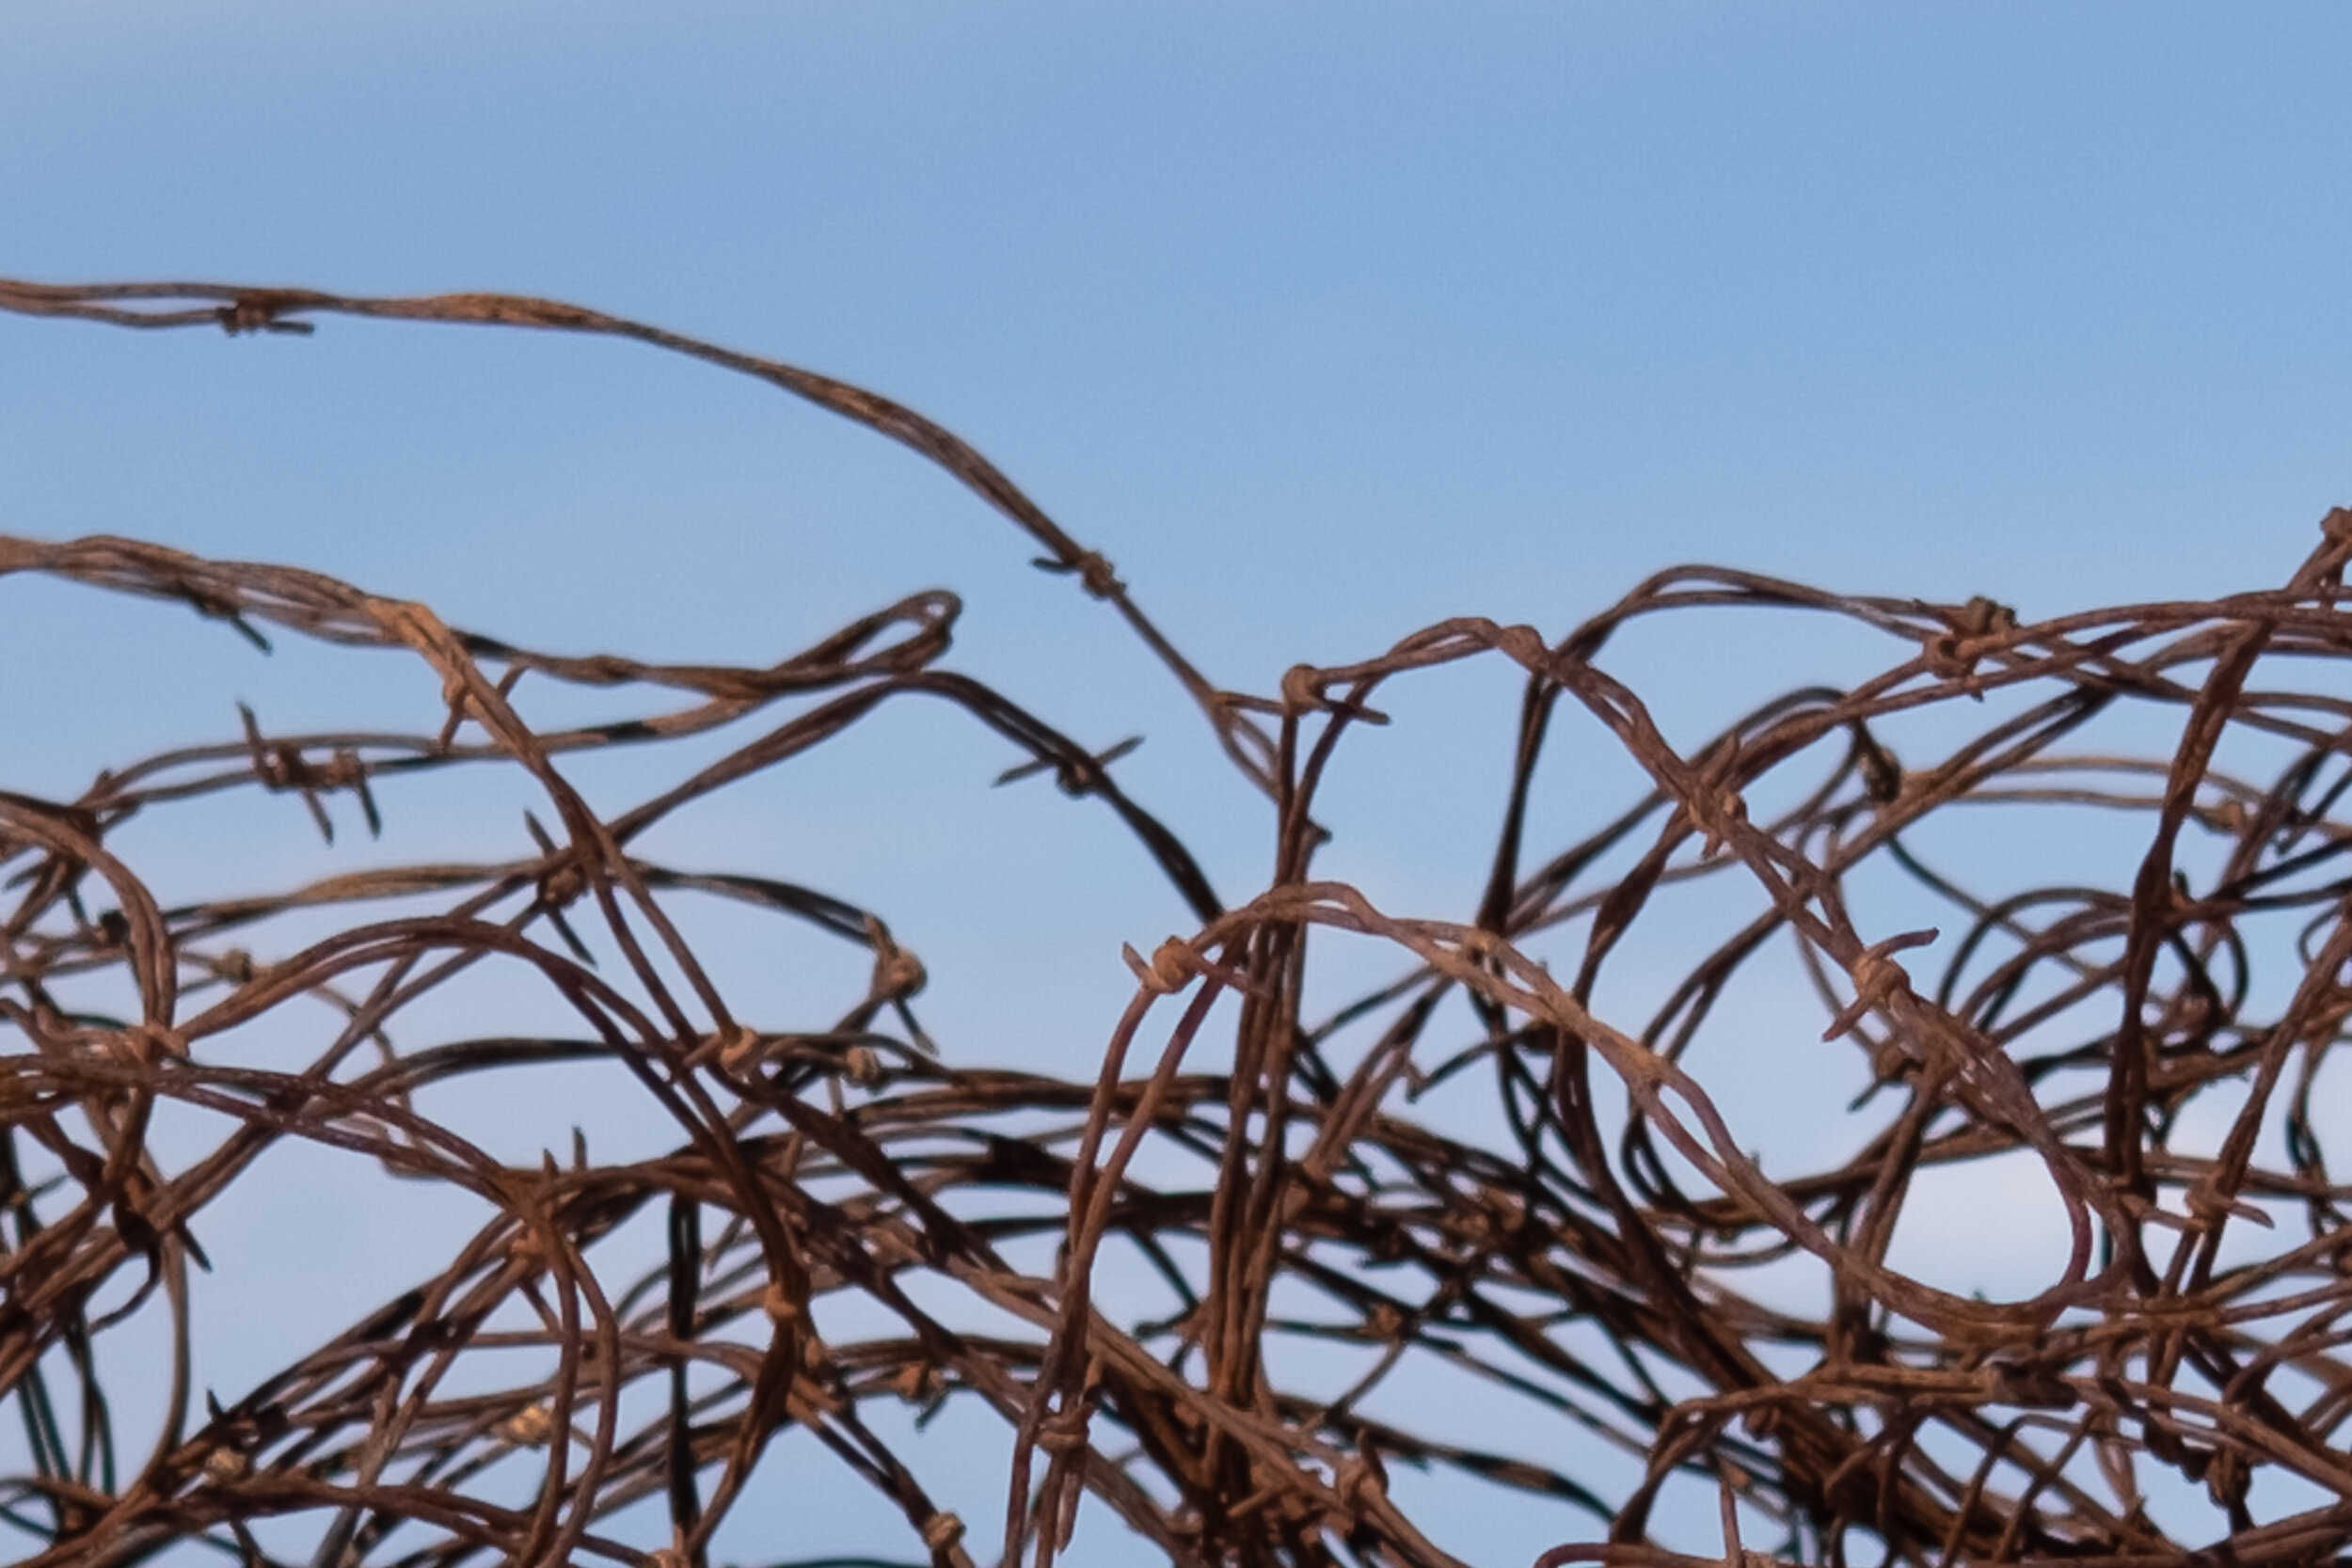
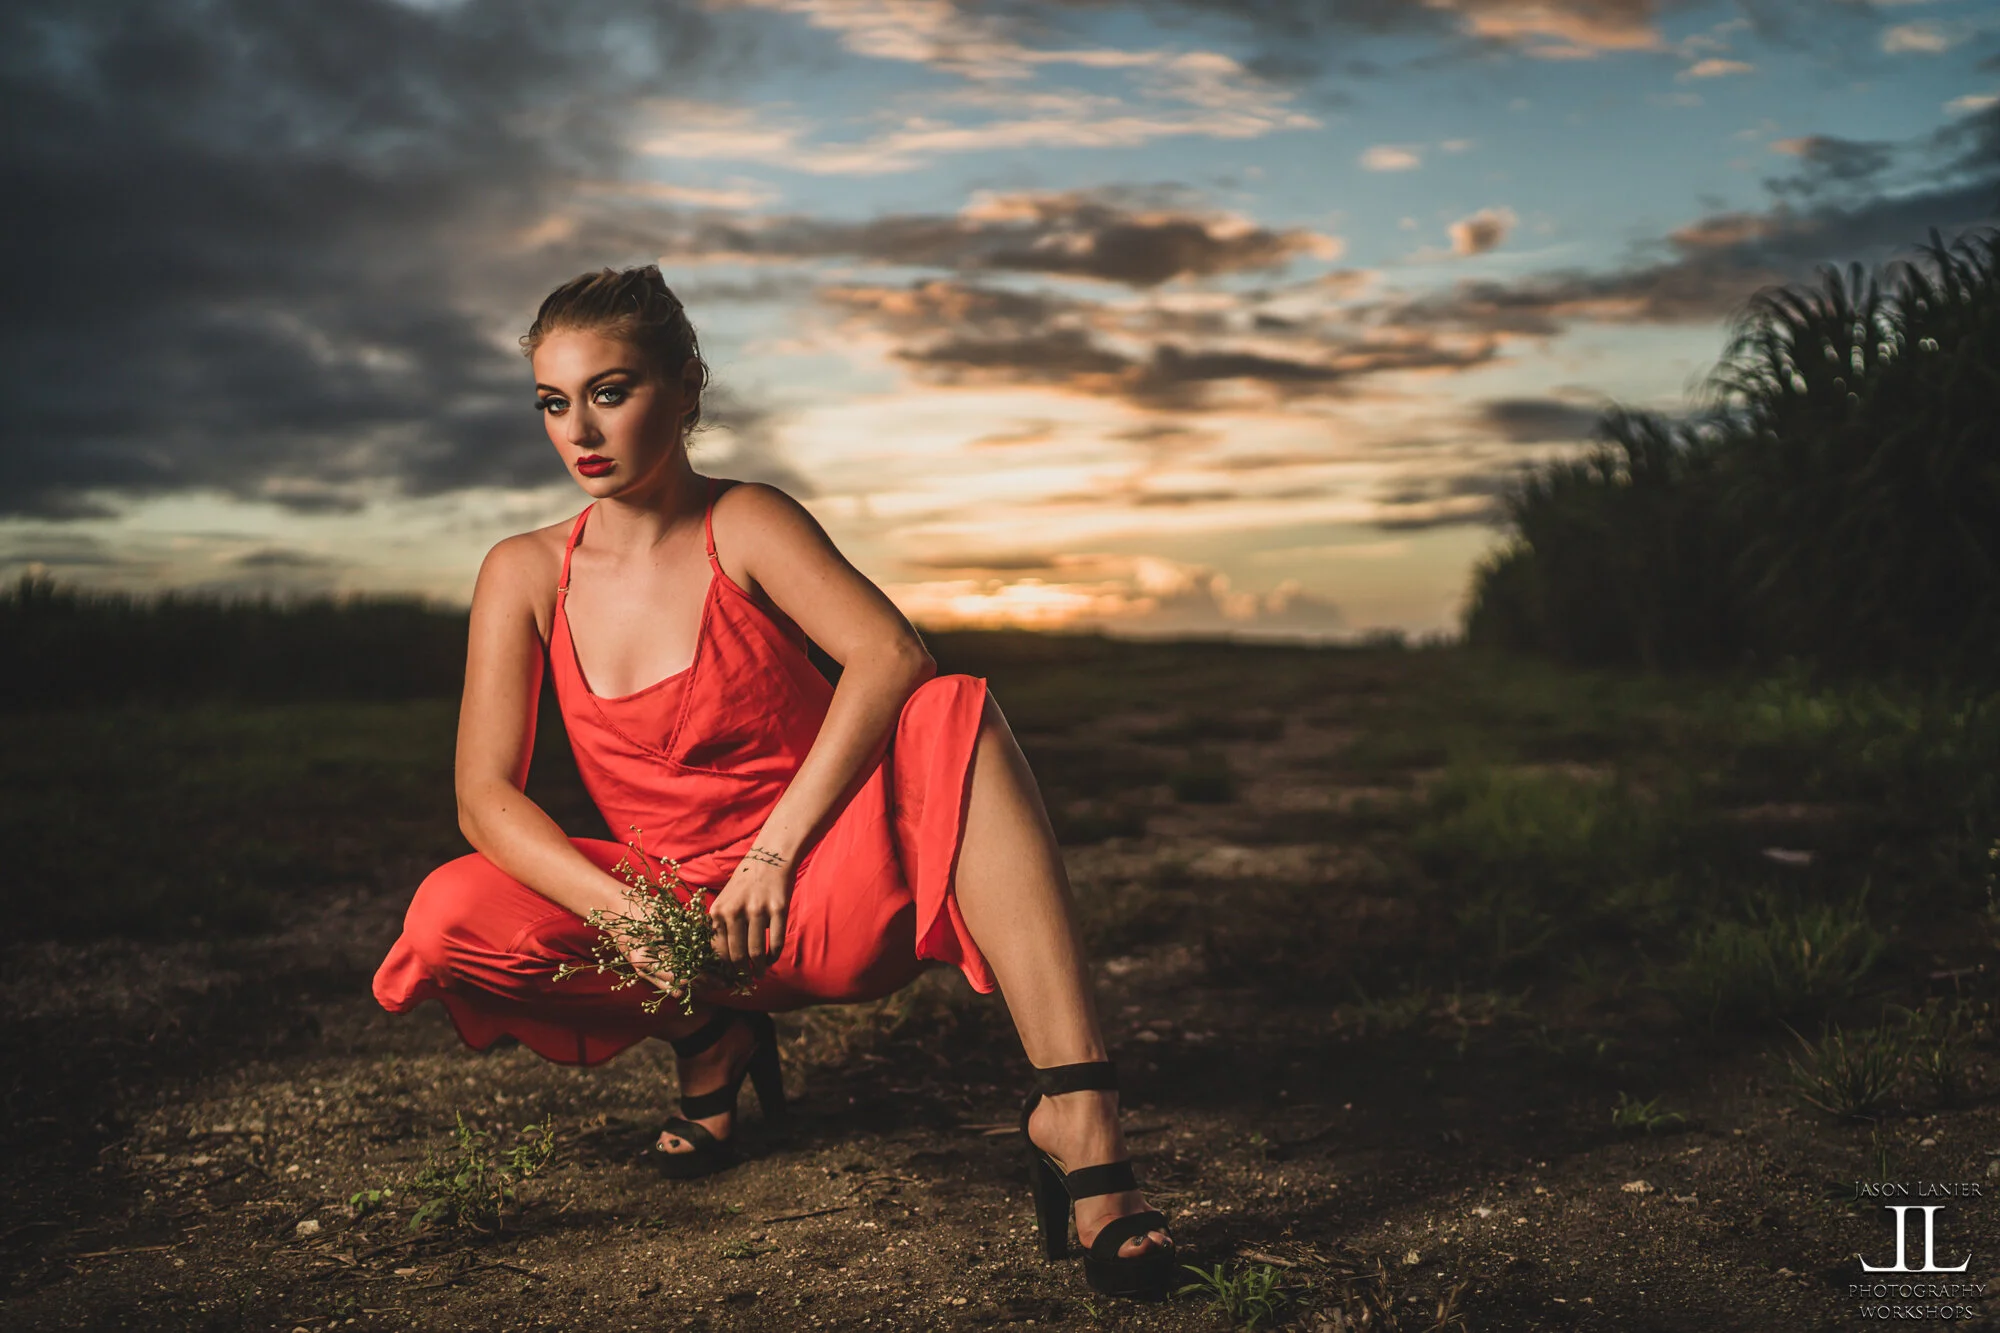
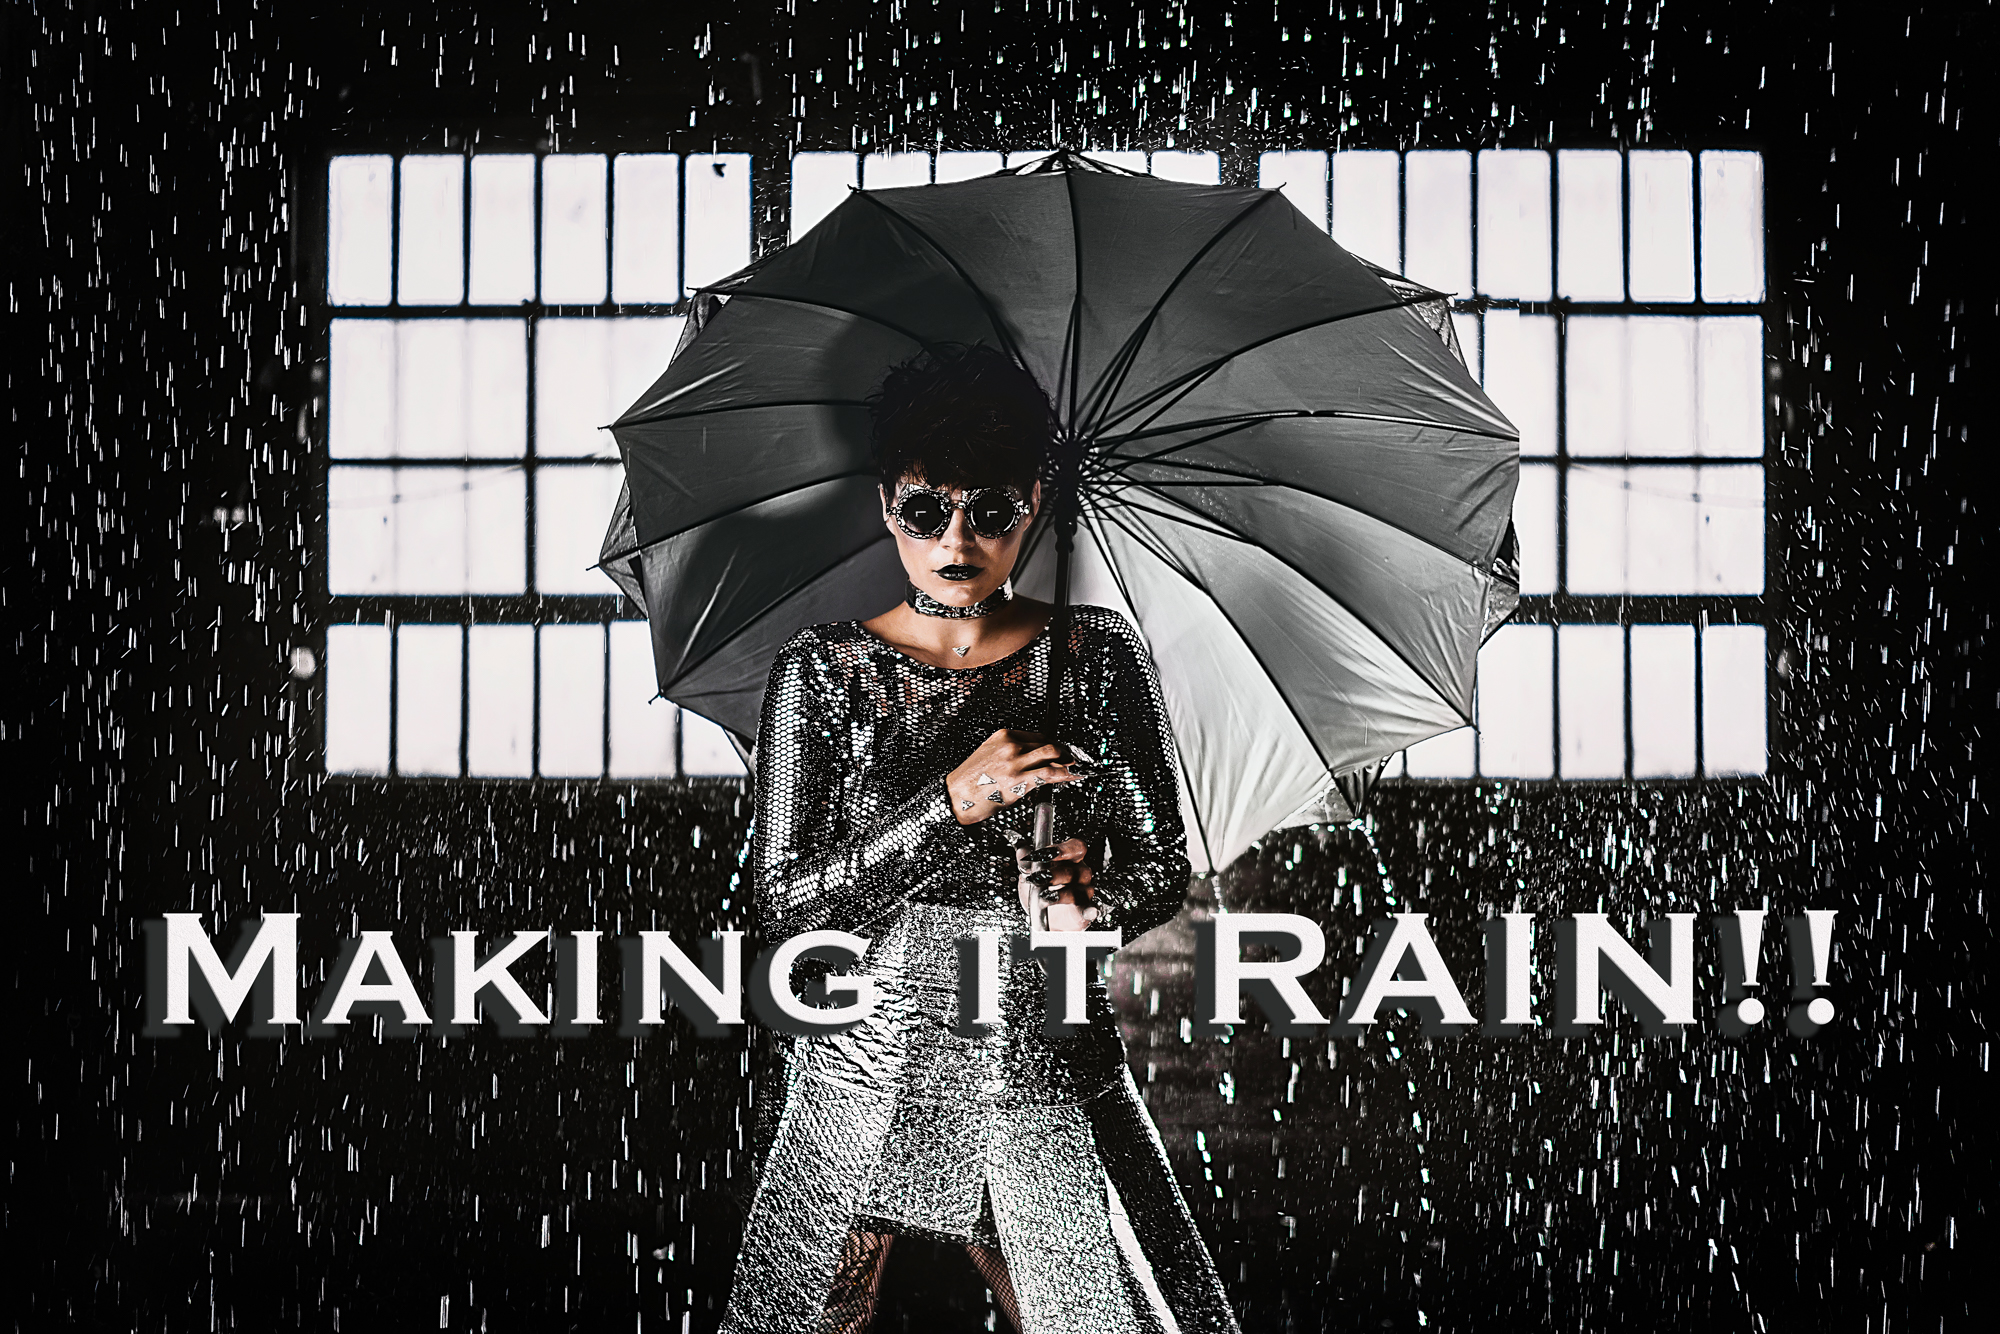
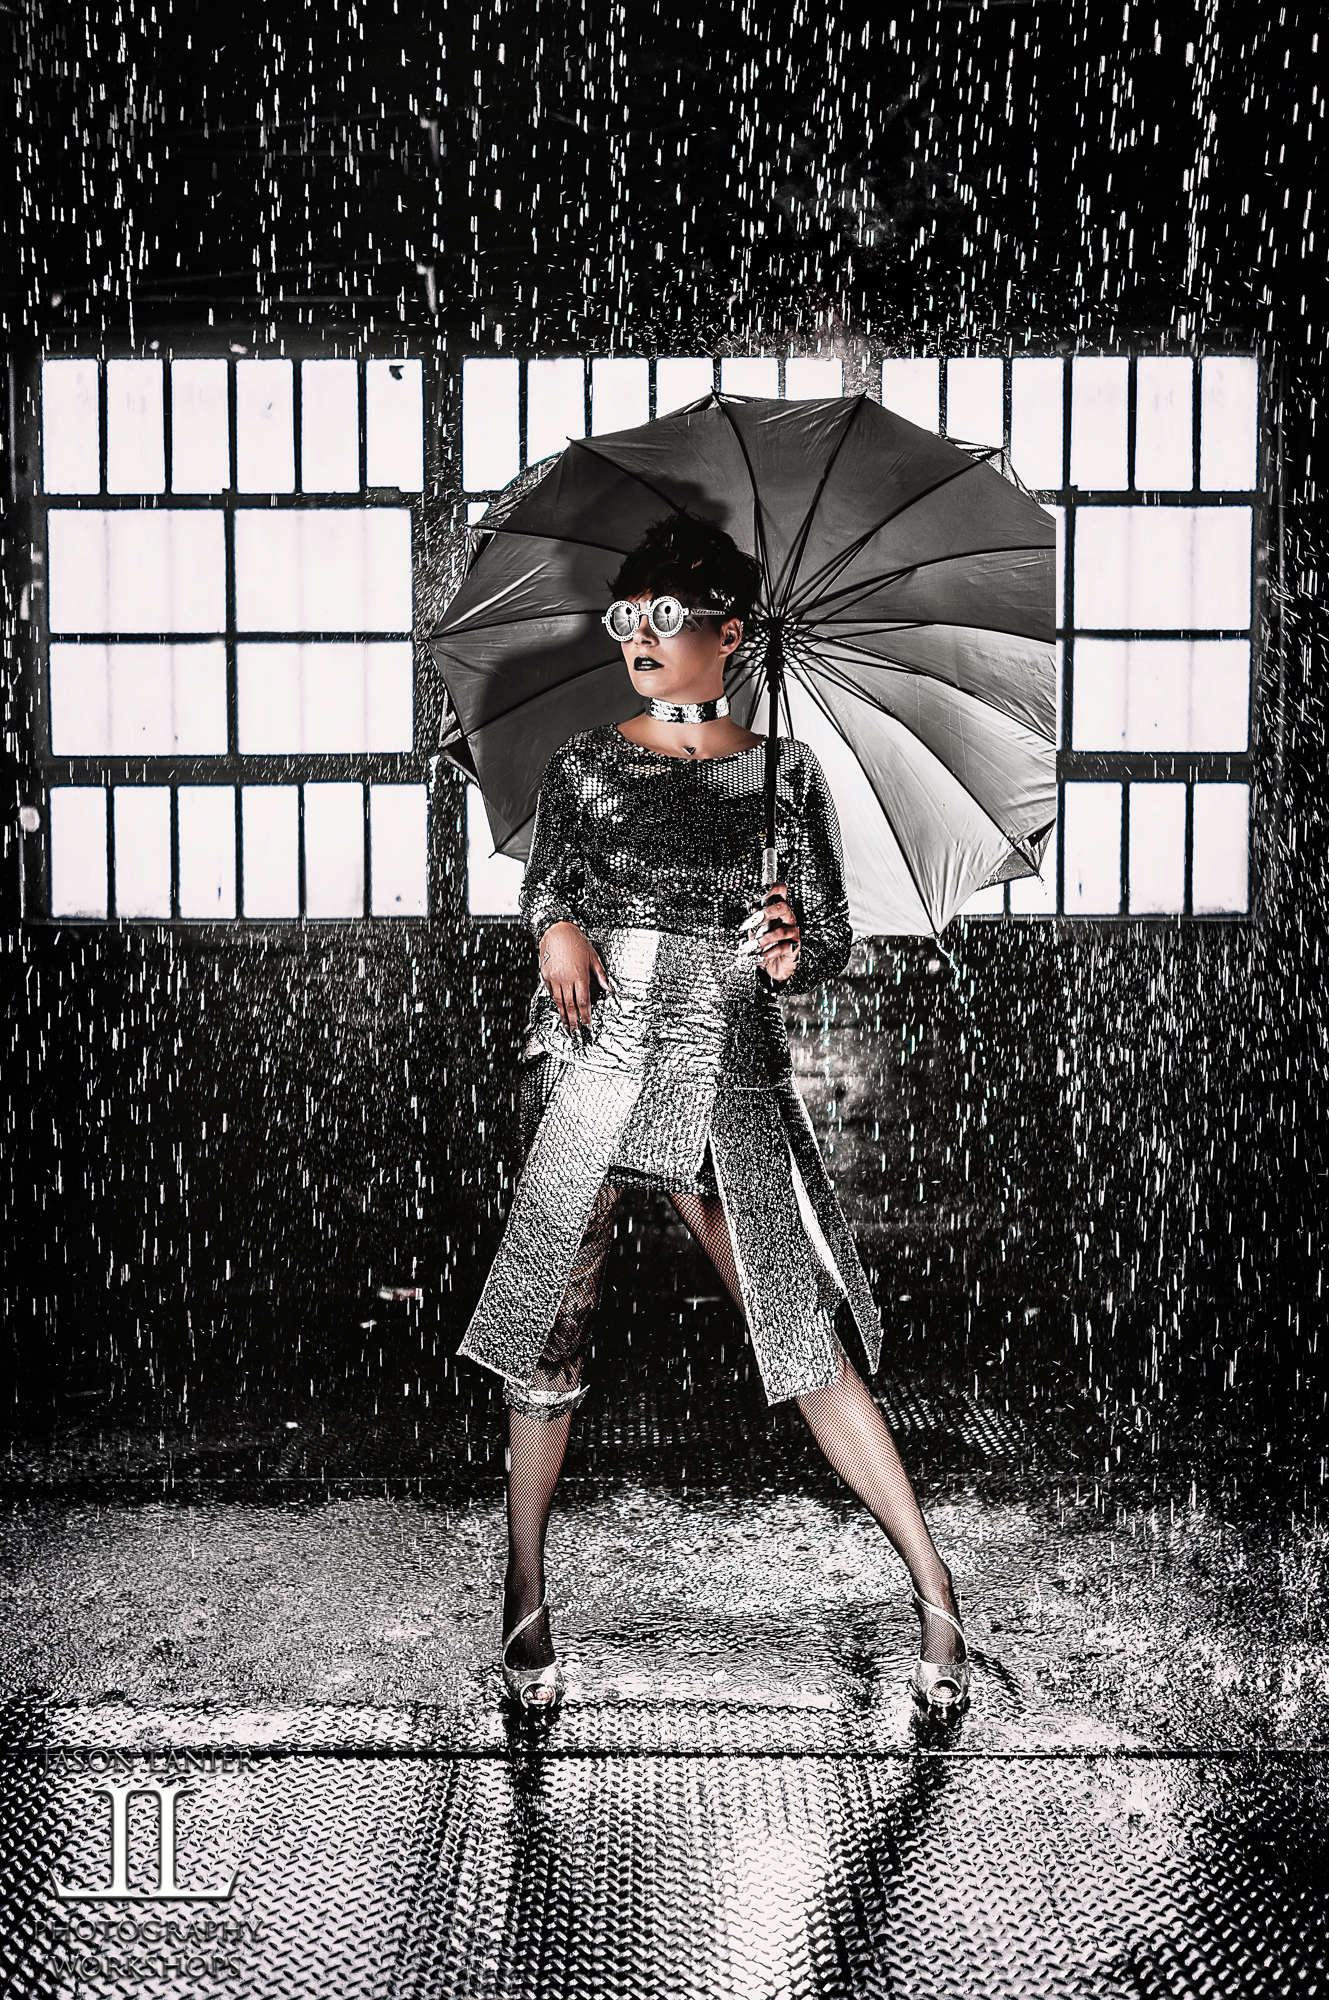
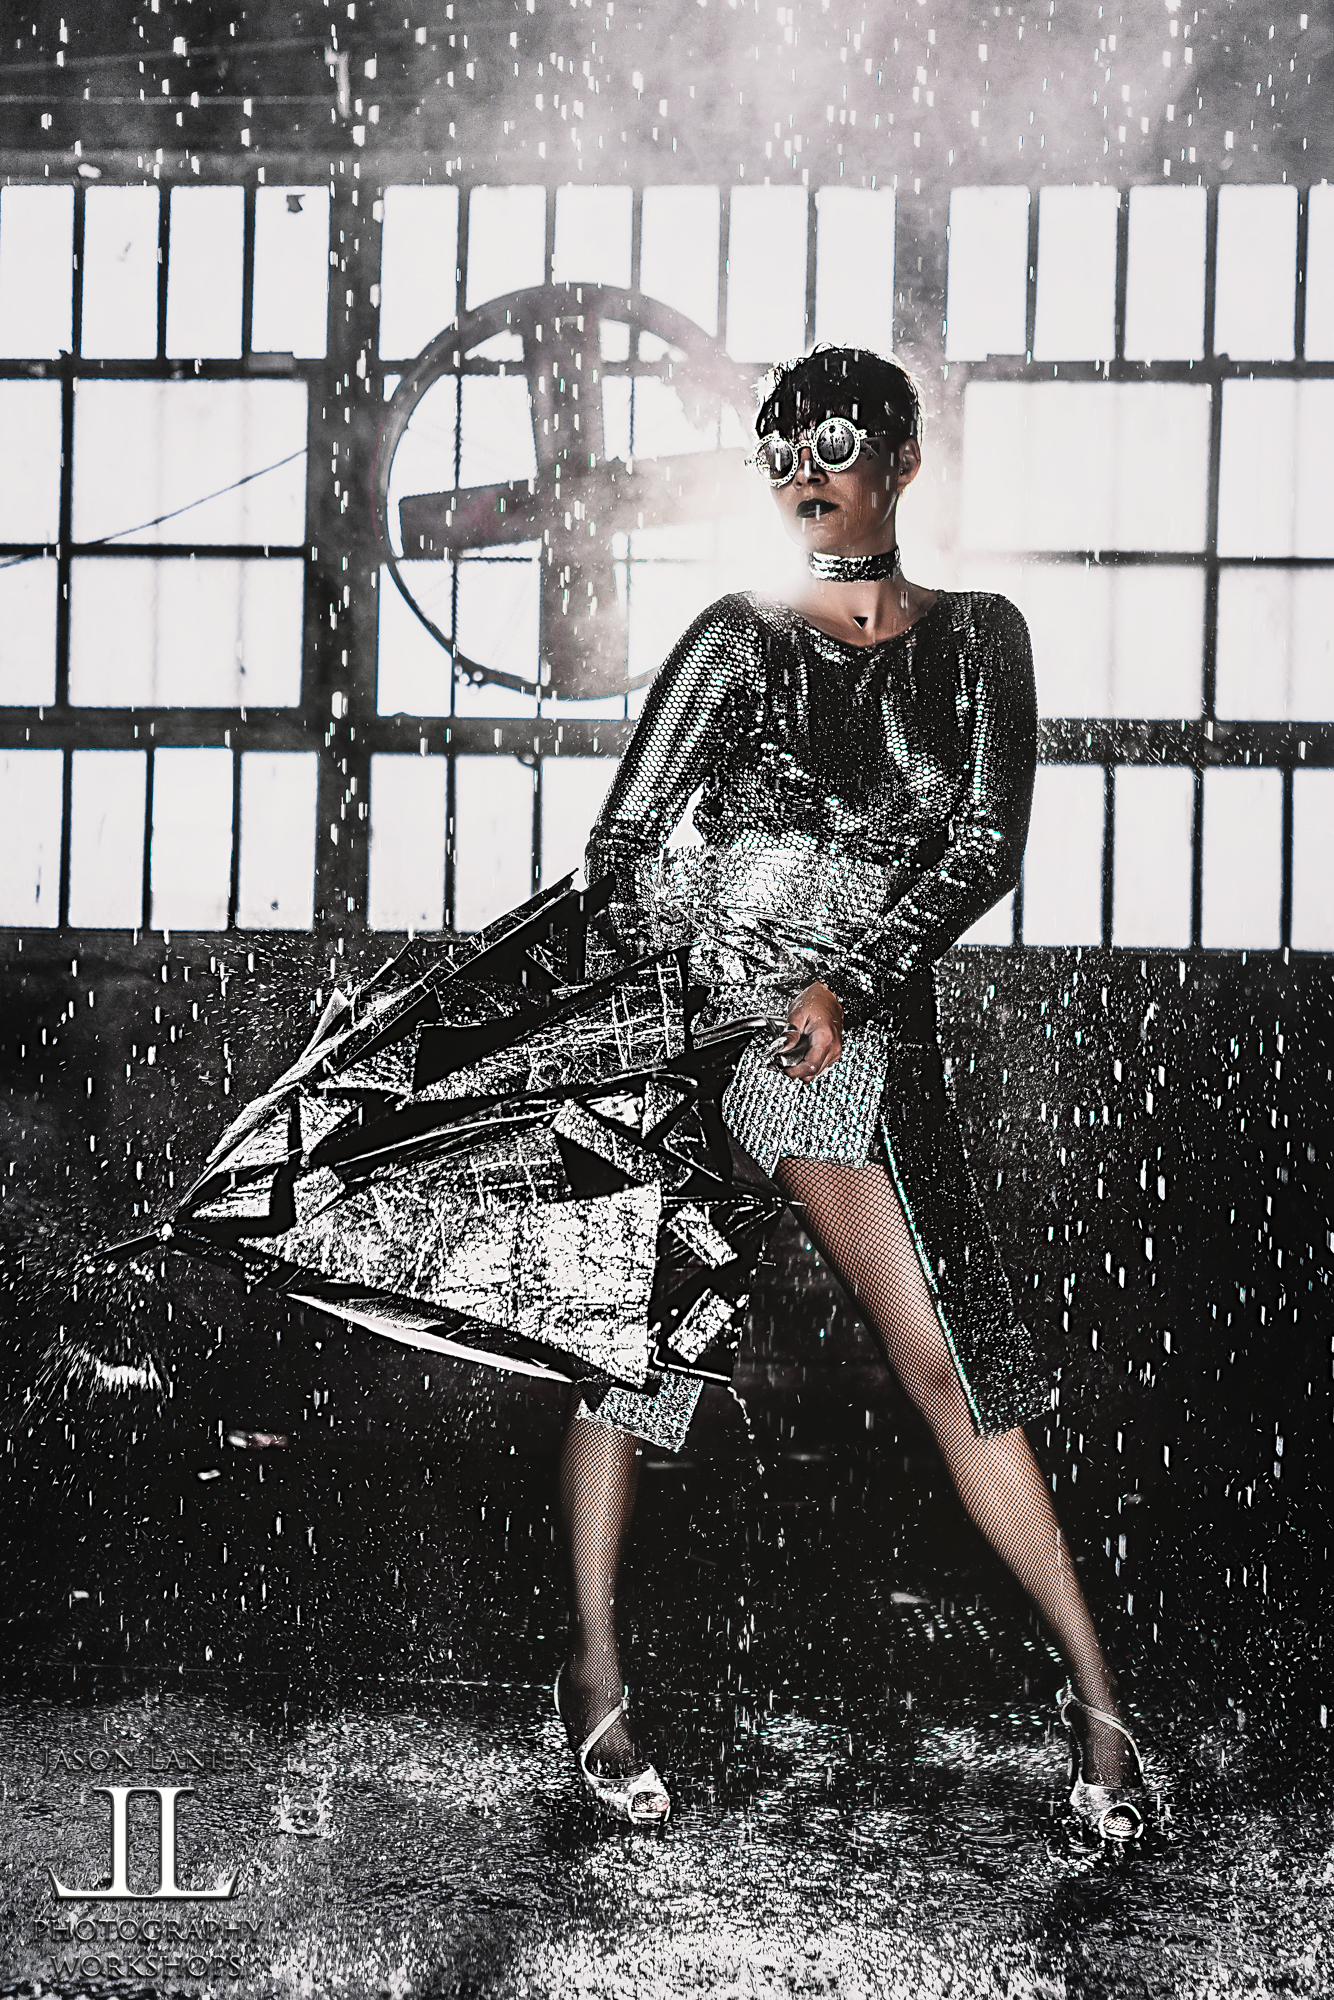
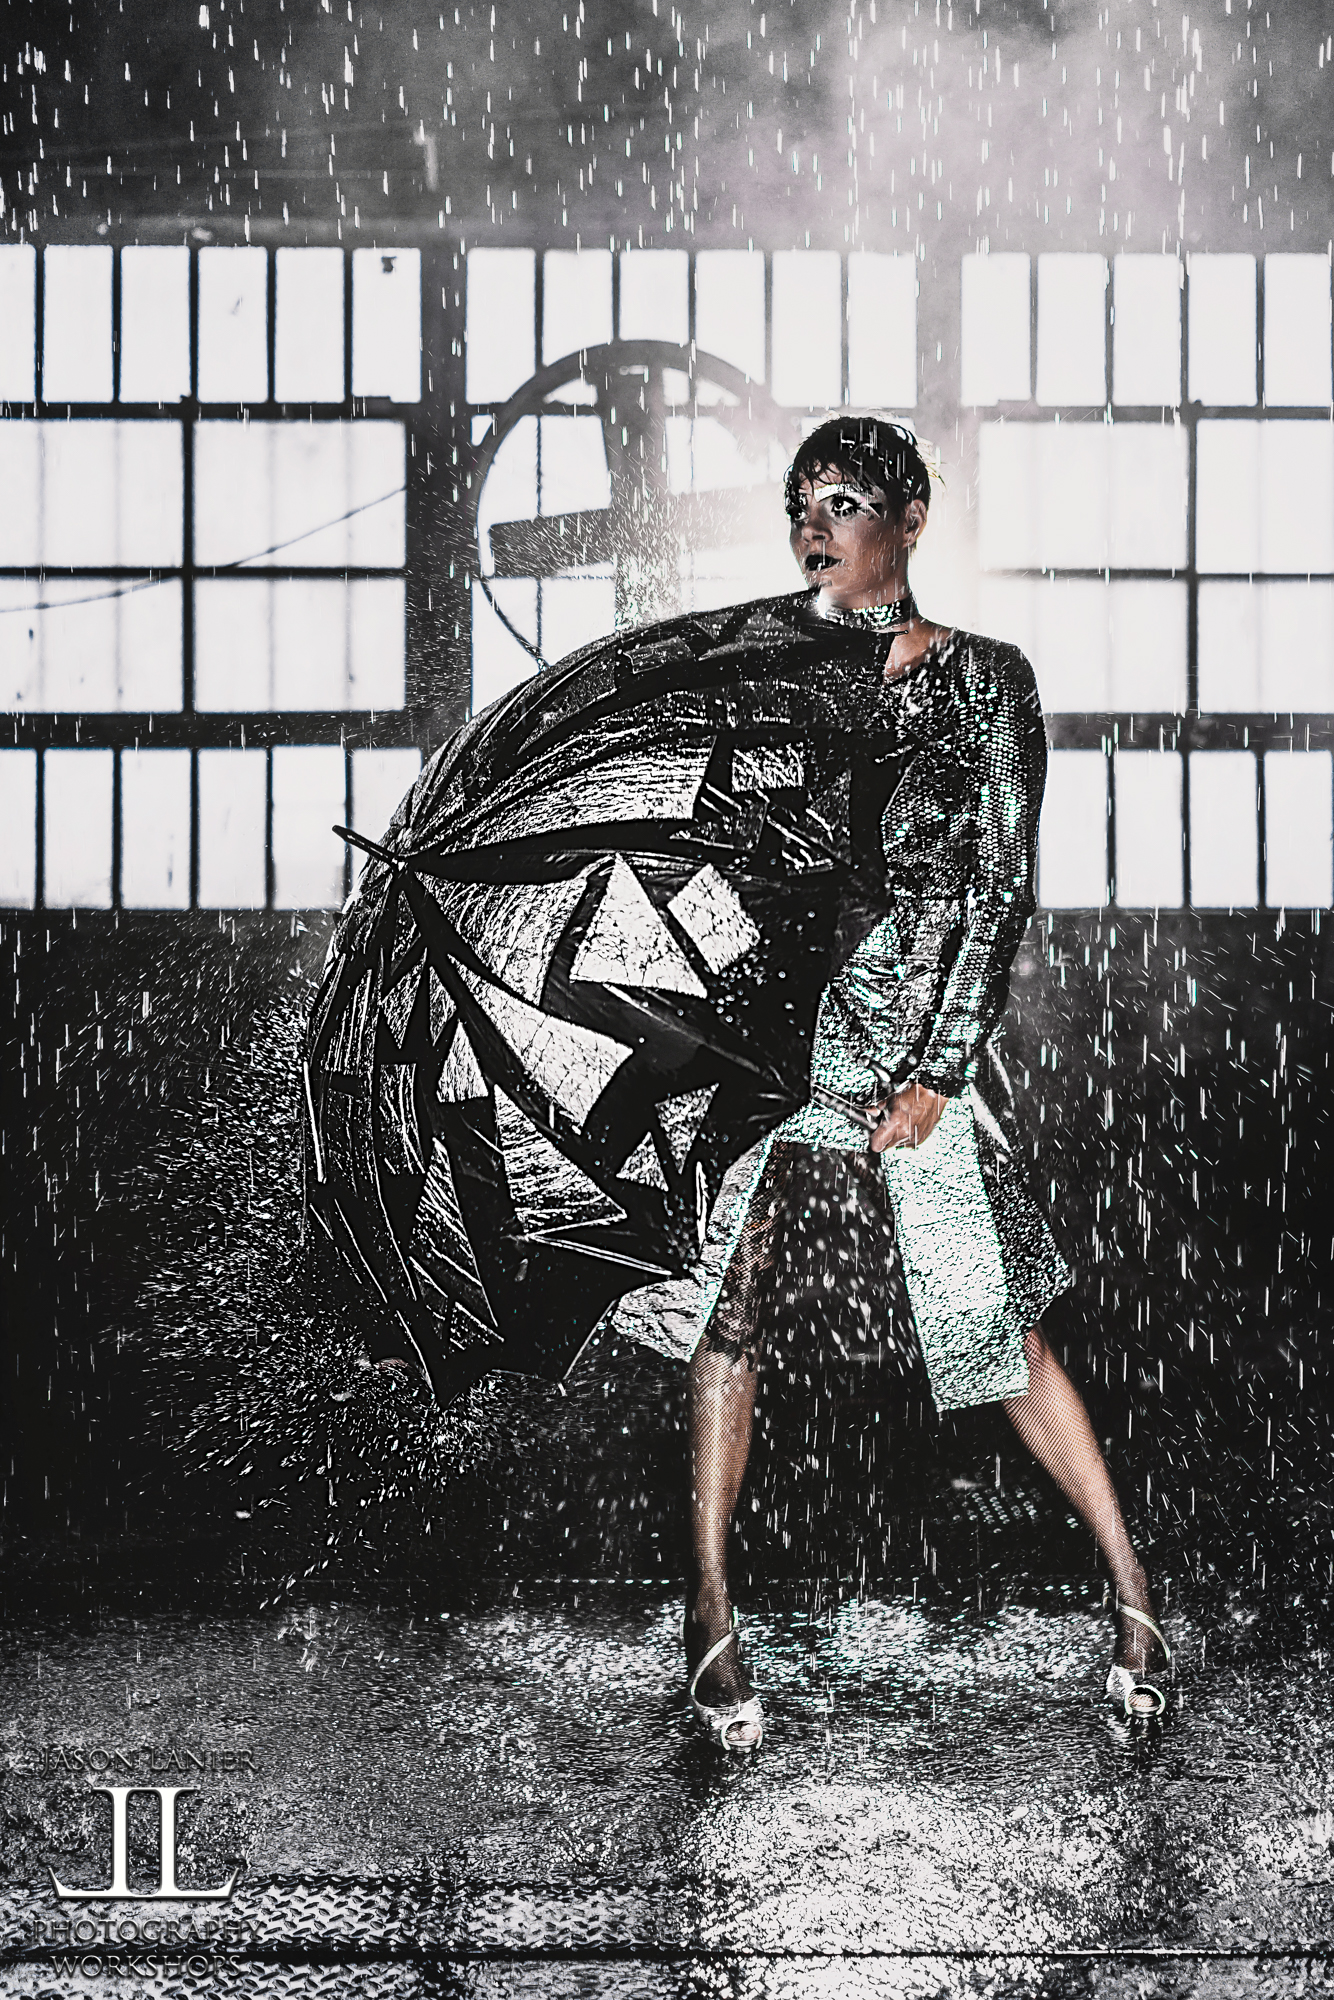
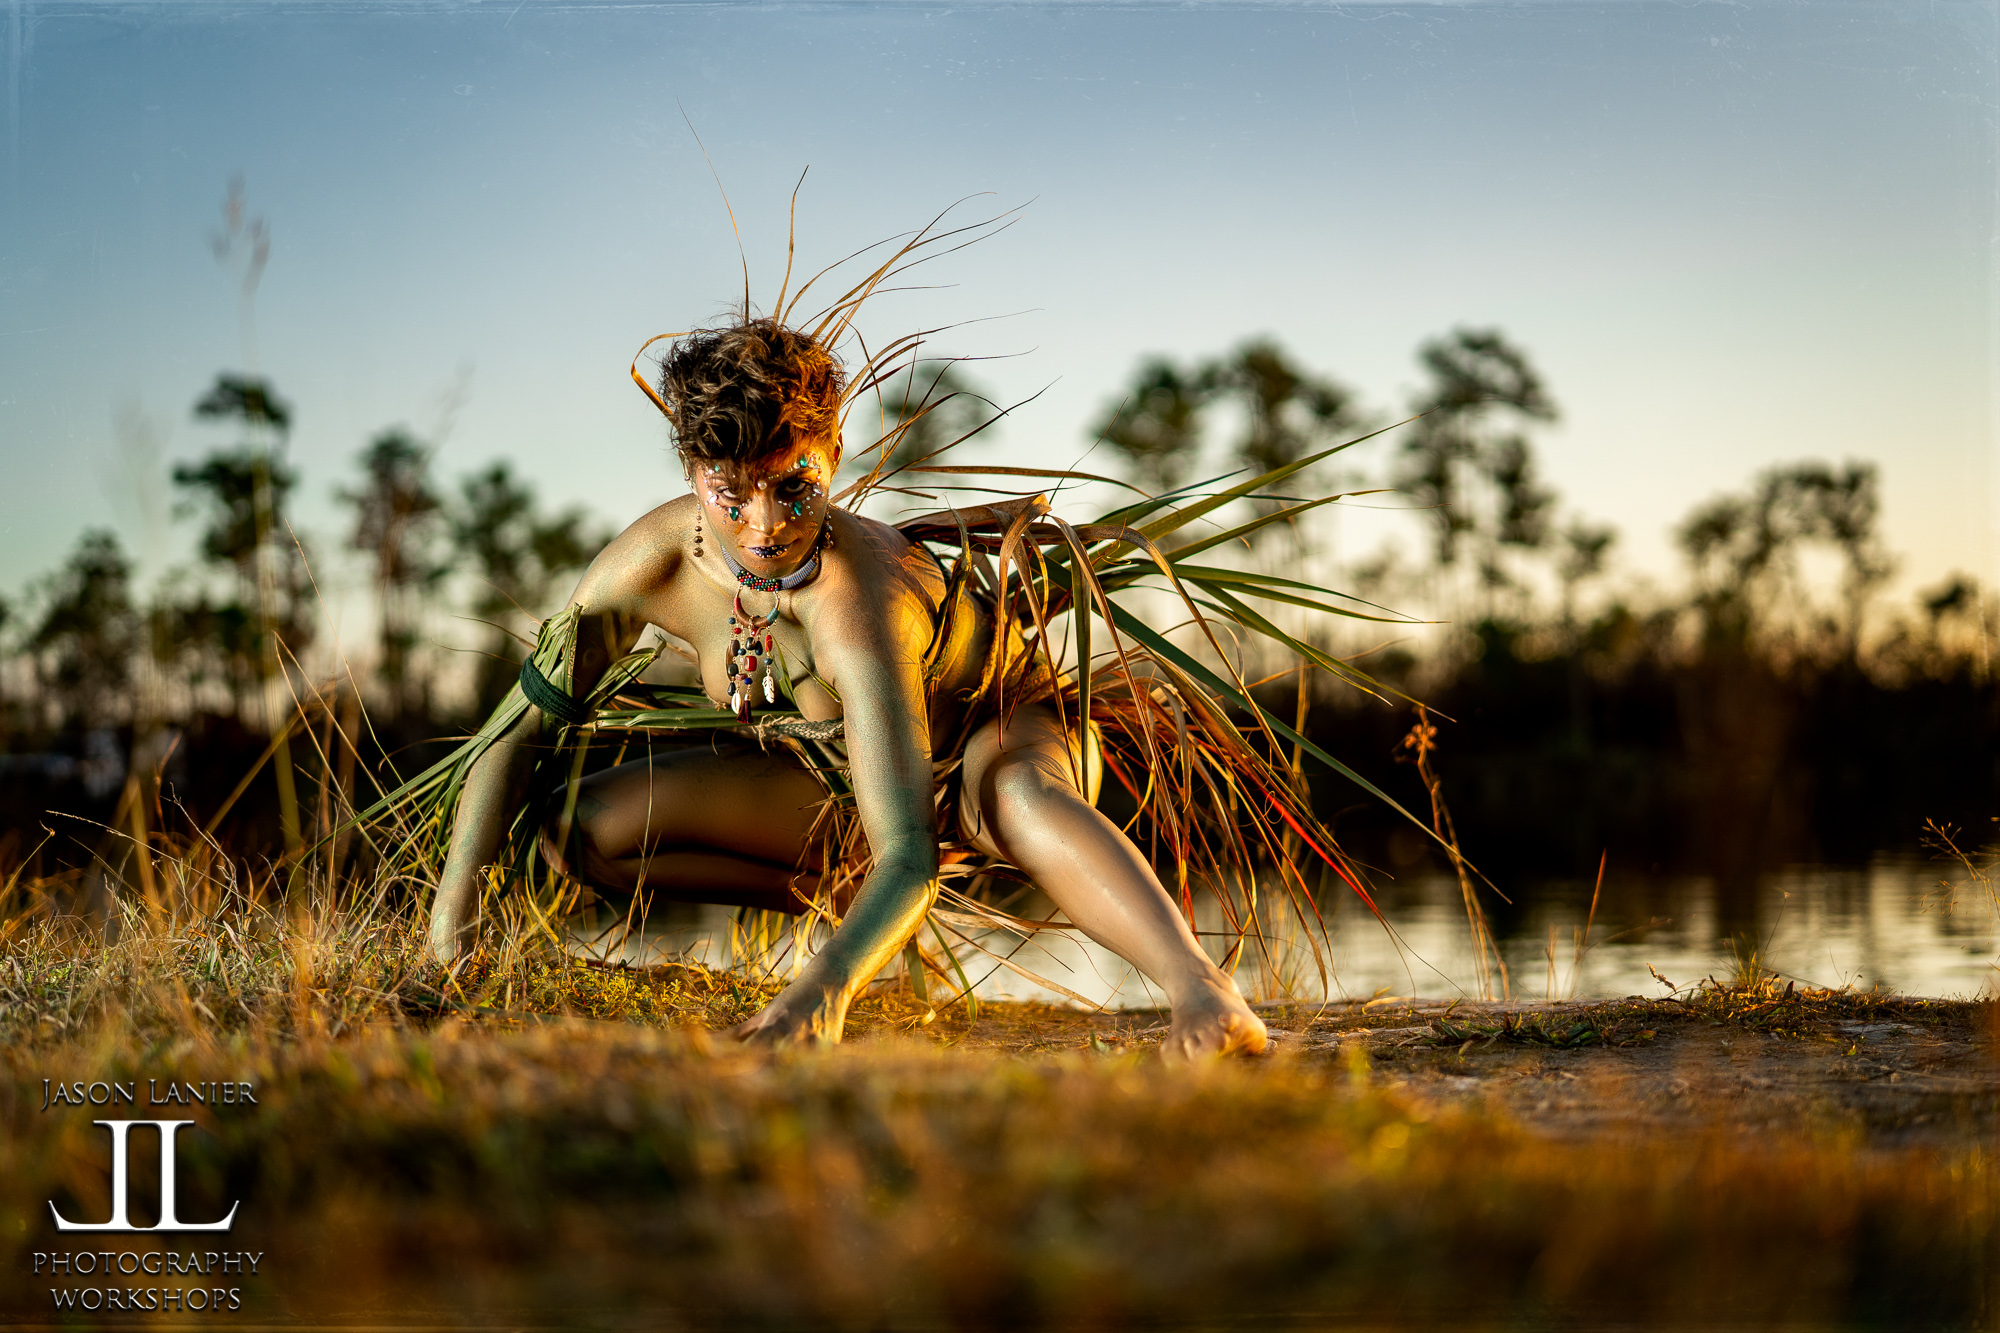
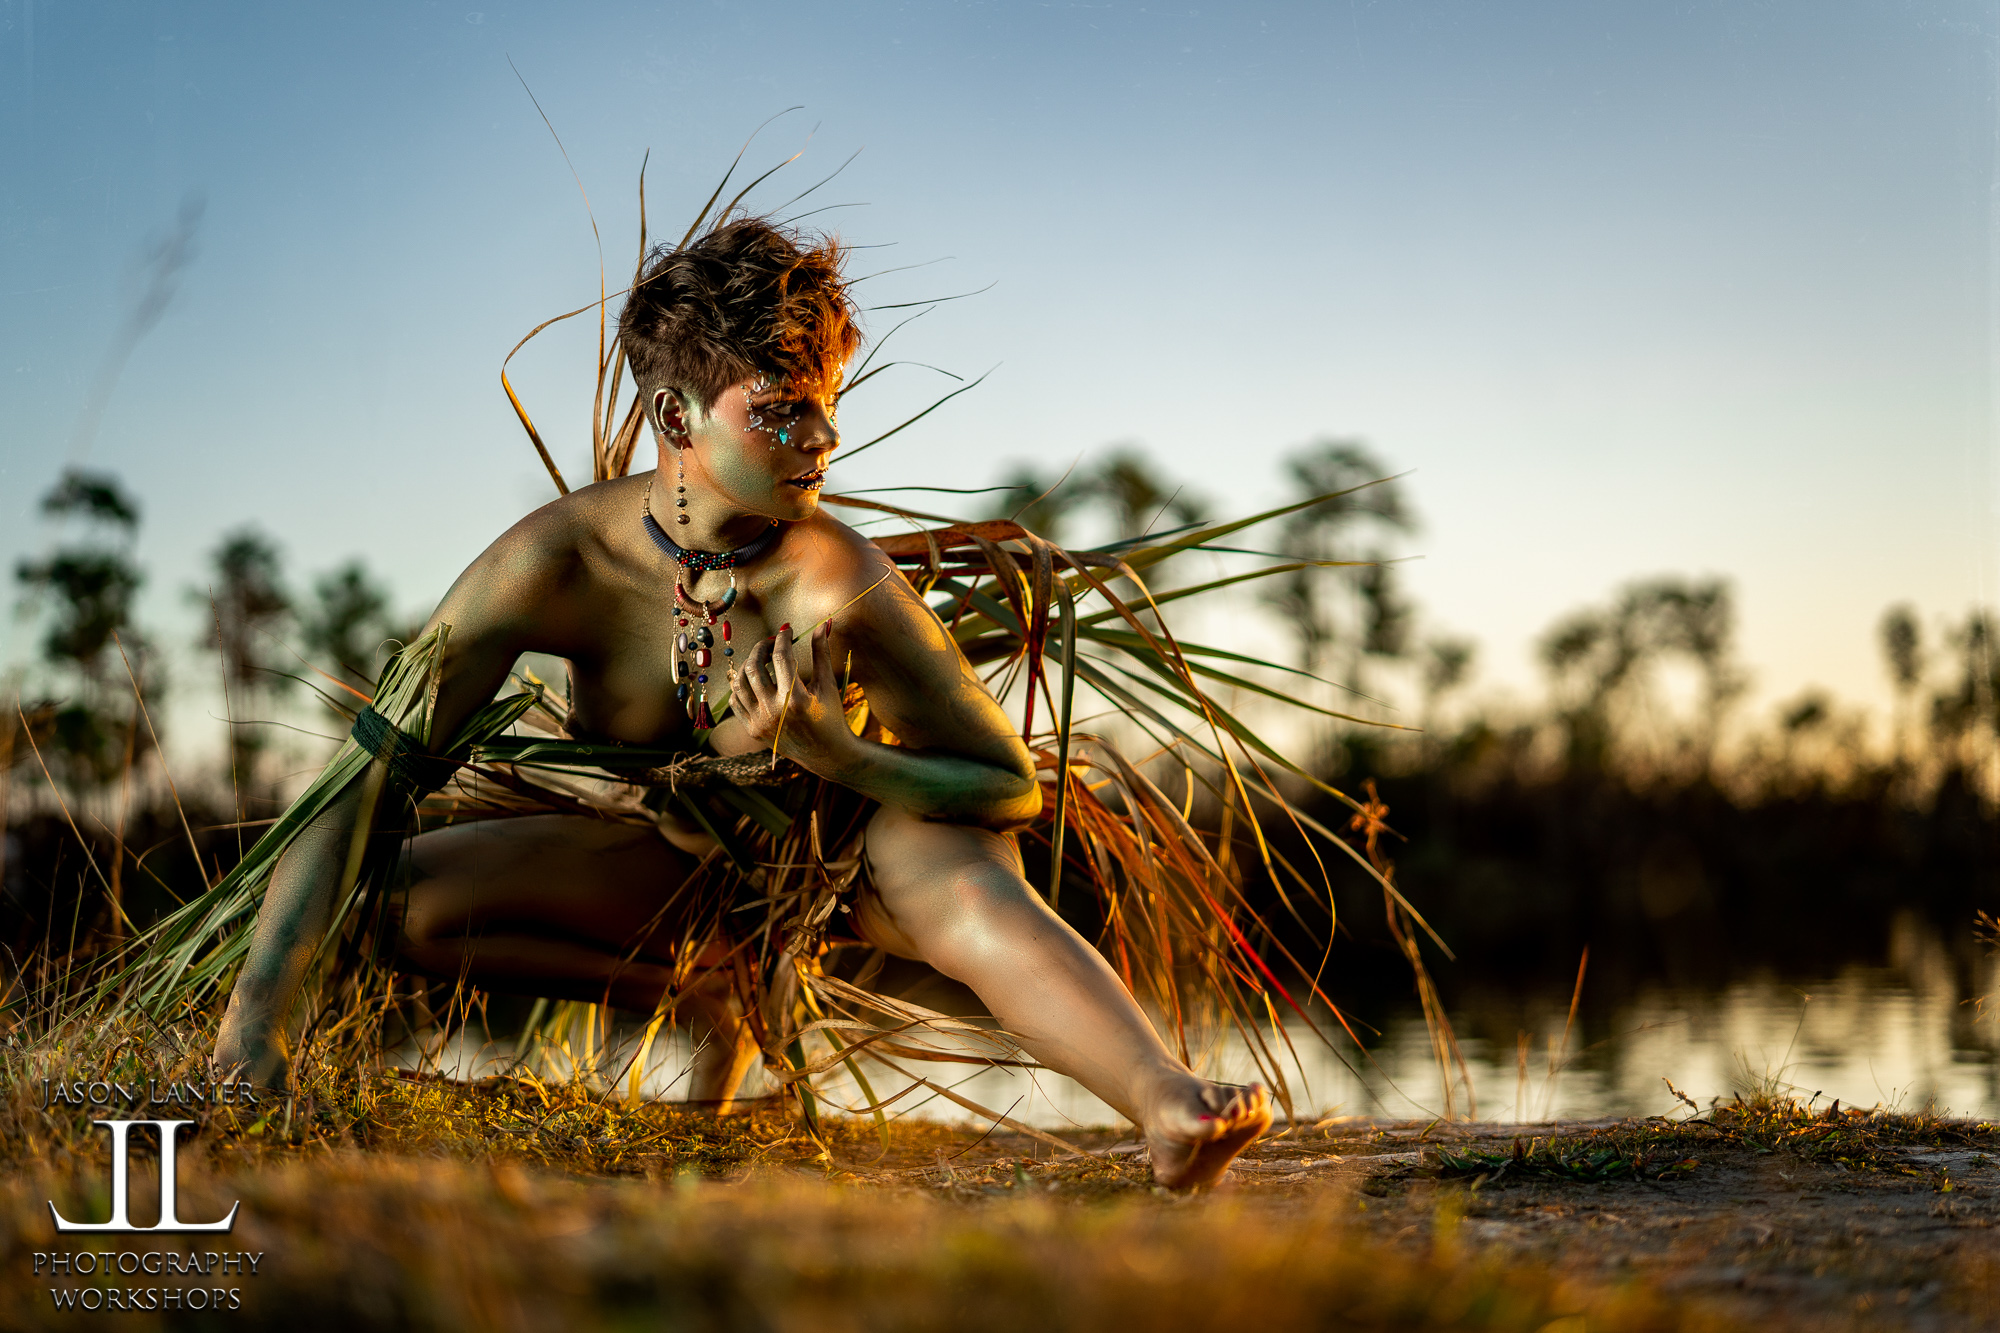
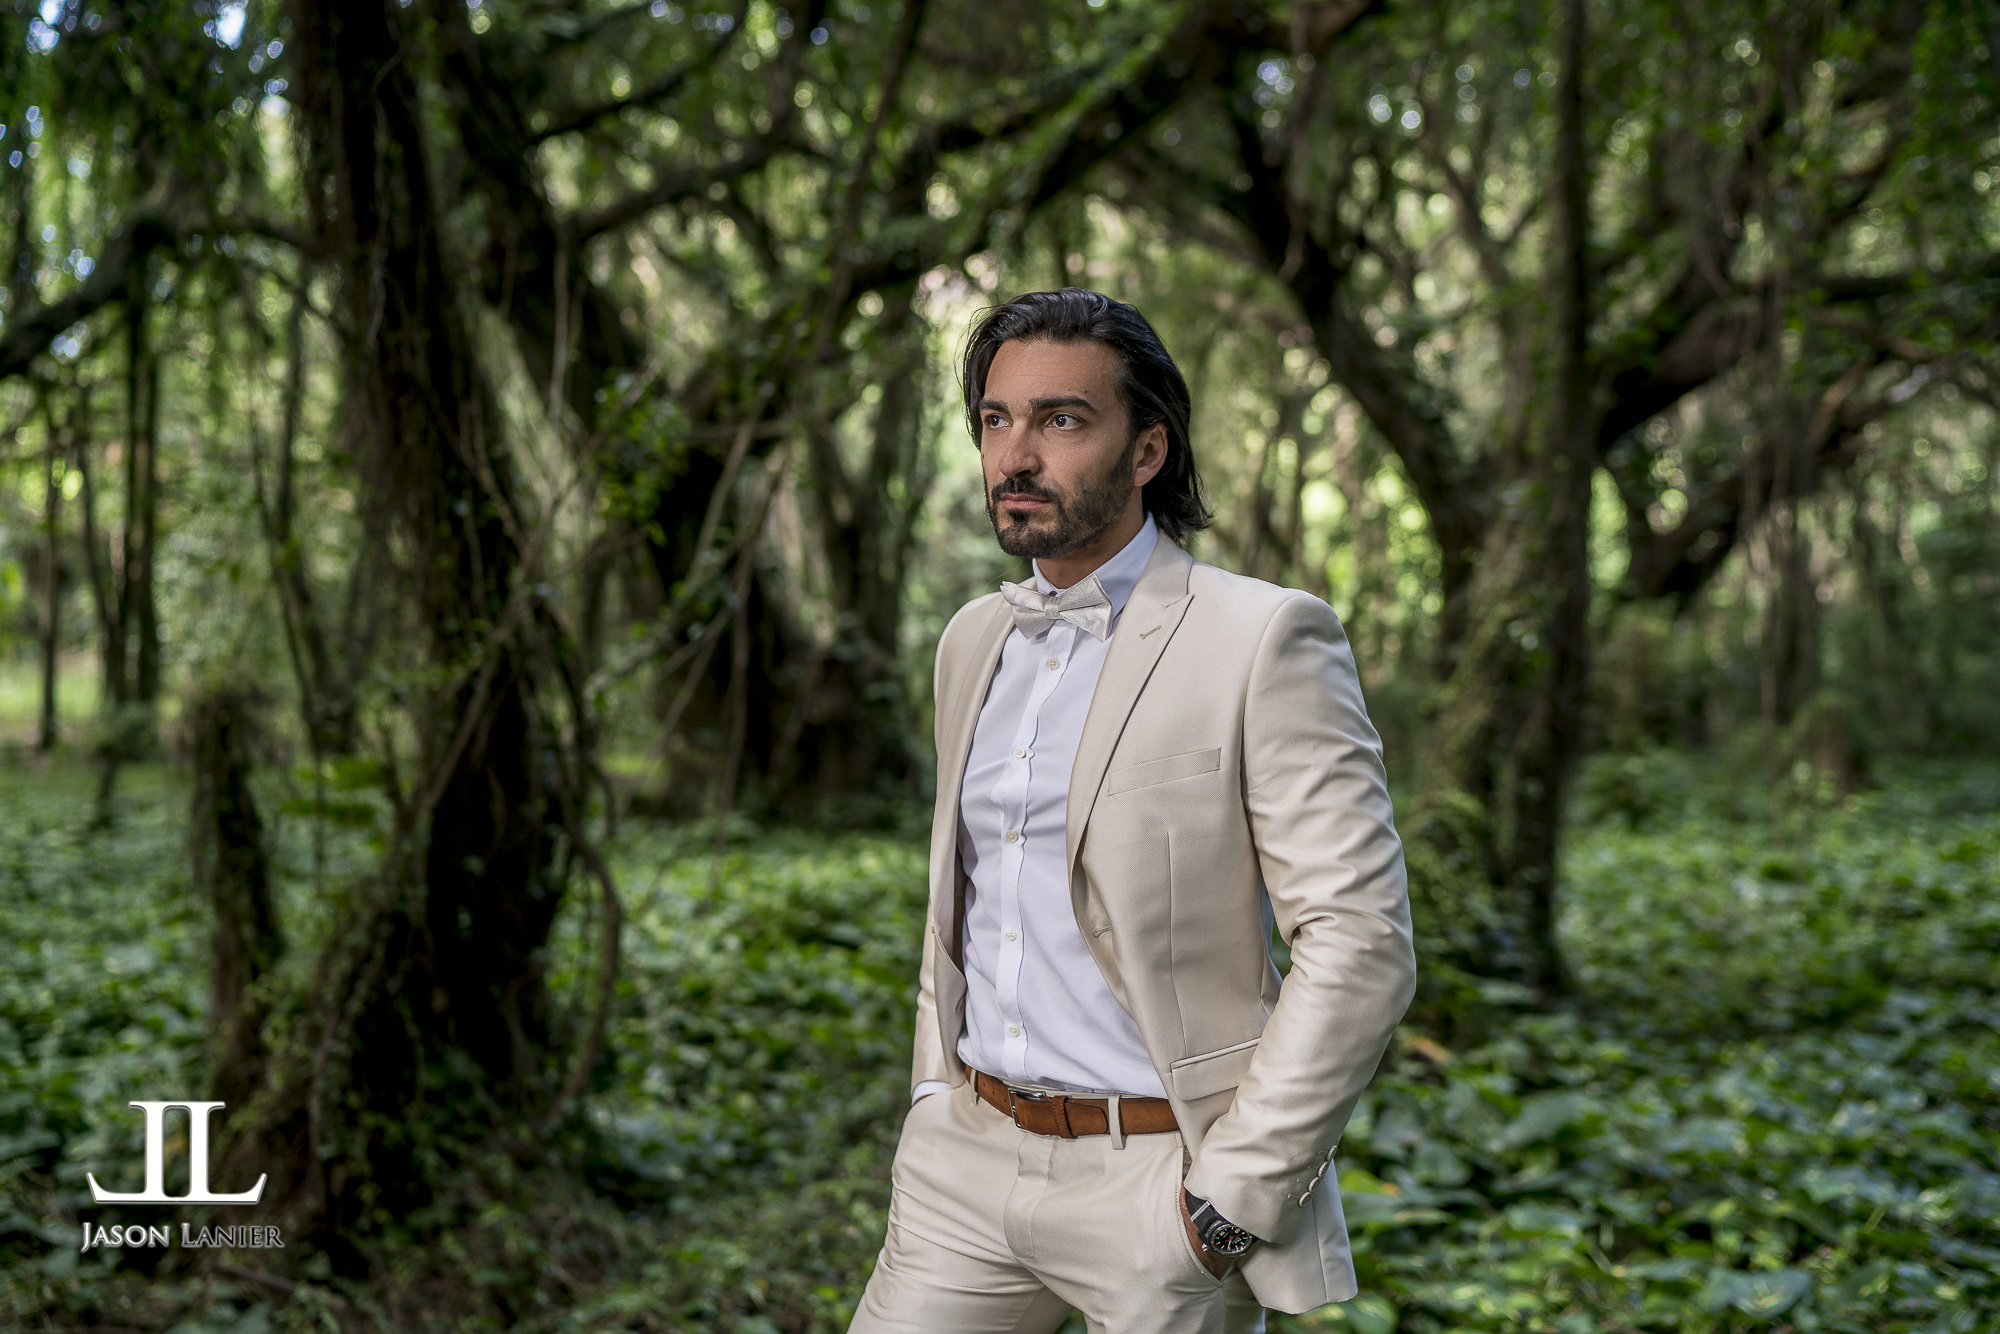
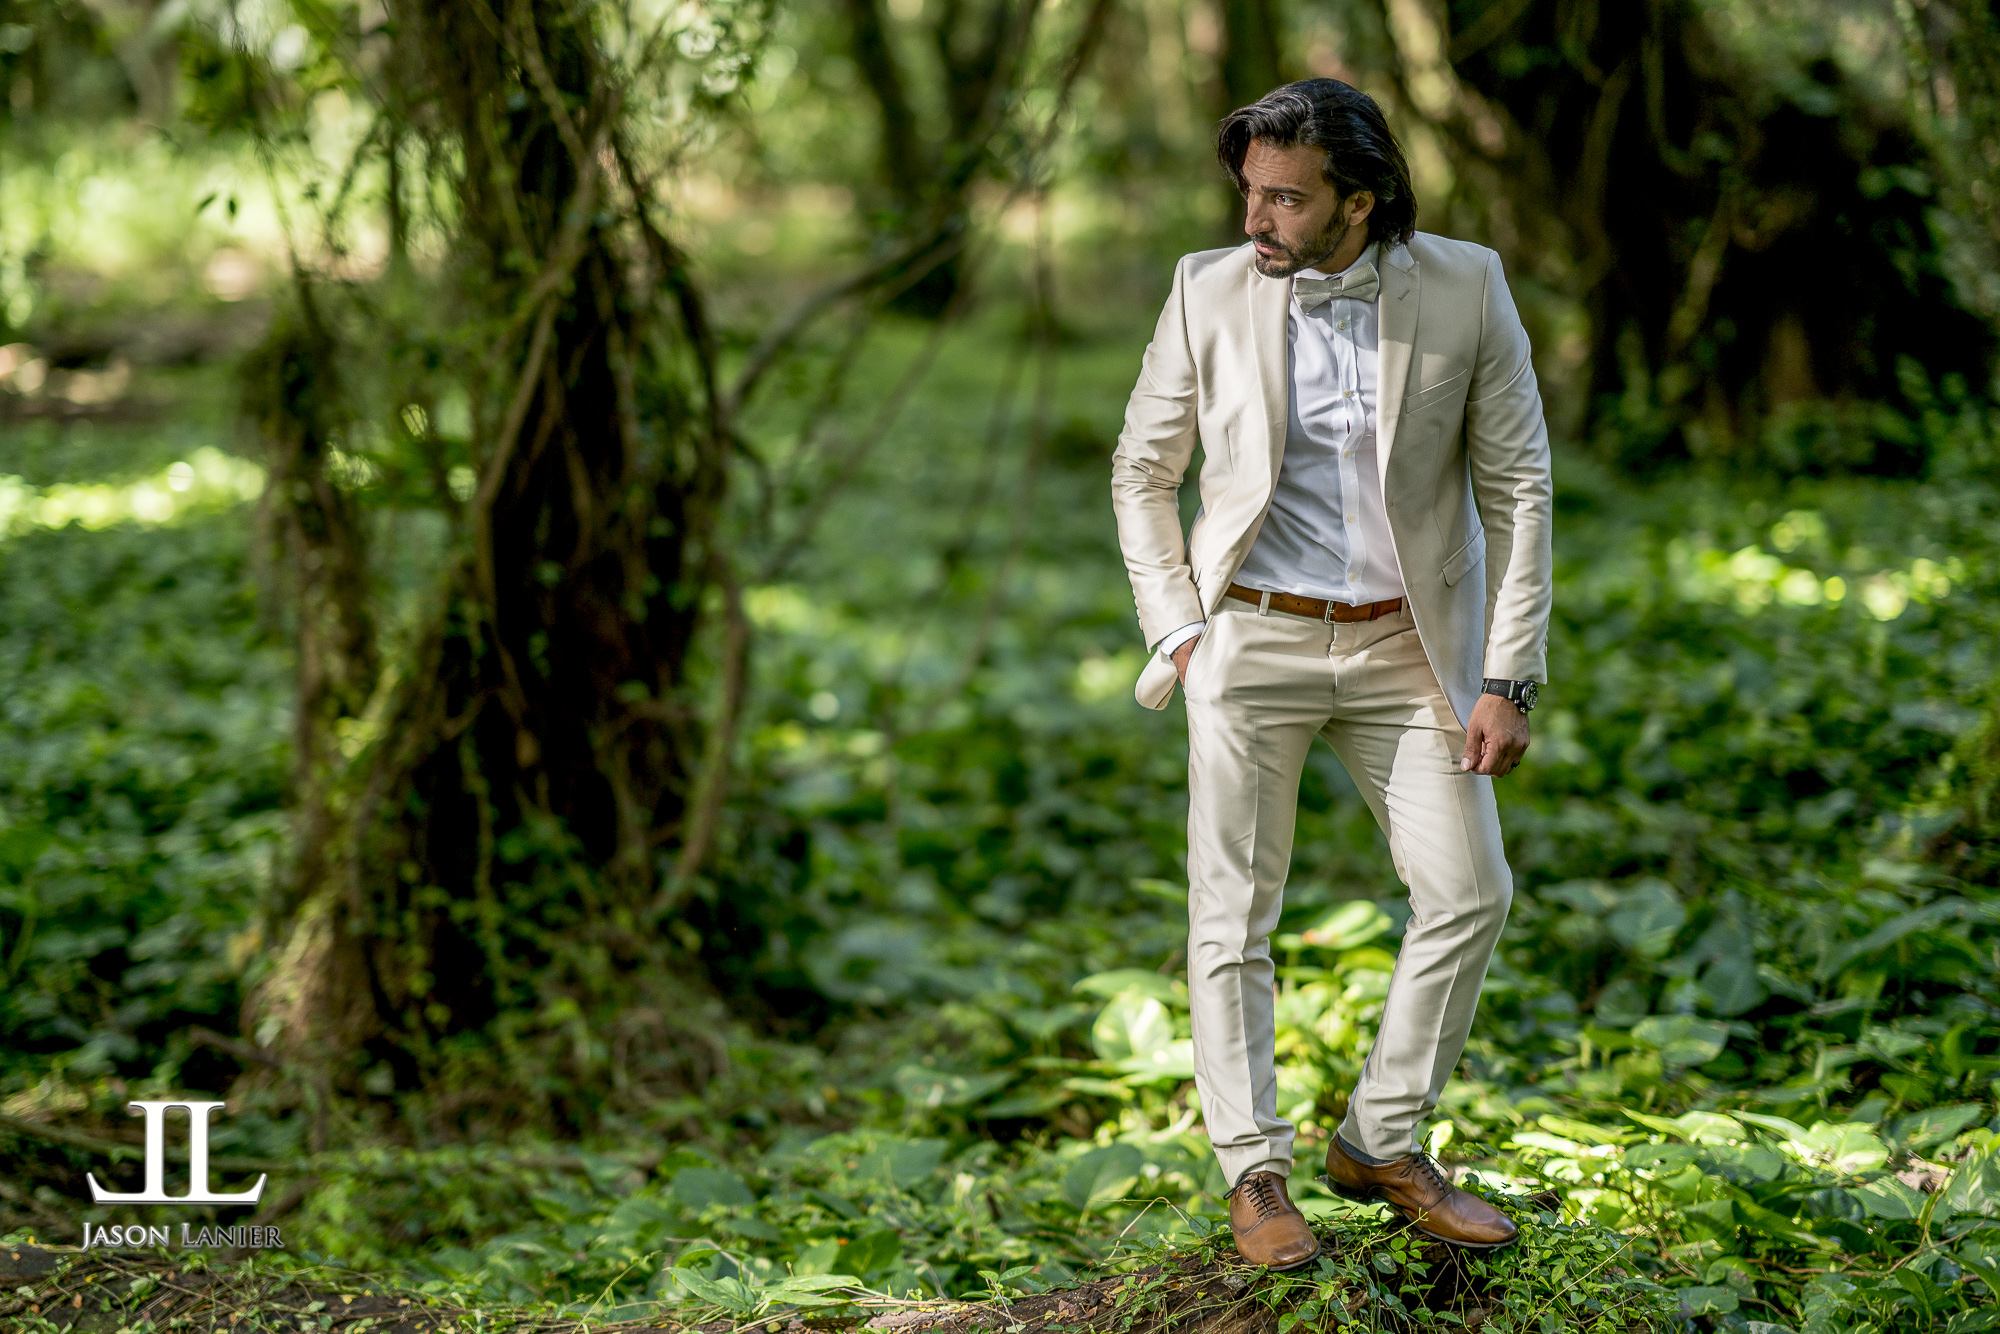
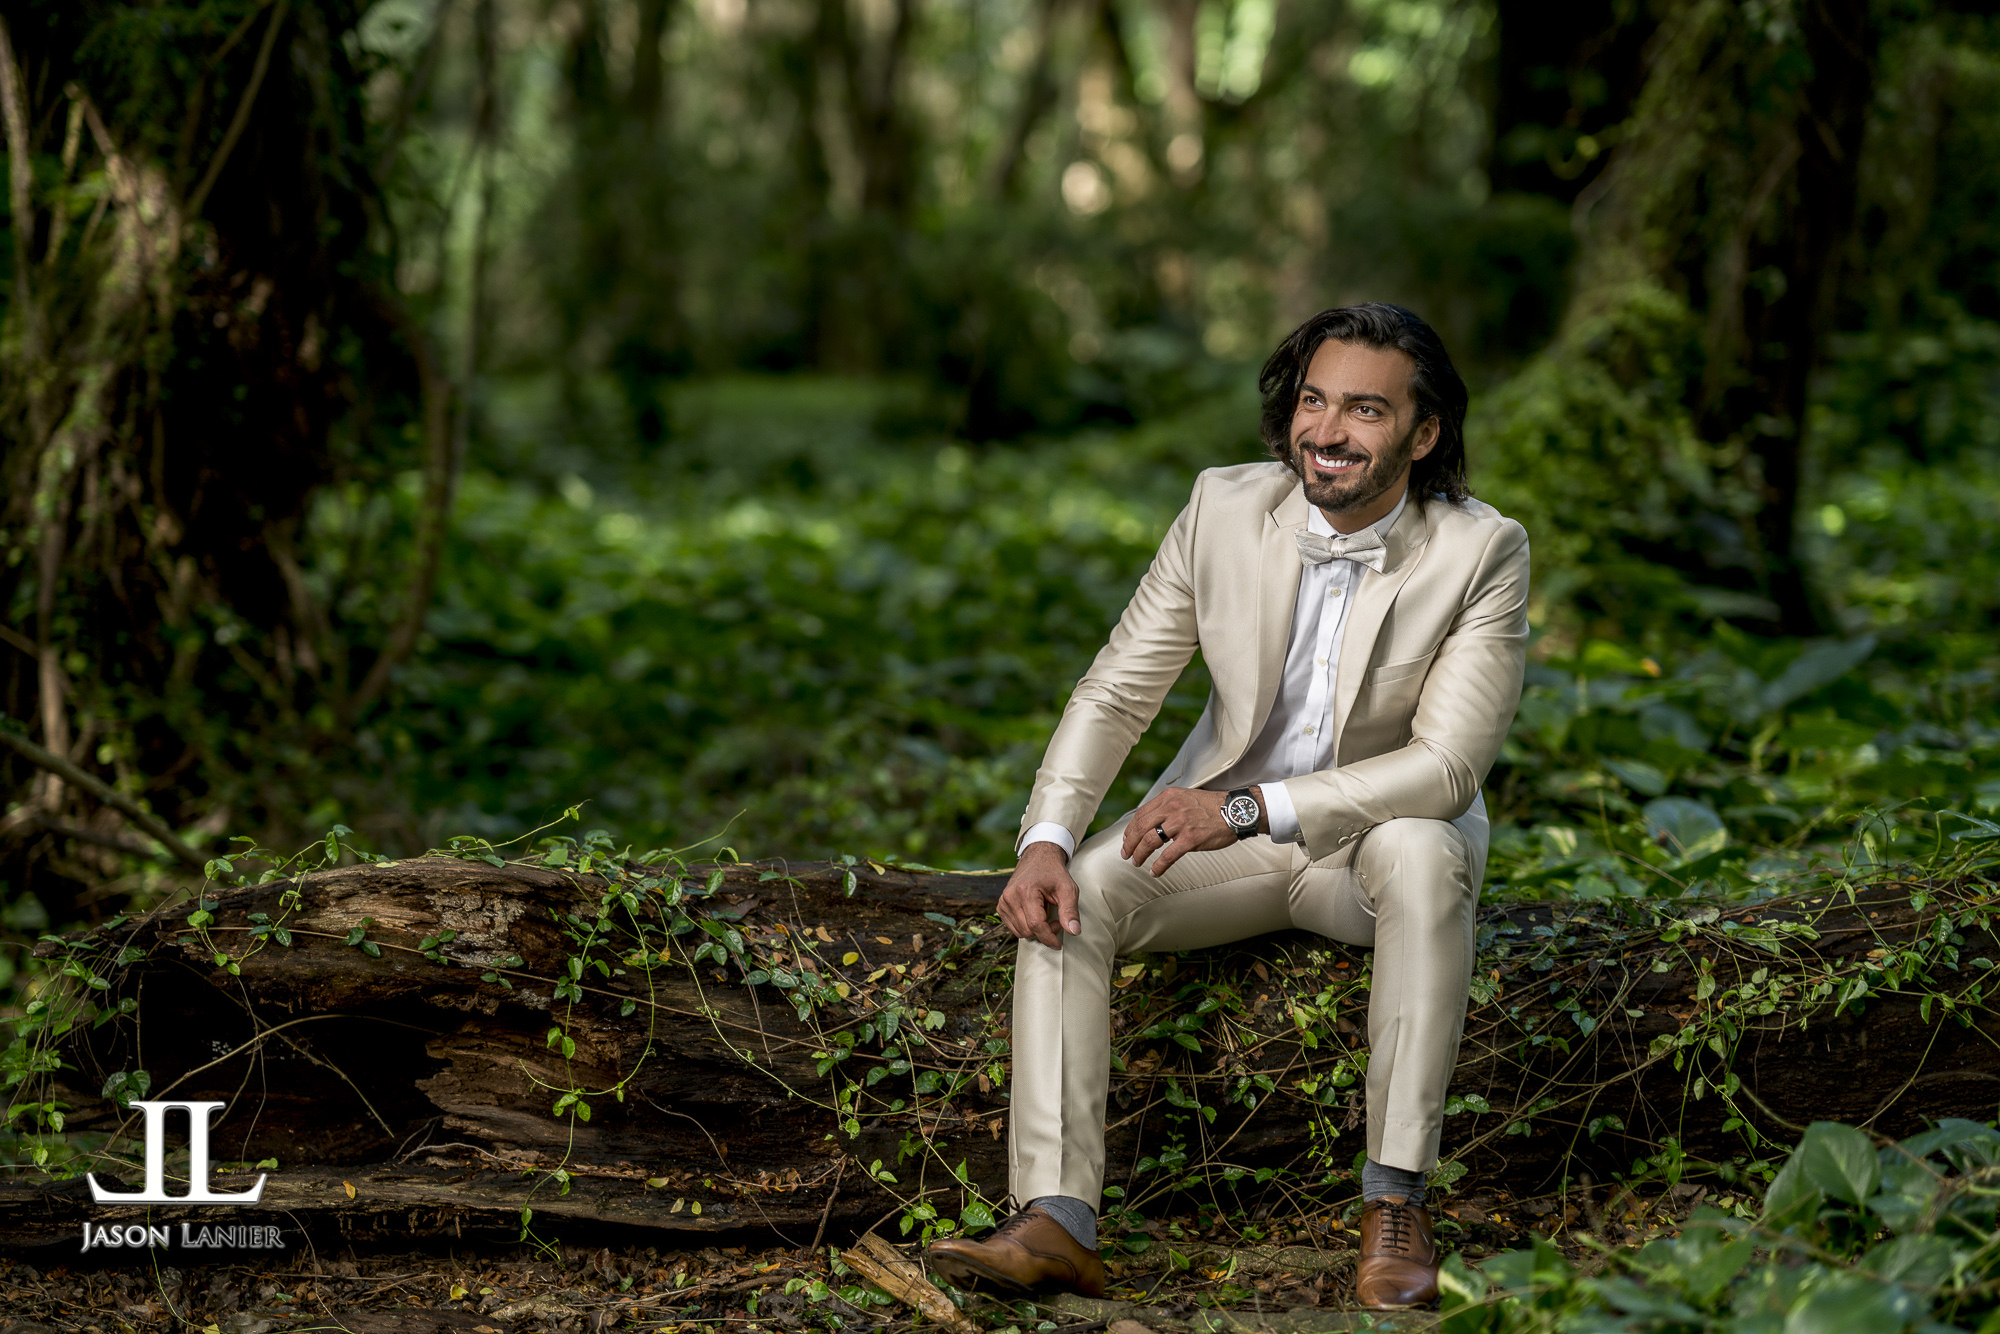
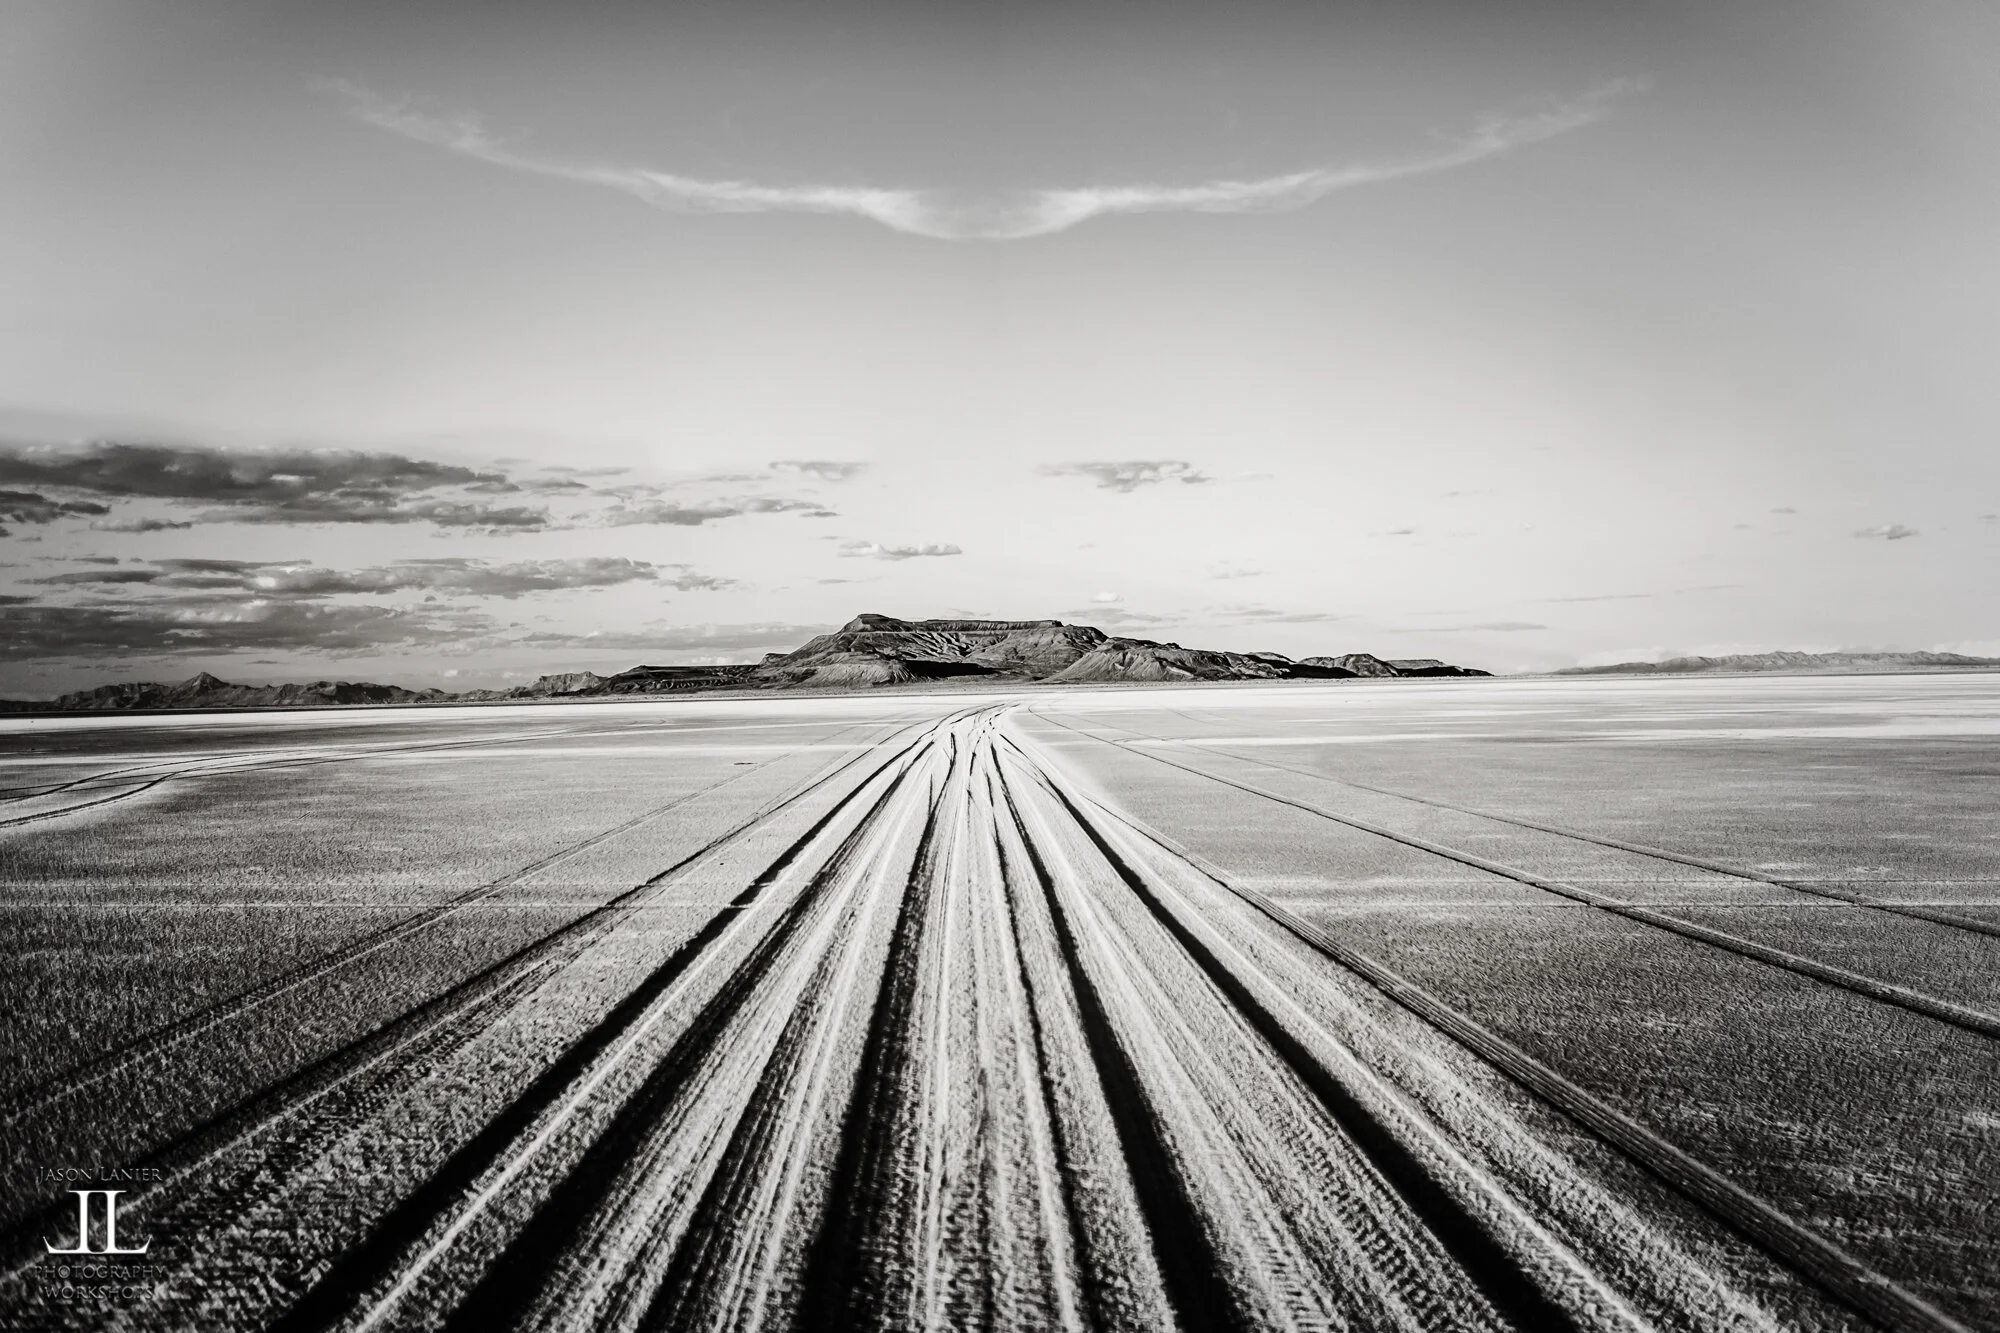
While filming this review at the beautiful Bonneville Salt Flats in Utah I was able to do a model shoot and some landscape photography using this lens. Below are the finished edited images from those shoots. I’m super impressed by what I was able to get out of this lens.

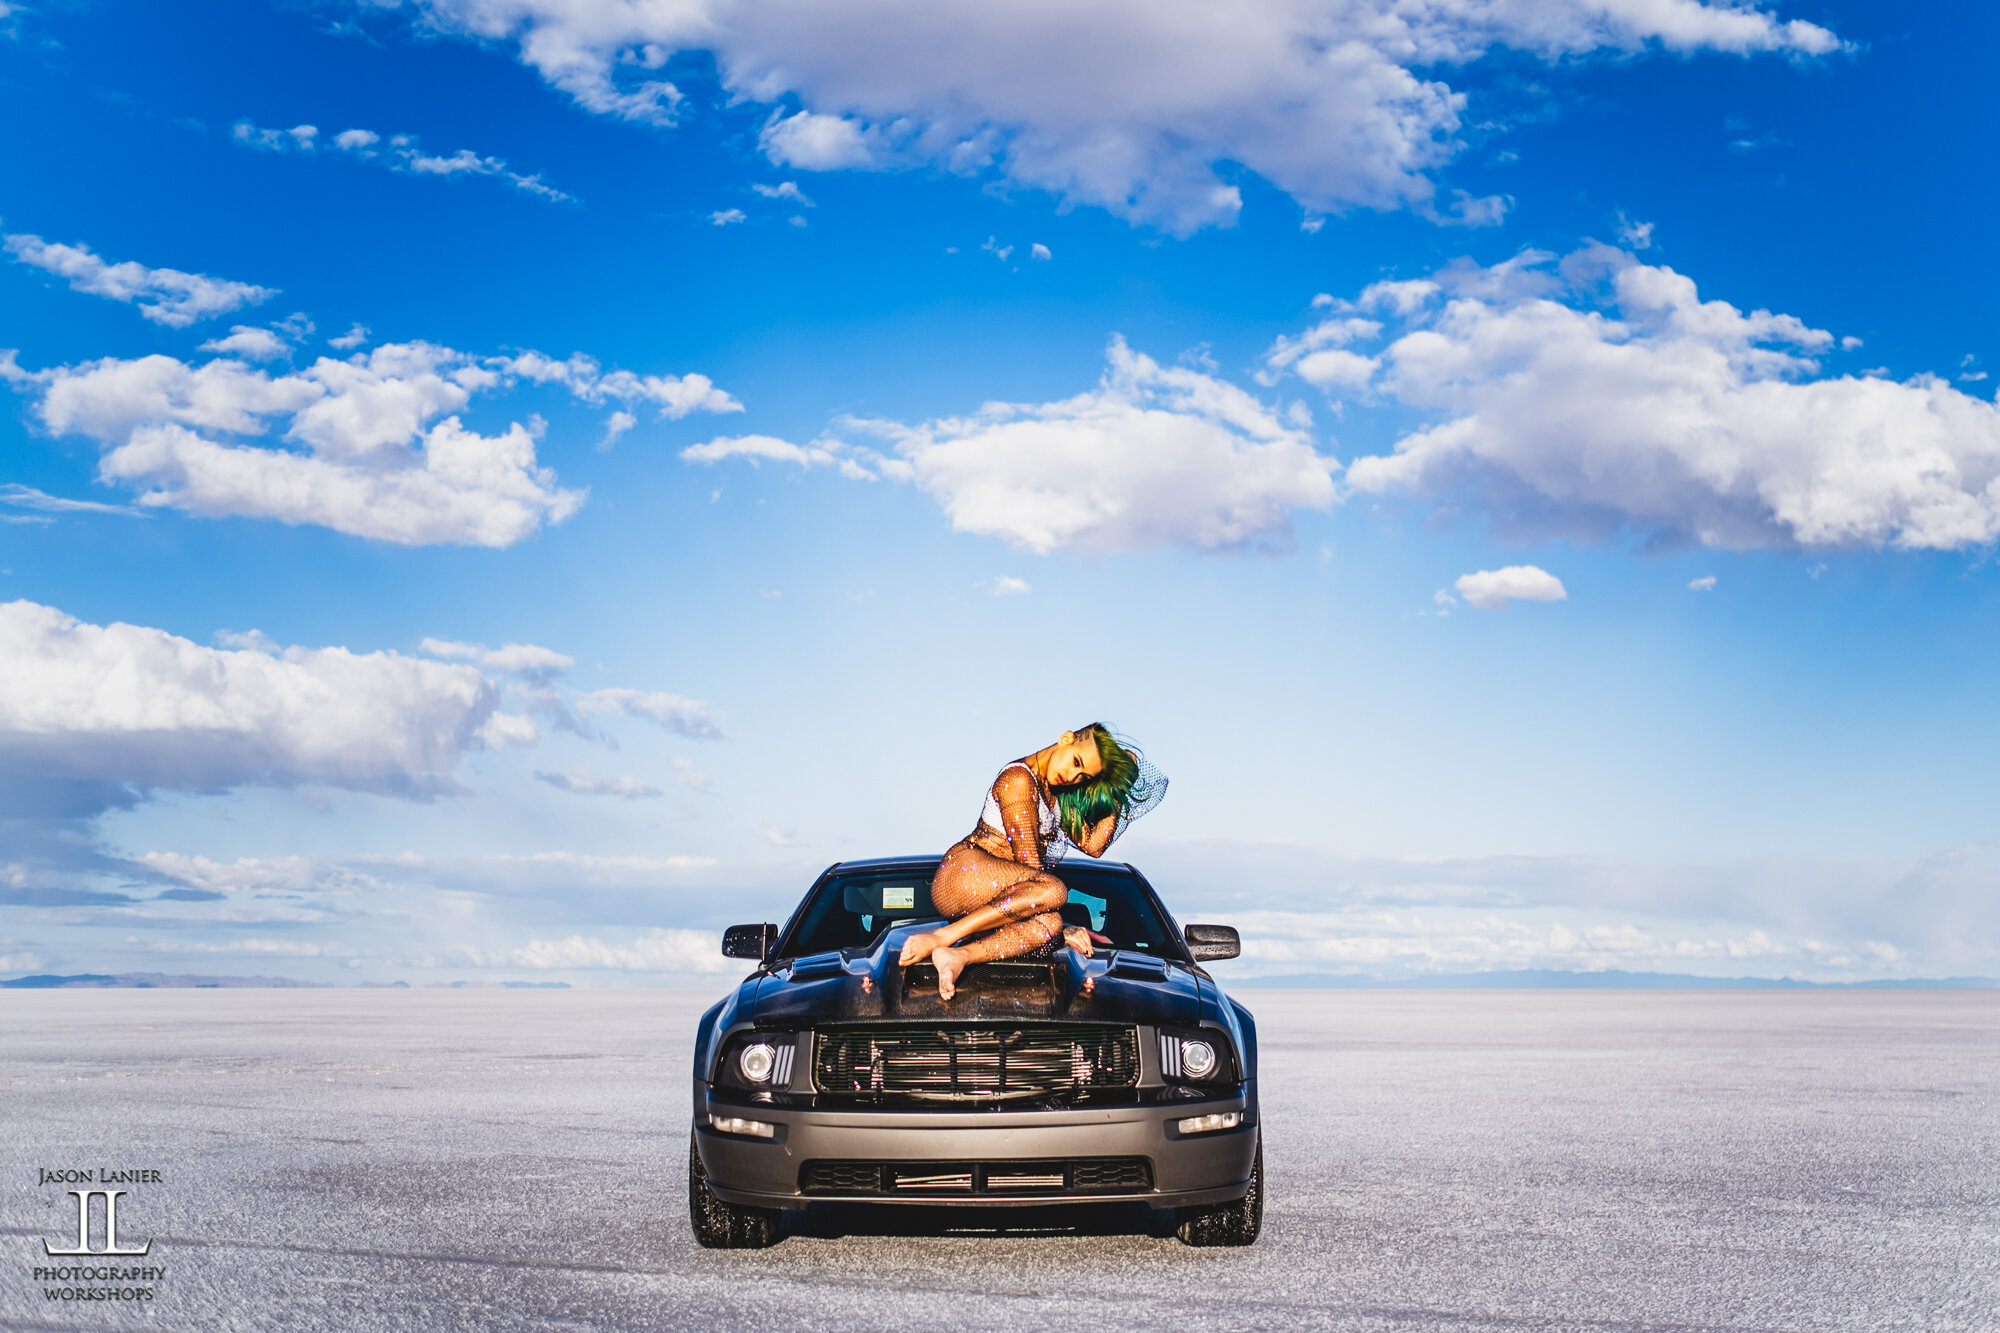
All in all I think this lens holds up very well against it’s full frame countertop and really delivers some stunning image quality. As noted in the video it does display chromatic aberration but the Sony does so as well. And that’s easily fixed with a quick swipe of the slider in Lightroom as shown in the video. The only area where this would become an issue for both lenses would be when filming video.

I’d highly recommend this lens to anyone using the Fuji crop sensor system. I certainly was able to create some really cool pics out there in the Utah desert. A BIG thanks to my friends at AVC Photo Store and School for helping me out with the gear on this shoot. You can check them out at https://avcstore.com

Please post your comments down below and let me know what you think. Also let me know what you’d like to see in a future video. Thanks for watching my friends!

Jason

Comment

Creating Dorothy- How Never Giving Up Can Result in Your Best Work

2 Comments

Creating Dorothy- How Never Giving Up Can Result in Your Best Work

Ever feel like giving up photography? Do setbacks set you down permanently? Join Jason Lanier for a video where he perseveres through a setback to create some breathtaking work as he exemplifies the definition of never giving up.

This shoot was conducted in Belle Glades, Florida on the side of a road in a sugar cane field. This was an unplanned shoot that had to be created on the fly due to Jason and his team getting thrown out of their original shoot location. In this video Jason uses the Rotolight Titan X1 in flash mode with the Elinchrom Skyport Transmitter to create some movie like imagery with the models named Maddi and Nicole.

This was shot using the Sony A9 with the 35mm Sony Zeiss lens. Below are images taken at the shoot


**Links to Gear**

-Rotolight Titan X1- for the best deals on all Rotolight products please visit: www.rotolight.com/jasonoffers

-Sony A9- https://bhpho.to/35PyHQX

-Sony Zeiss 35mm- https://bhpho.to/31XPakZ

**Links to Social Media**

Photographer: Jason Lanier

*Website- www.jasonlanier.com

*Podcast- www.jasonlanier.com/podcast

*Instagram- www.instagram.com/jasonlanierphotography

*Facebook- www.facebook.com/groups/jasonlanierworkshops

*Twitter- www.twitter.com/jlanierphoto

**Models: Madison Ella and Nicole Taylor

*Instagram: www.instagram.com/madisoneellaa

www.instagram.com/nicole.tayylor

Crew: Anthony Schick, Gato Delix, Greg McCoy

www.instagram.com/anthonyschickphotography

www.instagram.com/gatodelix

www.instagram.com/gregselfaction

We thank you for watching and invite you to watch a few more videos while you're here. Don't forget to click on subscribe and notifications so you're updated every time a new video is released! Thanks! Jason Lanier Photography

2 Comments

Making it RAIN!  Epic High Fashion Portraits in the Water using Off Camera Flash- 7 Foot Parabolic by Jason Lanier

2 Comments

Making it RAIN! Epic High Fashion Portraits in the Water using Off Camera Flash- 7 Foot Parabolic by Jason Lanier

Any photographer who’s been shooting long enough outdoors has had his or her bouts of shooting in the rain. While it can certainly be challenging, it can also be very rewarding to give you some results that are different than what you create on a regular basis.

Well, there are some studios out there that actually offer rain INSIDE of a studio setting. What they do is set up pipes that pass water through with holes in them that drop water down into a studio setting that has the proper drainage and water collection set up to make it possible to shoot with rain indoors.

I recently did a shoot with my muse Emily (you can find her on IG at @em.explores), at FD Photo Studio in Los Angeles. The obvious benefit to shooting indoors vs. outdoors is the fact that it allows me to set up lighting in ways that would be very difficult or impossible to set up under normal rainy conditions.

Here are some of the pics from the shoot:


**Links to Gear:

*Rotolight Products- to get a 10% discount and FREE Shipping on any Rotolight products please visit: www.jasonlanier.com/rotolight to get the promo code now!

*Sony A7Riii- https://bhpho.to/2zu1lJu

*Sony Zeiss 35mm- https://bhpho.to/2IDrv28

*Sony Zeiss 50mm- https://bhpho.to/2FmytlK

*Matthews Scrim- https://bhpho.to/2IE2HH9

*Westcott 7 Foot Parabolic- https://bhpho.to/2ICi3vP

This was a very fun shoot done at FD Photo Studio in Los Angeles. This was shot using the Sony A7Riii with both the 35mm and 50mm Zeiss lenses.

Lighting was set up using the Rotolight Aeos inside of a 7 foot parablic umbrella with a Rotolight Anova Pro 2 used as a kicker light and another Rotolight Aeos used as a fill light.

The model is the beautiful Emily Rinaldo who can be followed by going to Instagram and following her @em.explores.

We hope you enjoy the shoot and invite you to stick around and watch a few more videos while you're here. Don't forget to click on SUBSCRIBE and NOTIFICATIONS so you're updated every time a new video is released!

Thanks,

Jason

2 Comments

Feathering Your Lighting- How to shoot your flash from the ground up by Jason Lanier

1 Comment

Feathering Your Lighting- How to shoot your flash from the ground up by Jason Lanier

Most experienced photographers know that when you use artificial light you should place it above your subject. That’s because when you do so, you are creating a lighting pattern that casts shadows down on your subject.

But there is a lighting technique called Feathering Light. That technique is utilized by having the edges of your light paint light onto your subject. This is done to minimize the effect of using light with your subject and even more importantly on the canvas of your image.

For example, if you want to do a shoot and don’t want there to be light spill or shadows on the ground coming from the flash, you would feather the light. This technique can also include facing the light up or even placing it on the ground so the light is shooting up.

Check out the video above of the shoot that I did in the Everglades which shows exactly what I’m talking about. This was a crazy shoot with my Model Emily who painted herself up and used palm fronds on the ground to create an amazing outfit.

This was done using the Godox AD 600 Pro flash inside of the Westcott Rapid Box XXL modifier with three layers of diffusion; the deflector plate, the inner baffle and outer sock.

As you’ll see in the video I use the edges of the light modifier to cast light onto Emily vs. what I’d normally do which is use the center of the light source. Below are the resulting images from the shoot. I’m breaking them into categories based upon the lens used.

Shots using the Sony Zeiss 50mm:

Shots using the Sony G 12-24mm lens:

Shots using the Sony Zeiss 35mm:

I really hope this helps some of you out there to explore some alternative ways of lighting. The pros to lighting like this include creating some dynamic shots in a way that allows your ground area to remain dark. The cons are that you have to be careful of where and how your shadows fall on your subject.

Immediately following this shoot we did a live video blog/podcast. To check that out click below:


Thanks for visiting my blog. I really appreciate your support and thank you in advance for your comments and for sharing the content with someone you think can benefit from it. To learn more with us online please visit www.patreon.com/jasonlanierphotography.

To learn with us in person please visit www.jasonlanier.com/register.

We’ll see you soon!

Thanks,

Jason

1 Comment

My First Shoot Ever using the Sony A7Riii- shooting in Raw at a Penthouse in NYC

4 Comments

My First Shoot Ever using the Sony A7Riii- shooting in Raw at a Penthouse in NYC

In late October 2017 Sony announced a camera that should be a big seller for them, the Sony A7Riii.  The predecessor to the A7Riii, was the A7Rii, a very popular and widely acclaimed camera.

While in town in New York City for the PhotoPlus Expo I was able to get my hands on the new Sony A7Riii with the brand new 24-105mm FE lens that was announced at the same time as the A7Rii and give it a go for a night.  I had my Photographer's Unite Event planned at a Penthouse in Manhattan and I used the opportunity to put on a live shooting demonstration in front of the crowd as they got to witness my first shoot ever with this camera.  Below is a video of the shoot:

But most of you are probably here to see the images that came out of the camera right?  Well, they are posted below.  All of the images were shot in raw, developed using Capture One, and enhanced using Photoshop.  I'll post the images by the lens that was used to capture them.  Settings for all the images are included in the video:

Images captured using the 85mm Sony G Master

Images captured using the Sony Zeiss 35mm f/1.4:

---Gear used for the shoot---

**Sony A7riii-  https://bhpho.to/2ztvVDo

**Sony 24-105 G lens- https://bhpho.to/2zs27qp

**Sony 85mm G Master-  https://bhpho.to/2A2V83D

**Sony 35mm Zeiss-  https://bhpho.to/2zsIUoP

To save money and get FREE shipping on Rotolight products please visit:

**Rotolight Neo- www.jasonlanier.com/rotolight

Below is a link to the models in the video:

*Maddi- www.instagram.com/lalunetta

*Jade- https://www.instagram.com/jade.gallowayy/

*Alyssa-  https://www.instagram.com/aly_182/

I thank you for watching and invite you to stick around and watch a few more while you're here. We have plenty more videos coming with the Sony A7Riii and will also devote an entire playlist to that camera, so make sure to check that out as well.

Don't forget to click on subscribe and notifications on my Youtube Channel www.youtube.com/jasonlanierpros so you're updated every time a new video is released.  Thanks for being here!!!

Jason

4 Comments

Groom Getting Ready and Groom Portraits at a REAL Indian Wedding Workshop

2 Comments

Groom Getting Ready and Groom Portraits at a REAL Indian Wedding Workshop

Many times so much emphasis at a wedding is placed upon the Bride.  While the Bride is certainly an extremely important person, we of course can't forget the groom right?  This shoot comes from my REAL Indian Wedding Workshop in Cherryhill, New Jersey with Akshar and Arti Patel.  In case you haven't seen Part 1 which includes my images taken of the bride Arti, you can find a link to them by clicking below:

http://www.jasonlanier.com/blog/real-indian-wedding-workshop-bride-getting-ready-at-the-crowne-plaza-cherry-hill-new-jersey

We went into the Groom's room and took the following shots that are included in the video as shown above.  It's important to capture the groom in a dignified and flattering manner which you can do by blending a style of photojournalism with light yet deliberate posing methods.  In other words, direct the shoot but don't overly pose the shoot.  Below are images taken of the Getting Ready portion:

After the getting ready portion we prepared for the First Look.  While waiting for the bride to arrive for the shoot I took a few minutes and did some groom portraits with Akshar as well.  All of these images were taken with lighting from the Rotolight Neo.  Below are the portraits of the groom taken at the ceremony site:


**Links to Gear:

*Sony A7Rii-  

*Sony 85mm G Master-  

*Sony Zeiss 35mm-  

*Rotolight Neo-  

Don't forget to subscribe to my Youtube Channel and my blog to get updated whenever we release new content!

Thanks,

Jason

2 Comments

Real Indian Wedding Workshop- Bride Getting Ready at the Crowne Plaza Cherry Hill, New Jersey

7 Comments

Real Indian Wedding Workshop- Bride Getting Ready at the Crowne Plaza Cherry Hill, New Jersey

For those that don't know, I've been doing REAL wedding workshops for years as a means to help photographers out there gain experience at great venues with wonderful clients.  In July of 2016 I had the opportunity to do a real indian wedding and hold a workshop at the wedding.


Why would clients agree to let me hold a workshop (where I bring photographers to shoot the wedding)?  The way the real wedding workshops work is that I give a discount to a wedding client in exchange for them allowing me to bring photographers along to shoot the wedding.

The photographers are allowed to use the images for their portfolio which is a huge boon for them to be able to bolster their portfolio at a great wedding that most of them would otherwise not be in a position to shoot.

The photographers have to obey rules set forth that makes sure the wedding goes off without a hitch including the way they act, the clothes they wear, even going as far as where they can stand during the wedding.  So far it's been a win-win as both the wedding clients and workshop attendees have benefited from the experience.

So I had a beautiful wedding couple to shoot, Akshar and Arti.  We first went to the bride's room where we did a shoot of Arti in her beautiful gown.  She is just one of the most stunning bride's I've ever been able to shoot.  The shots below were taken with the Sony A7Rii using the 16-35, 85mm G Master and the 35mm Sony Zeiss lens using the Rotolight Neo.


**Links to Gear:

*Sony A7Rii-  

*Sony 85mm G Master-  

*Sony Zeiss 35mm-  

*Sony 16-35mm Zeiss lens-  

*Rotolight Neo-  

Thanks and don't forget to subscribe to my blog!!

Jason

7 Comments

How I Pose and Shoot Men- a Groom Shoot in the Maui Rainforest in Hawaii

4 Comments

How I Pose and Shoot Men- a Groom Shoot in the Maui Rainforest in Hawaii

On my Youtube Channel I'm known for taking pics of lots of pretty women around the world. What some may not realize is before my Youtube and commercial work days I shot hundreds of weddings in many places which meant that I had to of course, shoot men.

Now this isn't a bad thing.  Shooting men is quite a bit of fun and is actually a completely different dynamic than when I shoot women.  I remember when I shot weddings I would go into the bridal room and more often than not the feel and vibe of the shoot was a romantic, fairy tale type of a shoot.  Everything seemed to be very poetic and magical.

**Don't forget to subscribe to my blog and Youtube Channel...:)

Then I would head over to the Groom's Room.  That was a different story.  Typically the groom's room involved a bit of alcohol consumption by the groom and his friends which lead to some pretty fun and crazy shoots.  In other words, I had to learn to shoot differently based upon shooting a bride vs. shooting a groom.

Many times (unless you're a male model), men don't particularly love having their picture taken. It's always one of those types of scenarios where men just "want to get the shoot over with." I learned over the years that using humor was a great way to get the groom to relax and actually get into the shoot.  Once I got their buy in, the shoot turned into something magical.  

Now I'm using generalities here and there are always exceptions.  Women and brides can certainly be wild and very funny and men can certainly be romantic and elegant.  But in the hundreds of weddings I've shot I've found my descriptions of both to be what I encounter the majority of the time.  Best piece of advice, learn who your clients are and adjust to their personality and needs.

So that leads us to this shoot.  This was a bride and groom out in Hawaii for their honeymoon. They found out I was in Hawaii on vacation and made arrangements with me to do a shoot of them in their wedding attire while out there.  This was very unique timing as it was their first day of their honeymoon, and my last day of vacation with my family.  So they were eager to get their honeymoon started and I was eager to get packed up and head to the airport.

I first spoke with the bride Karolina and when we spoke about doing the shoot she was very excited.  Her husband Ray was happy to do the shoot, but just didn't want it to go very long.  He was more than cooperative but like many grooms just "wanted to get it over with." Understanding this dynamic I persuaded the couple that there was this amazing rainforest that could produce some really gorgeous images.

So we drove down there to shoot.  I started setting up my gear and my friend Chris Millen agreed to come along to help roll video.  Thanks Chris!  I didn't have any assistants or crew since I was just there on vacation.  So I set up my gear and started shooting.  But the important thing was that I started shooting the groom (Ray) first.  I wanted and needed him engaged in the shoot.  I wanted him to feel good about taking the time to do the shoot and to feel good about himself.

We started joking around while shooting and before we knew it we were having a really fun banter back and forth which lead to some really great sets of images.  If you can get a groom to laugh and get him to feel good about himself, you can create some fantastic images.  Ray's wife is a model.  So you can imagine that might make anyone feel a little intimidated.  He probably assumed that a photographer would only be interested in shooting her.

By starting with him, by showing him that I really wanted to create something amazing with him, it really builds confidence which lead to a fantastic shoot.  At one point he teased his wife Karolina telling her that she was jealous I was spending so much time with him lol.

The bottom line is that if you take the time to show a man that their time is valuable and that you are invested in shooting them, the rewards can be great.  I highly recommend you watch the video to see the posing and techniques used to create the images below.  

Images taken with the Sony A7Rii and the 35mm Sony Zeiss f/1.4

Images taken using the Sony A7Rii with the 85mm G Master f/1.4

**Links to Gear Used:

*Sony A7Rii-  

*Sony Zeiss 35mm-  

*Sony 85mm G Master-  

*Flashpoint Xplor 600-  

*Westcott Rapid Box XL-  

*Feisol Monopod-  

I hope this helps and that it gives you some insight on how I shoot male subjects in general.  In essence if you do it right, it's an absolute blast that can give you some stellar results...

Thanks!

Jason

4 Comments