So when any still camera stops recording at the 29:50 mark, it isn't overheating, it's simply obeying the law based upon if it's a video camera or a still camera. The REAL question that needs to be answered is, "Once it stops, can you immediately hit the RECORD button and start recording again?"
When I first got the A6000 nearly 3 years ago and took it with me to Ethiopia, the video would overheat after about 20 minutes or so and the camera wouldn't turn back on until it cooled off. The A6300 was better, but it did indeed overheat at about the 25 minute mark when recording 4k video.
So when Sony added IBIS (In Body Image Stabilization) to the A6500, conventional wisdom would indicate that there would actually be MORE heat going on inside the camera body, not less. So I was ready to be disappointed with how well the camera handled heat.
BOY, was I surprised. I got a loaner camera for Sony and was able to shoot with it for two days. I was so busy trying to crank out shots and test it as much as I could that I really didn't get a chance to just leave it recording for an endless amount of time. On top of that, I couldn't just leave it recording through the middle of the night because it will stop at 29:50 no matter what. Meaning I'd have to be awake and hit the record button every 30 minutes. Plus, I wanted the footage to be REAL. I wanted to test it in conditions that I would actually use the camera in.
I see so many tests online that simply are ridiculous. Tests where people set a camera in hot sand or on a hot rock that's roasting in the sun and then are shocked that a completely metal object like a camera would get hot. That's honestly laughable.
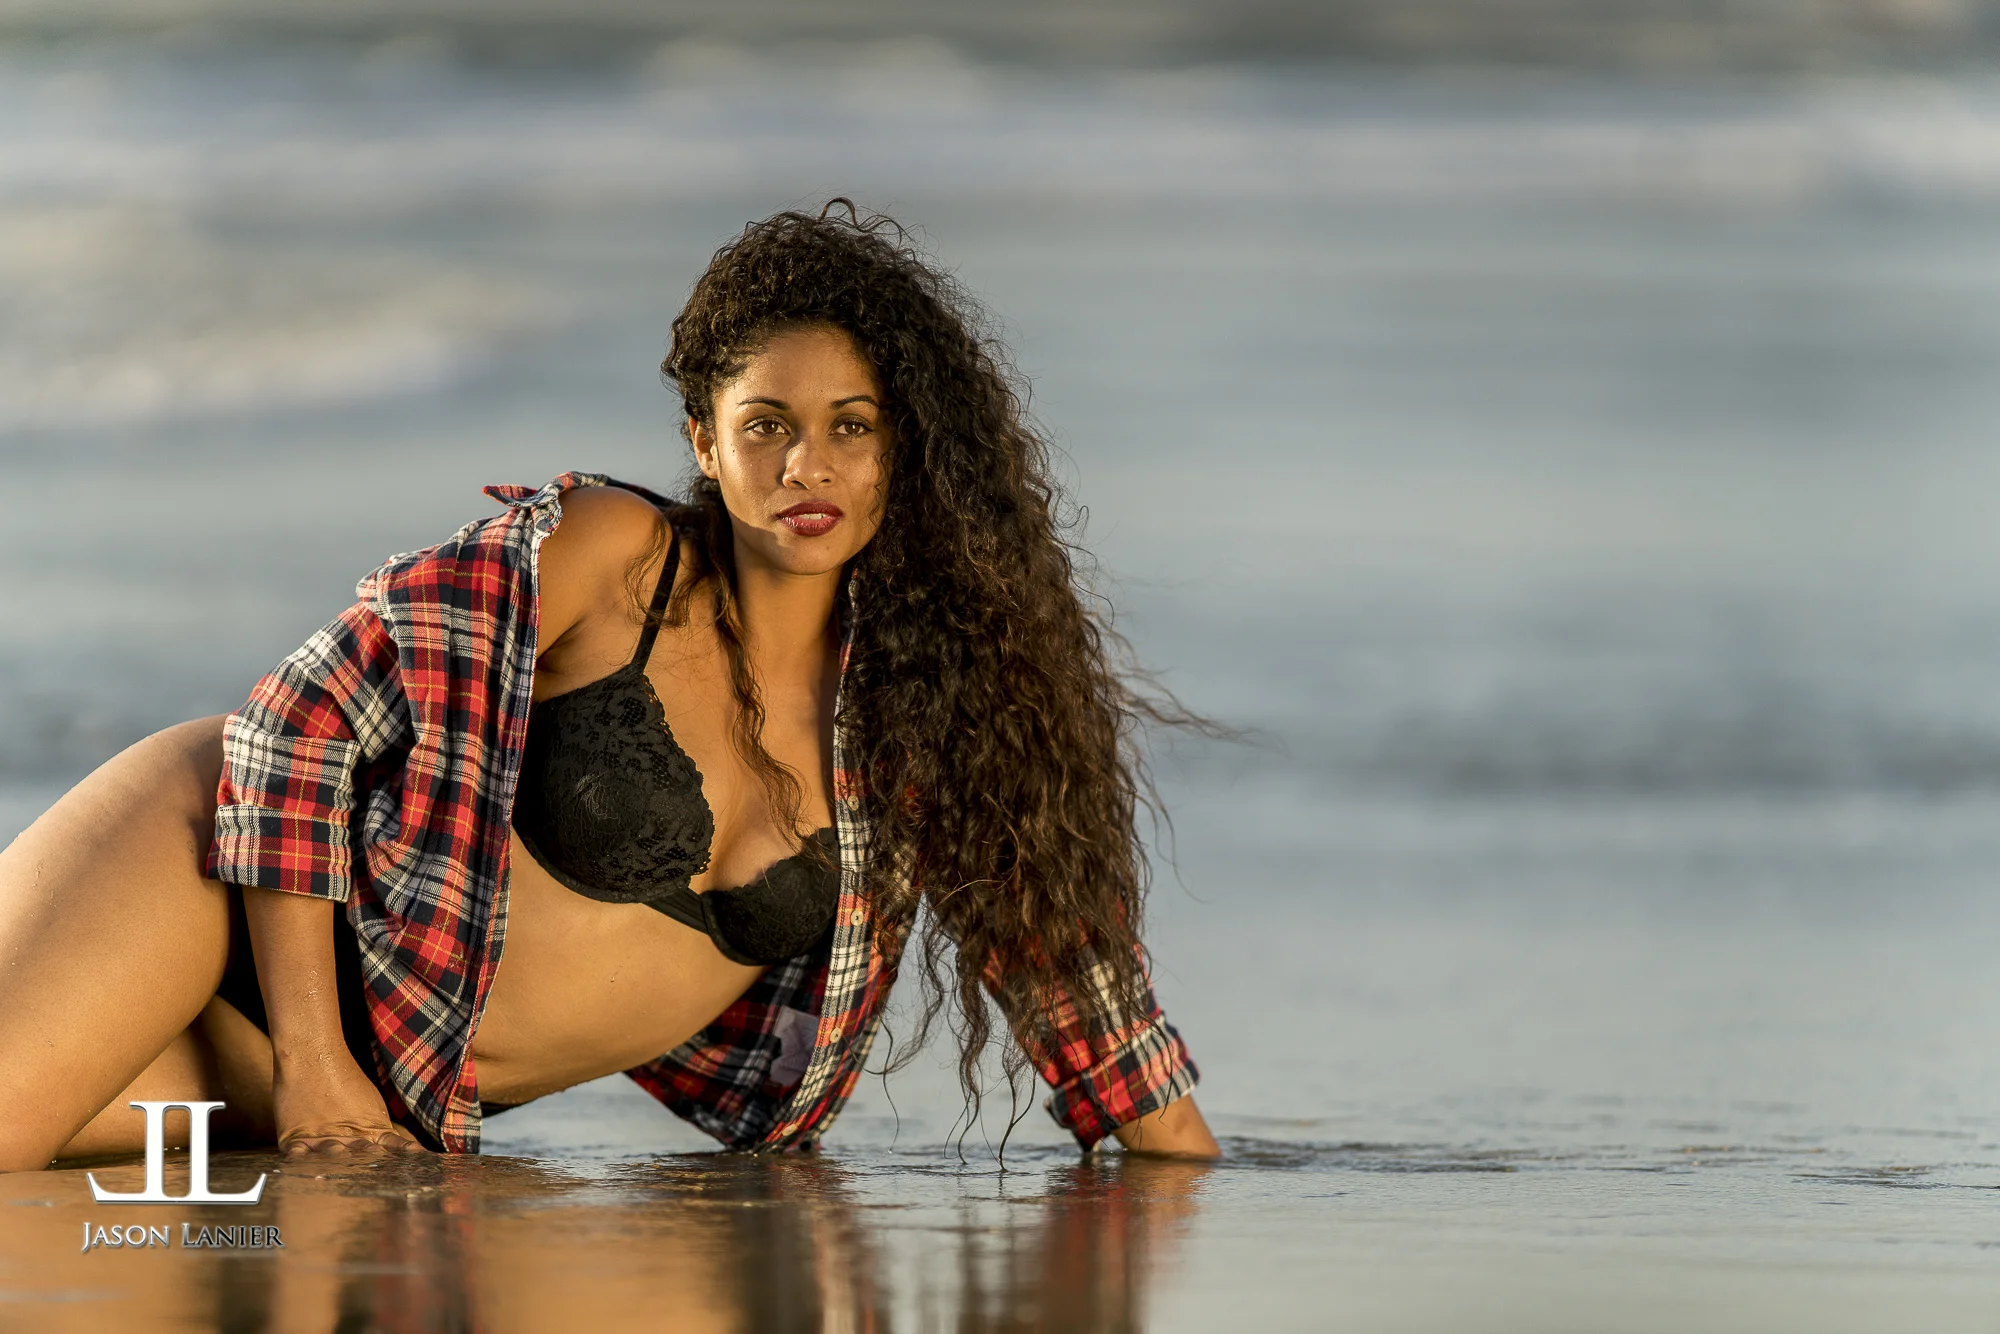
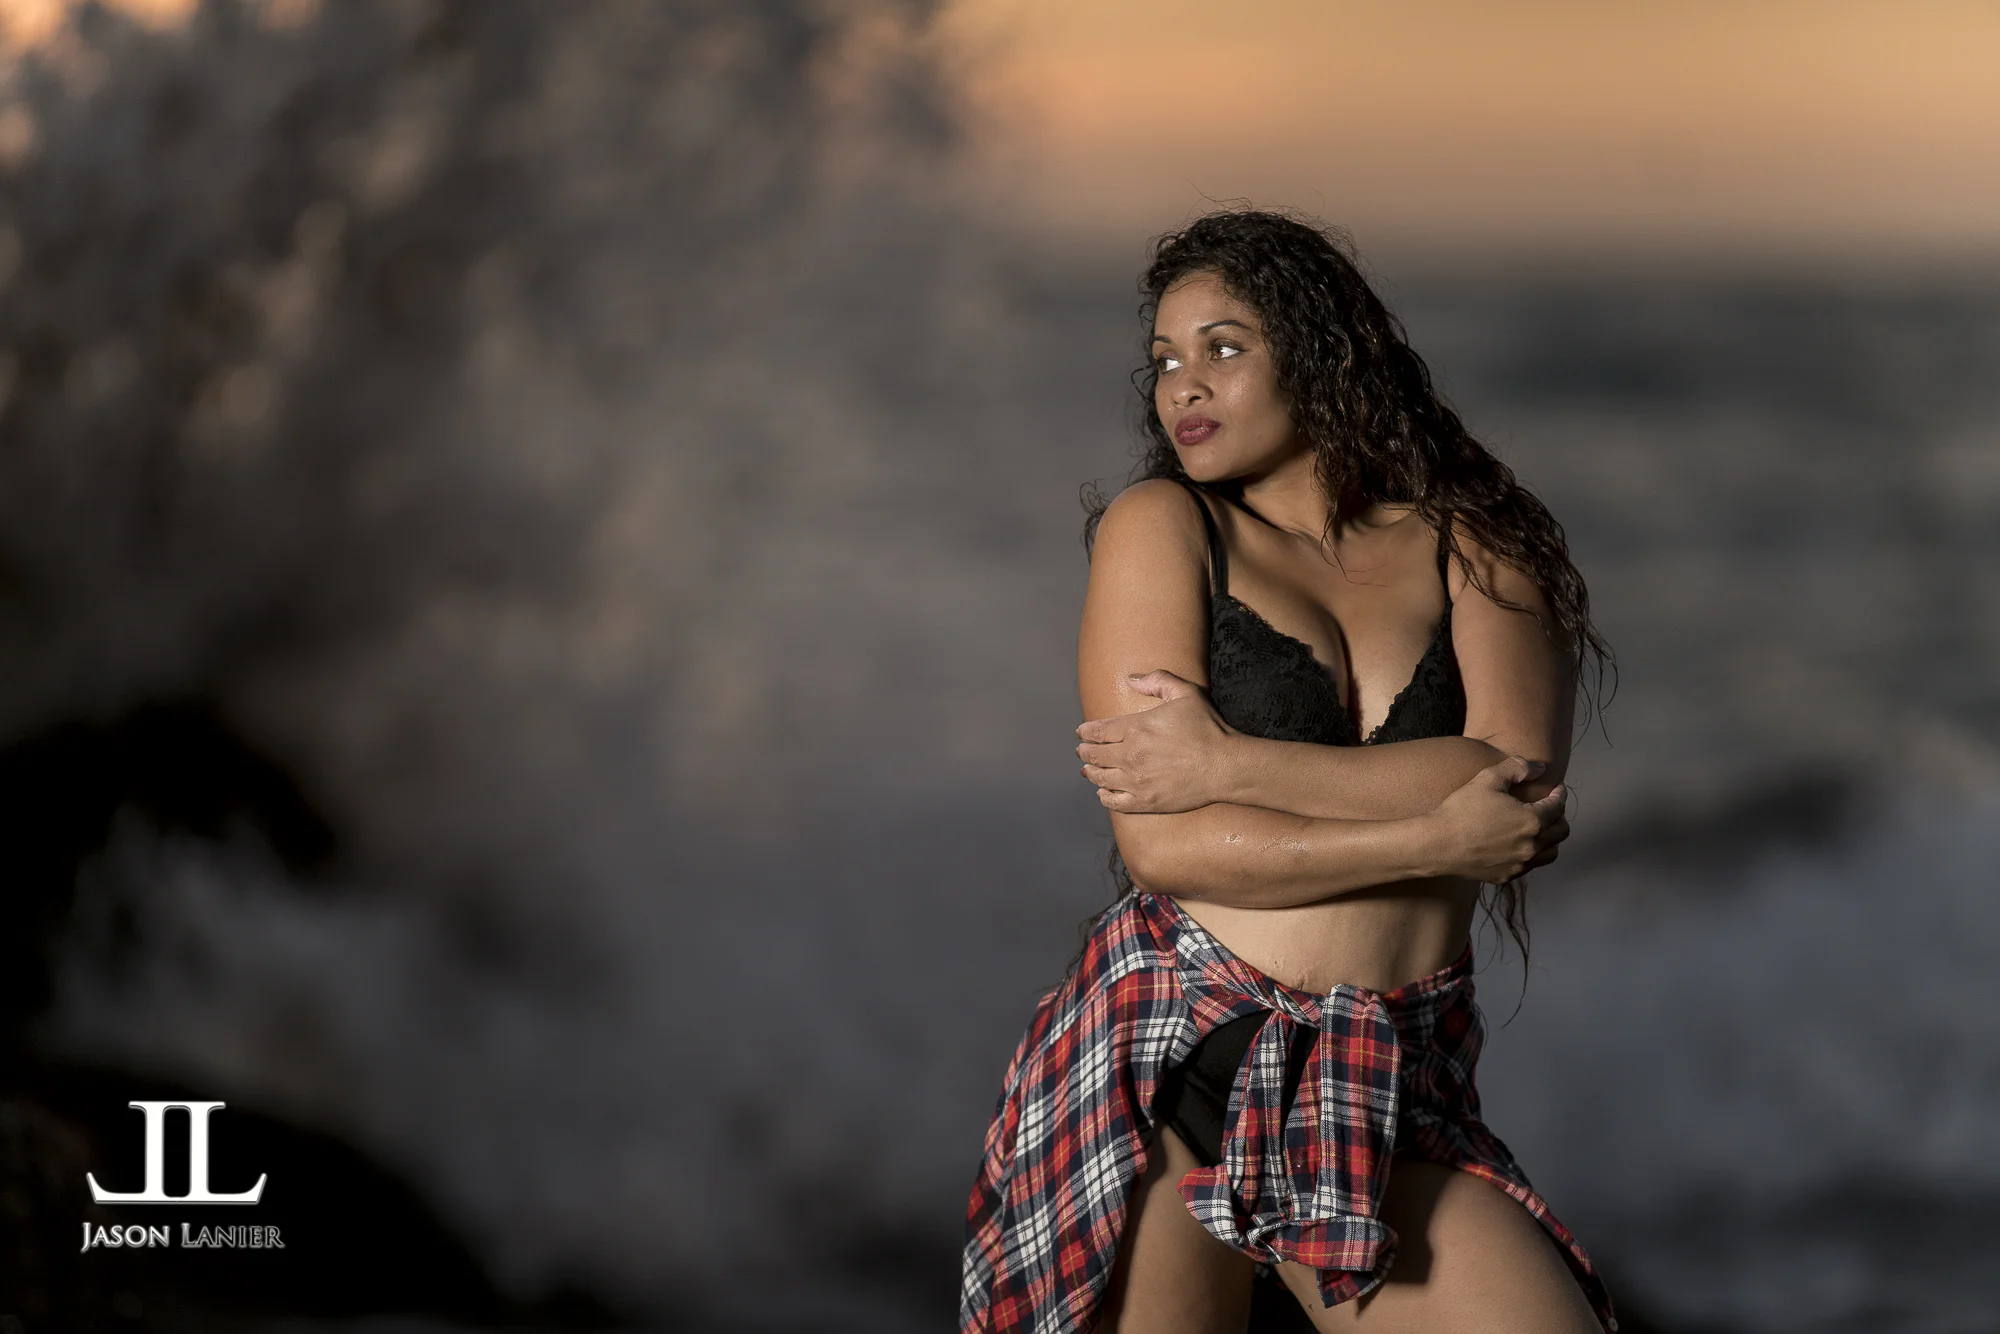
Like all of my reviews and tests, I care about how it will perform in the real world, not sitting on a rock in the desert. Because after all, who in the world is gonna use it like that? Nobody...unlesss you're a desert hermit without a tripod who vlogs I guess.
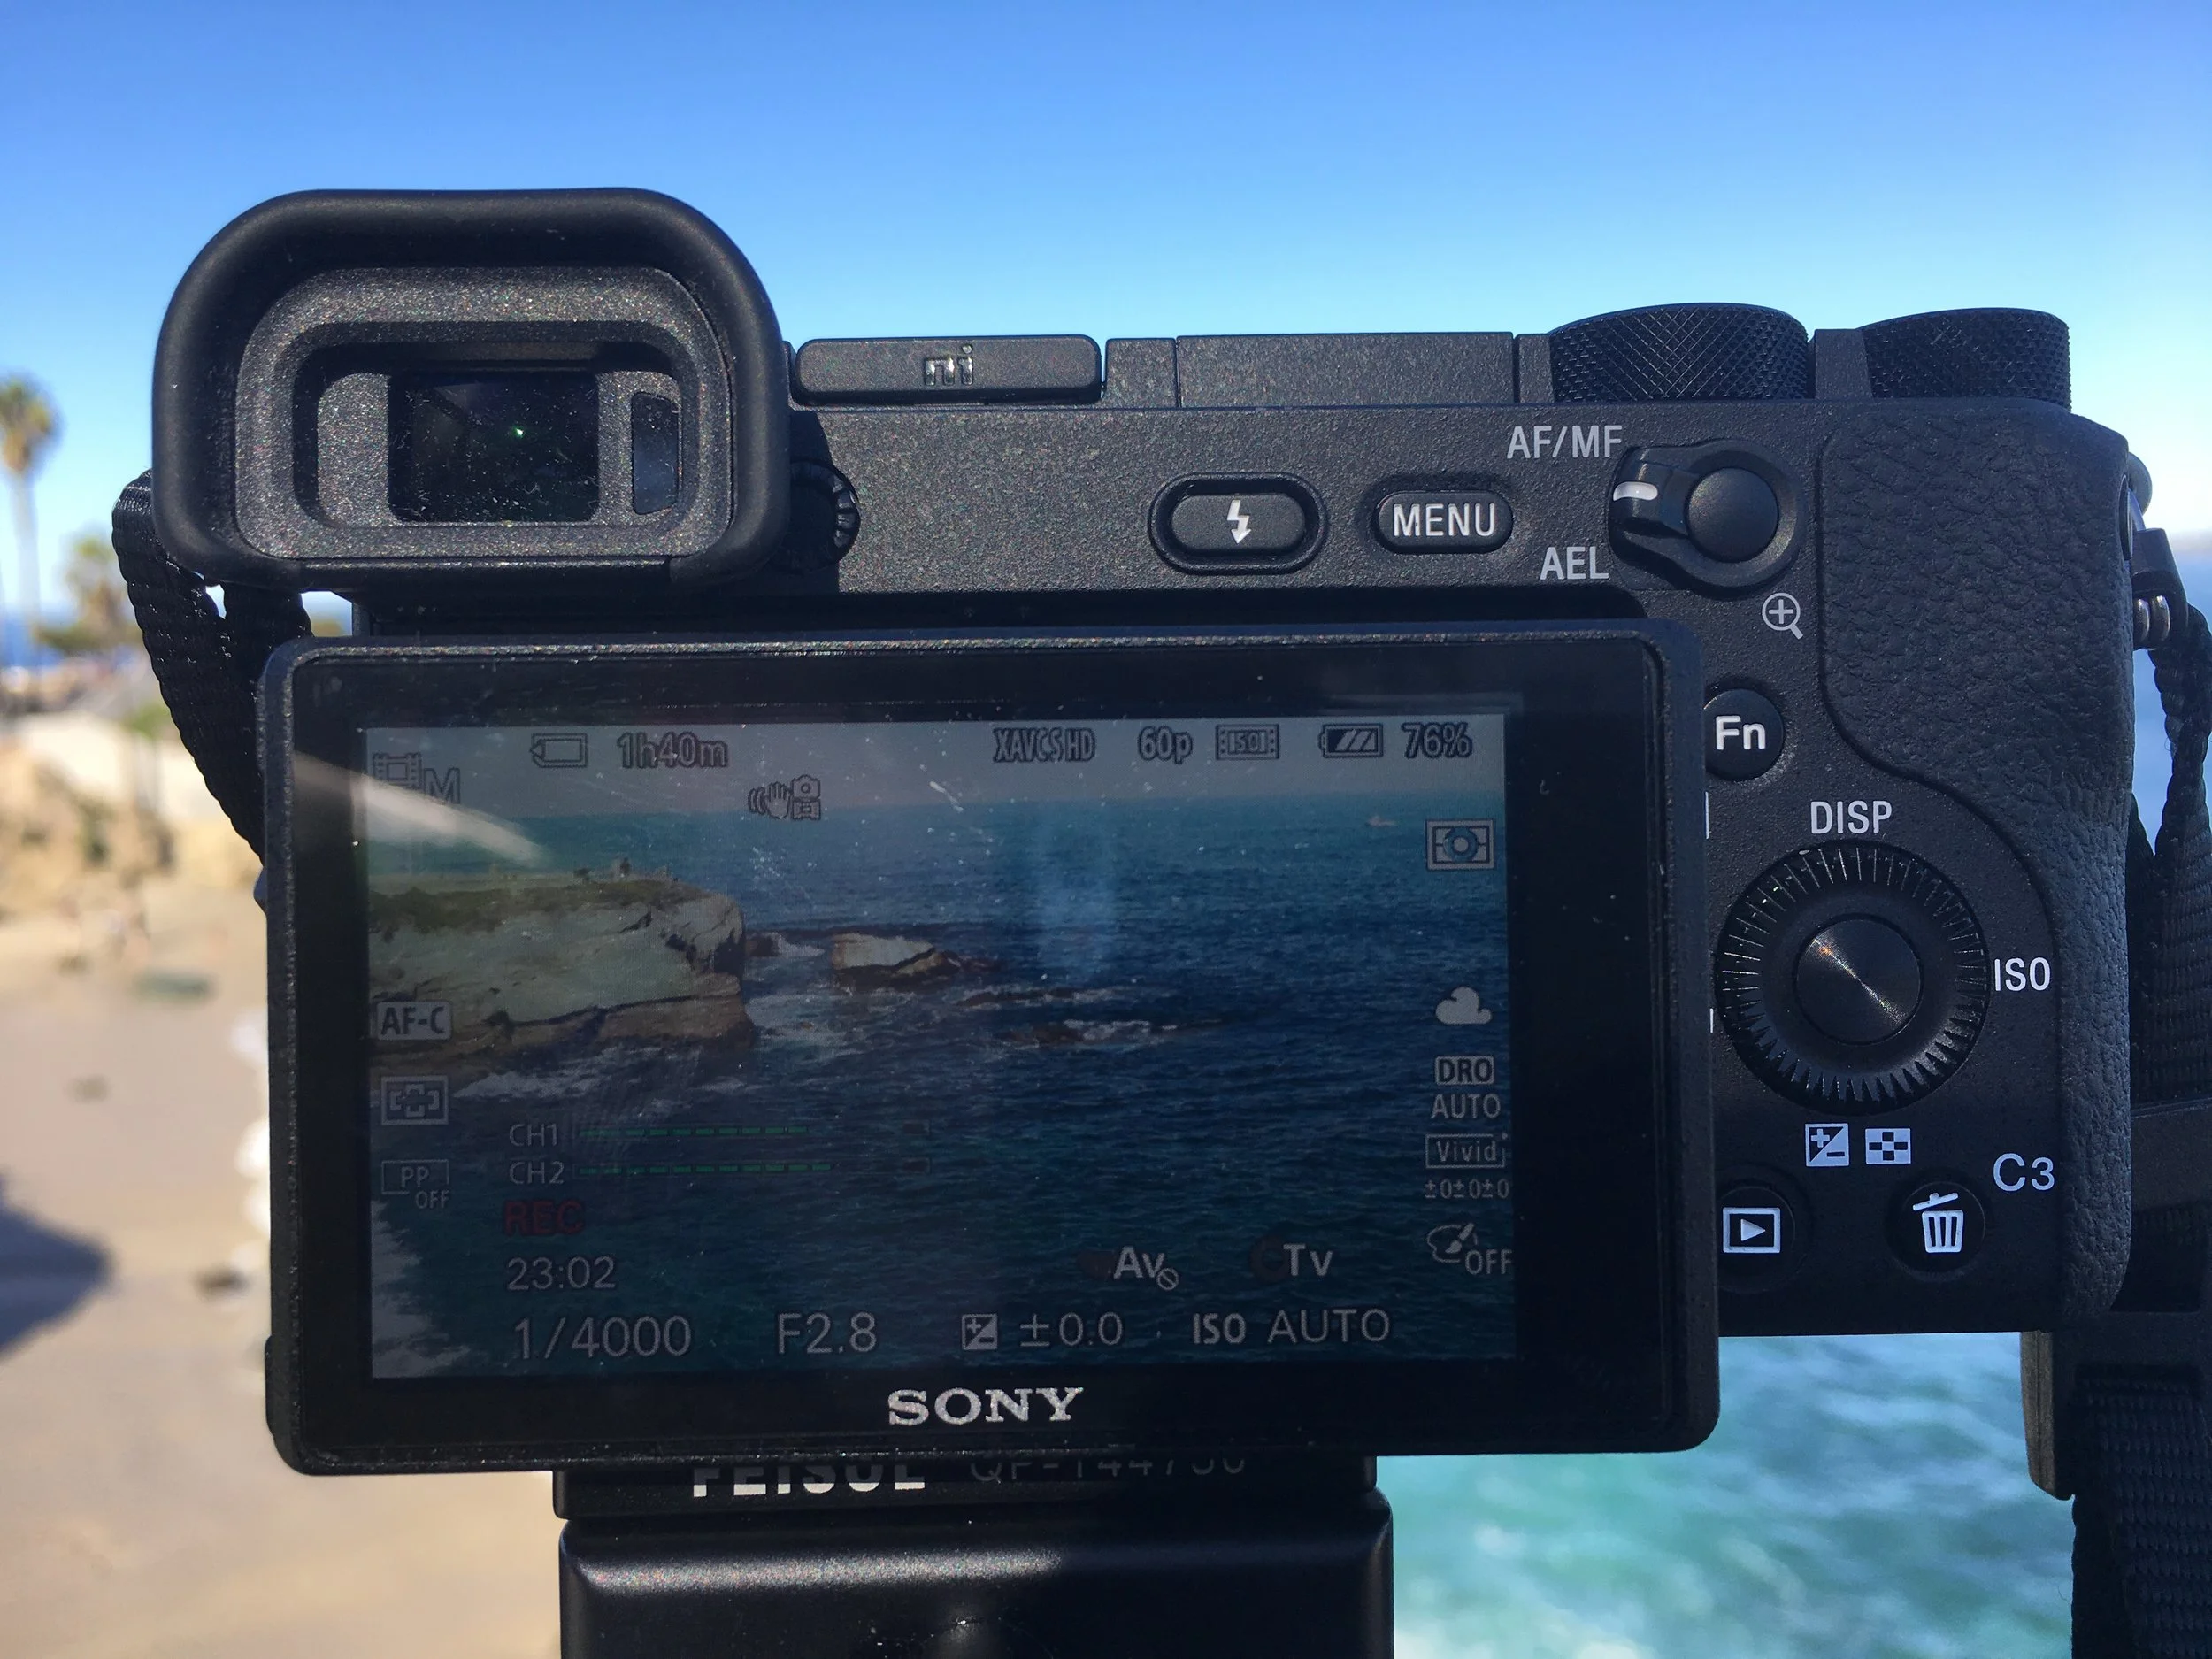
So I started recording on this camera. Predictably it stopped recording at the 29:50 mark. But to my happy surprise when I immediately hit the record button again, it started recording immediately. But then....it kept recording. And wouldn't overheat.
I could NOT get the A6500 to OVERHEAT!!! I shot it in 1080p (yes I tested in 4k as well but that's for another post), and it would NOT overheat. You guys seriously have to watch the video to see what I'm talking about.
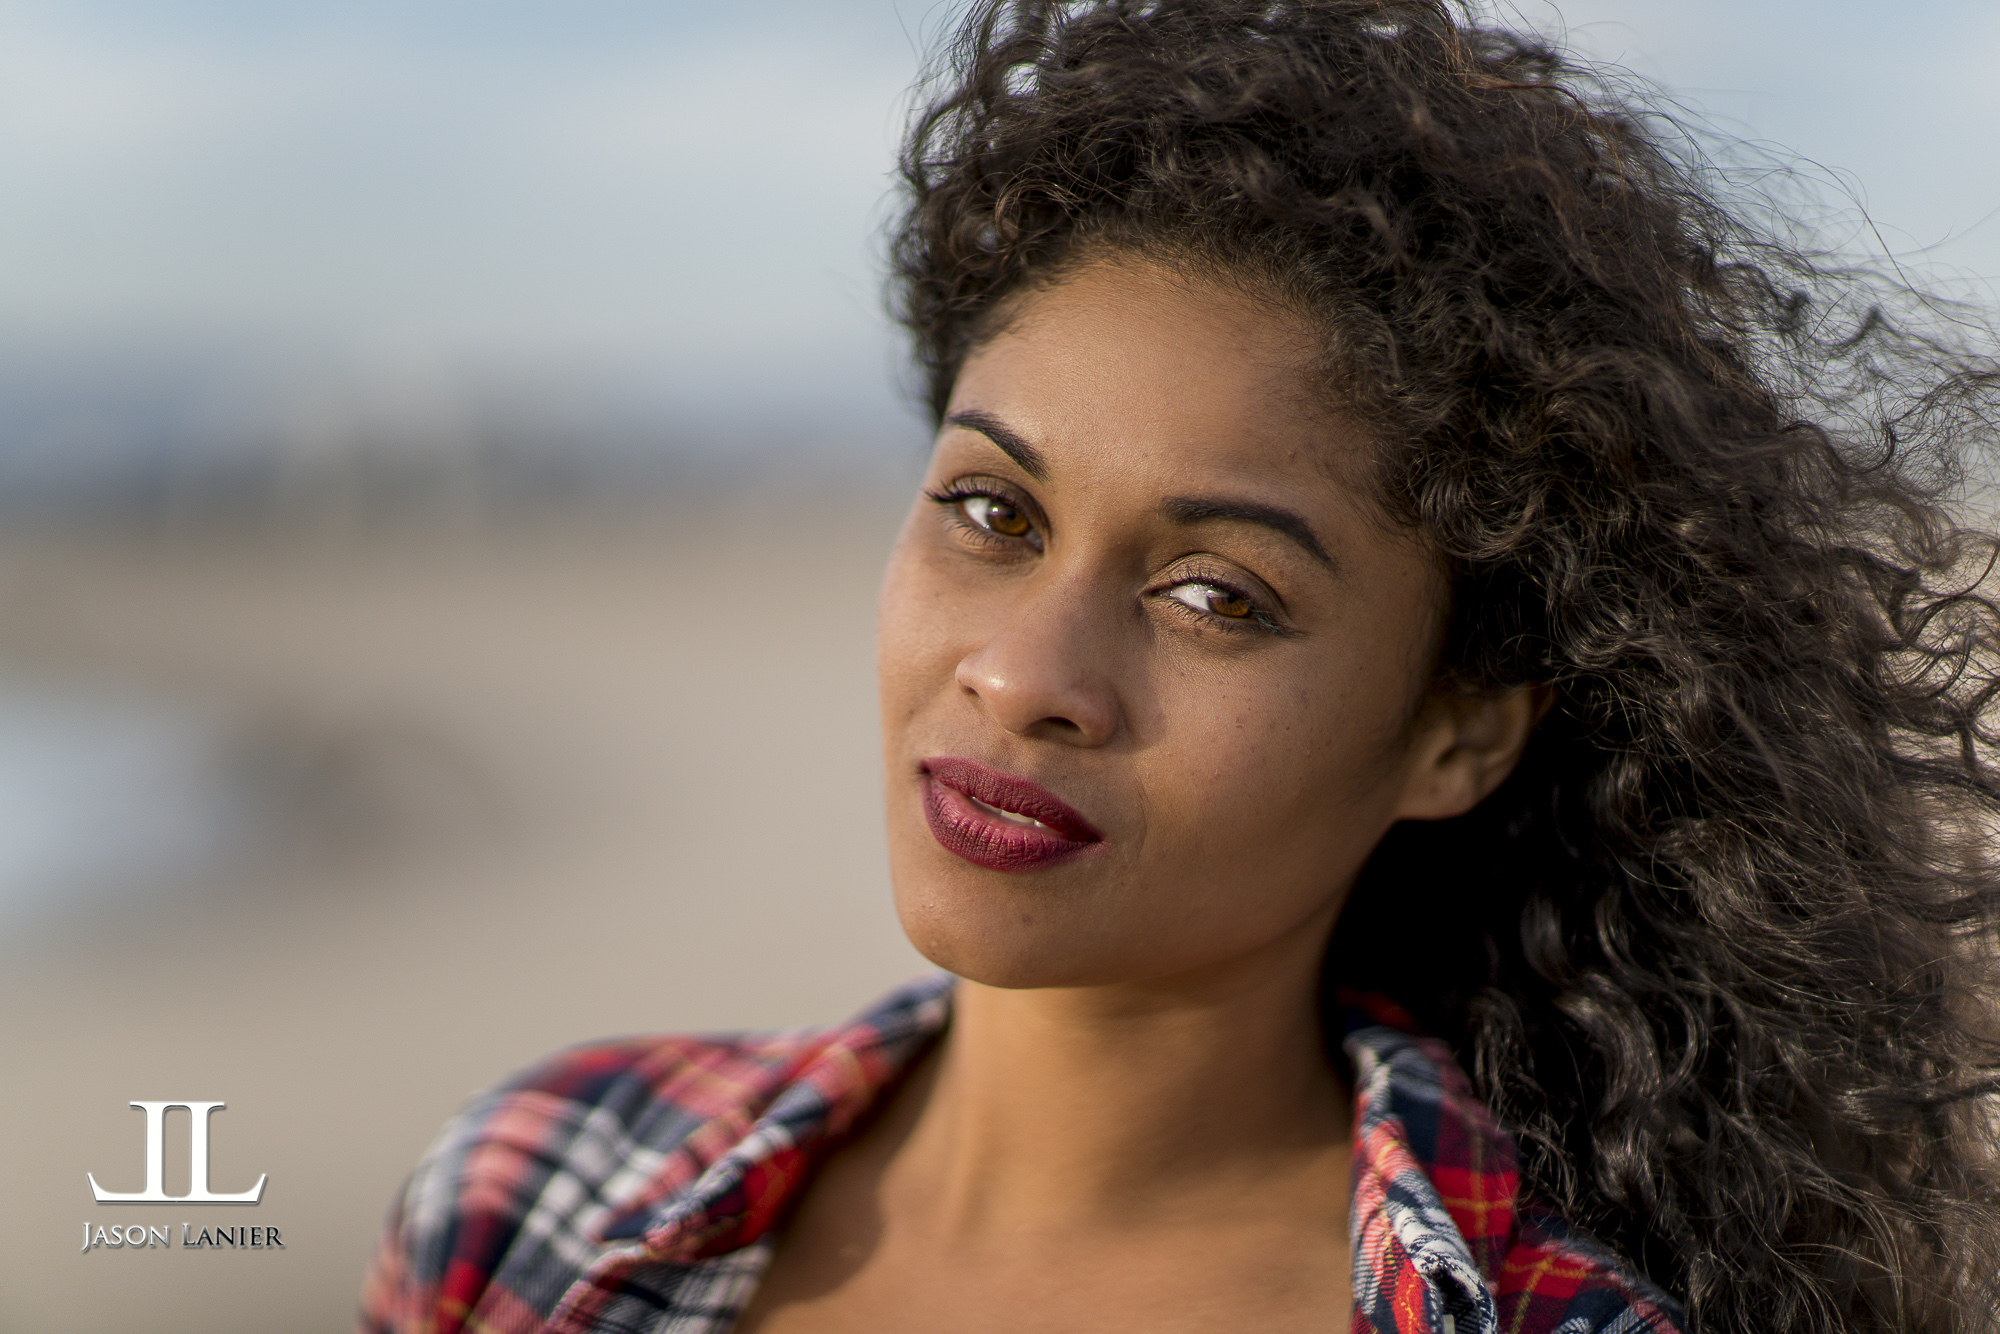
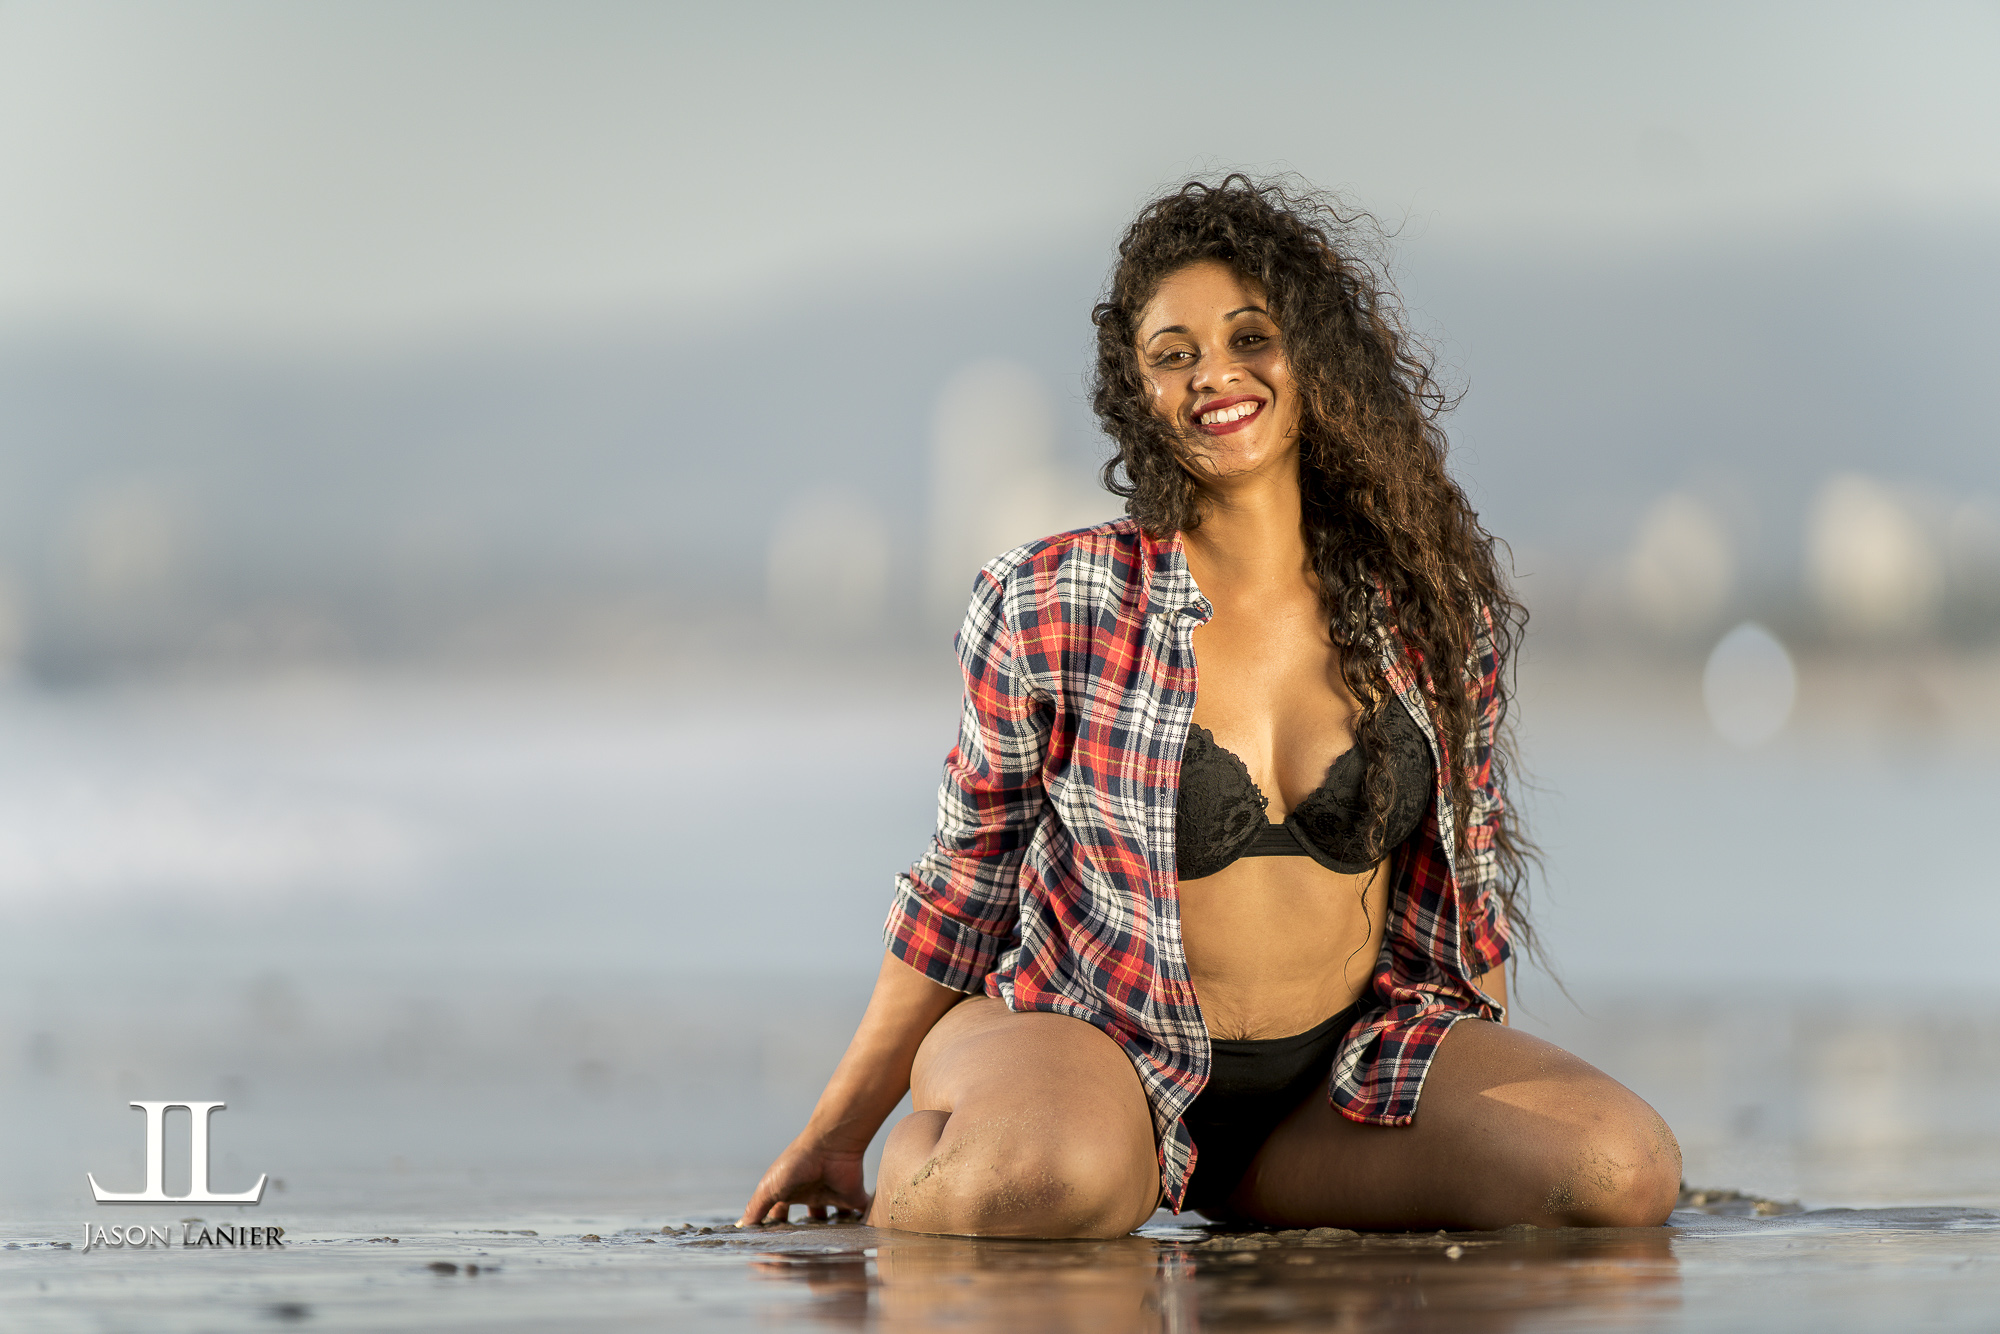
It got to the point where I had models and my photography crew standing around waiting for the darn thing to overheat so we could start shooting with it. It got so bad that I was WANTING it to overheat lol.
IT NEVER OVERHEATED. Barely got warm.
At the 2 hour and 2 minute mark I said enough was enough. My memory card was full and I'd gone through 2 batteries. It simply would not overheat. I had one of the models come over to the camera (that was in direct sunlight for hours by the way) and her words were that the camera was "barely warm".
So how did Sony do it? Well, they removed the constraints that were placed on the camera. You can go into the menu and turn off the limiter that prevents the camera from shutting down when it overheats. But that being said, it was never even physically hot. It felt like a camera normally feels when you've held it in your hands for a good 10 minutes....just a mild warmth.
I can't completely explain how Sony did as I'm not one of their engineers and I simply don't know. And to that end I really don't care how they did it. I just care that they did. I hope to see the same advancements in future iterations of their other cameras.
Stay tuned for the 4k test as well!!!
**Links to Gear:
*Sony A6500-
*Sony 35mm Zeiss-
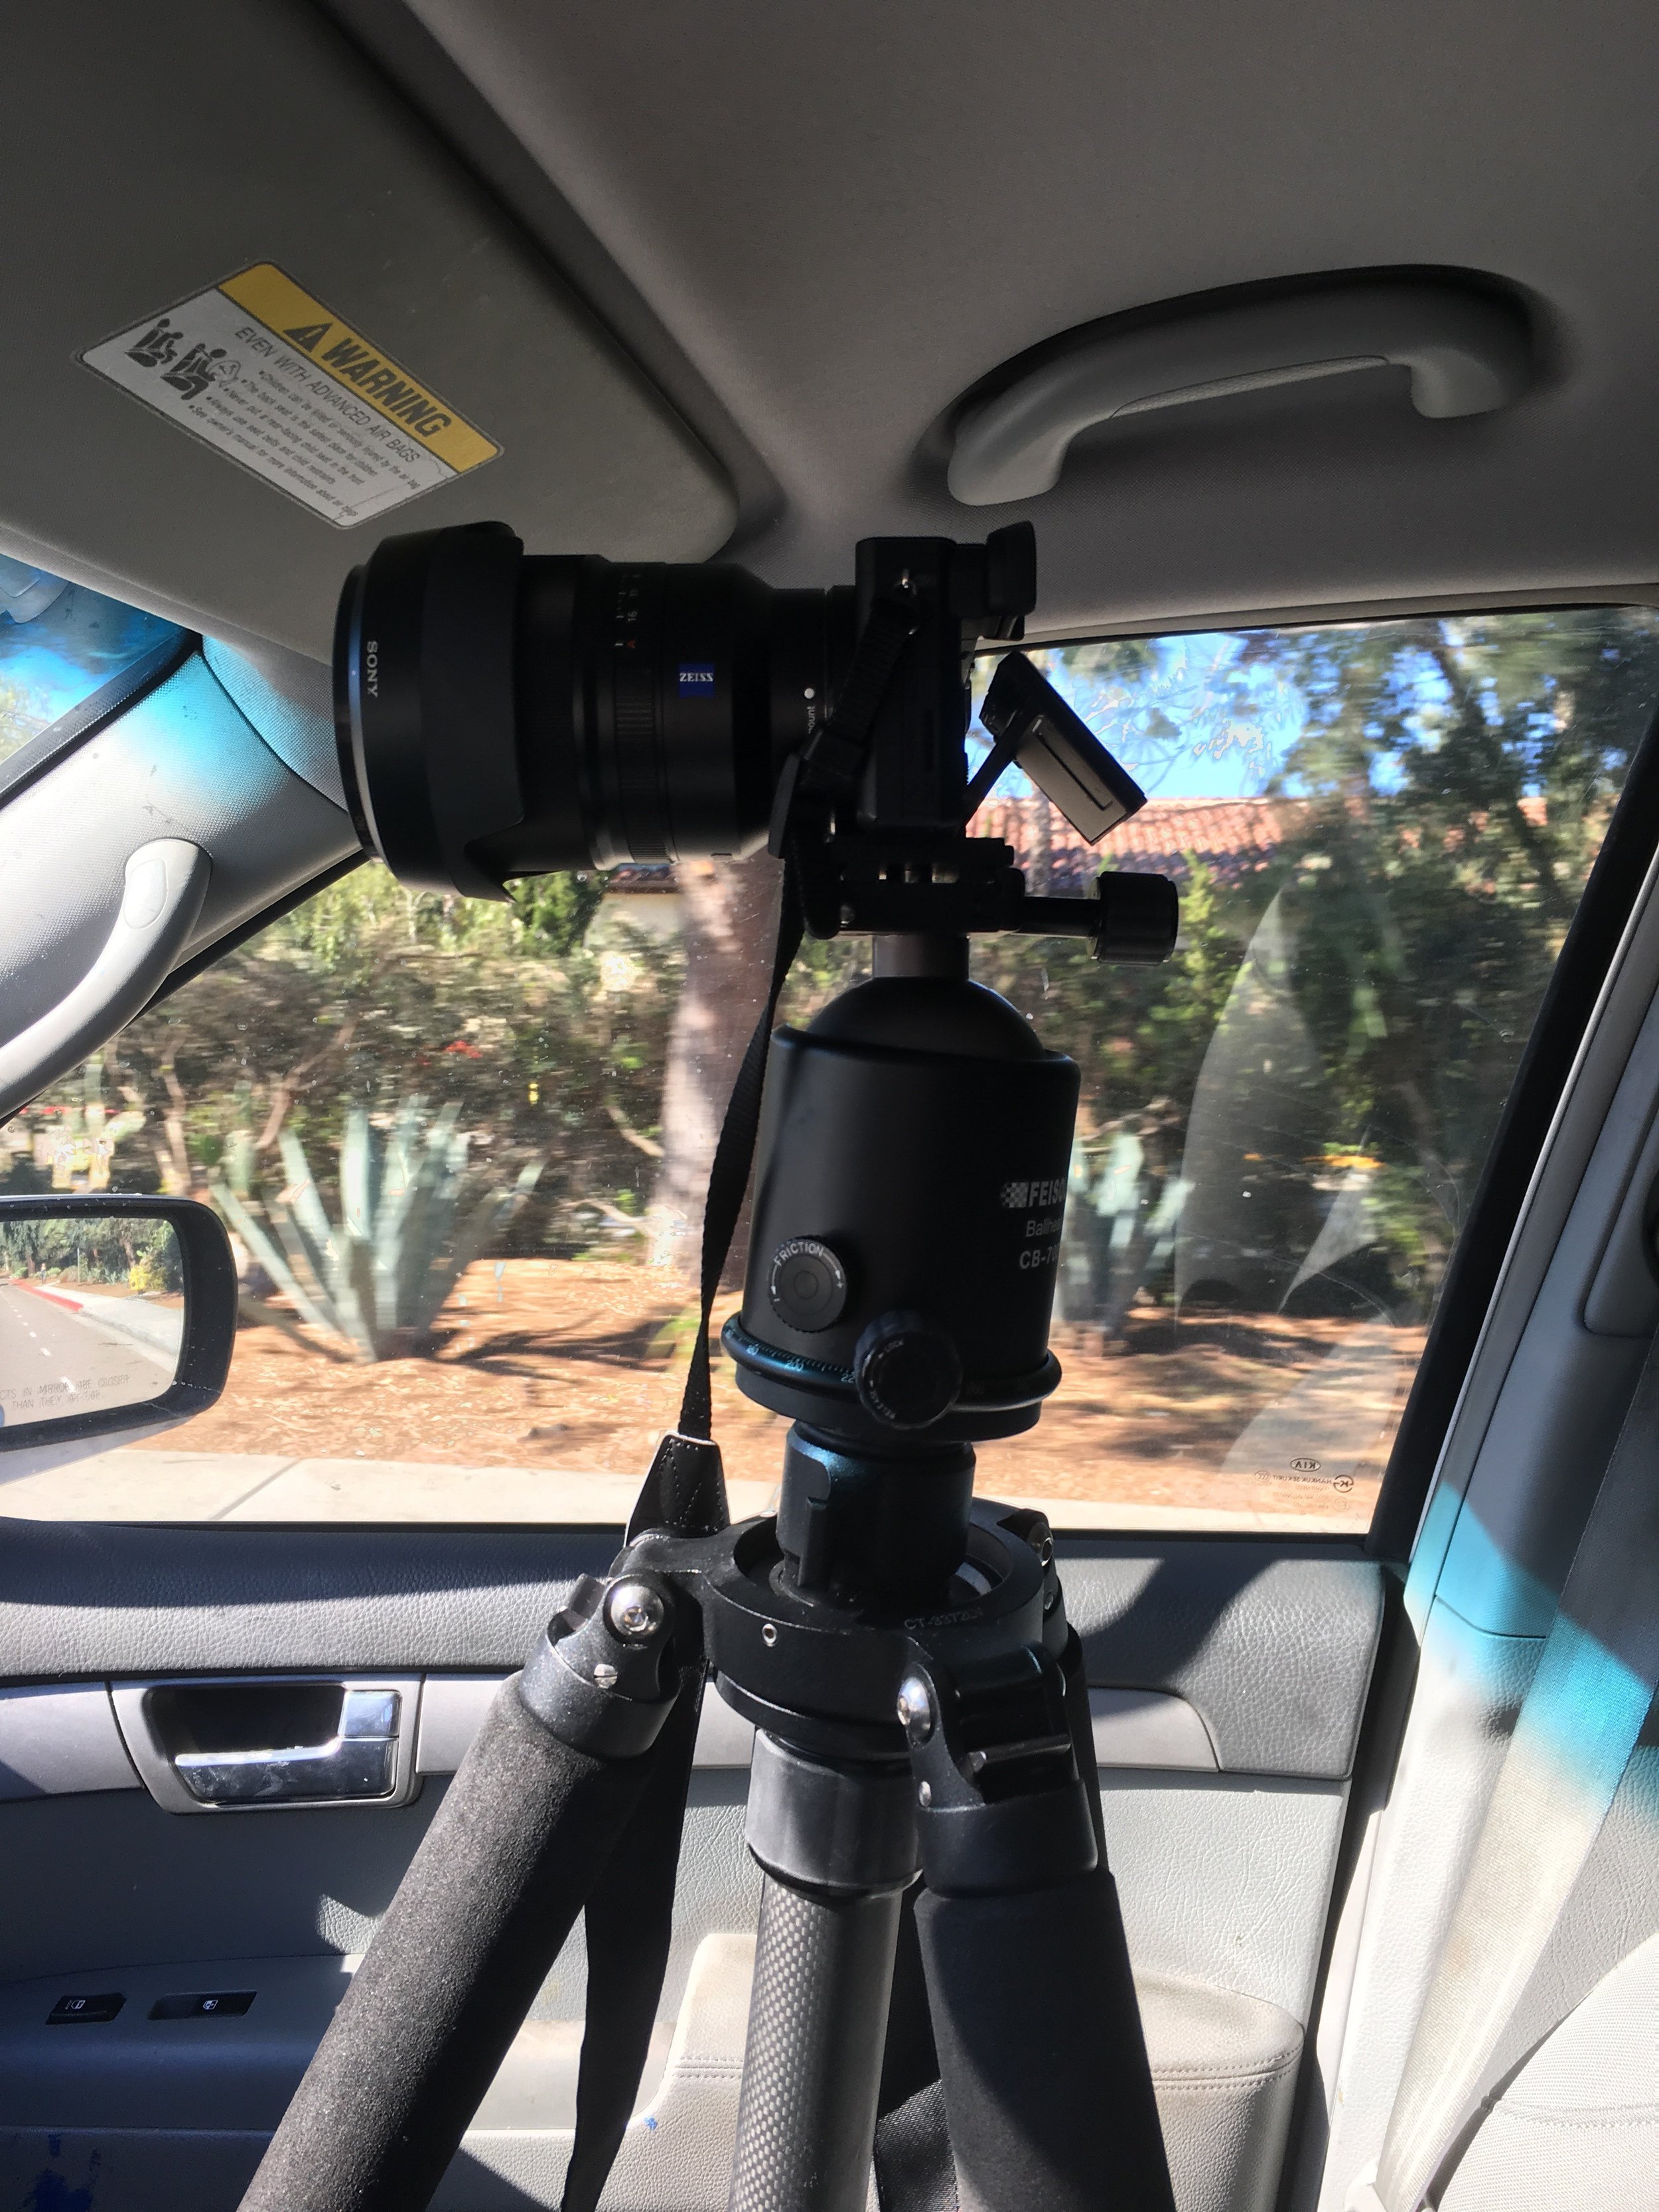
*Feisol Tripod-