Viewing entries tagged
Off Camera Flash

CHEAP Lens Challenge- Shooting the Sony FE 50mm with the Sony A6500 in a train

16 Comments

CHEAP Lens Challenge- Shooting the Sony FE 50mm with the Sony A6500 in a train

I'm blessed....I'll admit it.  I work hard for what I've achieved, but I'm very grateful and humbled that I get to shoot with some of the best lenses in the world.  I've shot with Zeiss, Sony G Master, Sony Zeiss and many more.  I've also shot with nearly all of the Canon L lenses and many Nikon lenses to boot.

So one comment and/or request that I get quite frequently is, "Can you do some videos or shoots with some cheap stuff that the rest of us can afford?  We love seeing your shoots but I'll never be able to afford that stuff."

Fair enough.

I remember the days of saving up income for good amounts of time to be able to afford gear.  I REALLY DO.  Those days aren't too far in my past.  So I decided to start adding (yes I bought them), some cheaper lens options into my gear arsenal so I can represent and reflect all of the photographers that follow my work and my Youtube Channel.

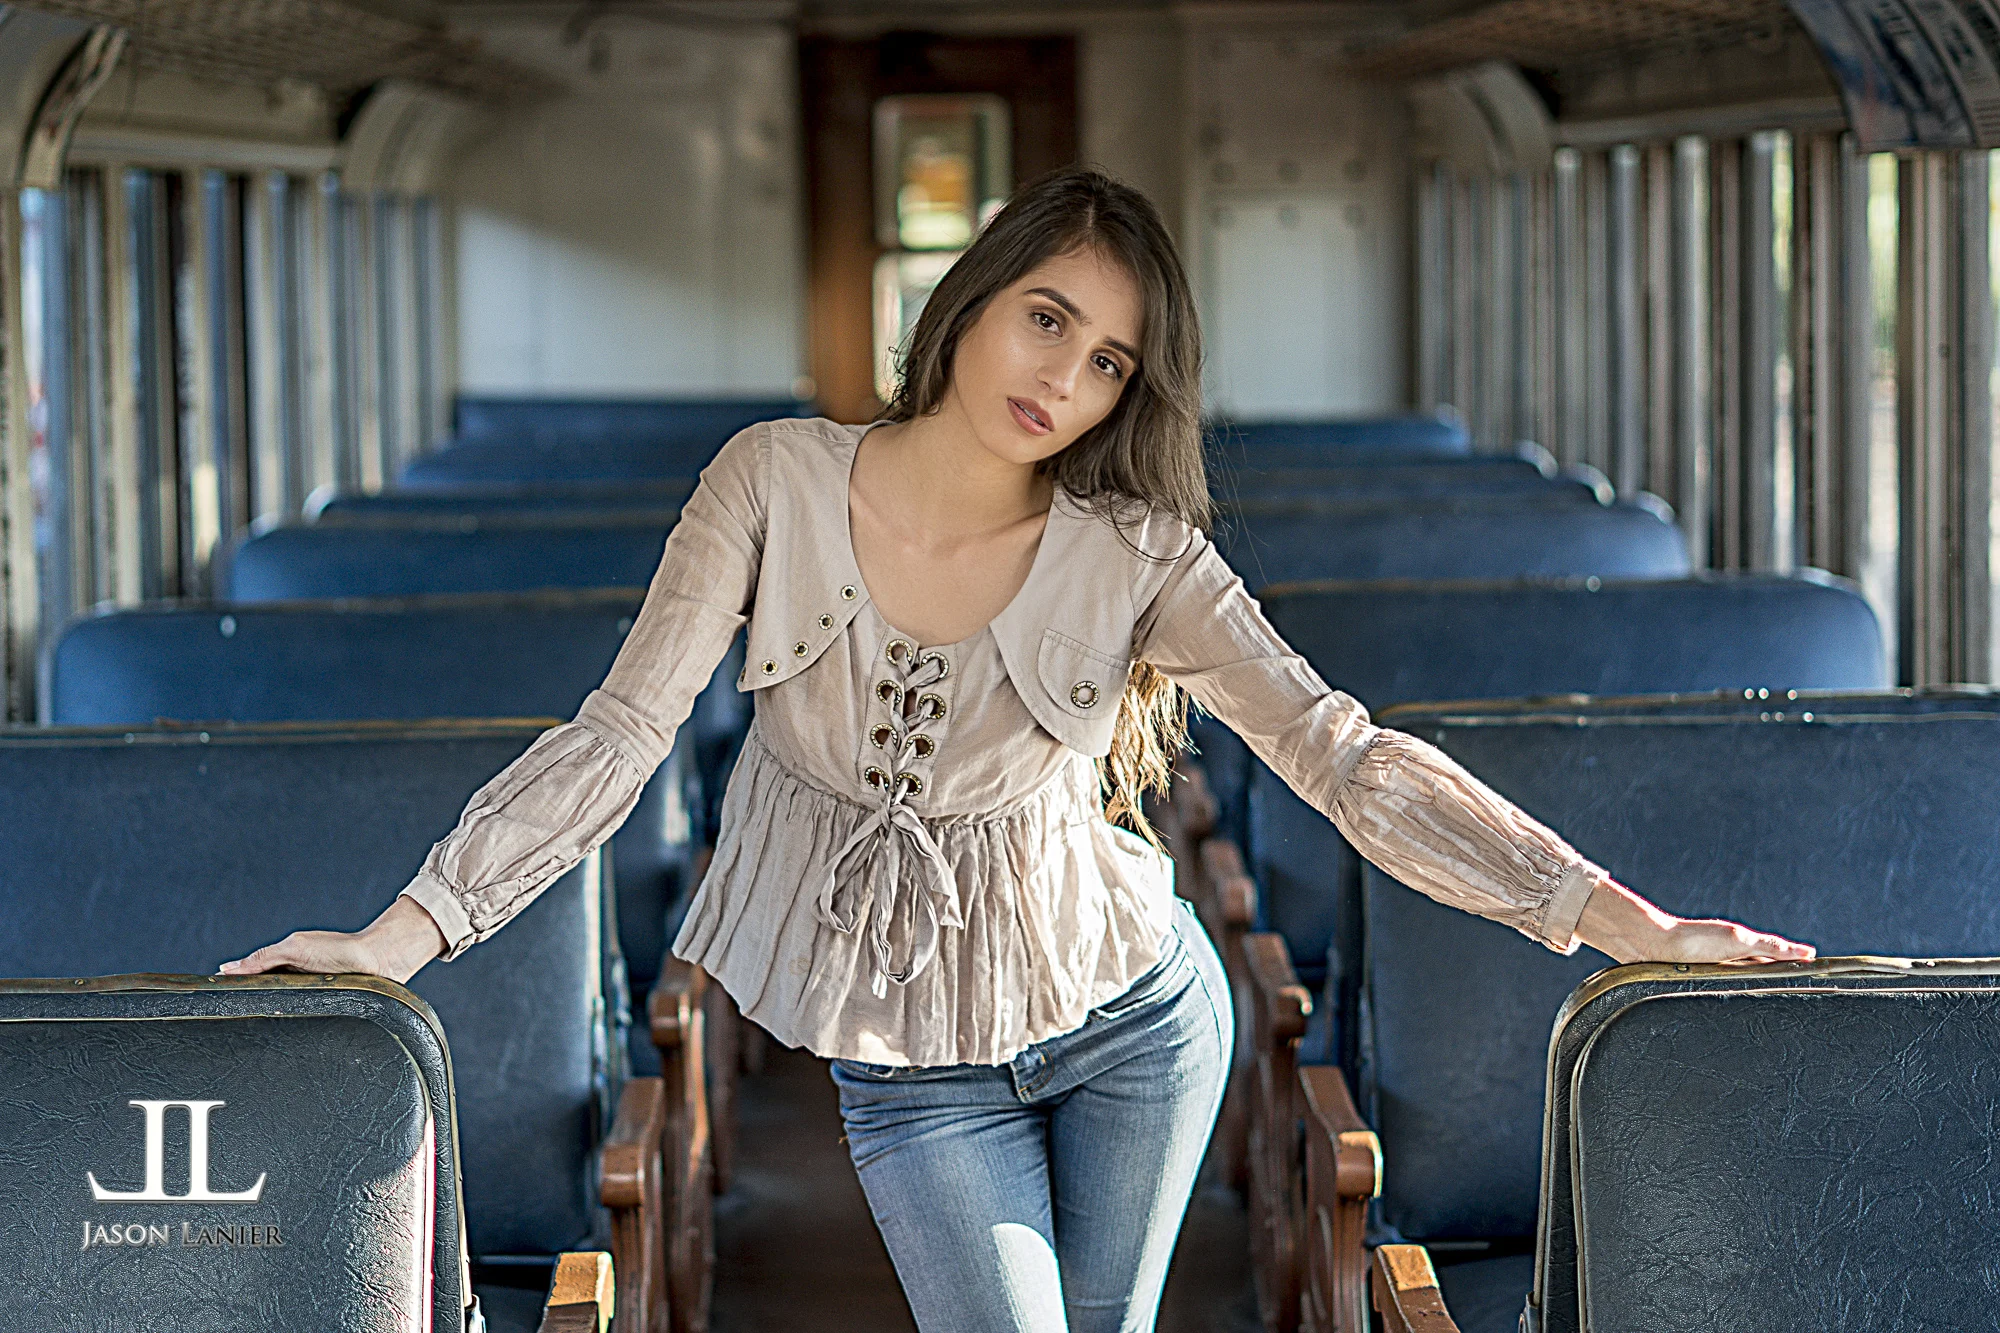
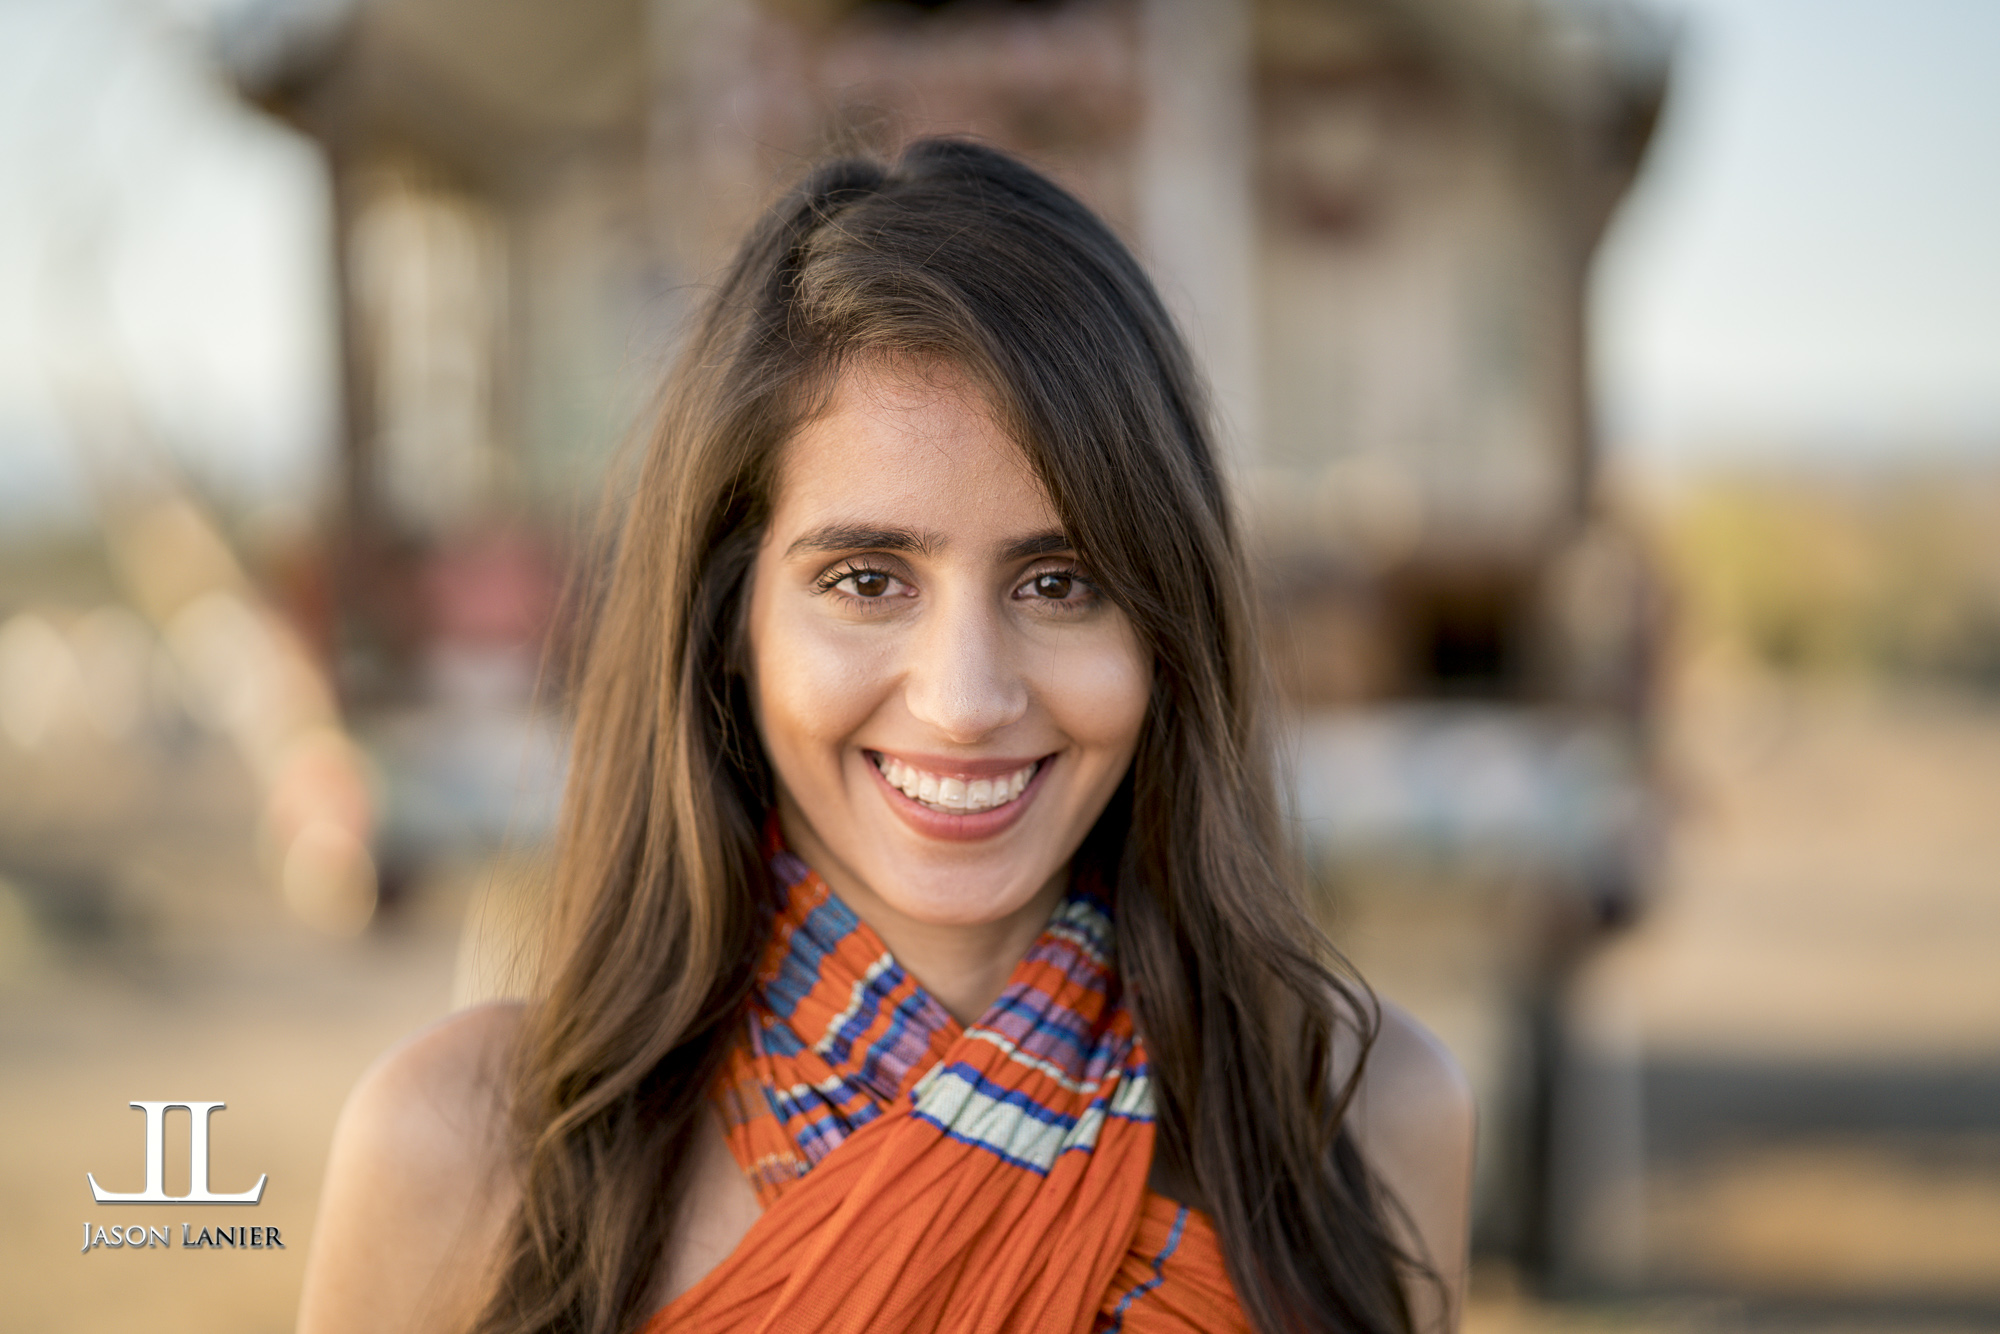
So recently I did a shoot using the Sony FE 50mm with the Sony A6500 inside of an old train. The shoot was quick as we had only 15 minutes to complete it.  I think that's a good thing because it shows you what was able to be created without an elaborate setup or time that could honestly make the lens look better than it is.

**Links to Gear:

*A6500-  

*50mm FE lens-  

*DJI Osmo-  

*Westcott Rapid Box XL-  

If you haven't already please take a moment to check out the video that we rolled that will show the focus tests, the shots using natural and artificial light and more.  The video explains much more than I can properly articulate here in a blog post, so I kindly invite you to watch it now.  

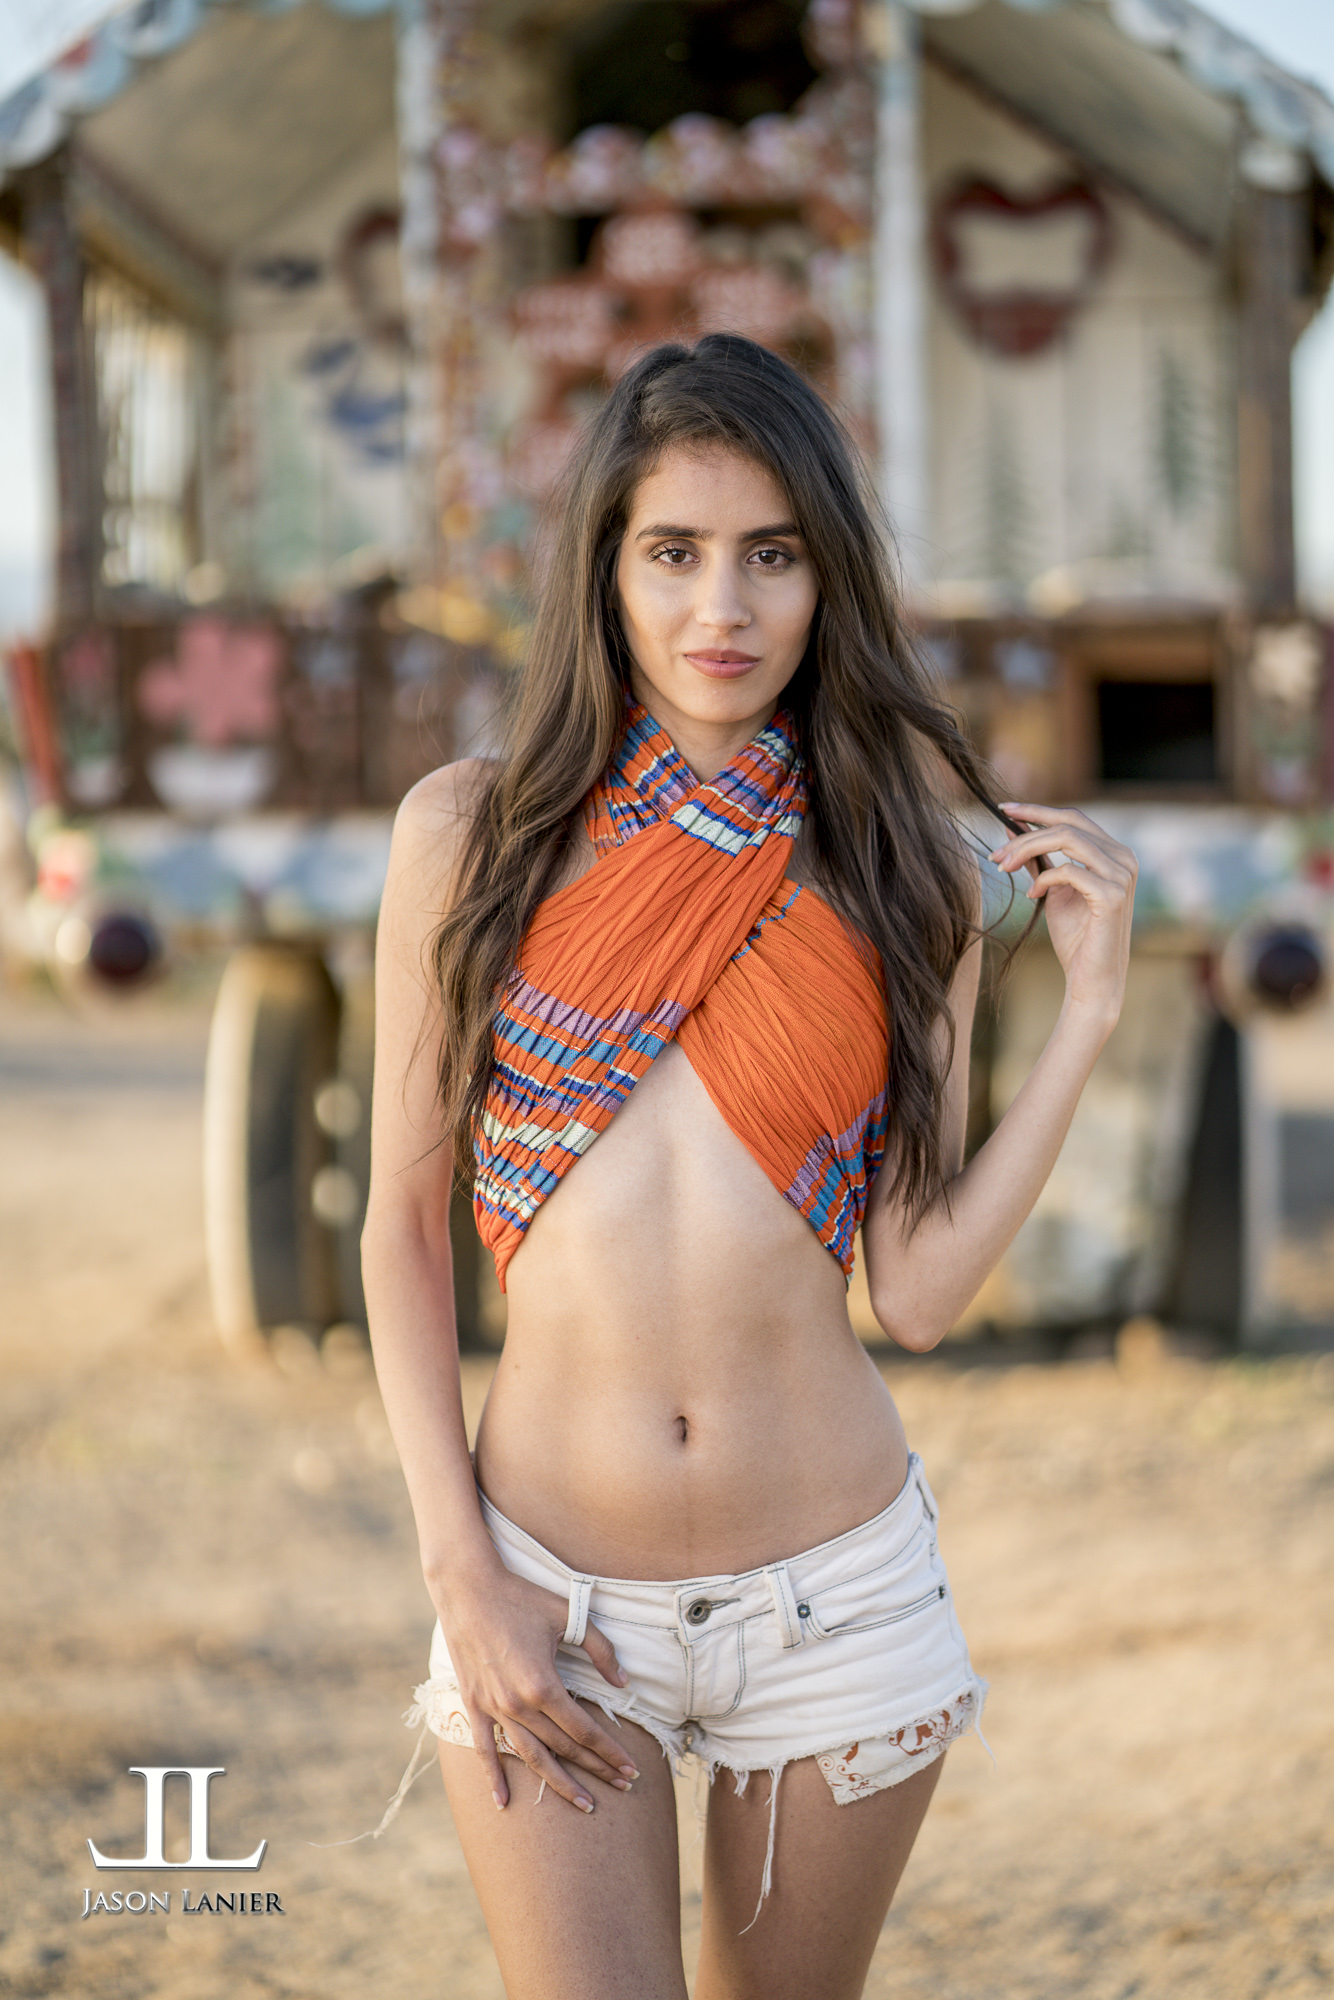
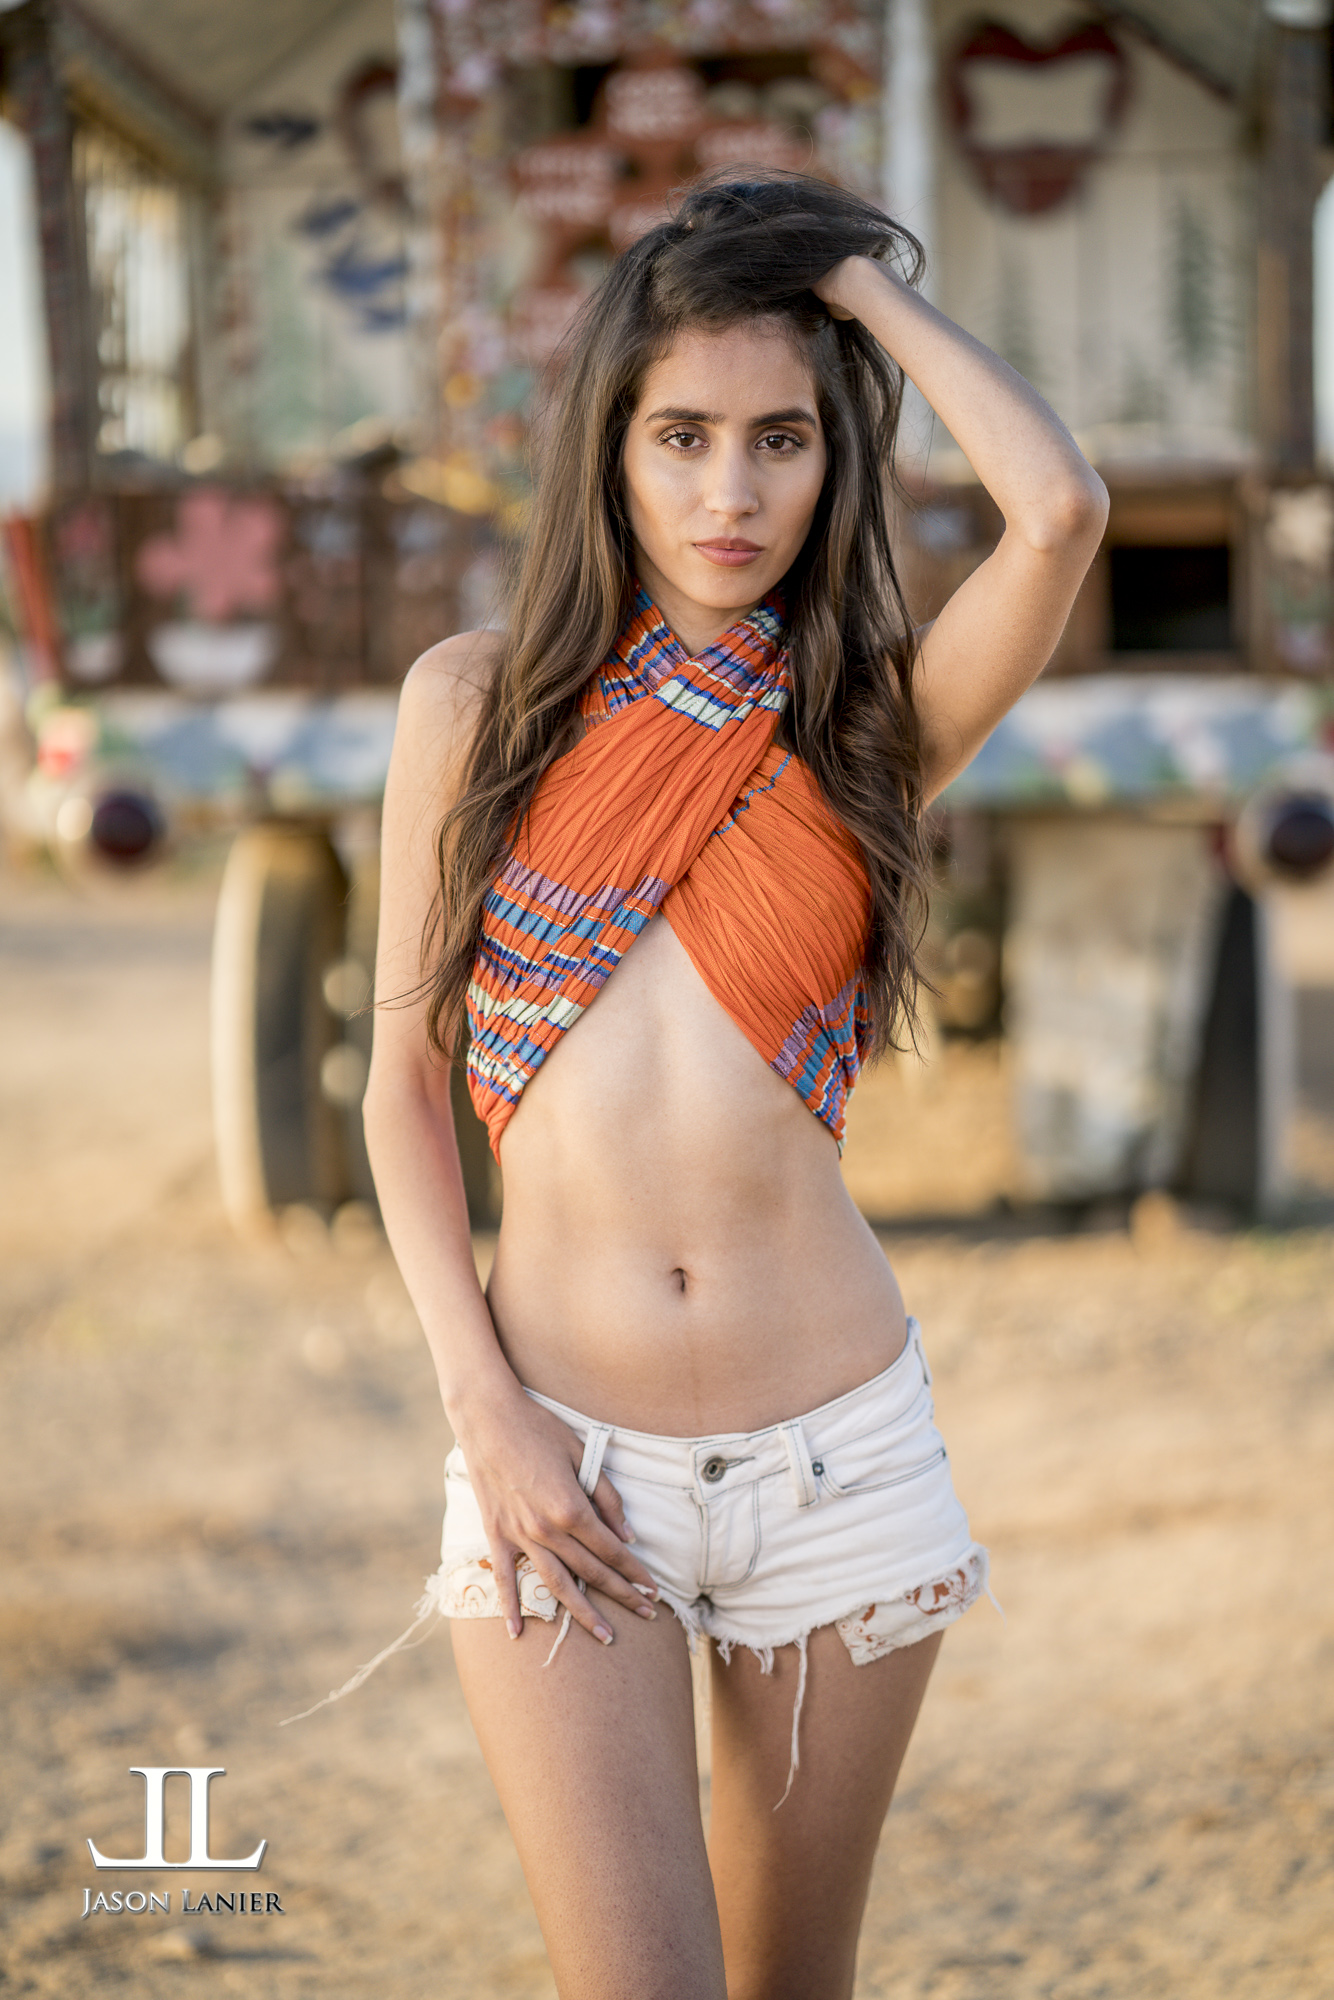
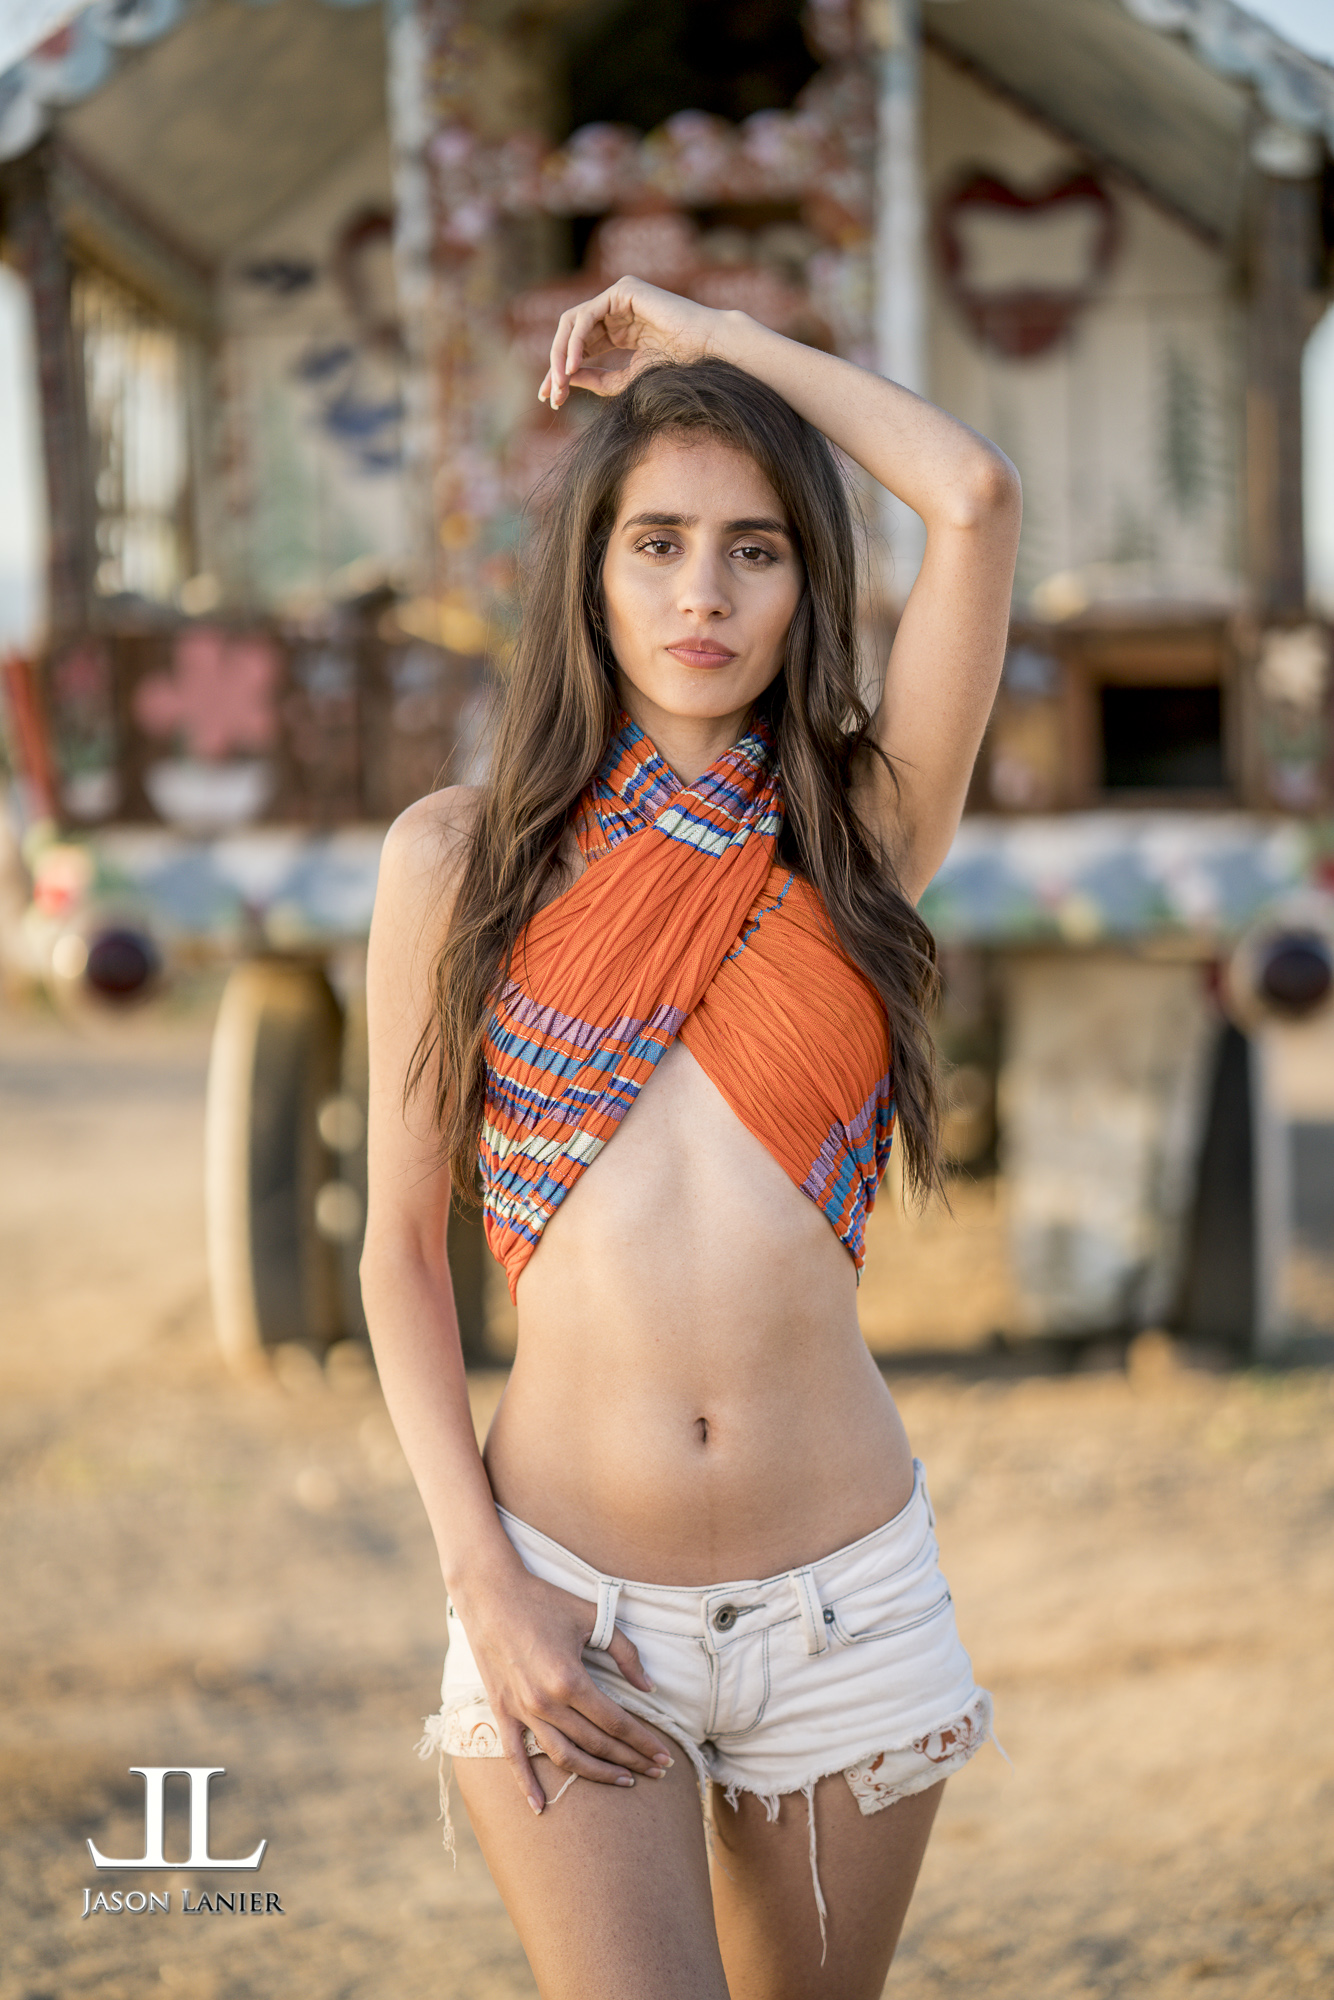
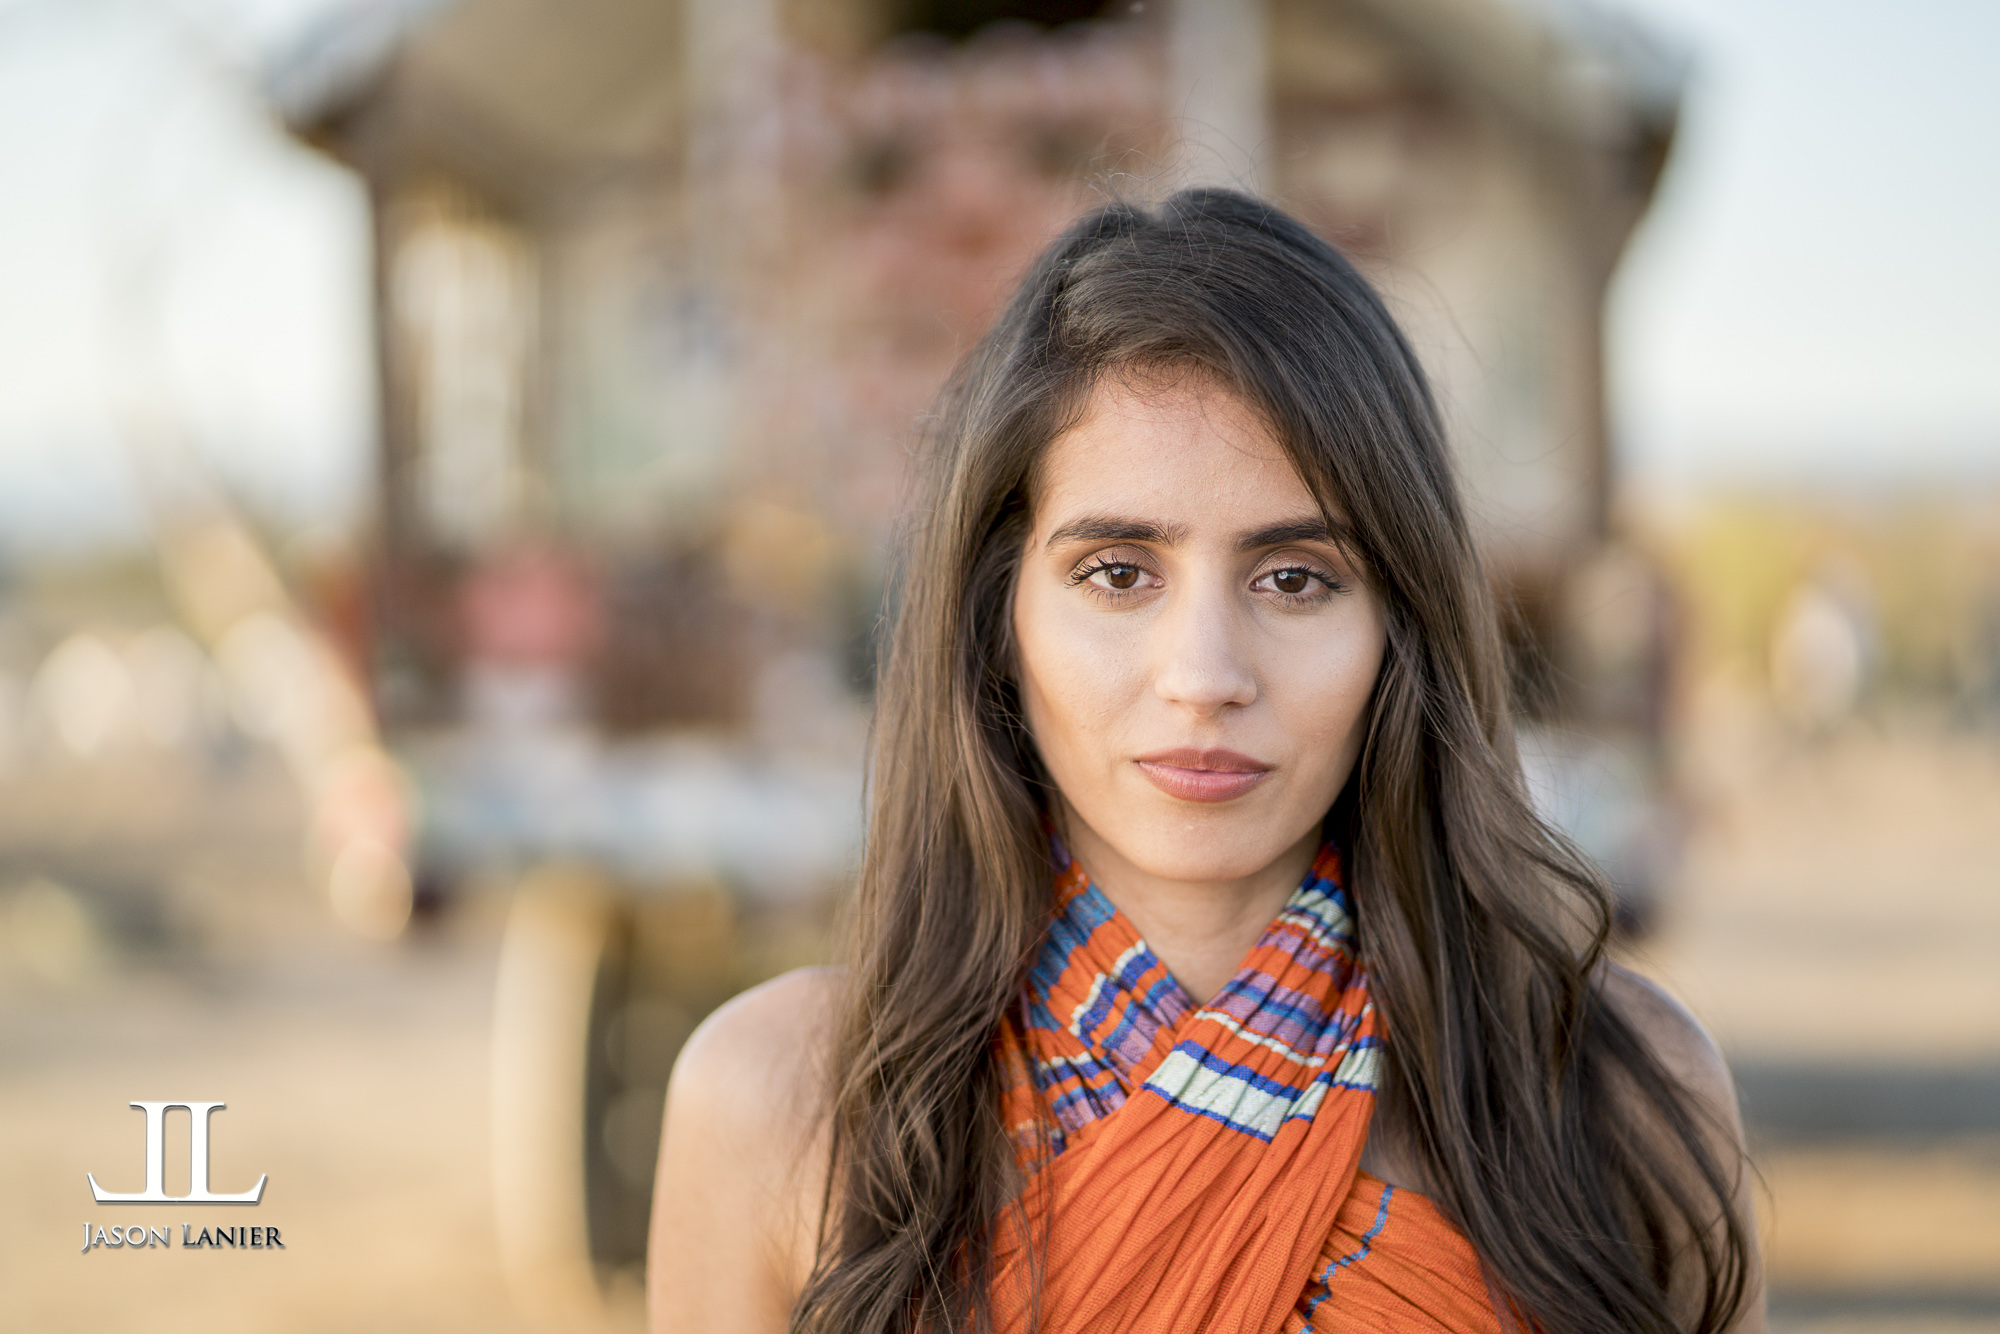
For those who have already watched it you'll know that for $200, I think it's a pretty sweet little lens that is a welcome budget friendly addition to the Sony mirrorless lens lineup.  Below are the shots taken at the shoot.  All of them have been edited using Lightroom and Photoshop.  I hope you enjoy...:)


The model is the beautiful Cassandra Caballero.  Please let me know what questions you have...and thank you for watching!!

Jason

16 Comments

Budget Batis- is the new Sony FE 85mm f/1.8 lens as good as the Zeiss Batis for half the price?

17 Comments

Budget Batis- is the new Sony FE 85mm f/1.8 lens as good as the Zeiss Batis for half the price?

Recently I had the opportunity to get the Sony FE 85mm f/1.8 lens on loan from Sony to be able to take out and test in the field.  When my followers found out I had the lens one of the first things they asked me to do was to compare the new lens against the sought after Zeiss Batis 85mm f/1.8.  Below is a video of the shoot took place doing this very comparison:

The Zeiss Batis was the first Auto Focus 85mm lens available to Sony Mirrorless users and I fell in love with the lens about two years ago.  I must have done at least 20-30 videos on Youtube using this lens that I just loved.

Then Sony released the 85mm G Master f/1.4 lens and that thing is a BEAST.  It is definitely a pro level top of the line lens and while the Batis is amazing, it can't keep up with the G Master.  BUT, the G Master also comes at a premium price and due to that many Sony users still consider going for the Zeiss Batis because it's about $600 less than the G Master.

Then earlier this month Sony announced their own FE (Full Frame E Mount) 85mm f/1.8 lens. What made this a game changer for many is the fact that it's $600 less than the Zeiss Batis and over a $1000 less than the G Master.  Hence, that's why I received so many requests to compare it to the Zeiss Batis.  Because if it's even CLOSE to the Zeiss Batis it's definitely a lot more affordable.

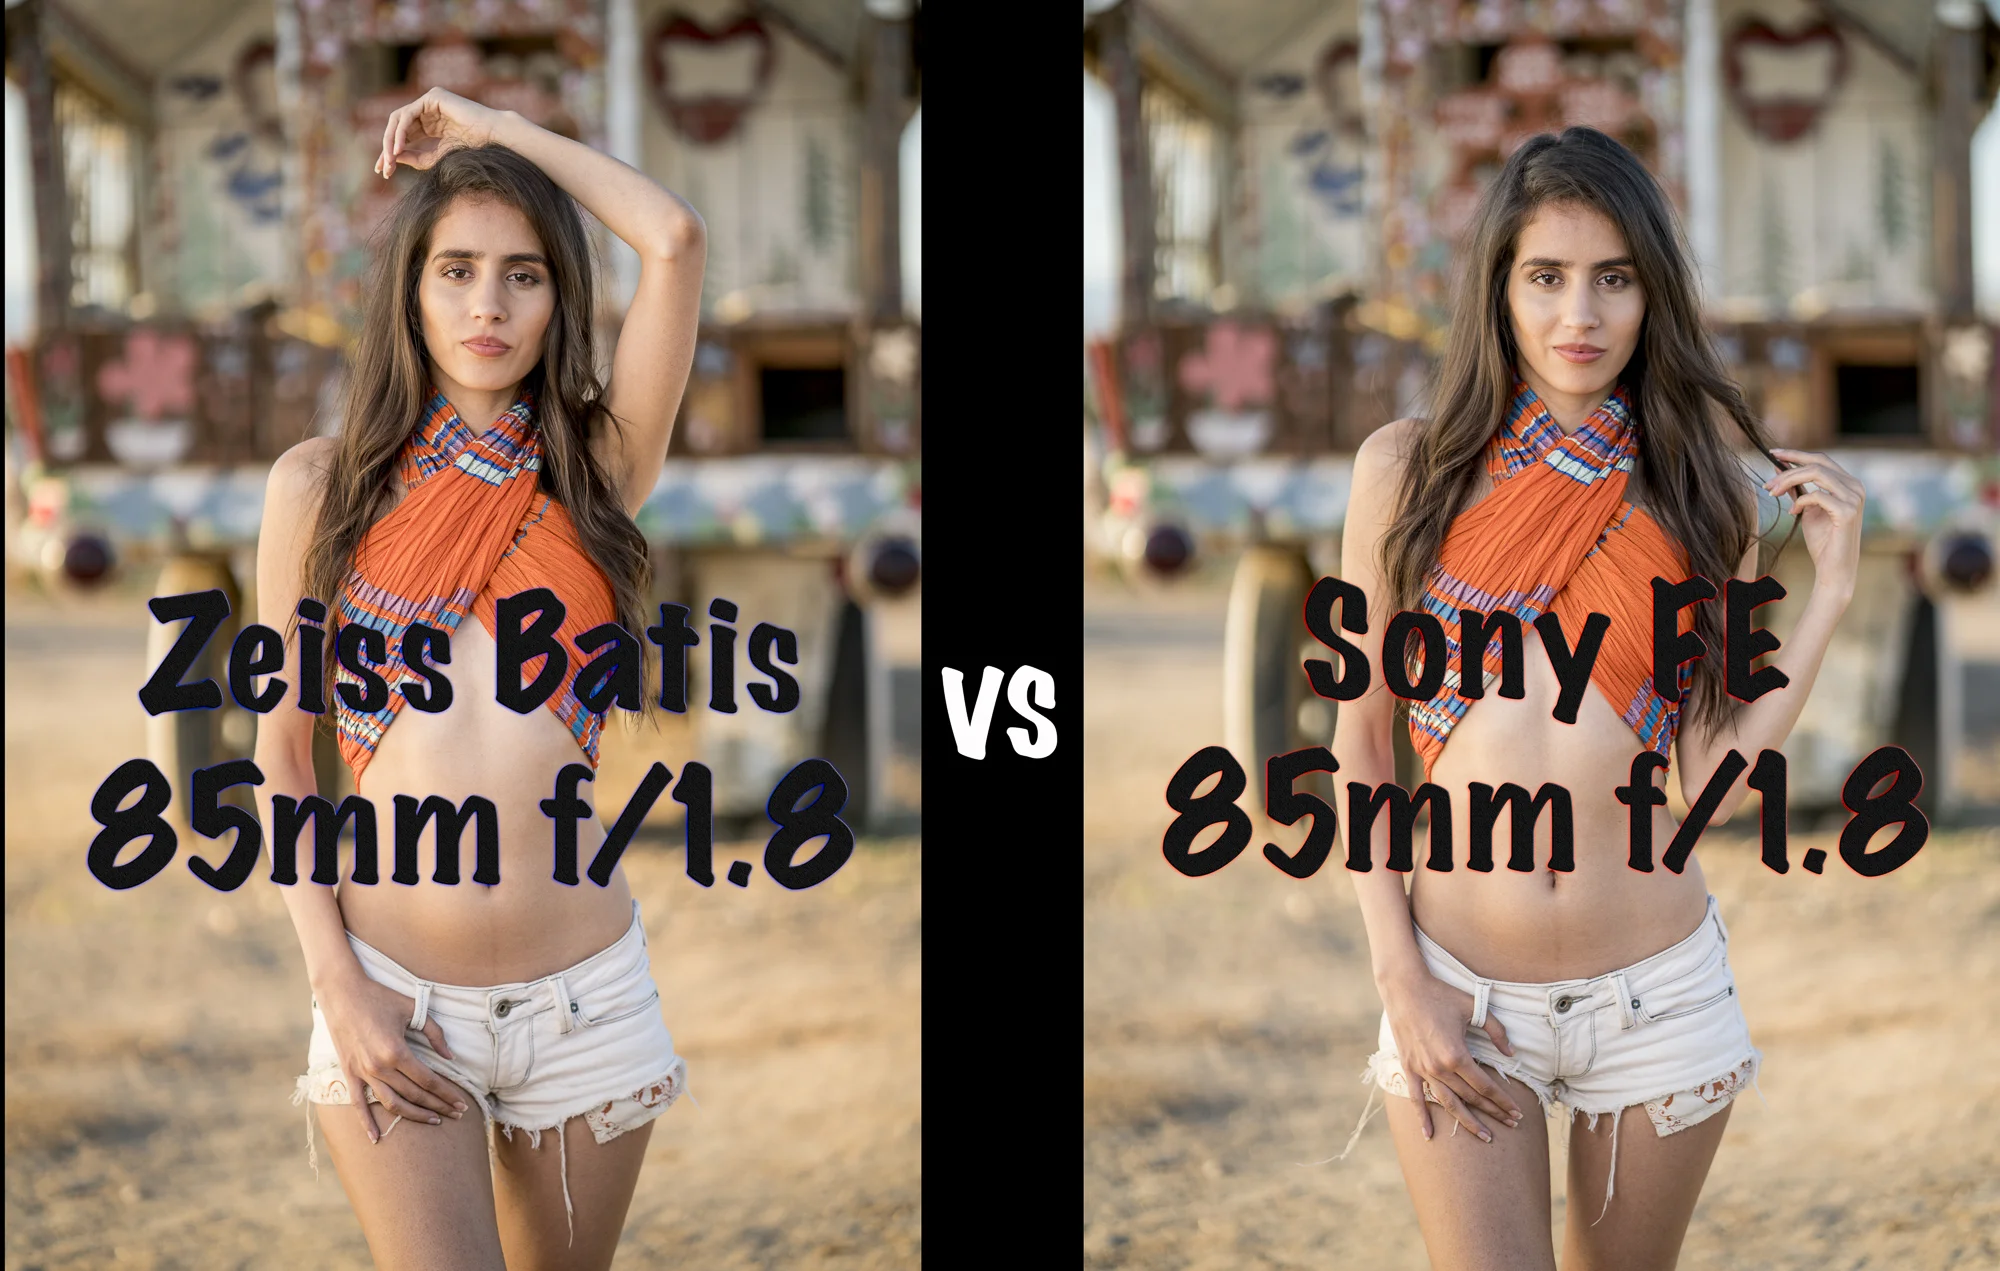
So we went out to Salvation Mountain in the California desert and I did a straight apples to apples comparison between the two lenses.  Both lenses were shot on a tripod using the Sony A7Rii with the exact same settings and lighting.  All images were developed using Lightroom only using the exact same settings via Batch Processing.  So the results are identical.

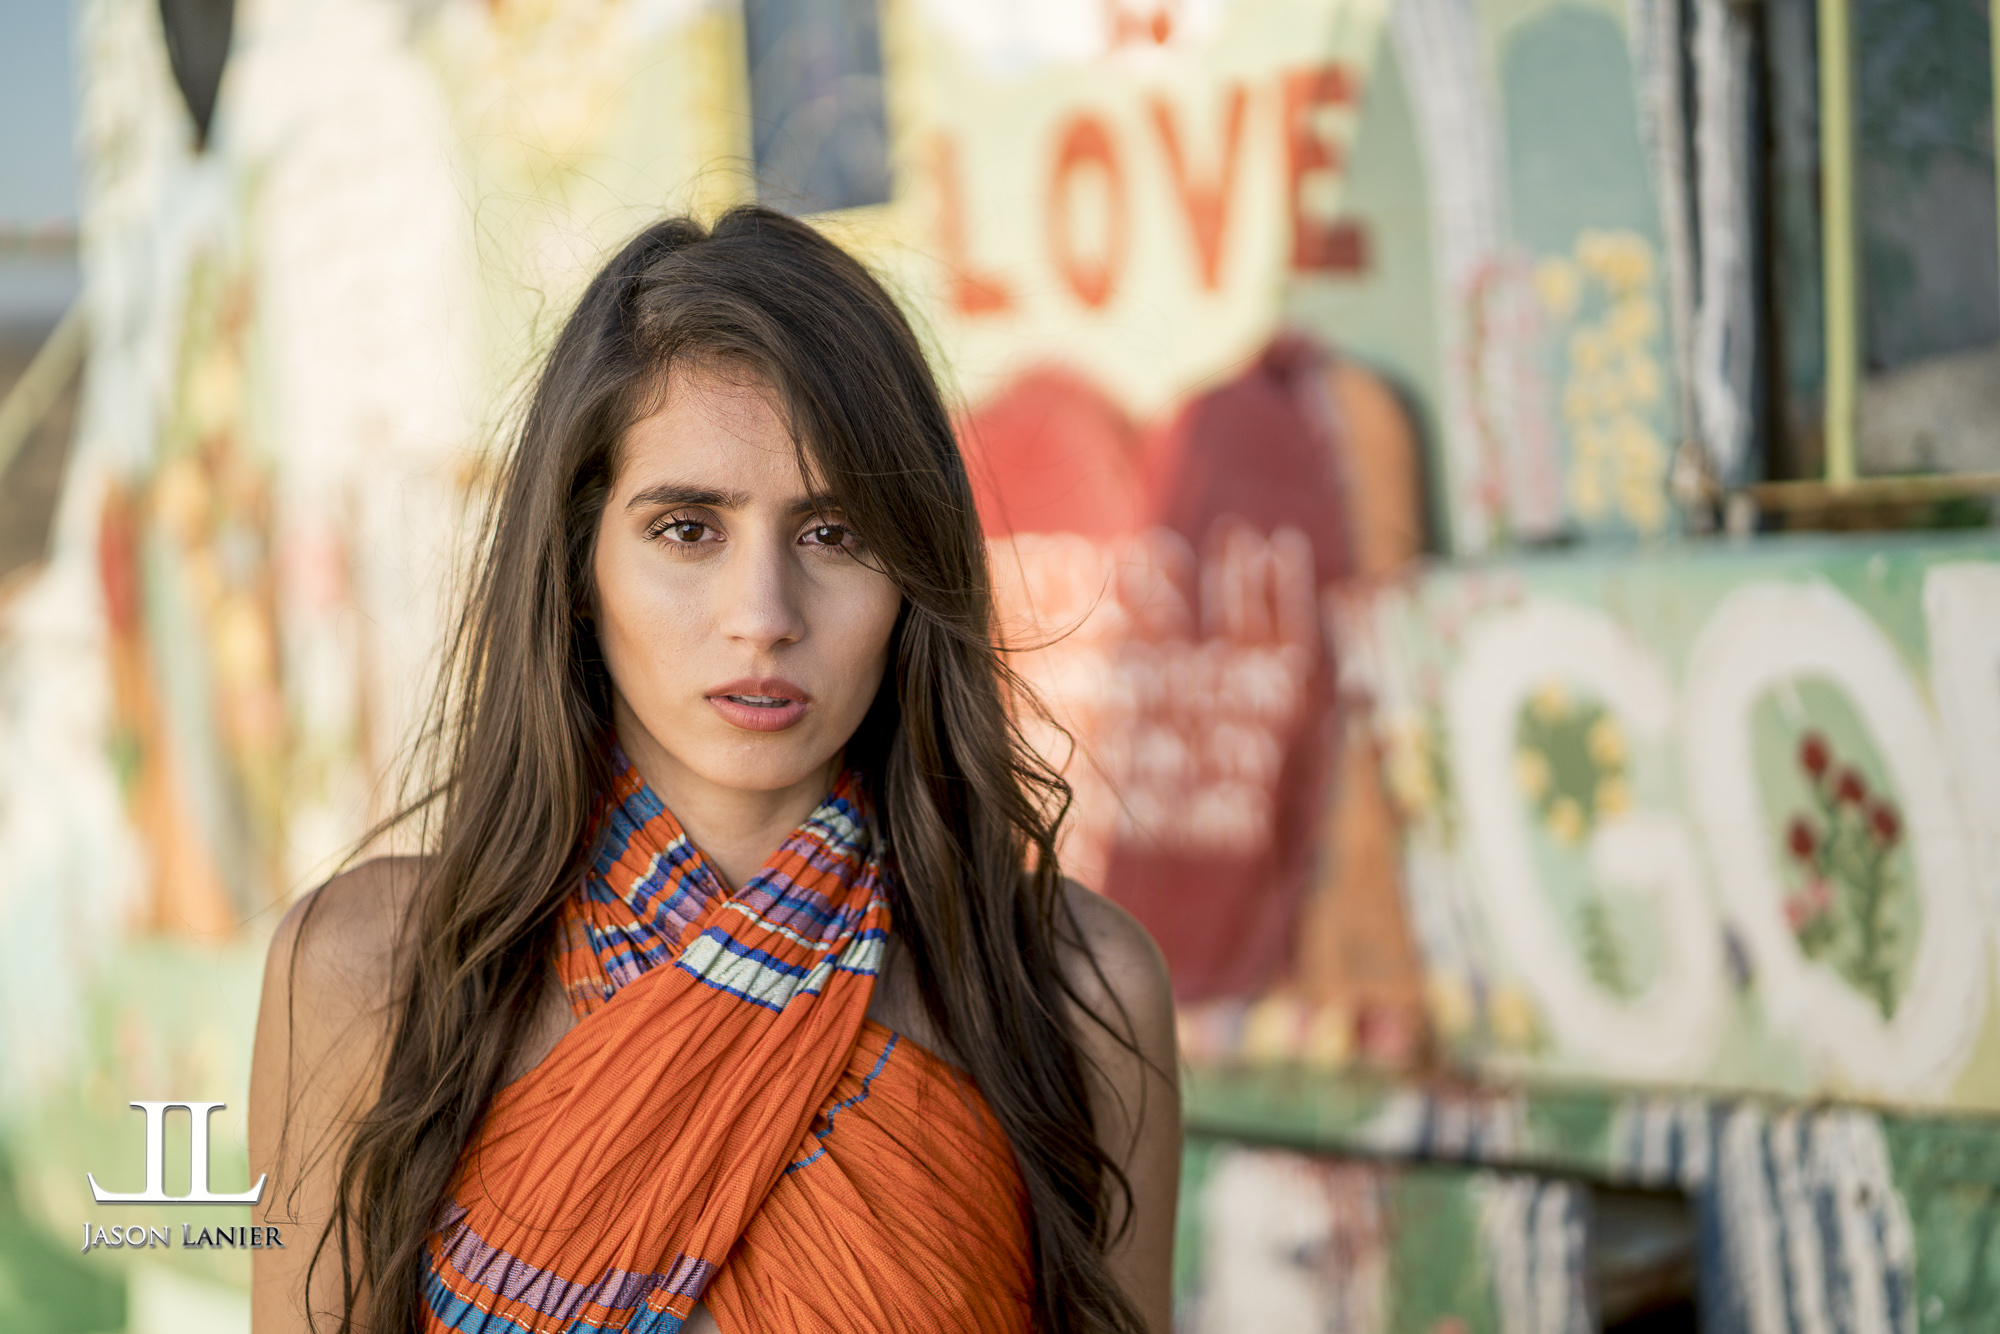
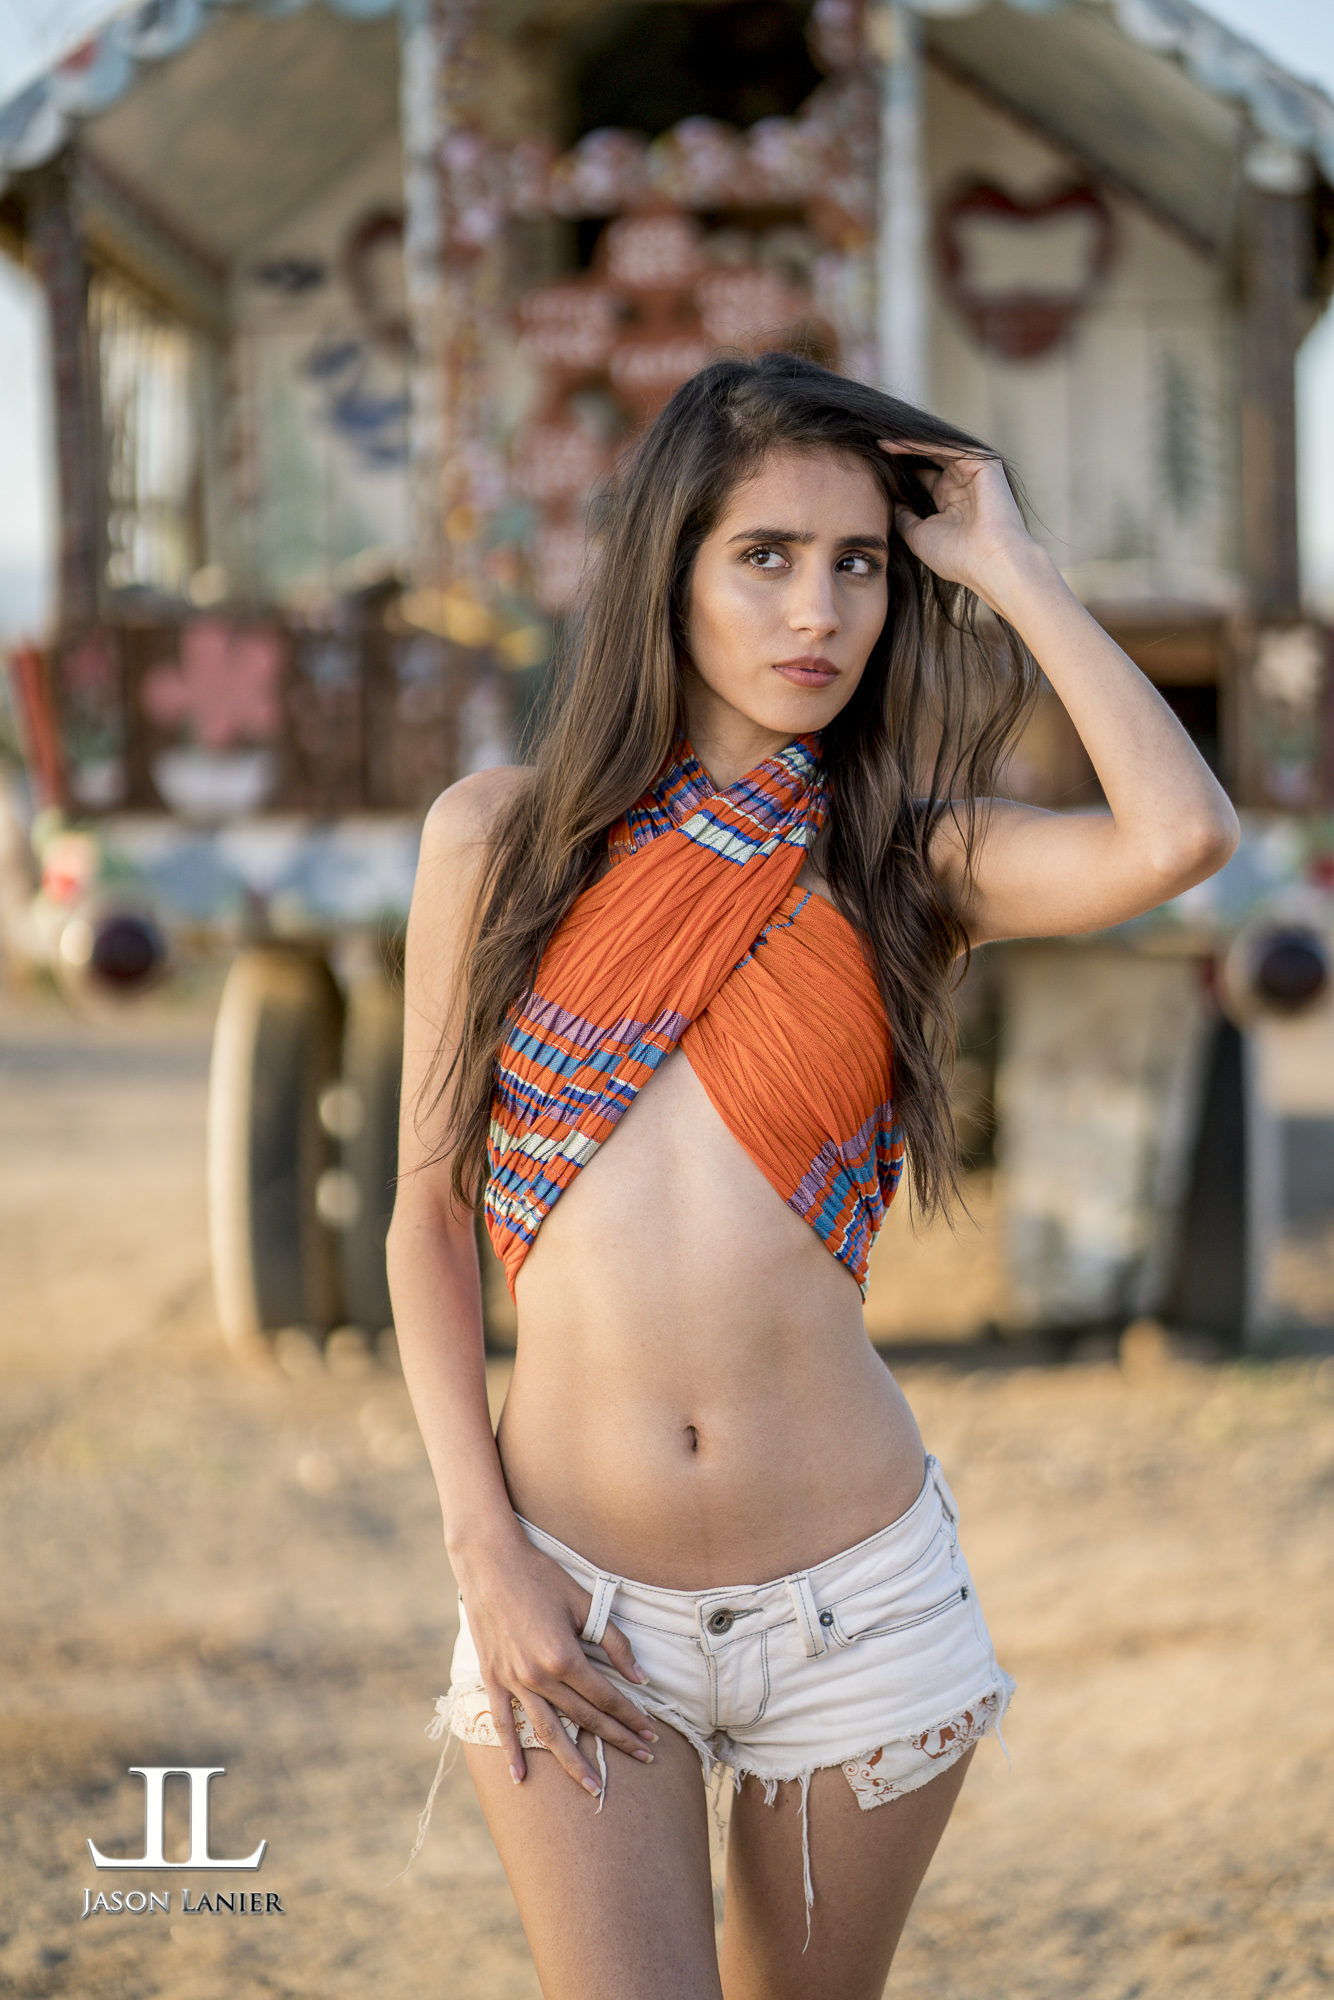
As you'll see in the video and or the images you are viewing below, I was pretty stunned on just how the shots look identical.  If I didn't know any better I would swear they are the same lenses in different shells lol.  Take a look below for yourself:

Set 1- Sony FE lens- 85mm, f/1.8, 1/2500 sec, ISO 100

Set 1- Zeiss Batis- 85mm, f/1.8, 1/2500 sec, ISO 100

Set 2- Sony FE85mm, f/1.8, 1/2500 sec, ISO 100

Set 2- Zeiss Batis-  85mm, f/1.87, 1/2500 sec, ISO 100

Set 3- Sony FE- 85mm, f/1.8, 1/2000 sec, ISO 100

Set 3- Zeiss Batis-  85mm, f/1.8, 1/2000 sec, ISO 100

Set 4- Sony FE-  85mm, f/1.8, 1/1600 sec, ISO 100

Set 4- Zeiss Batis-   85mm, f/1.8, 1/1600 sec, ISO 100

**Links to Gear:

*Sony A7Rii-  

*Sony FE 85mm f/1.8-  

*Zeiss Batis 85mm-  

*Lastolite 6x6 Diffuser-  

*Westcott Rapid Box XL-  

Thanks for coming by and checking out this post.  Don't forget to subscribe to my Youtube Channel and also this blog for future posts!!

Thanks,

Jason

17 Comments

Comment

Miami Workshop at the Miami Marine Stadium

www.funphotoworkshops.com

This was such an AMAZING place to shoot!  The Miami Marine Stadium is a historic and now abandoned structure in Key Biscayne that has held presidential campaign speeches all the way to concerts and major sporting events.  It was hurt by Hurricane Andrew and hasn't opened up since.  We went in there and had an amazing shoot...and then got chased out by the cops.  

For this shot I used off camera flash triggered by my Pocket Wizards to add the needed fill light on the model.  Just had a great time and it was great to find a place like this one.  Thanks to everyone who came!

Camera settings: Nikon D800, 1/250 sec at f/4.0, 16mm at ISO 50, flash fired.  Taken at 5:24pm on April 30, 2013 by Jason Lanier.
Comment

Comment

Off Camera Flash at the Moundsville State Penitentiary

www.funphotoworkshops.com

This image was taken at my Supernatural Shoot at the Moundsville State Penitentiary in Moundsville, West Virginia earlier this week for my workshop there.  To get this shot I had my assistant Joyce holding my SB910 Flash with the Ray Flash accessory on it, and then with my Pocket Wizards I triggered the flash off camera blasting the light through the fence to create a really cool look.  Thanks to the beautiful Rachel Anne for modeling and for Ryan Britt for getting us into the penitentiary!

Camera settings: Nikon D800, 1/160 sec at f/4.0, 27mm at ISO 800, flash fired.  Taken at 7:24pm on April 16, 2013 by Jason Lanier.
Comment

1 Comment

Cha Cha's Night Club Coney Island

This pin up image of Megan Ward was taken at my workshop in New York at Coney Island.  We had an amazing time and by the time we got to Coney Island it was late at night, but that didn't stop us from shooting!  I used off camera flash for this shot from the left triggered by my Pocket Wizards.  I can't wait to go back to NY again!!

Next Workshops:

www.funphotoworkshops.com

Camera settings: Nikon D3, 1/125 sec at f/4.5, 16mm at ISO 1600, flash fired.  Taken at 10:43pm on May 16, 2012 by Jason Lanier in Coney Island, New York.

1 Comment

Comment

Off Camera Flash Set Up with Pocket Wizards and Ray Flash

I get asked a lot about my set up for off camera flash when I do my shoots.  So I'm posting a production shot from my workshop in DC that shows me holding that exact configuration.  In this shot you see in my right hand my Nikon D800 with a Pocket Wizard attached to the hot shoe (where the flash goes).  In my left hand I have my Nikon Speedlight 910 with a Ray Flash attached to the end of the flash and a Pocket Wizard hooked into the bottom of the flash.

Basically by attaching the Pocket Wizards as shown it remotely fires the flash.  Think of it as an extension of the flash. Since one of the Pocket Wizards is hooked up to the hot shoe on the camera, and the other is hooked up to the bottom of the flash, it's as if an invisible line is drawn connecting the two.  In reality the Pocket Wizards are fired by a radio frequency where they "talk" to each other which is great because they don't have to have a line of sight to trigger.

The Ray Flash is great because it equally distributes to the light which is very helpful in many situations.  I also love it because I can lay it on the ground which can be very helpful when I'm running out of hands or don't have my light stand or tripod with me.  Hope this helps! 

Comment

1 Comment

Angel in the Alley by Jason Lanier

This image was taken during my Chicago workshop in September 2012 with the beautiful Tyler Vines as our model.  We did this shoot at 1AM in an alleyway in Chicago....we were exhausted but definitely wanted to nail this shoot before we finished.  This was shot using a video light for front light and a triggered flash from behind.  Thanks again to my wonderful group for joining me on this adventure!

Next Workshops:

http://www.eventbrite.com/org/1864370877

Camera settings: Nikon D800, 1/80 sec at f/4.0, 16mm at ISO 4000, flash fired.  Taken at 1:11am on September 19, 2012 by Jason Lanier.

1 Comment

1 Comment

High ISO, Off Camera Flash, No Tripod Shoot in Chicago Park

This image was taken at my workshop in Chicago, Illinois in September.  This was towards the end of the shoot and I was shooting at a high ISO, using my SB910 set up to a Pocket Wizard and Ray Flash, with no tripod.  The point I'm trying to make is that you can create some amazing images by just using some basic equipment.  You don't always need a studio set up.  I just love using Nikon because I have so much latitude as it relates to shooting in high ISO which means I don't have to slow my shutter down to a point where I would have to put it on a tripod.  Hope you like it!

Upcoming Workshops:

http://www.eventbrite.com/org/1864370877

Camera settings: Nikon D800, 1/60 sec at f/4.0, 16mm at ISO 5000, flash fired.  Taken at 10:49pm on September 19, 2012 by Jason Lanier.

1 Comment

Comment

Backlighting to get amazing results

This image was taken at my workshop in Chicago back in September of this year.  I used an off camera flash hooked up to a Pocket Wizard to light the back, and a video light for the front...pretty cool huh?

Next Workshops:

http://www.eventbrite.com/org/1864370877

Camera settings: Nikon D800, 1/100 sec at f/4.0, 35mm at ISO 400, flash fired.  Taken at 8:54pm on September 19, 2012 by Jason Lanier.

Comment

Comment

Using Off Camera Flash with Ray Flash and Pocket Wizards

This image was taken yesterday at my workshop in Tampa Florida where we went down at shot at the historic Fort Desoto.  It was an amazing sunset and the best way for me to take advantage of it was by using off camera flash.  So, I hooked up two Pocket Wizards, one to the top of my camera and the other to my SB910 Speedlight, and then had an assistant hold the light towards the model in the direction she was looking...but wait!  A key ingredient to all of this is the Ray Flash.  I can't endorse this product enough!  I slipped the Ray Flash onto my SB910 which I always do for off camera lighting and the results are just amazing.  I got beautiful even lighting which means you can virtually shoot like you're in a studio anywhere.  It's just awesome guys.  If you've been to one of my workshops where I do off camera flash you know what I'm talking about.

Camera settings: Nikon D700, 1/125 sec at f/5.0, ISO 100, flash fired.  Taken at 5:40pm on November 13, 2012 by Jason Lanier.

Comment

Comment

Bridals by Jason Lanier

This image was taken of my bride Jessica late last month in San Diego, California.  She got ready at a beautiful home and when I found this couch and mirror I wanted to make it all come together.  So I put my flash on a Pocket Wizard and using my assistant I was able to fire the flash behind me, that way I didn't get any flash in the mirror.  Hope you like it!

Next Workshop: Tampa, Florida- November 13-14

Camera settings: Nikon D800, 1/160 sec at f/4.0, 35mm at ISO 250, flash fired.  Taken at 3:51pm on October 26, 2012 by Jason Lanier.

Comment