Viewing entries tagged
flashpoint xplor 600

Canon Project Part #2- Creating Color with Off Camera Flash- Canon EOS R with the RF 28-70mm lens by Jason Lanier

2 Comments

Canon Project Part #2- Creating Color with Off Camera Flash- Canon EOS R with the RF 28-70mm lens by Jason Lanier

Welcome to Part 2 of the Canon Project, a series of videos related to our time using the Canon EOS R. In Part 2 we showcase a workshop and shoot we did in Helen, Georgia in conjunction with an event we were doing for PPA (Professional Photographers of America) for their Georgia Chapter (GPPA).

**Links to Gear Used in This Shoot**

*Canon EOS R- https://bhpho.to/2U8W4Cd

*Canon RF 28-70mm lens- https://bhpho.to/2FCH9pI

*Godox AD 600 Pro- https://bhpho.to/2FH9gnu

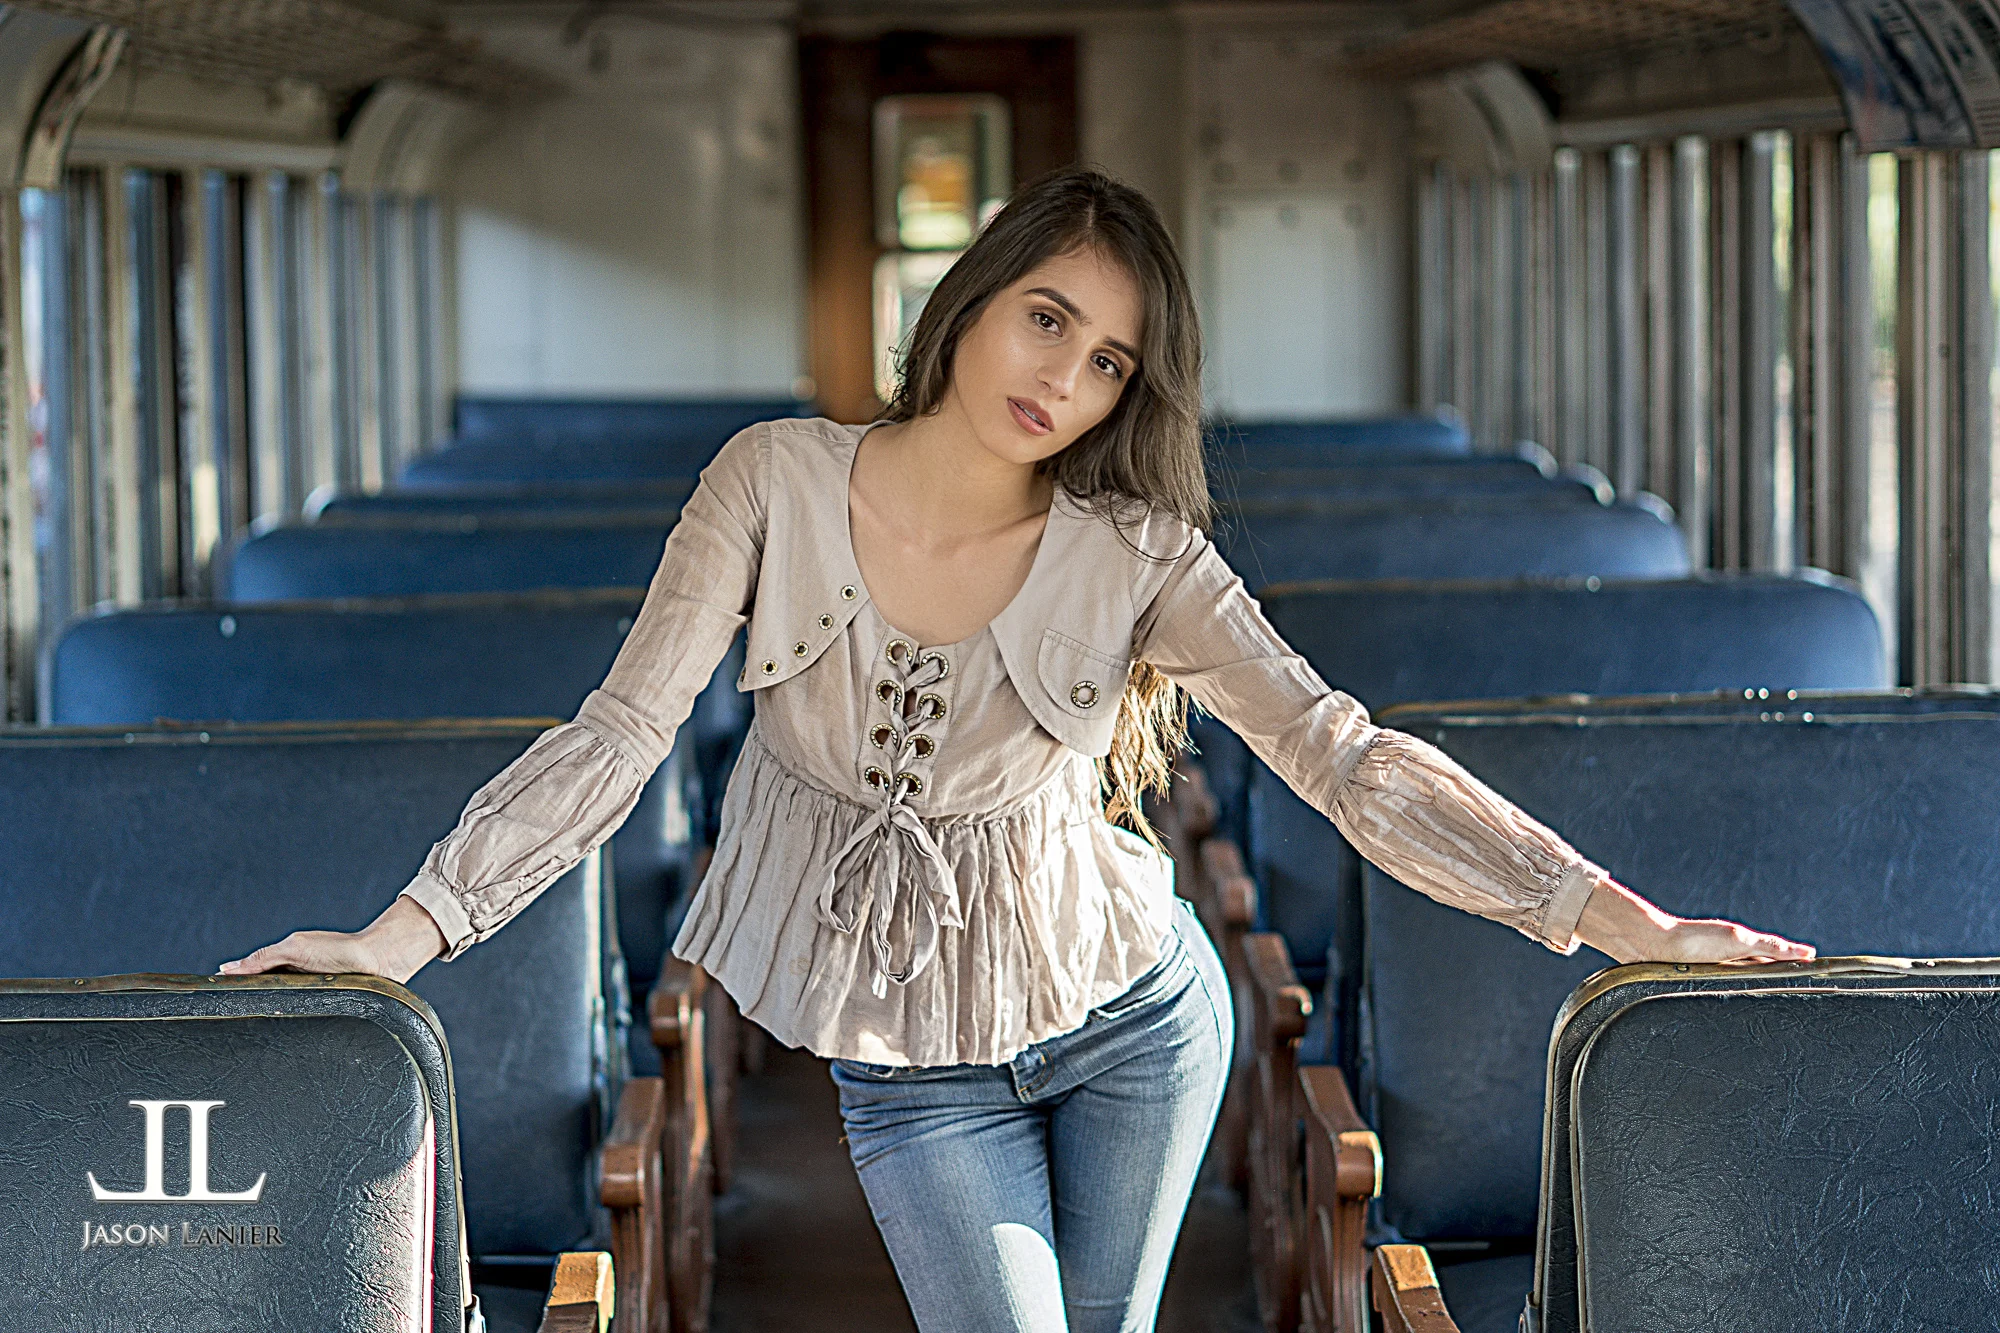
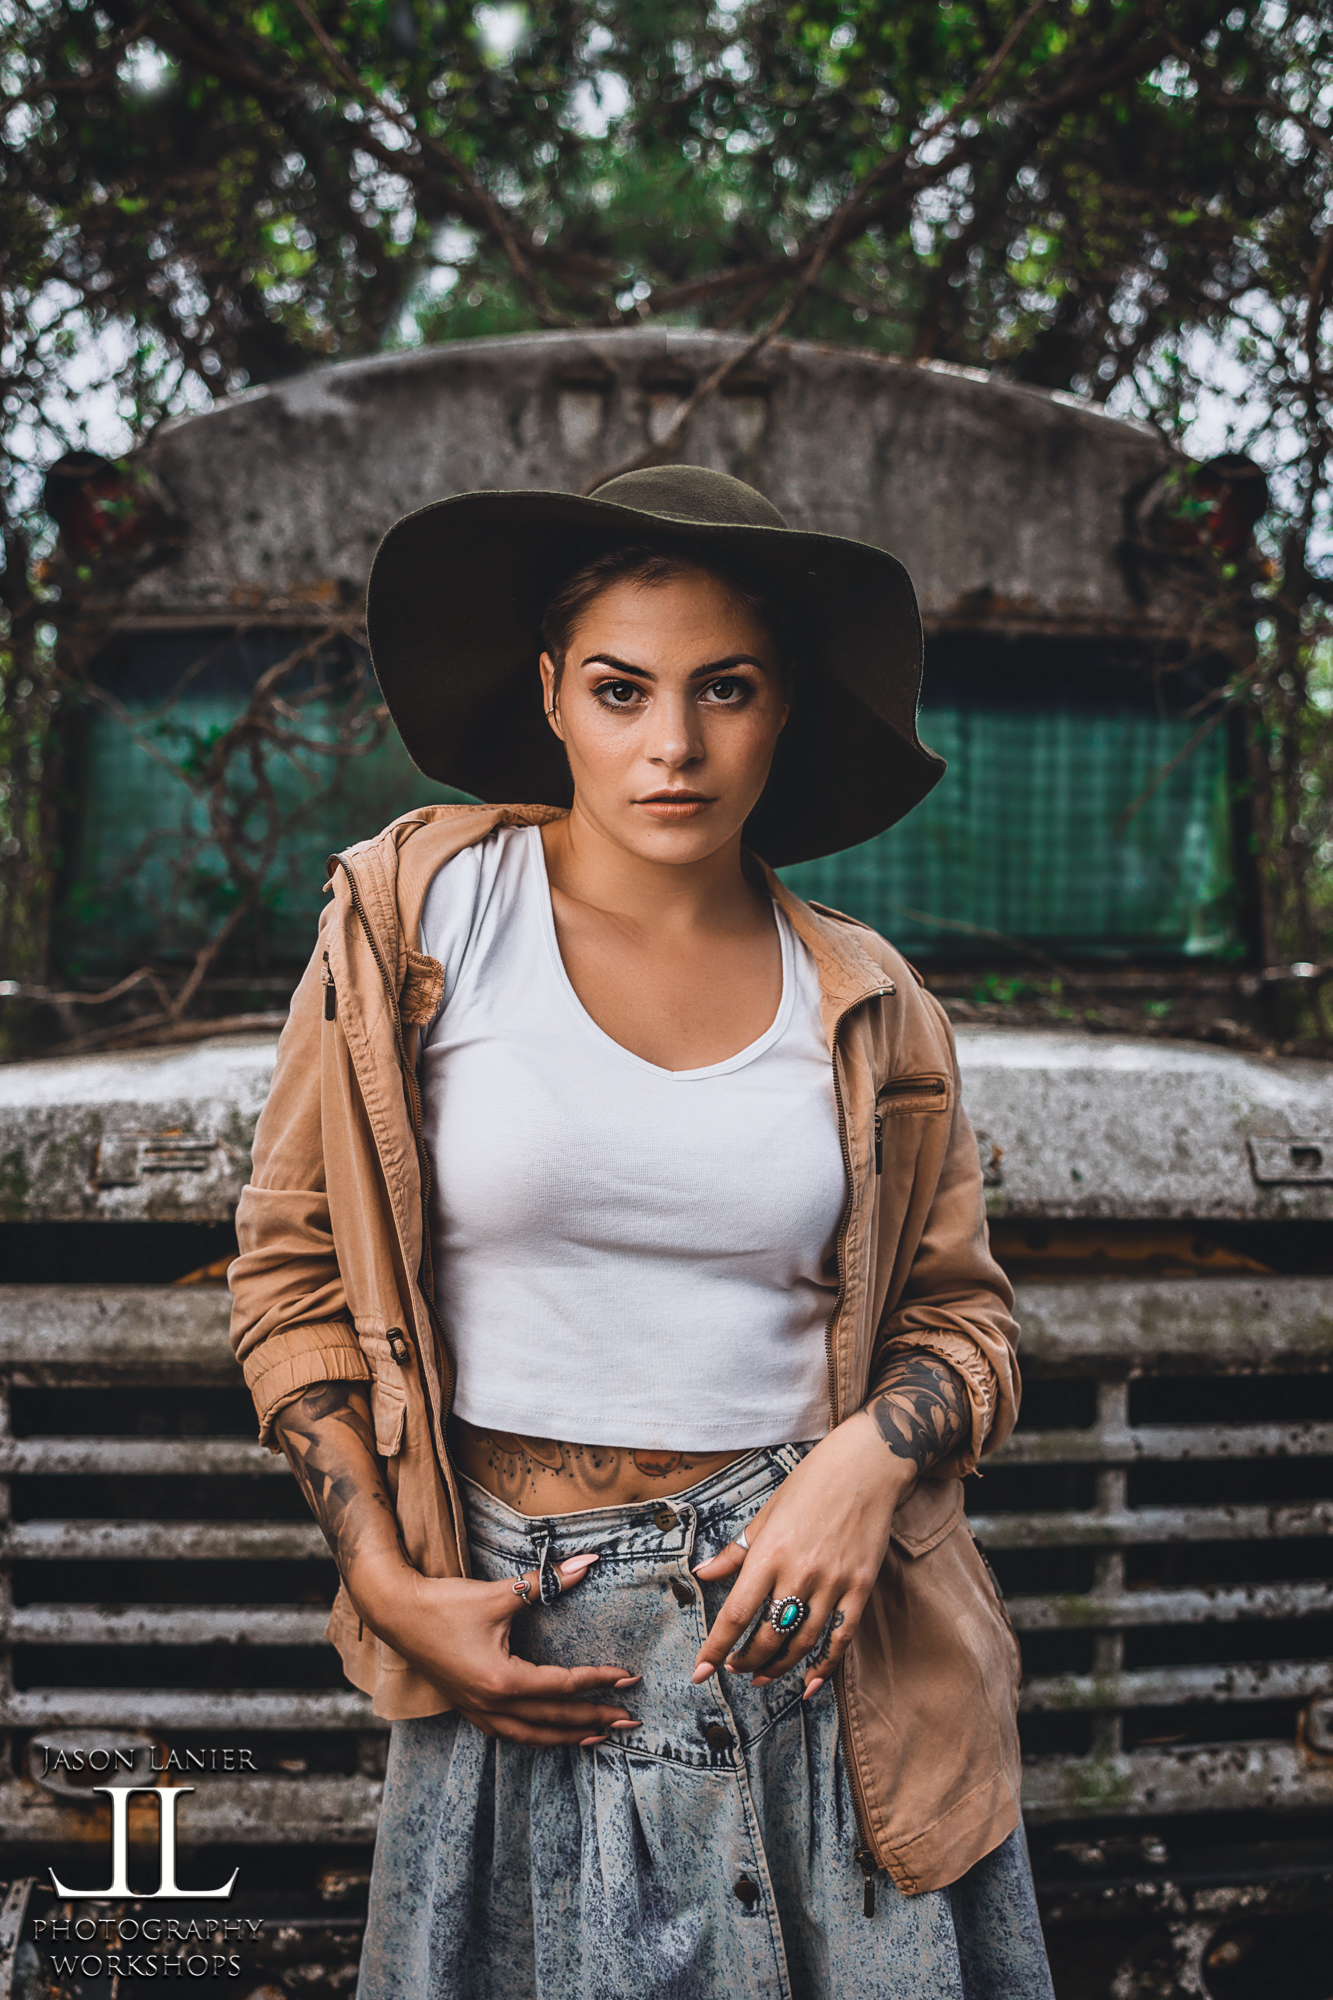
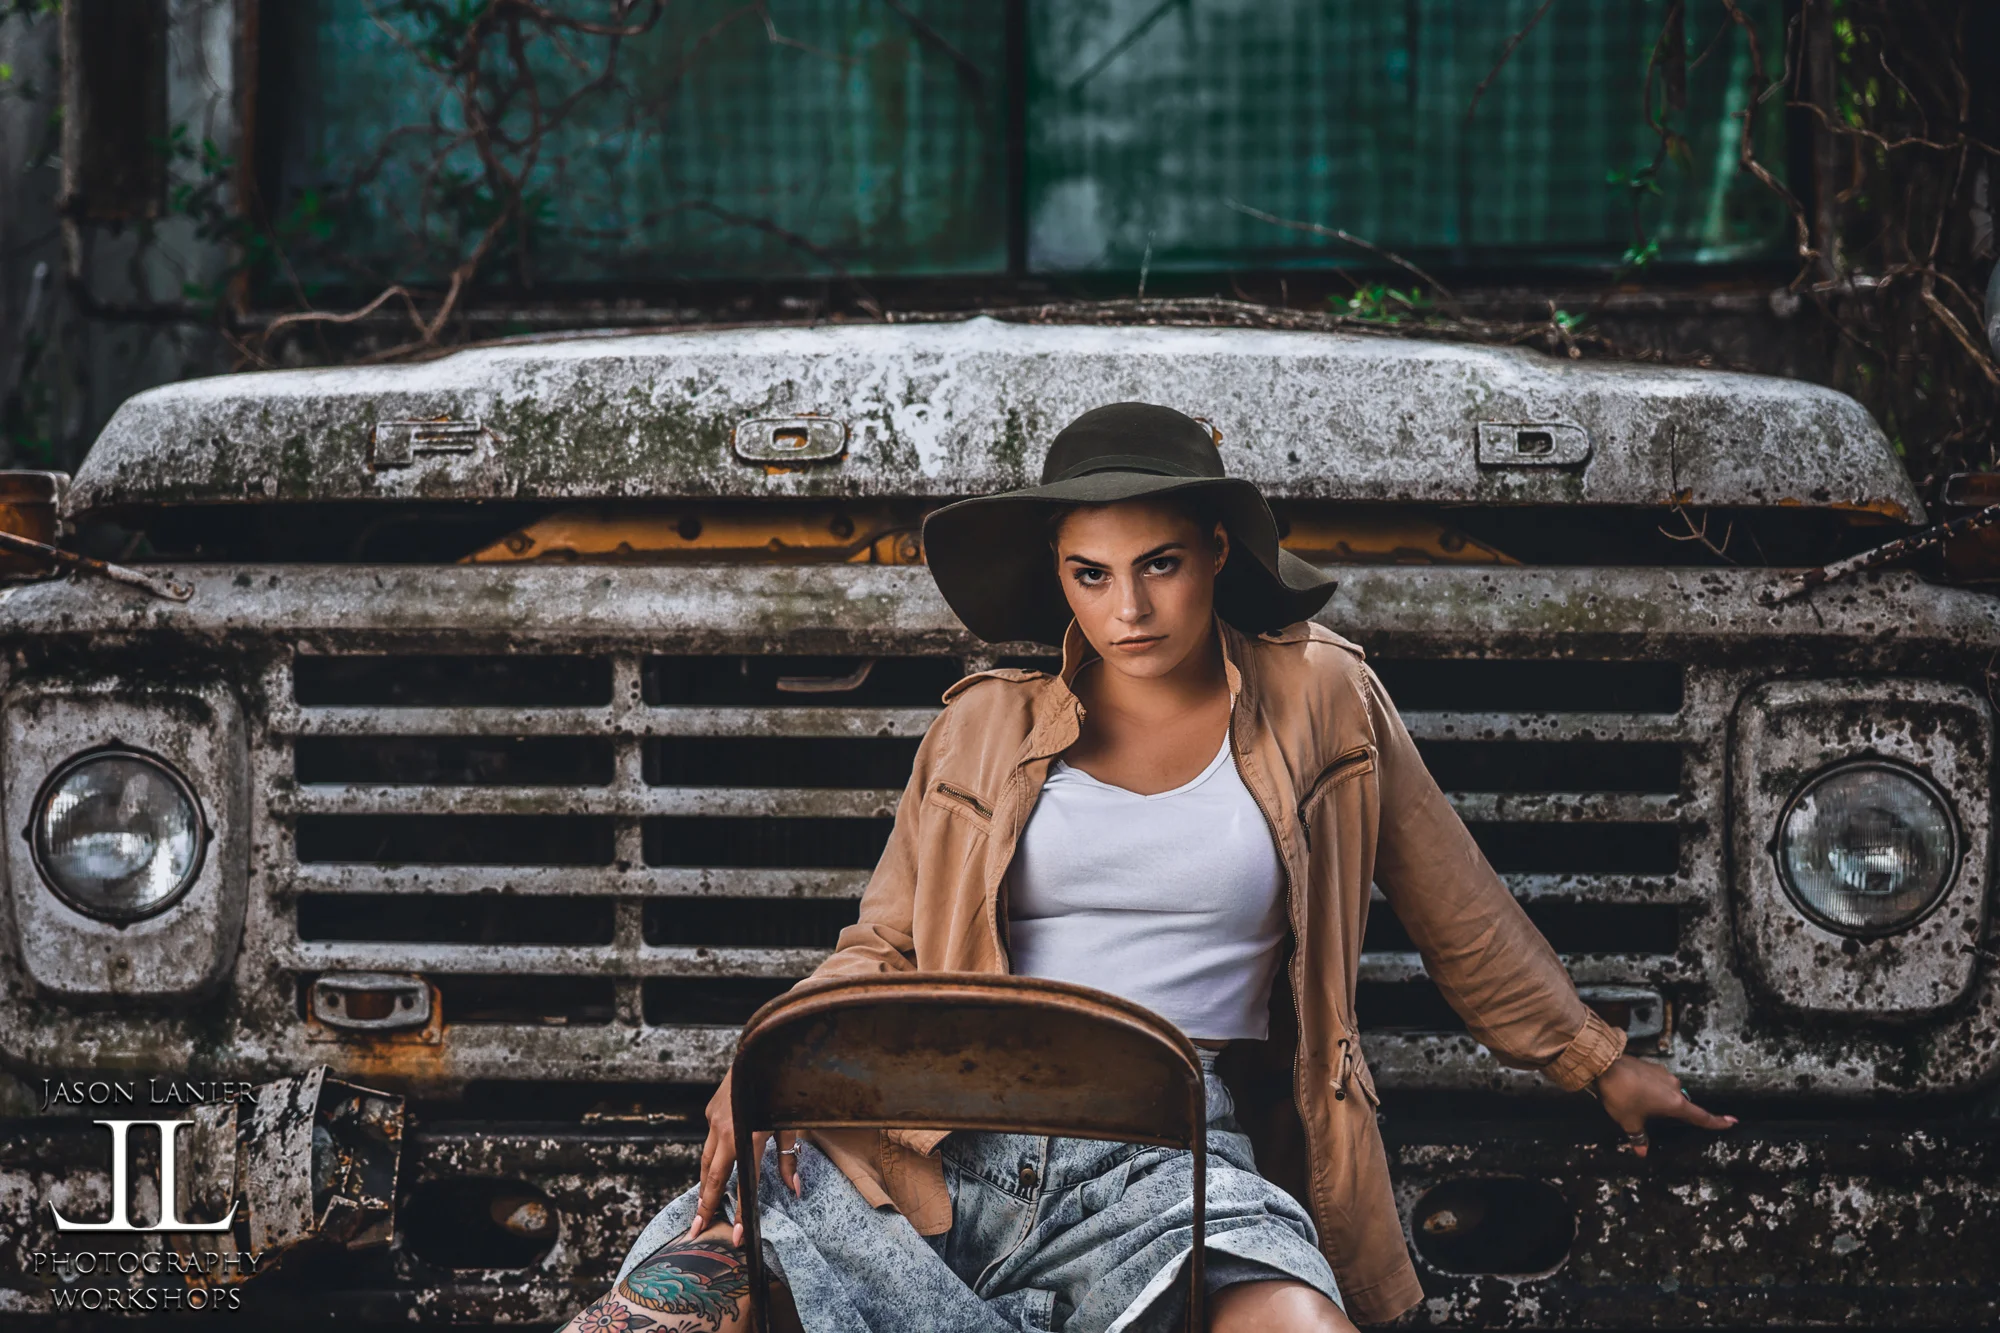
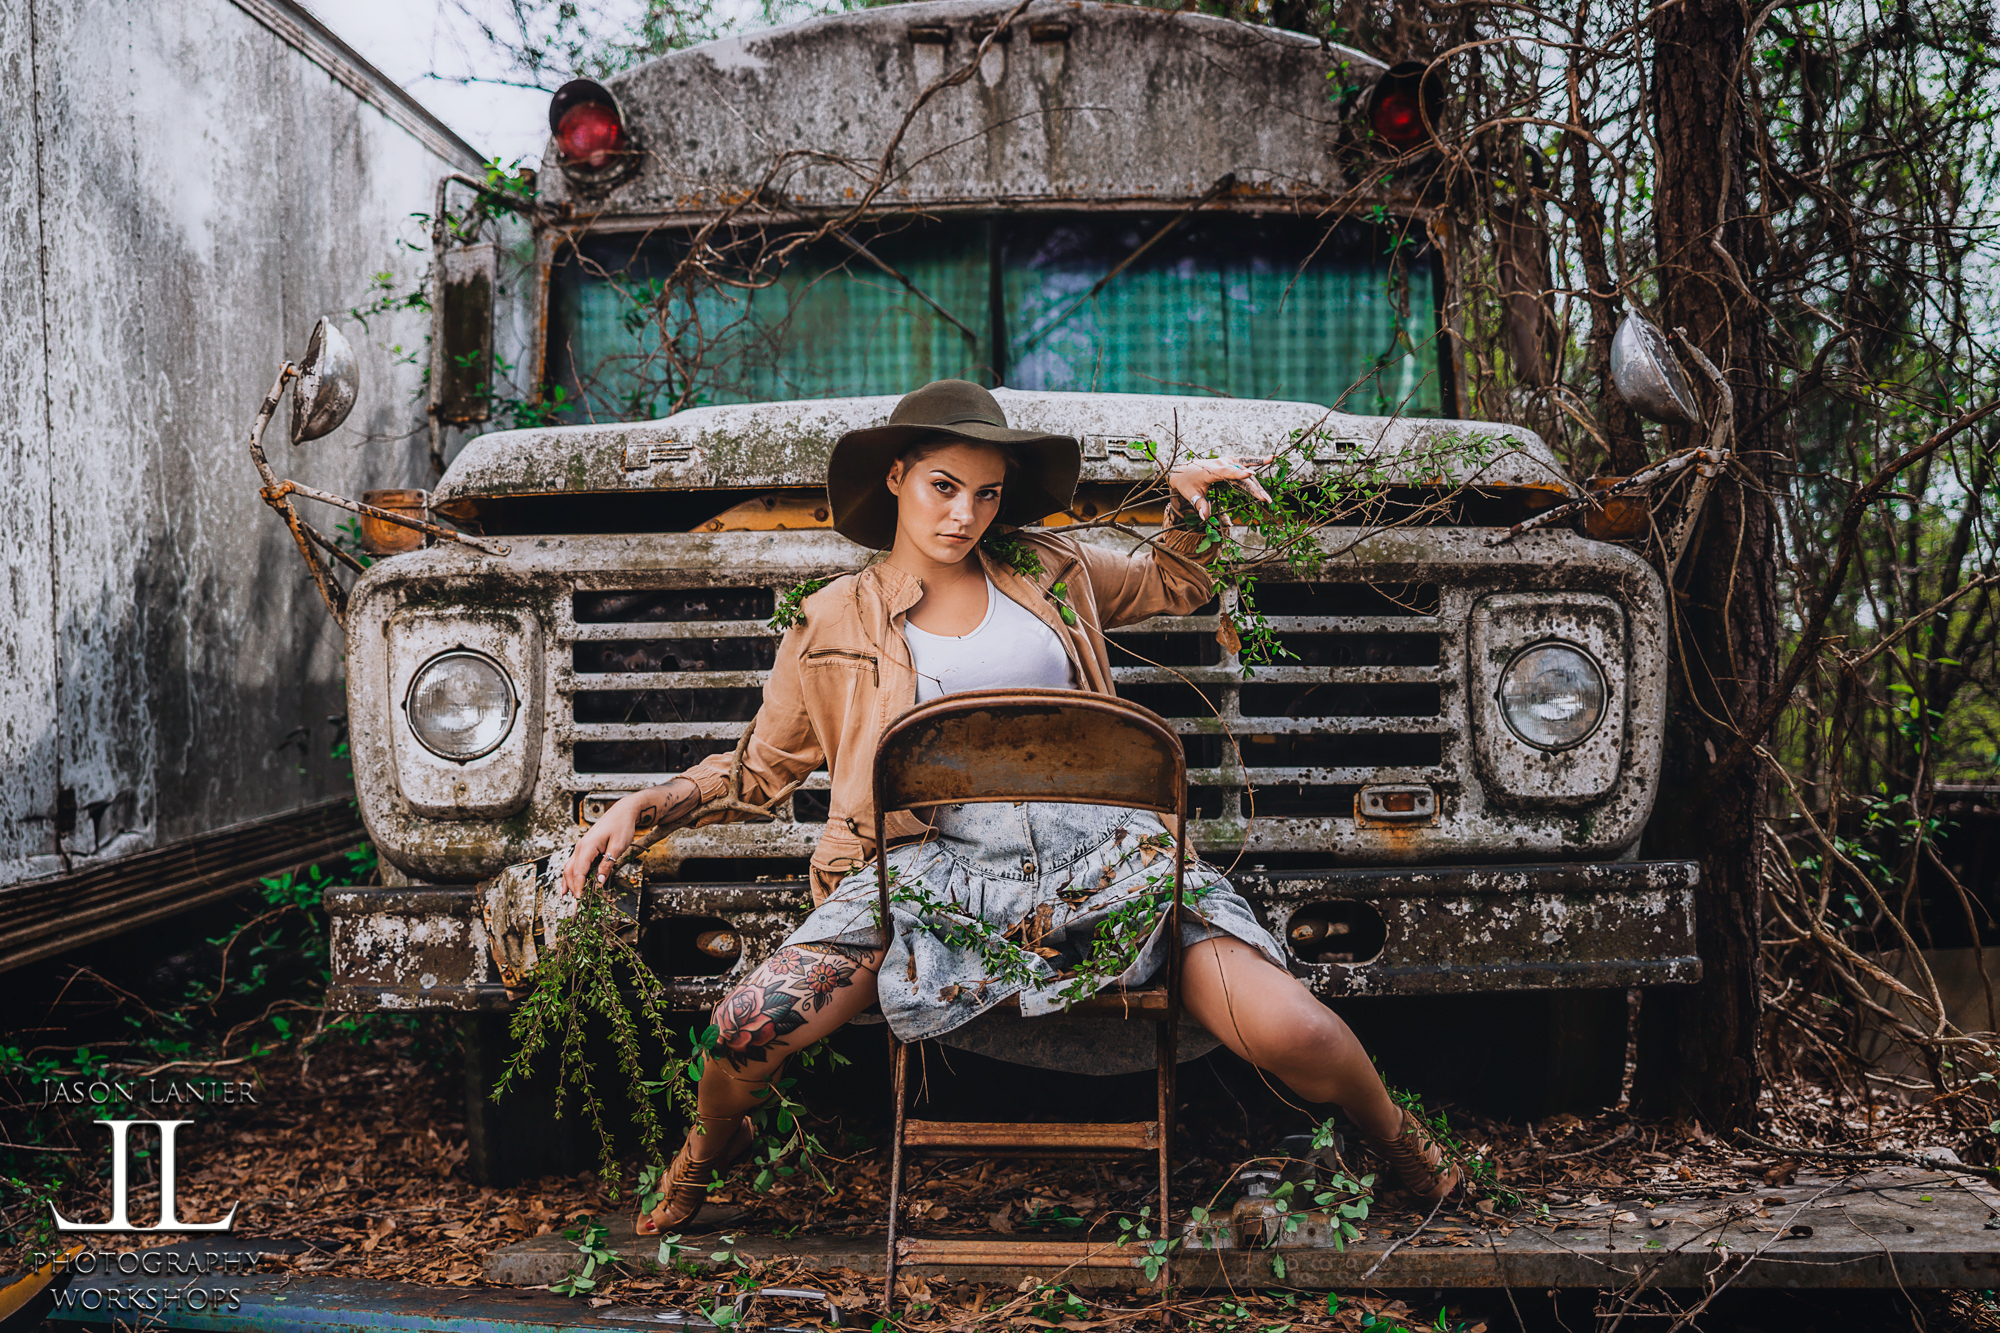
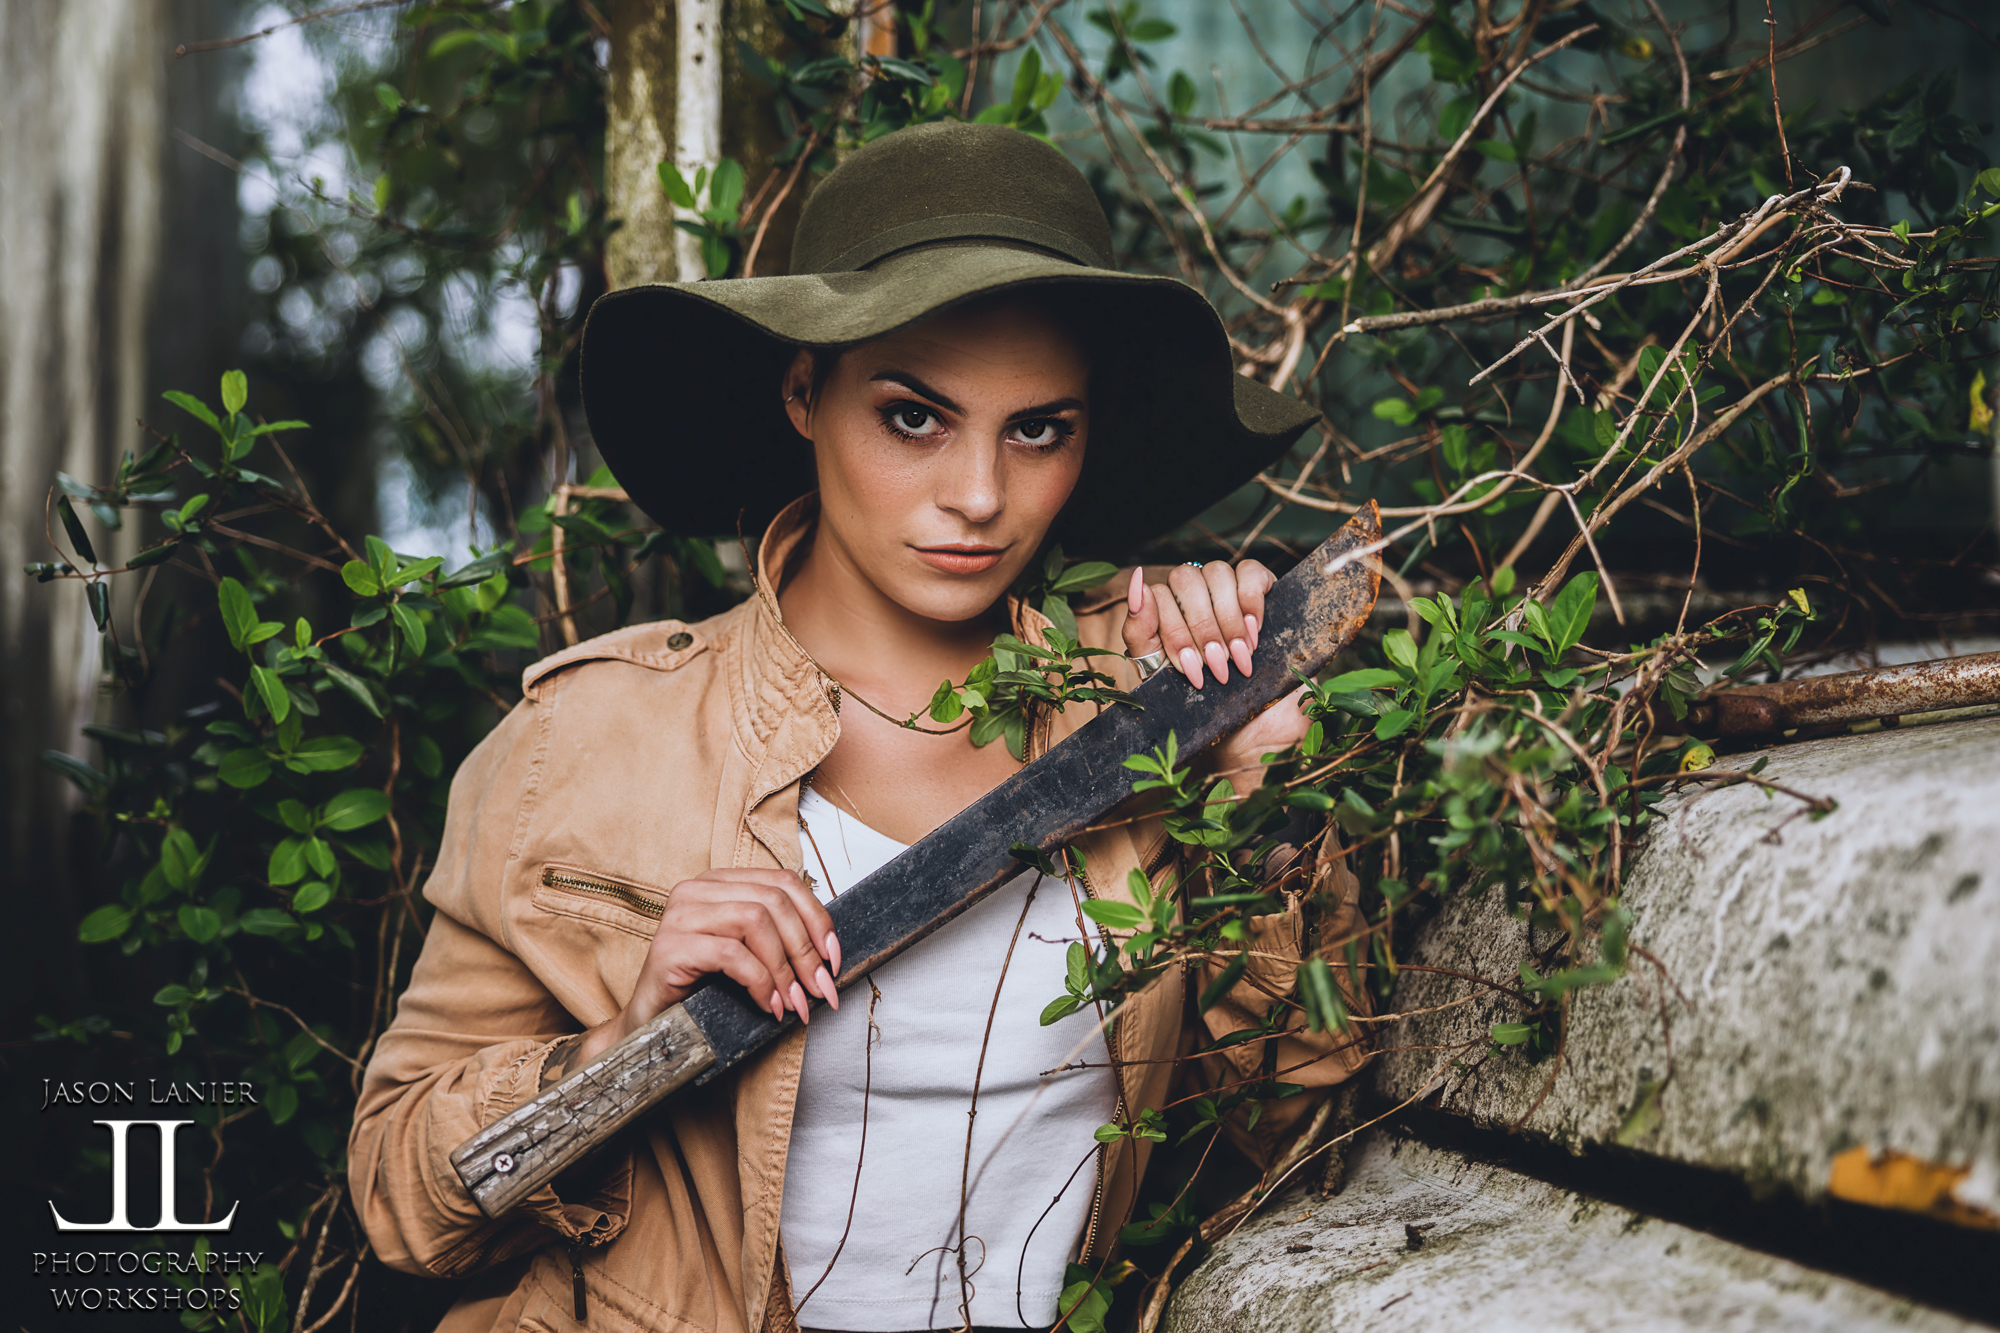
The location for this video was the Bus Graveyard which is a REALLY cool place to shoot. This was Day 3 of our 4 day workshop that I was teaching for the PPA members and on this day the group asked me to demonstrate a shoot from start to finish as well as give them a heads up on how I recorded my Youtube videos.

So, that’s what my Assistant/Muse Emily and I did! You can follow her on Instagram at www.instagram.com/em.explores

For this shoot we used the Canon EOS R with the RF 28-70mm lens. A lens that quickly found it’s way into my creative heart. It’s one of my favorite lenses on the planet at this point.

But we just didn’t shoot in a cool location with a great model and a new camera/lens. We also wanted to illustrate the difference that using flash can make when shooting in conditions that aren’t ideal for lighting. There is nothing better than the best natural light. But that' only exists for about 1 hour a day. And that’s only if it happens to be facing the direction that you want to shoot.

So sometimes you need to have the ability to ADD light to your scenes to be able to capture what you or your clients want or need to create. Sometimes we don’t have the luxury of picking the time when we shoot. Sometimes we have to make our own light.

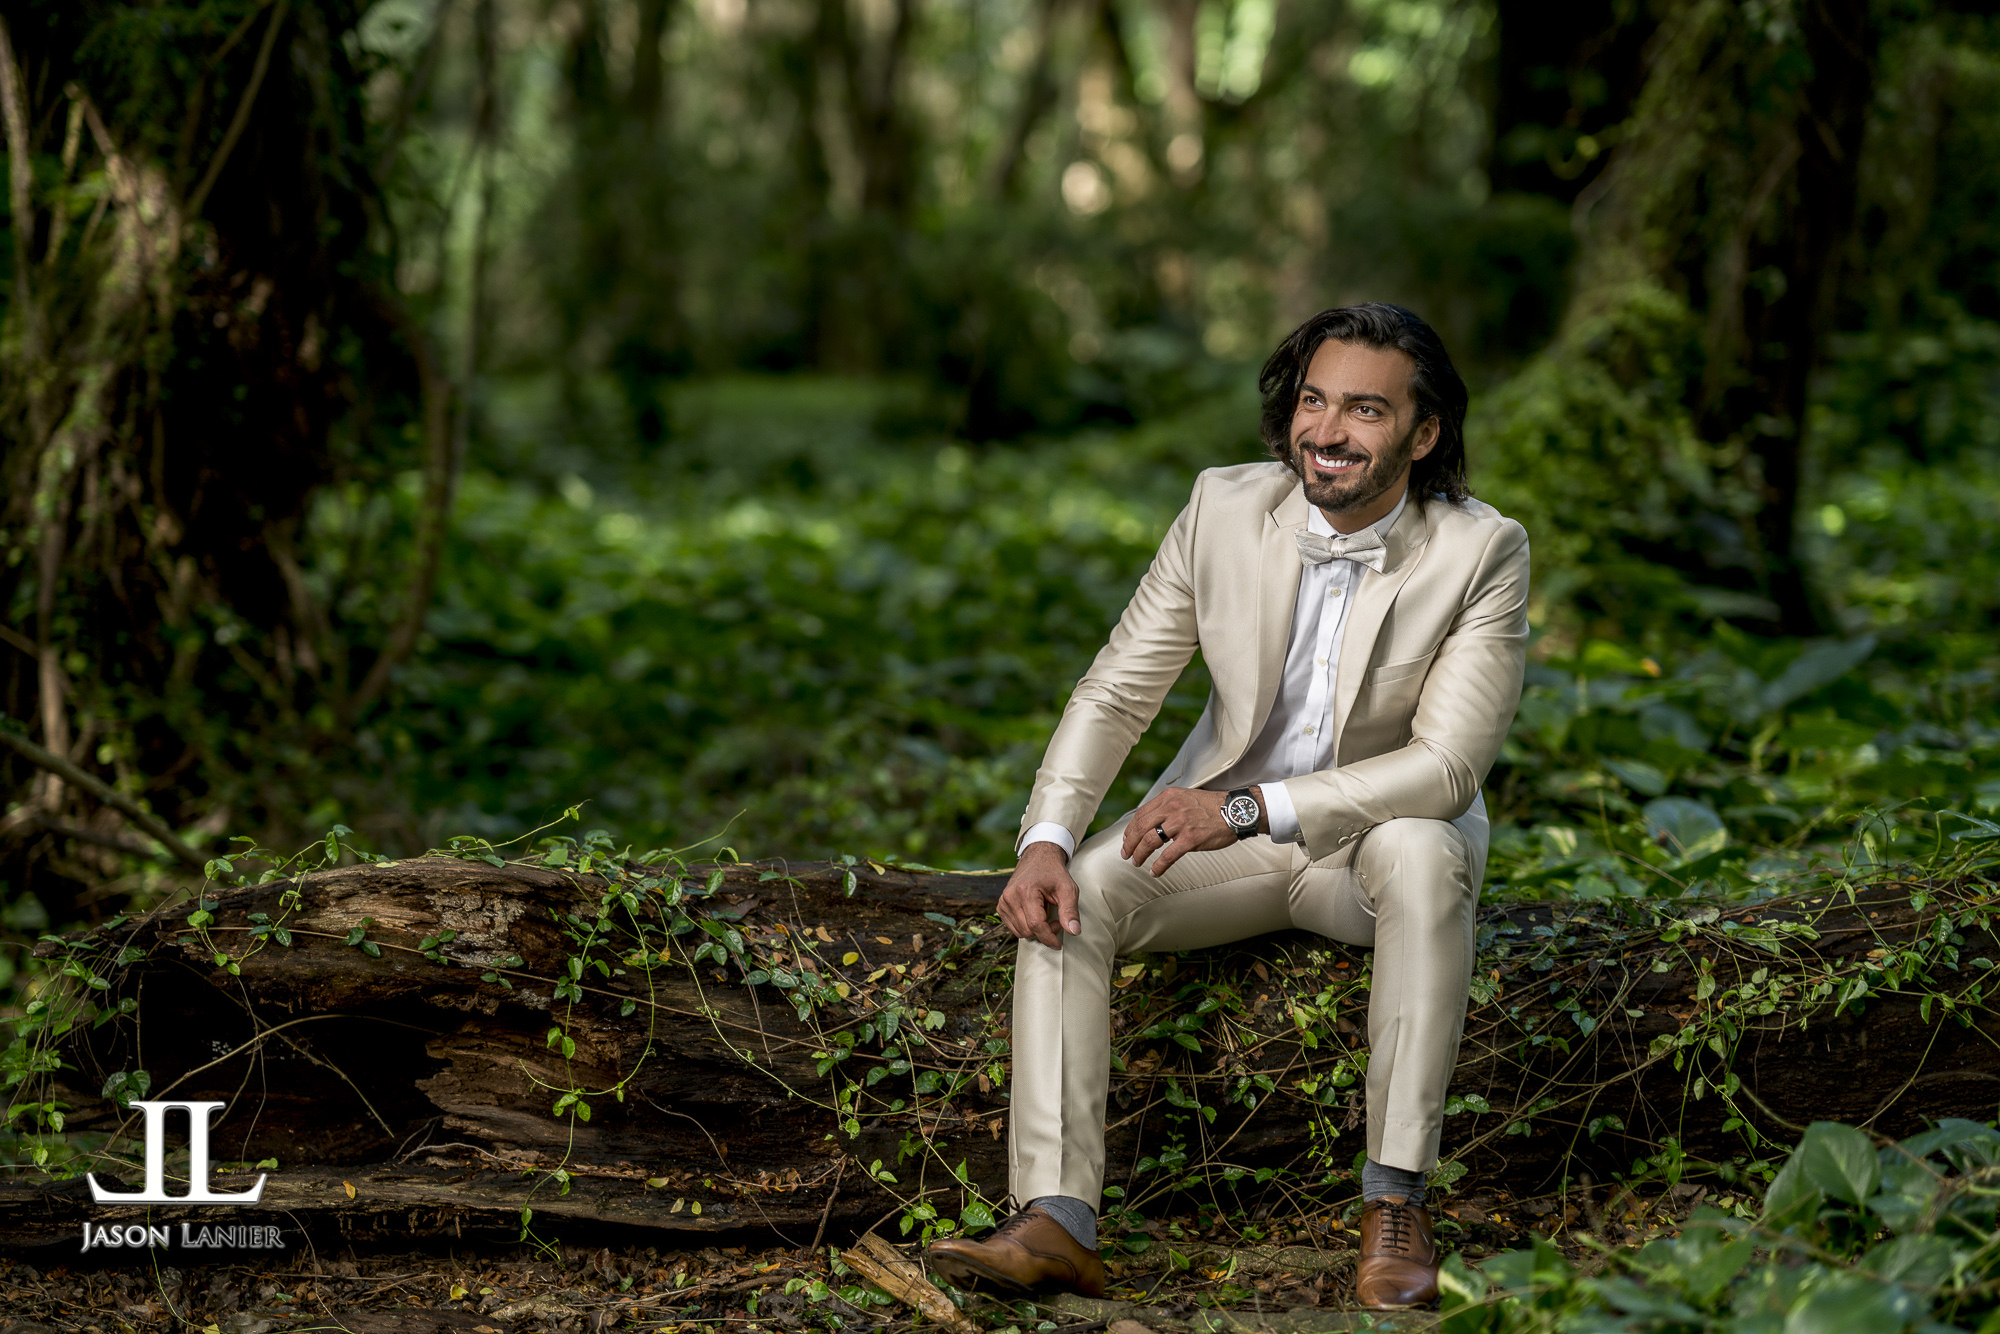
In this video I show the difference between the two, demonstrating images side by side showing images taken with flash vs. images taken with natural light. Take a look for yourself by checking out the images below:

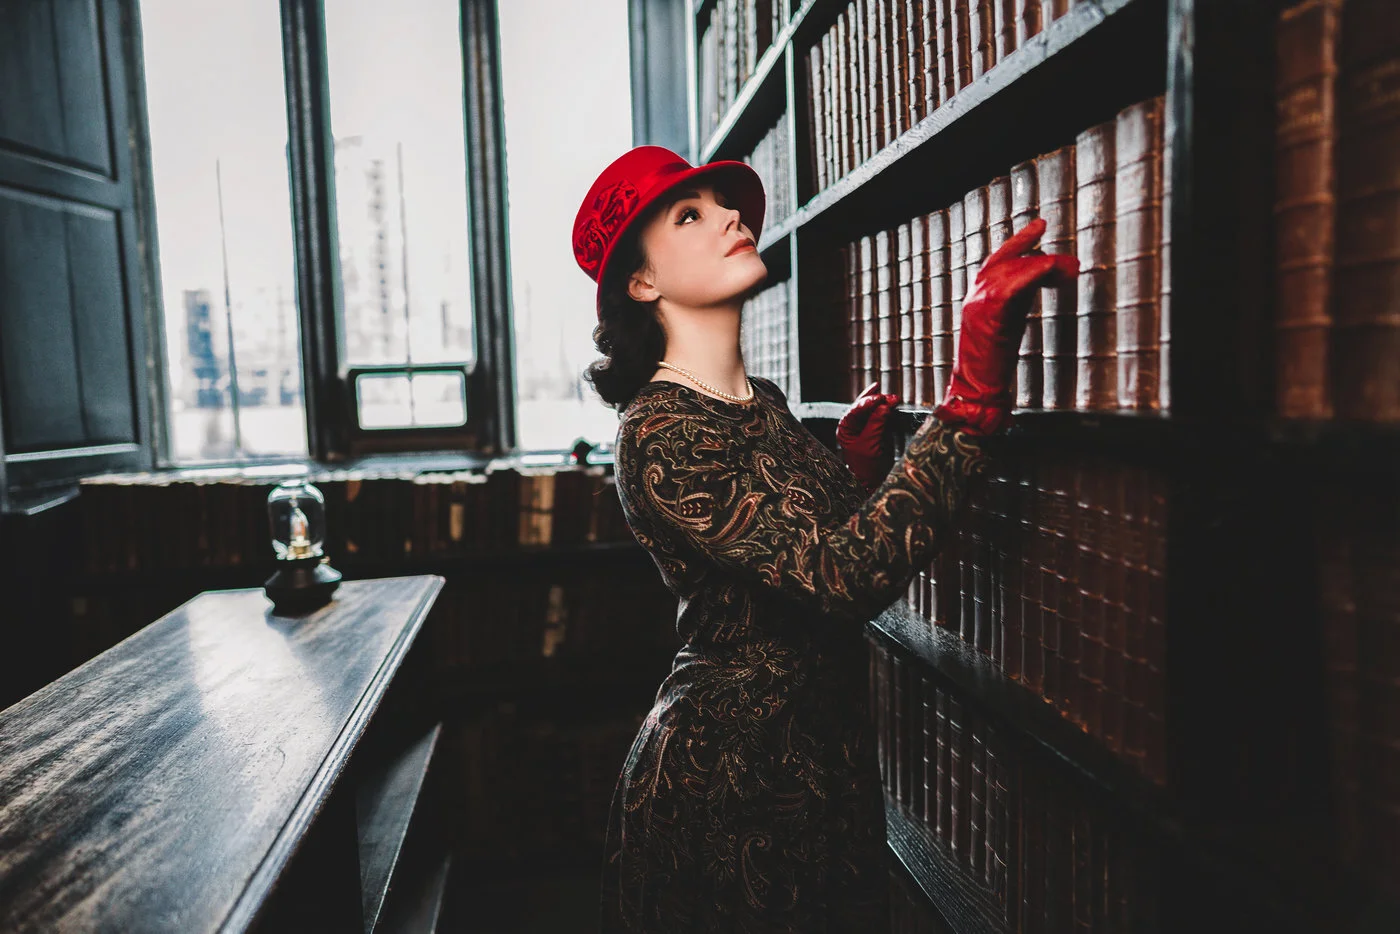
The images with flash have much more light and color. Because color = light in the world of photography. I purposely chose to make this Part 2 of the project because Part 1 shows a natural light shoot done correctly which has plenty of color and light. But that’s only because it was shot at the ideal time of day.

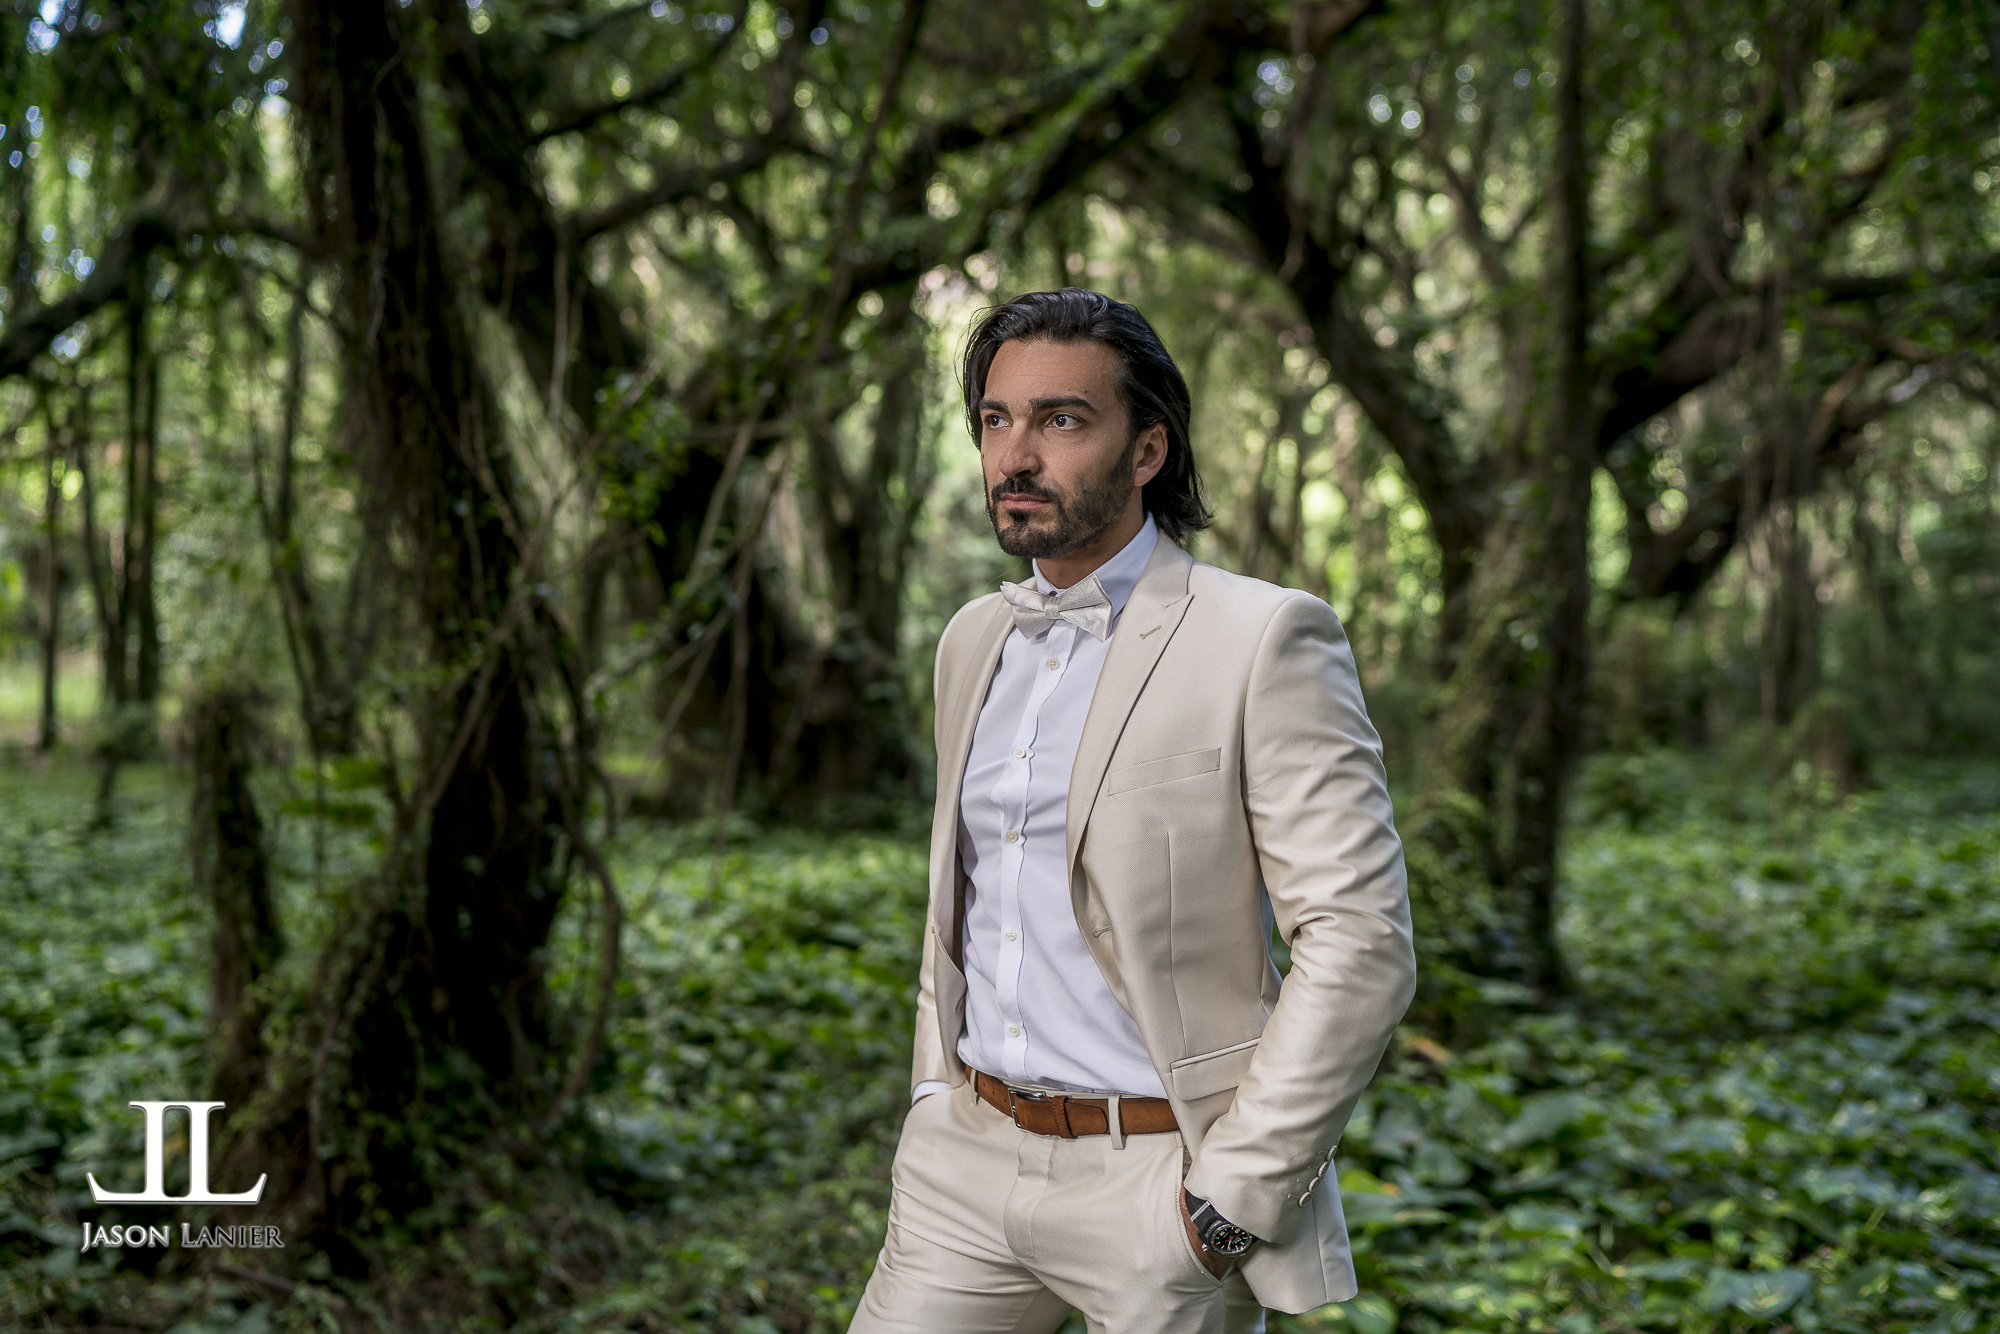
Below are images from the shoot:

For this shoot I have to say the Canon EOS R did exceptionally well. Focus wasn’t as fast as I’m used to with my Sony cameras, but for a portrait session like this one it was more than fine. The color rendering and effect on skin tones is really nice.

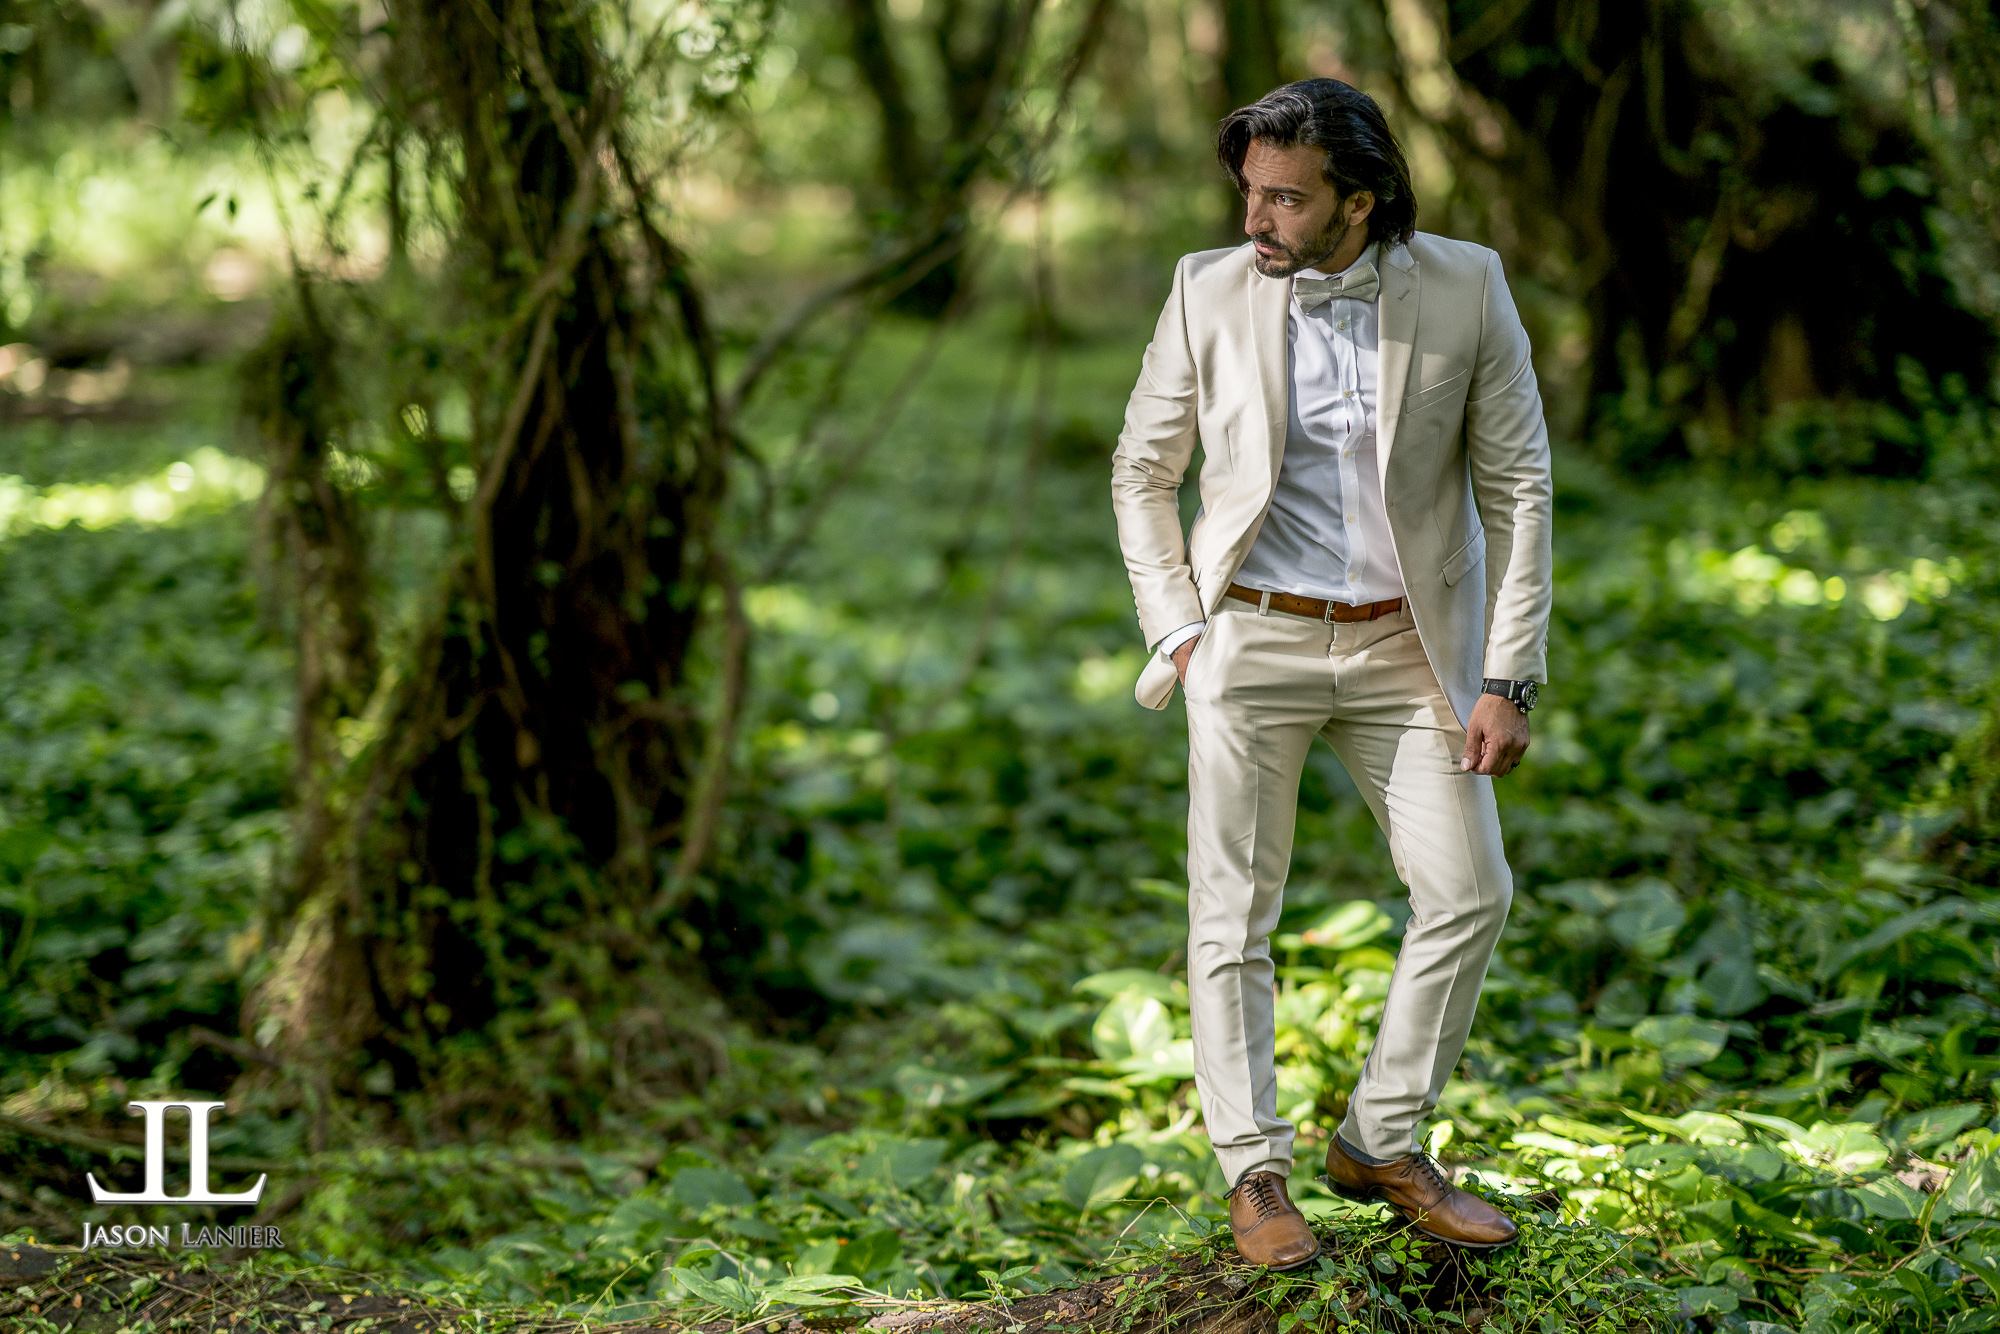
And that LENS. WOW, the RF 28-70mm f/2 is just a pleasure to shoot. There will be people who complain about it’s size and weight. But for me if you want awesome results you shoot awesome glass. And that’s one thing that Canon has done right with their mirrorless system. They are bringing out ultra professional, high grade glass. Far better than the offerings made by the Nikon Z system and far better than what Sony brought out when it first rolled out it’s mirrorless cameras.

The Canon also did much better shooting flash than the Nikon Z. It didn’t require me to do anything special to shoot in HSS (High Speed Sync) mode which was great since all of these images were taken in HSS with the exception of the natural light shot.

I truly hope you enjoy the content. If you missed Part 1 of the Canon Project which is a Natural Light Shoot done in Death Valley using the RF 24-105mm lens, you can check it out now by clicking below:

Thank you so much for watching and make sure to check out our upcoming parts of the Canon Project where we explore things like Black Light, LED, LED flash and more! We thank you for joining us and invite you to click on NOTIFICATIONS and the SUBSCRIBE button on my Youtube Channel.

See you next time!

Jason

2 Comments

CHEAP Lens Challenge- Shooting the Sony FE 50mm with the Sony A6500 in a train

16 Comments

CHEAP Lens Challenge- Shooting the Sony FE 50mm with the Sony A6500 in a train

I'm blessed....I'll admit it.  I work hard for what I've achieved, but I'm very grateful and humbled that I get to shoot with some of the best lenses in the world.  I've shot with Zeiss, Sony G Master, Sony Zeiss and many more.  I've also shot with nearly all of the Canon L lenses and many Nikon lenses to boot.

So one comment and/or request that I get quite frequently is, "Can you do some videos or shoots with some cheap stuff that the rest of us can afford?  We love seeing your shoots but I'll never be able to afford that stuff."

Fair enough.

I remember the days of saving up income for good amounts of time to be able to afford gear.  I REALLY DO.  Those days aren't too far in my past.  So I decided to start adding (yes I bought them), some cheaper lens options into my gear arsenal so I can represent and reflect all of the photographers that follow my work and my Youtube Channel.

So recently I did a shoot using the Sony FE 50mm with the Sony A6500 inside of an old train. The shoot was quick as we had only 15 minutes to complete it.  I think that's a good thing because it shows you what was able to be created without an elaborate setup or time that could honestly make the lens look better than it is.

**Links to Gear:

*A6500-  

*50mm FE lens-  

*DJI Osmo-  

*Westcott Rapid Box XL-  

If you haven't already please take a moment to check out the video that we rolled that will show the focus tests, the shots using natural and artificial light and more.  The video explains much more than I can properly articulate here in a blog post, so I kindly invite you to watch it now.  

For those who have already watched it you'll know that for $200, I think it's a pretty sweet little lens that is a welcome budget friendly addition to the Sony mirrorless lens lineup.  Below are the shots taken at the shoot.  All of them have been edited using Lightroom and Photoshop.  I hope you enjoy...:)


The model is the beautiful Cassandra Caballero.  Please let me know what questions you have...and thank you for watching!!

Jason

16 Comments

Sony FE 100mm STF Auto Focus lens- my rain shoot at Balboa Park in San Diego

8 Comments

Sony FE 100mm STF Auto Focus lens- my rain shoot at Balboa Park in San Diego

Recently I had the opportunity to borrow the Sony FE 100mm STF lens from Sony to test out.  My followers asked me to not only shoot it on my A7Rii as is typically the case for me, but to also shoot it on some lower cost Sony mirrorless bodies that my followers can more easily afford.

So we went down to Balboa Park in San Diego and it POURED rain.  I put the 100mm STF on my Sony A7ii and commenced to do a shoot where I illuminated the model in the rain by using the Flashpoint Xplor 600 as my backlight and the Rotolight Anova Pro as my key light with a 2 Stop Diffuser by Westcott called the Illuminator.

I gotta say I was very impressed with the lens.  My full write and recommendation will be in a following post and video, but I wasn't disappointed by this lens at all.  It has an F stop of 2.8 and a T stop of 5.6.  It was very sharp, it found focus very quickly and it was a challenging condition to shoot in.

As you'll see in the video it held up just fine with some rain getting on it and didn't give me any issues at all.  Towards the end of the shoot I really started to test the STF Smooth Trans Focus elements of the lens.  It's pretty amazing how that lens can turn virtually any light source into a gorgeous Bokeh ball.  I can't wait to do more testing on that.

Below are some of the images taken during the shoot.  These were all shot wide open at the aperture of f/2.8 but the t stop value of 5.6.  ISO range was anywhere from 2,000 or higher with a shutter speed at 1/60 sec.  I think this lens is a keeper....but more on that in my full review.  I have more shoots to do with it but just wanted to share this one on the A7ii.  I hope it also helps people out there that I did it with a more affordable camera body like the A7ii.

Thanks!

Jason

8 Comments

How I Pose and Shoot Men- a Groom Shoot in the Maui Rainforest in Hawaii

4 Comments

How I Pose and Shoot Men- a Groom Shoot in the Maui Rainforest in Hawaii

On my Youtube Channel I'm known for taking pics of lots of pretty women around the world. What some may not realize is before my Youtube and commercial work days I shot hundreds of weddings in many places which meant that I had to of course, shoot men.

Now this isn't a bad thing.  Shooting men is quite a bit of fun and is actually a completely different dynamic than when I shoot women.  I remember when I shot weddings I would go into the bridal room and more often than not the feel and vibe of the shoot was a romantic, fairy tale type of a shoot.  Everything seemed to be very poetic and magical.

**Don't forget to subscribe to my blog and Youtube Channel...:)

Then I would head over to the Groom's Room.  That was a different story.  Typically the groom's room involved a bit of alcohol consumption by the groom and his friends which lead to some pretty fun and crazy shoots.  In other words, I had to learn to shoot differently based upon shooting a bride vs. shooting a groom.

Many times (unless you're a male model), men don't particularly love having their picture taken. It's always one of those types of scenarios where men just "want to get the shoot over with." I learned over the years that using humor was a great way to get the groom to relax and actually get into the shoot.  Once I got their buy in, the shoot turned into something magical.  

Now I'm using generalities here and there are always exceptions.  Women and brides can certainly be wild and very funny and men can certainly be romantic and elegant.  But in the hundreds of weddings I've shot I've found my descriptions of both to be what I encounter the majority of the time.  Best piece of advice, learn who your clients are and adjust to their personality and needs.

So that leads us to this shoot.  This was a bride and groom out in Hawaii for their honeymoon. They found out I was in Hawaii on vacation and made arrangements with me to do a shoot of them in their wedding attire while out there.  This was very unique timing as it was their first day of their honeymoon, and my last day of vacation with my family.  So they were eager to get their honeymoon started and I was eager to get packed up and head to the airport.

I first spoke with the bride Karolina and when we spoke about doing the shoot she was very excited.  Her husband Ray was happy to do the shoot, but just didn't want it to go very long.  He was more than cooperative but like many grooms just "wanted to get it over with." Understanding this dynamic I persuaded the couple that there was this amazing rainforest that could produce some really gorgeous images.

So we drove down there to shoot.  I started setting up my gear and my friend Chris Millen agreed to come along to help roll video.  Thanks Chris!  I didn't have any assistants or crew since I was just there on vacation.  So I set up my gear and started shooting.  But the important thing was that I started shooting the groom (Ray) first.  I wanted and needed him engaged in the shoot.  I wanted him to feel good about taking the time to do the shoot and to feel good about himself.

We started joking around while shooting and before we knew it we were having a really fun banter back and forth which lead to some really great sets of images.  If you can get a groom to laugh and get him to feel good about himself, you can create some fantastic images.  Ray's wife is a model.  So you can imagine that might make anyone feel a little intimidated.  He probably assumed that a photographer would only be interested in shooting her.

By starting with him, by showing him that I really wanted to create something amazing with him, it really builds confidence which lead to a fantastic shoot.  At one point he teased his wife Karolina telling her that she was jealous I was spending so much time with him lol.

The bottom line is that if you take the time to show a man that their time is valuable and that you are invested in shooting them, the rewards can be great.  I highly recommend you watch the video to see the posing and techniques used to create the images below.  

Images taken with the Sony A7Rii and the 35mm Sony Zeiss f/1.4

Images taken using the Sony A7Rii with the 85mm G Master f/1.4

**Links to Gear Used:

*Sony A7Rii-  

*Sony Zeiss 35mm-  

*Sony 85mm G Master-  

*Flashpoint Xplor 600-  

*Westcott Rapid Box XL-  

*Feisol Monopod-  

I hope this helps and that it gives you some insight on how I shoot male subjects in general.  In essence if you do it right, it's an absolute blast that can give you some stellar results...

Thanks!

Jason

4 Comments