Viewing entries tagged
metabones mark 4 adapter

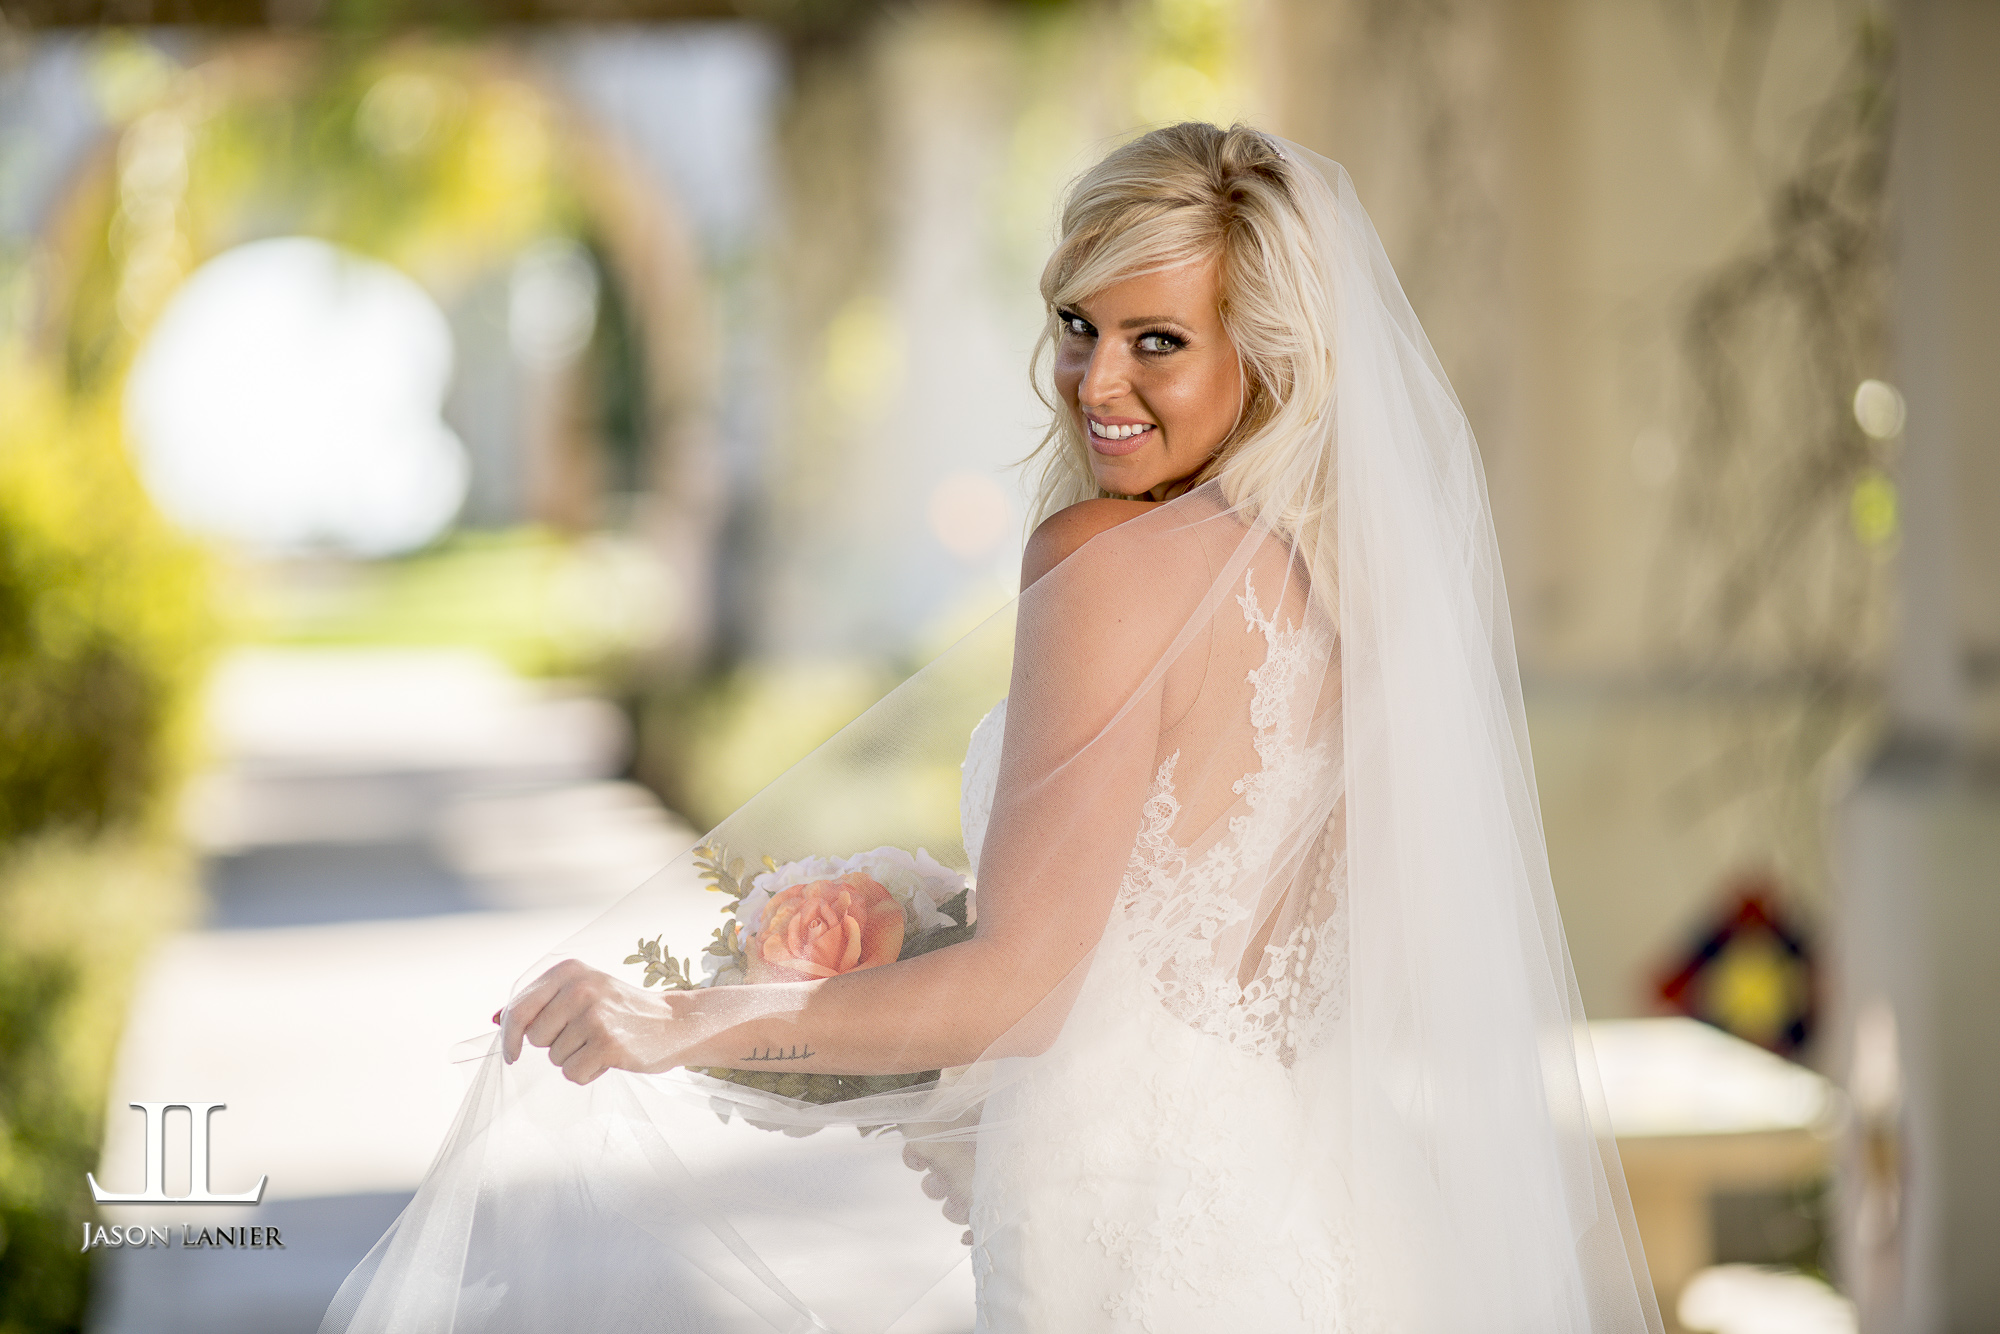
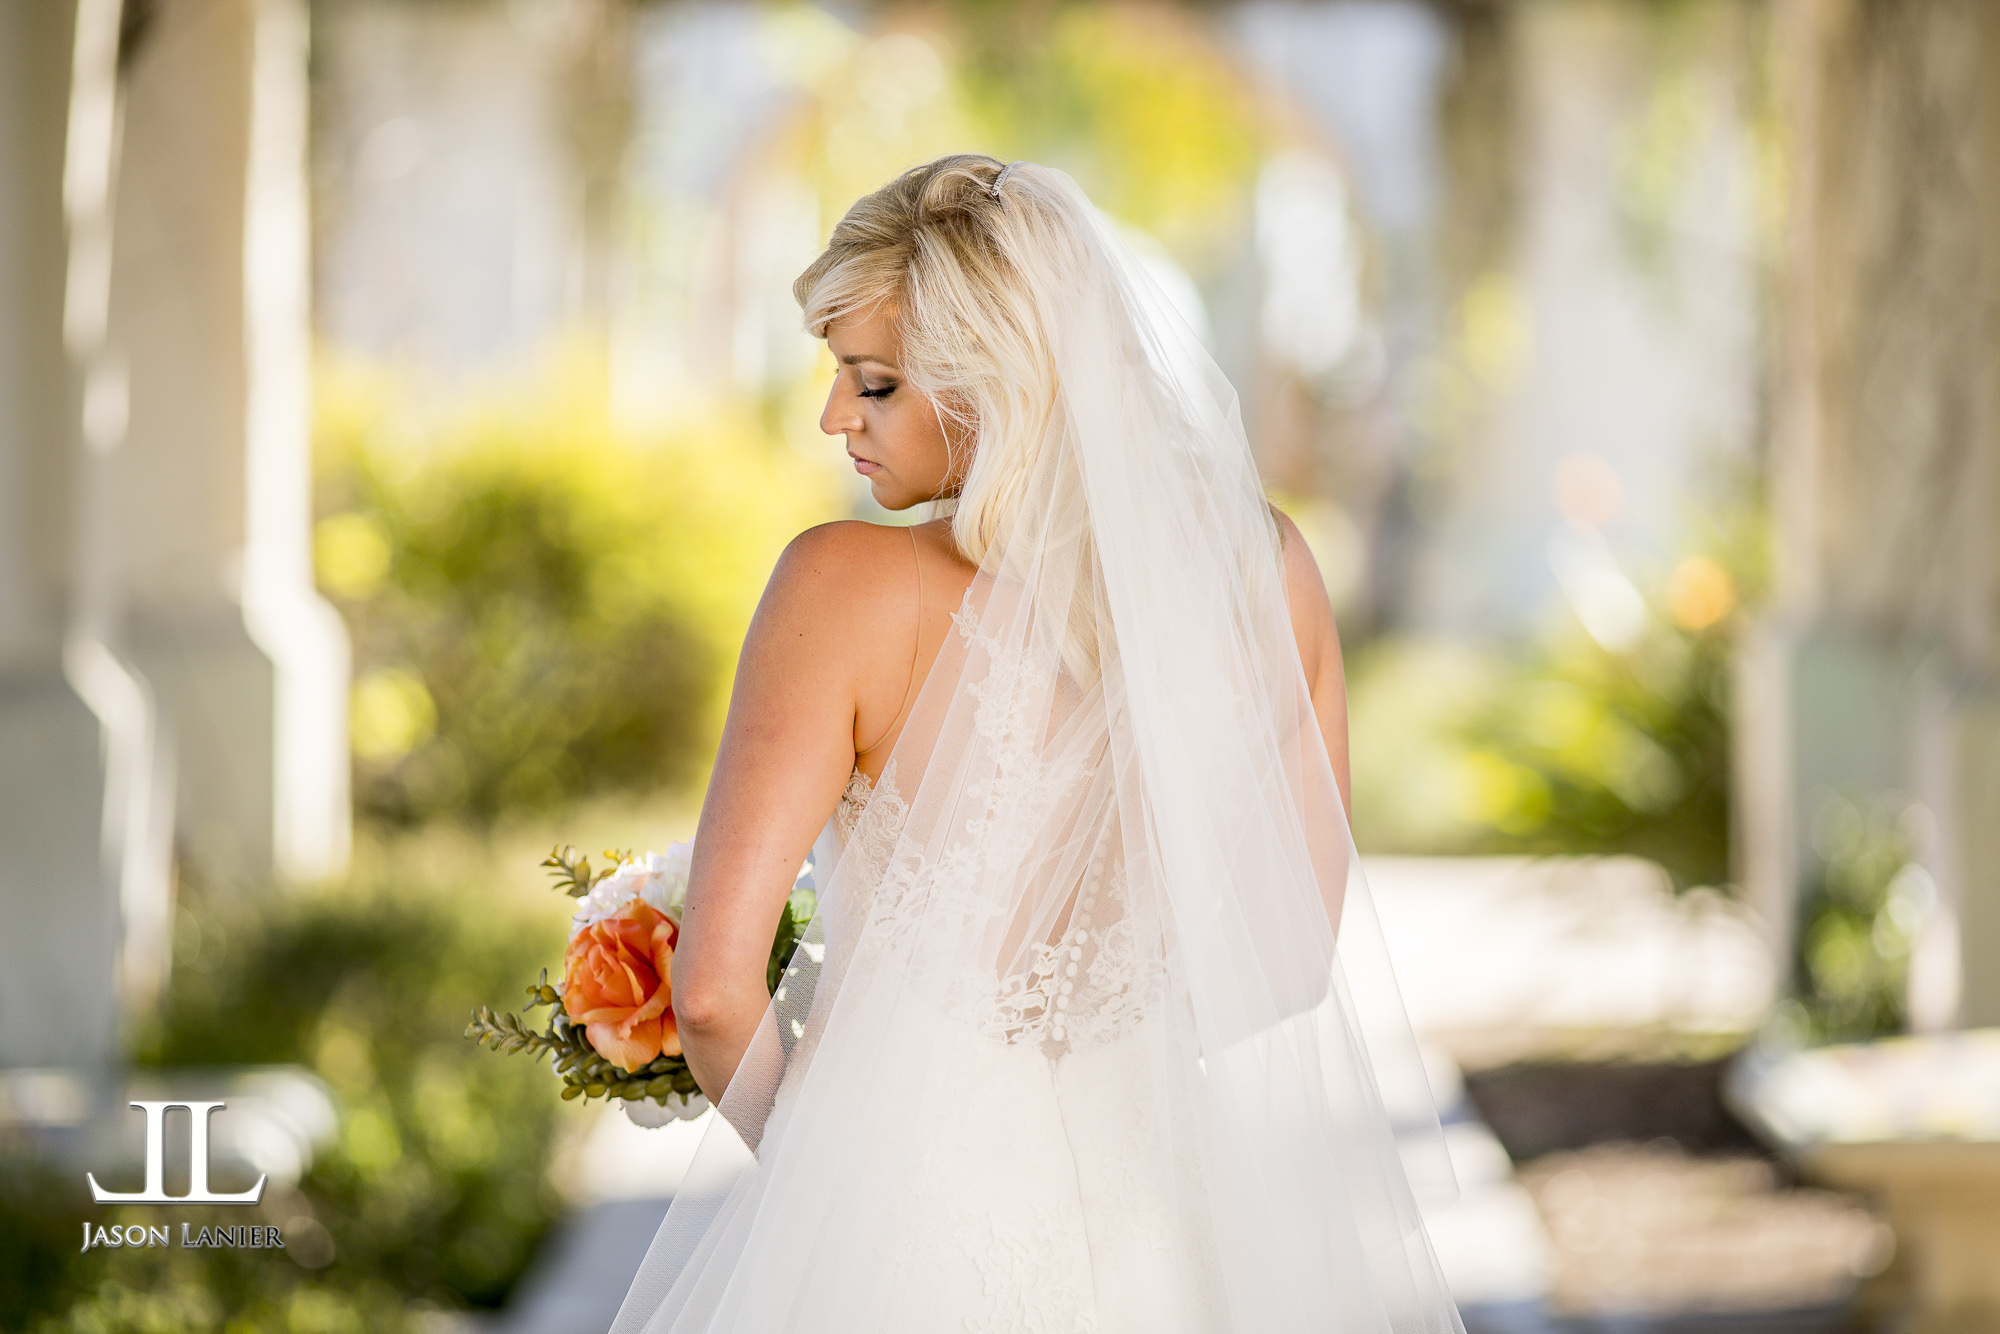
Wedding Bridals in Balboa Park

1 Comment

Wedding Bridals in Balboa Park

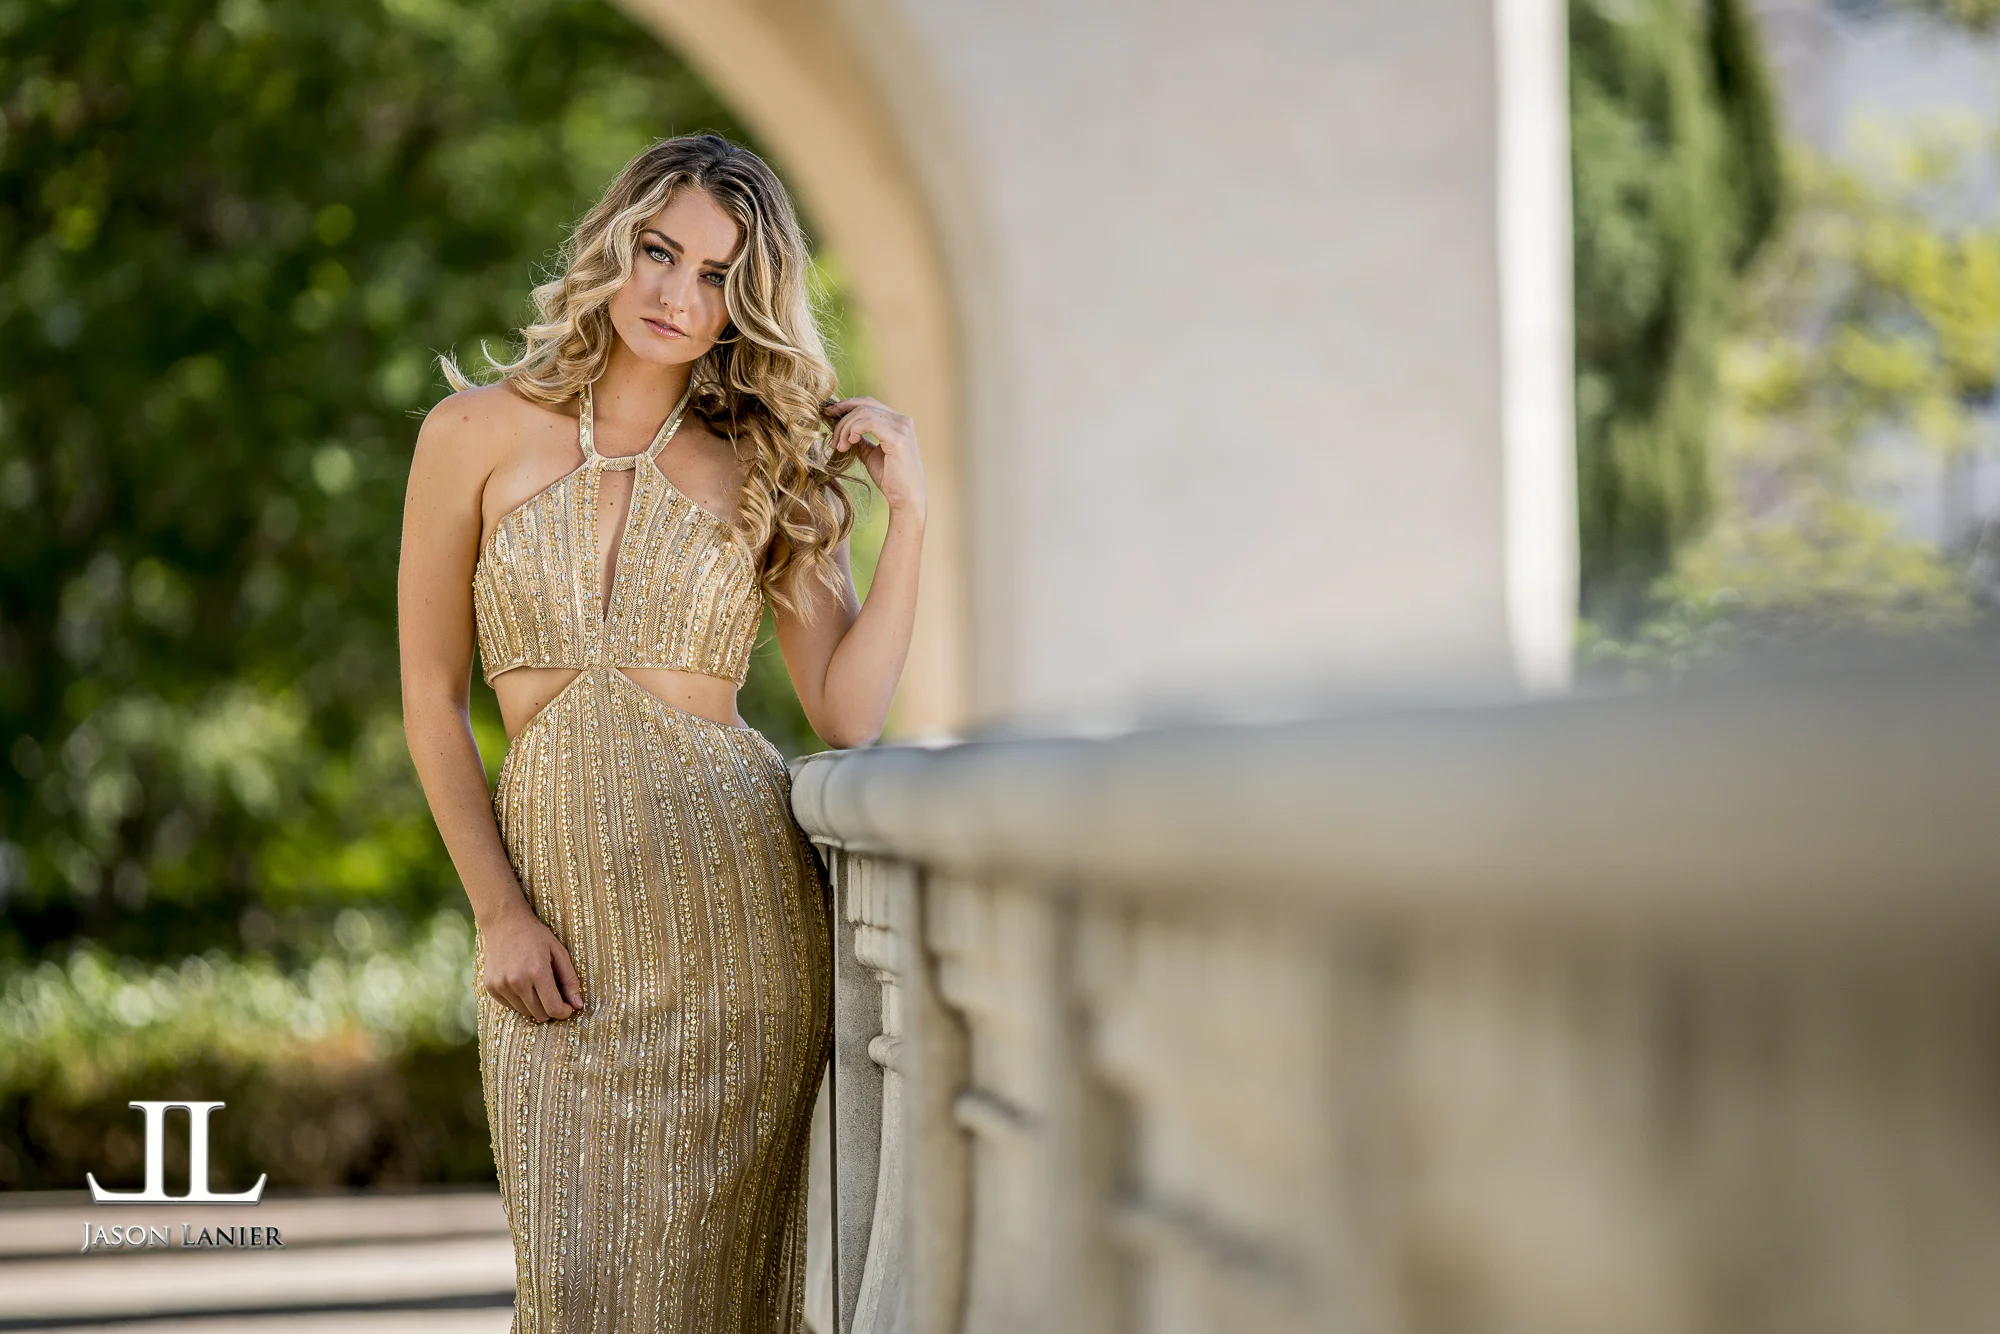
So in my career I've shot 250+ weddings all over the world.  In recent years my wedding workload has diminished quite a bit due to picking up commercial work along with my teaching and speaking schedule.  But when I got the opportunity to do a commercial shoot with Mia Bella Couture shooting wedding gowns, it took me right back to my roots as a wedding photographer.

We went down to Balboa Park in San Diego which is an absolutely beautiful location.  Using a reflector and the Flashpoint Xplor 600 I started shooting with my Sony A7Rii and the Canon 200mm f/2.8.

My mail goal with this shoot was to create a very light, bright, romantic type of a shoot.  The model was Daryl Rene and she did a truly fantastic job in helping me create these shots.  The mood of the shoot was created by the combination of using the off camera flash with a beauty dish on it (the Westcott Rapid Box XL) and the reflector on the other side.  It should be noted that this shoot took place at around 1pm on a day where the lighting was very harsh, so controlling the light by overpowering the sun was crucial.

Below are some of the shots created by using this lighting set up under a row or lattice work and columns in Balboa Park;

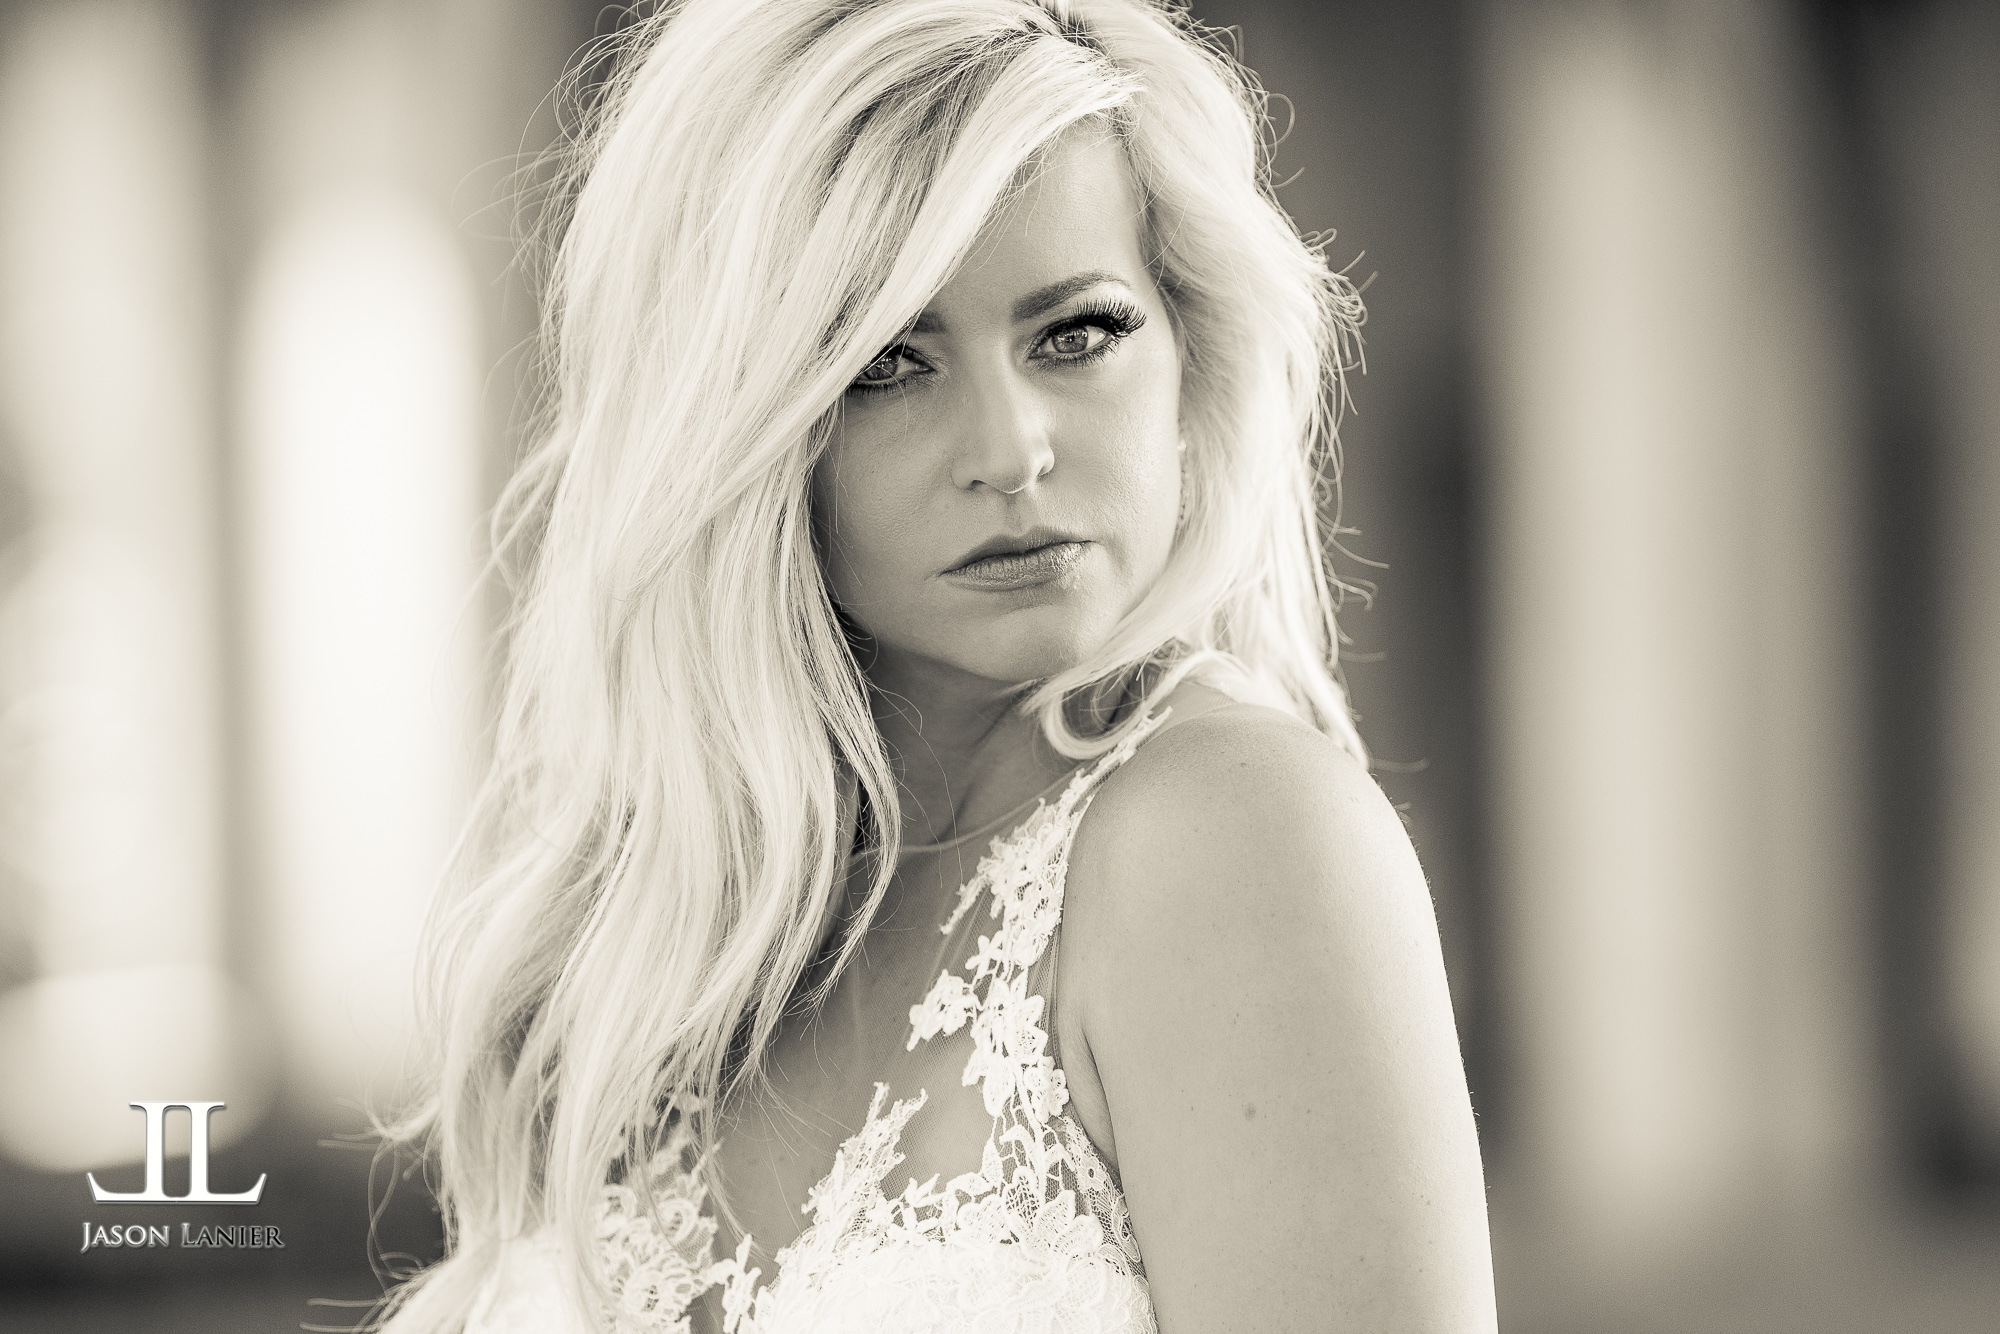
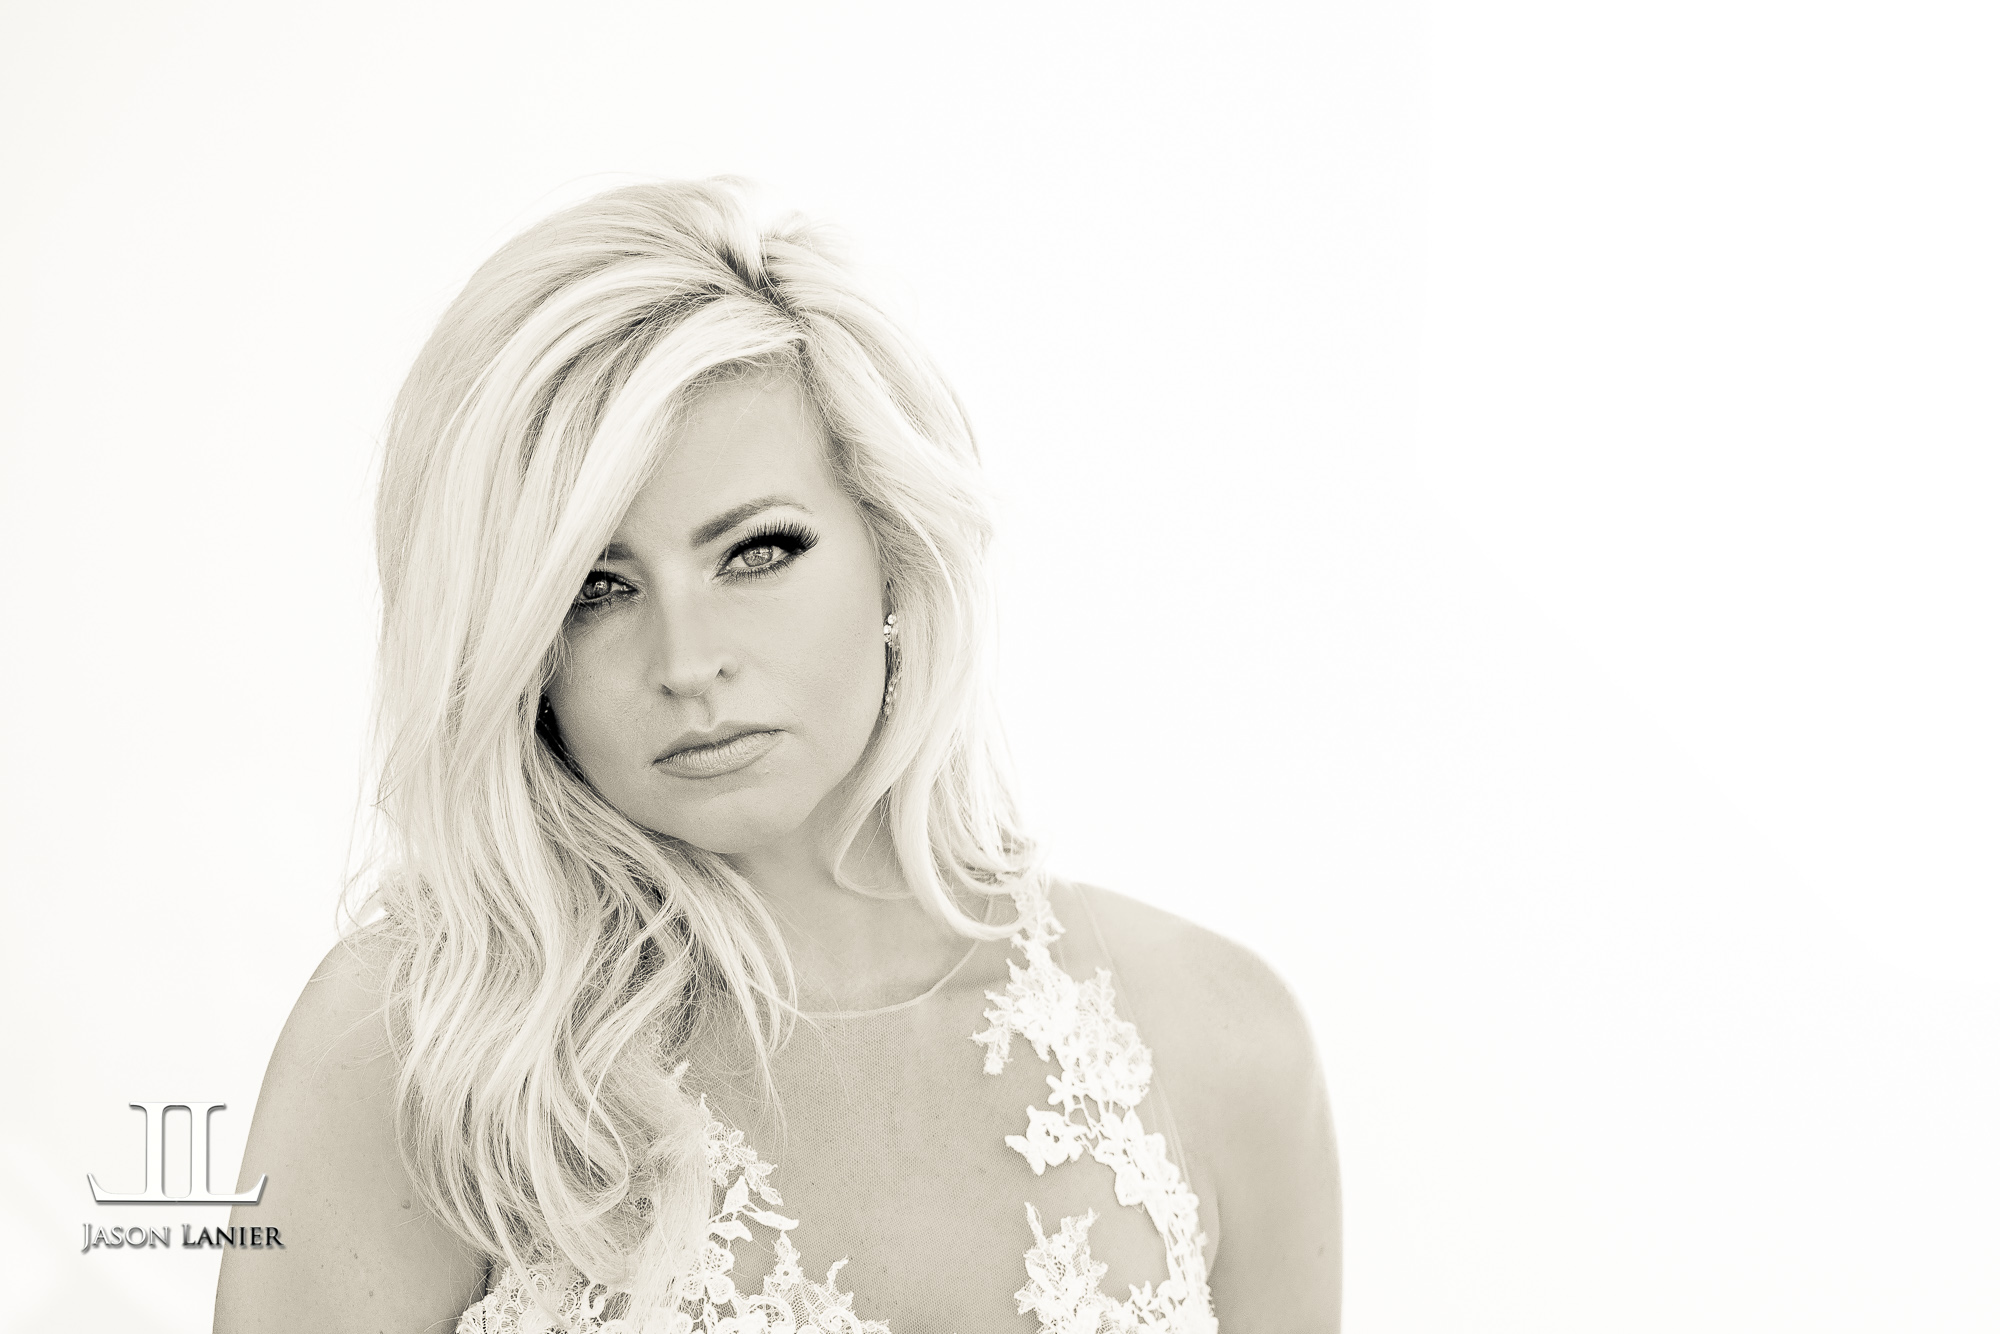
We then tried something new and I fired the Flashpoint through the Scrim Jim just to see what effect it would give.  The thought was in essence to create a giant outdoor softbox.  I thought the shots came out pretty cool and created some very soft light.  You can see these shots below:

It was a really great shoot and I hope you take a moment to watch the video as well so you can see how these were created.  A big thanks to Mia Bella Couture for hiring me to do the commercial shoot.  If you'd like to get in contact with us for wedding or commercial photography please contact me at jason@jlpros.com.

**Links to Gear:

*Sony A7Rii-  

*Metabones Mark 4 Adapter-  

*Canon 200mm f/2.8 lens-  

*Westcott Scrim Jim-  

*Westcott Rapid Box XL-  

*Flashpoint Xplor 600-  

Thanks!

Jason

1 Comment

Using Manual Focus for Fast Action Shots to get Amazing Results using the Sony A7Rii and Canon 200mm f/1.8

1 Comment

Using Manual Focus for Fast Action Shots to get Amazing Results using the Sony A7Rii and Canon 200mm f/1.8

San Francisco- so my team and I drove up from So Cal up to the Bay area to do some shooting. We found ourselves at the ruins of the Sutro Baths where the waves crash into the rocks and ruins with some pretty dramatic results.

I had my Sony A7Rii and Canon 200mm f/1.8 lens with me and wanted to see just what we could capture with our model Kyli and the waves coming in.  While I'm used to great auto focus from this combo of camera and lens, I'm also aware of the fact that shooting a solitary object like a model can be difficult to get consistent sharp focus on when things like waves and mist fly in front of her as it did in the shooting scenario we did here.

So using Focus Peaking (which I love by the way), I focused in on the model to get tack sharp focus.  Since my camera and lens were on a tripod, and the model was in a set position, I was able to set the focus and make sure it was on her so no matter what flew in front of her, the focus wouldn't change.

Well the waves didn't disappoint.  They rolled on in crashing on the rocks beneath her giving off some amazing spray as well as background.  One particular set was so strong the splash of the wave completely filled the frame behind the model giving it a truly beautiful effect.

So if this kind of work is of interest to you, you might just want to try this technique so you can create some really cool shots of your own.  I hope it helps!  Below are the pics from the shoot.  I truly hope it helps.  Don't forget to subscribe to my blog by clicking below!

Thanks,

Jason

Shots taken at 1/6400 sec, f/1.8, ISO 50 at 200mm

1 Comment

Commercial Photography Photo Shoot and Workshop for Mia Bella Couture by Jason Lanier

Comment

Commercial Photography Photo Shoot and Workshop for Mia Bella Couture by Jason Lanier

Recently I had the opportunity to do a commercial photo shoot for a beautiful gown company called Mia Bella Couture.  When they first contacted me to do the shoot they knew that I sometimes allowed some of my followers to attend my shoots as part of a workshop and asked if I'd be interested in doing so with them.  I thought it would work out well so we booked the shoot.

When we got to the shoot down in San Diego it was truly awesome.  This is a shoot that you truly have to watch the video to see how we handled it.  We started off the day at 11am and my clients wanted to shoot in a specific location that was beautiful, but given the time of the day it was not ideal for lighting.  So we had to bring out a ton of diffusers and reflectors to make the lighting work.

This shoot was done using the Flasphpoint Xplor600 with a bunch of different gear that is showcased in the video.  This is just Part 1 of the shoot as we crammed so much into one day that I needed to break up the videos to show it all.

A big thank you to the beautiful models Lauren Lebouef and Tiffany Brock as well as Daryl Rene for the amazing work with Hair and Make Up.

I hope you all enjoy the video and I can't wait to share the other parts of the shoot with you as well.  Beautiful gowns, gorgeous models, and my team all came together to make it a tremendous shoot.  

**Links to Gear:

*Sony A7Rii- 

*Canon 200mm f/2.8- 

*Metabones Mark 4 Adapter- 

*Flashpoint Xplor600- 

*Westcott Rapid Box XL- 

*Westcott 8x8 Scrim Jim- 

Below are some images from the shoot taken with my Sony A7Rii and the Canon 200mm f/2.8 lens using the Metabones Mark 4 Adapter.  Stay tuned for Part 2!!!

Comment

Metabones Mark 4 Adapter- Canon EF or EF-S glass to Sony E Mount Cameras

1 Comment

Metabones Mark 4 Adapter- Canon EF or EF-S glass to Sony E Mount Cameras

So as many of you know I REALLY love shooting with Sony because it gives me the opportunity to shoot with so many options that I never had before when shooting Nikon.  I can shoot all my awesome Sony glass (and it's good stuff) as well as a bunch of everything else.

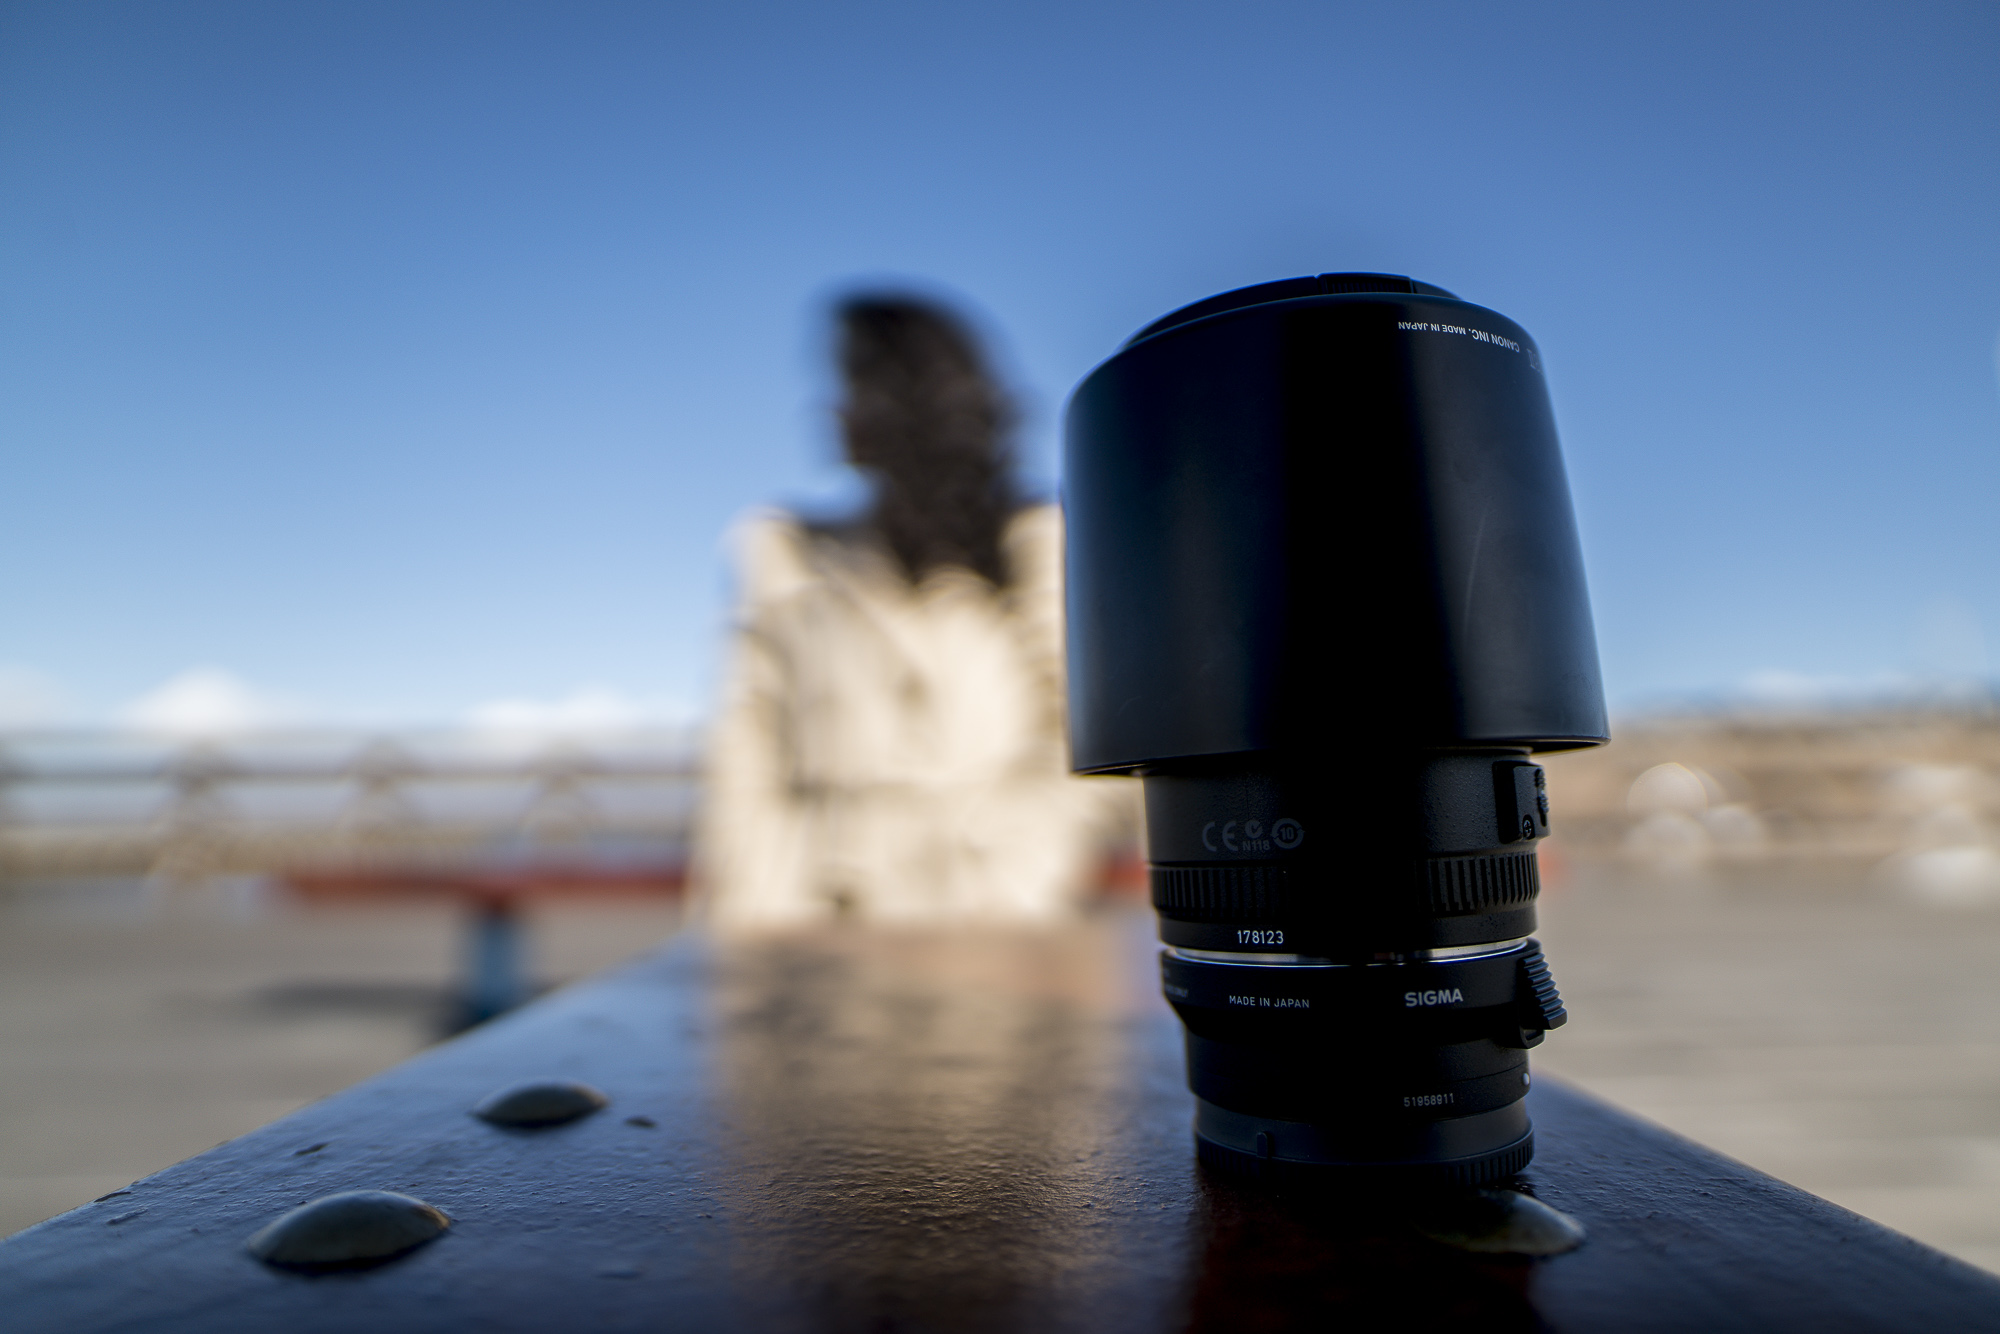
But when it comes to autofocus performance nothing compares to how Canon glass shoots on a Sony camera using the Metabones Mark 4 Adapter.  Now back when I first started shooting Sony 2.5 years ago I said I wouldn't shoot a trash truck with the Metabones adapter that existed back then.  The adapter back then (believe it was the Mark 3) simply sucked.  It wasn't practical for any real world shooting application.

Metabones then released the Mark 4 adapter and WOW!  It made a world of difference.  One thing I really love about the adapter is that it has a USB port on the side which enables firmware updates to occur.  Since I've owned the adapter (nearly a year now) I have applied the firmware updates to the adapter and they truly do make a difference in improving performance of the adapter with the camera.  Updates have lead to enhanced auto focus performance as well as added features.

**Links to Gear:

*Metabones Mark 4 Adapter- 

*Sony A7Rii-  

*Canon 85mm f/1.2- 

Now in regards to the performance of the Metabones Adapter keep a few VERY IMPORTANT things in mind.  I really don't care what anyone else out there says.  I shoot so much with the Metabones and the Canon glass I honestly feel very comfortable making these statements and stand by them.

  1. Videography- DO NOT try and use the Metabones Mark 4 with Canon lenses and expect anything to work.  It stinks in video mode.  It tries to autofocus but it's miserable.  Now most videographers prefer manually focusing anyways.  But for those hoping to use Canon lenses on a Sony mirrorless body to record video in autofocus...it's a no go.  If you want to roll video on a Sony mirrorless body, you need a native Sony FE or E mount lens.
  2. Compatible bodies- you'll read out there that you can use all the Sony bodies with autofocus and the Metabones adapter.  While that's true, it's also misleading.  Why?  Well because it really only works at an acceptable level with the Sony A7Rii, A6500, and the A6300.  Everything else will try your patience.  If you have all the time in the world to mess around with it then have fun.  For me, I actually want to use something I can use at a professional level shoot and for me that strictly happens with the three bodies mentioned. Bodies that don't work well with the Metabones adapter include: A7R, A7S, A7Sii, A7ii, A6000.  This will disappoint some people but I don't people out there buying this adapter thinking it works with these bodies when it doesn't.
  3. Rounding f stops- on some very wide aperture lenses like my 85mm f/1.2 Canon L lens, the aperture doesn't read at f/1.2.  According to the Metabones website this is due to a rounding error and it doesn't impact performance.  From what I've been able to tell it doesn't impact performance at all but on my 85mm f/1.2 lens it will only read at f/1.3.  It will not go down to f/1.2.

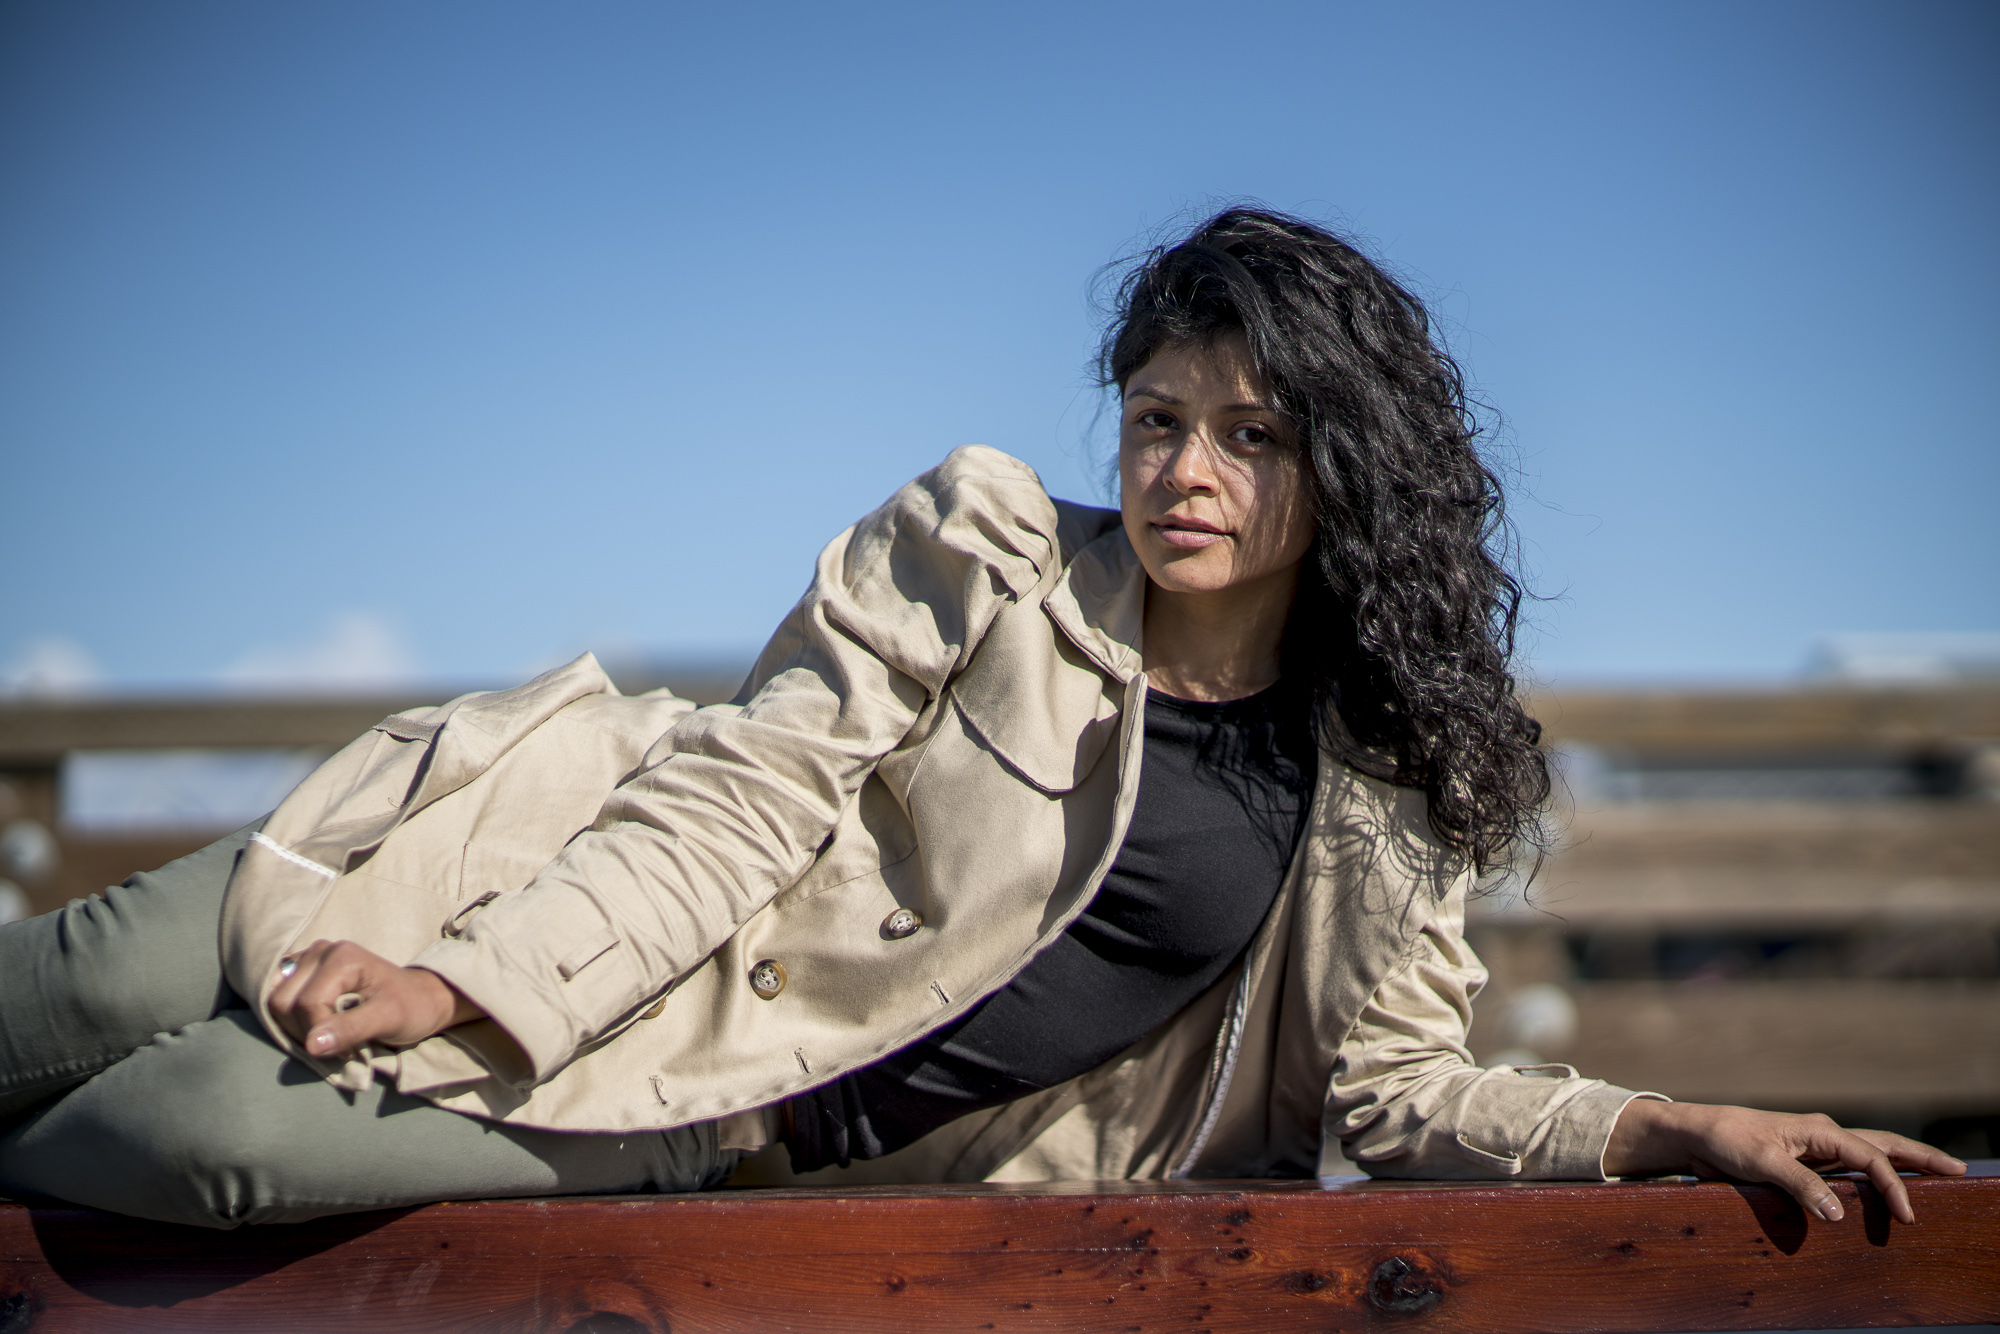
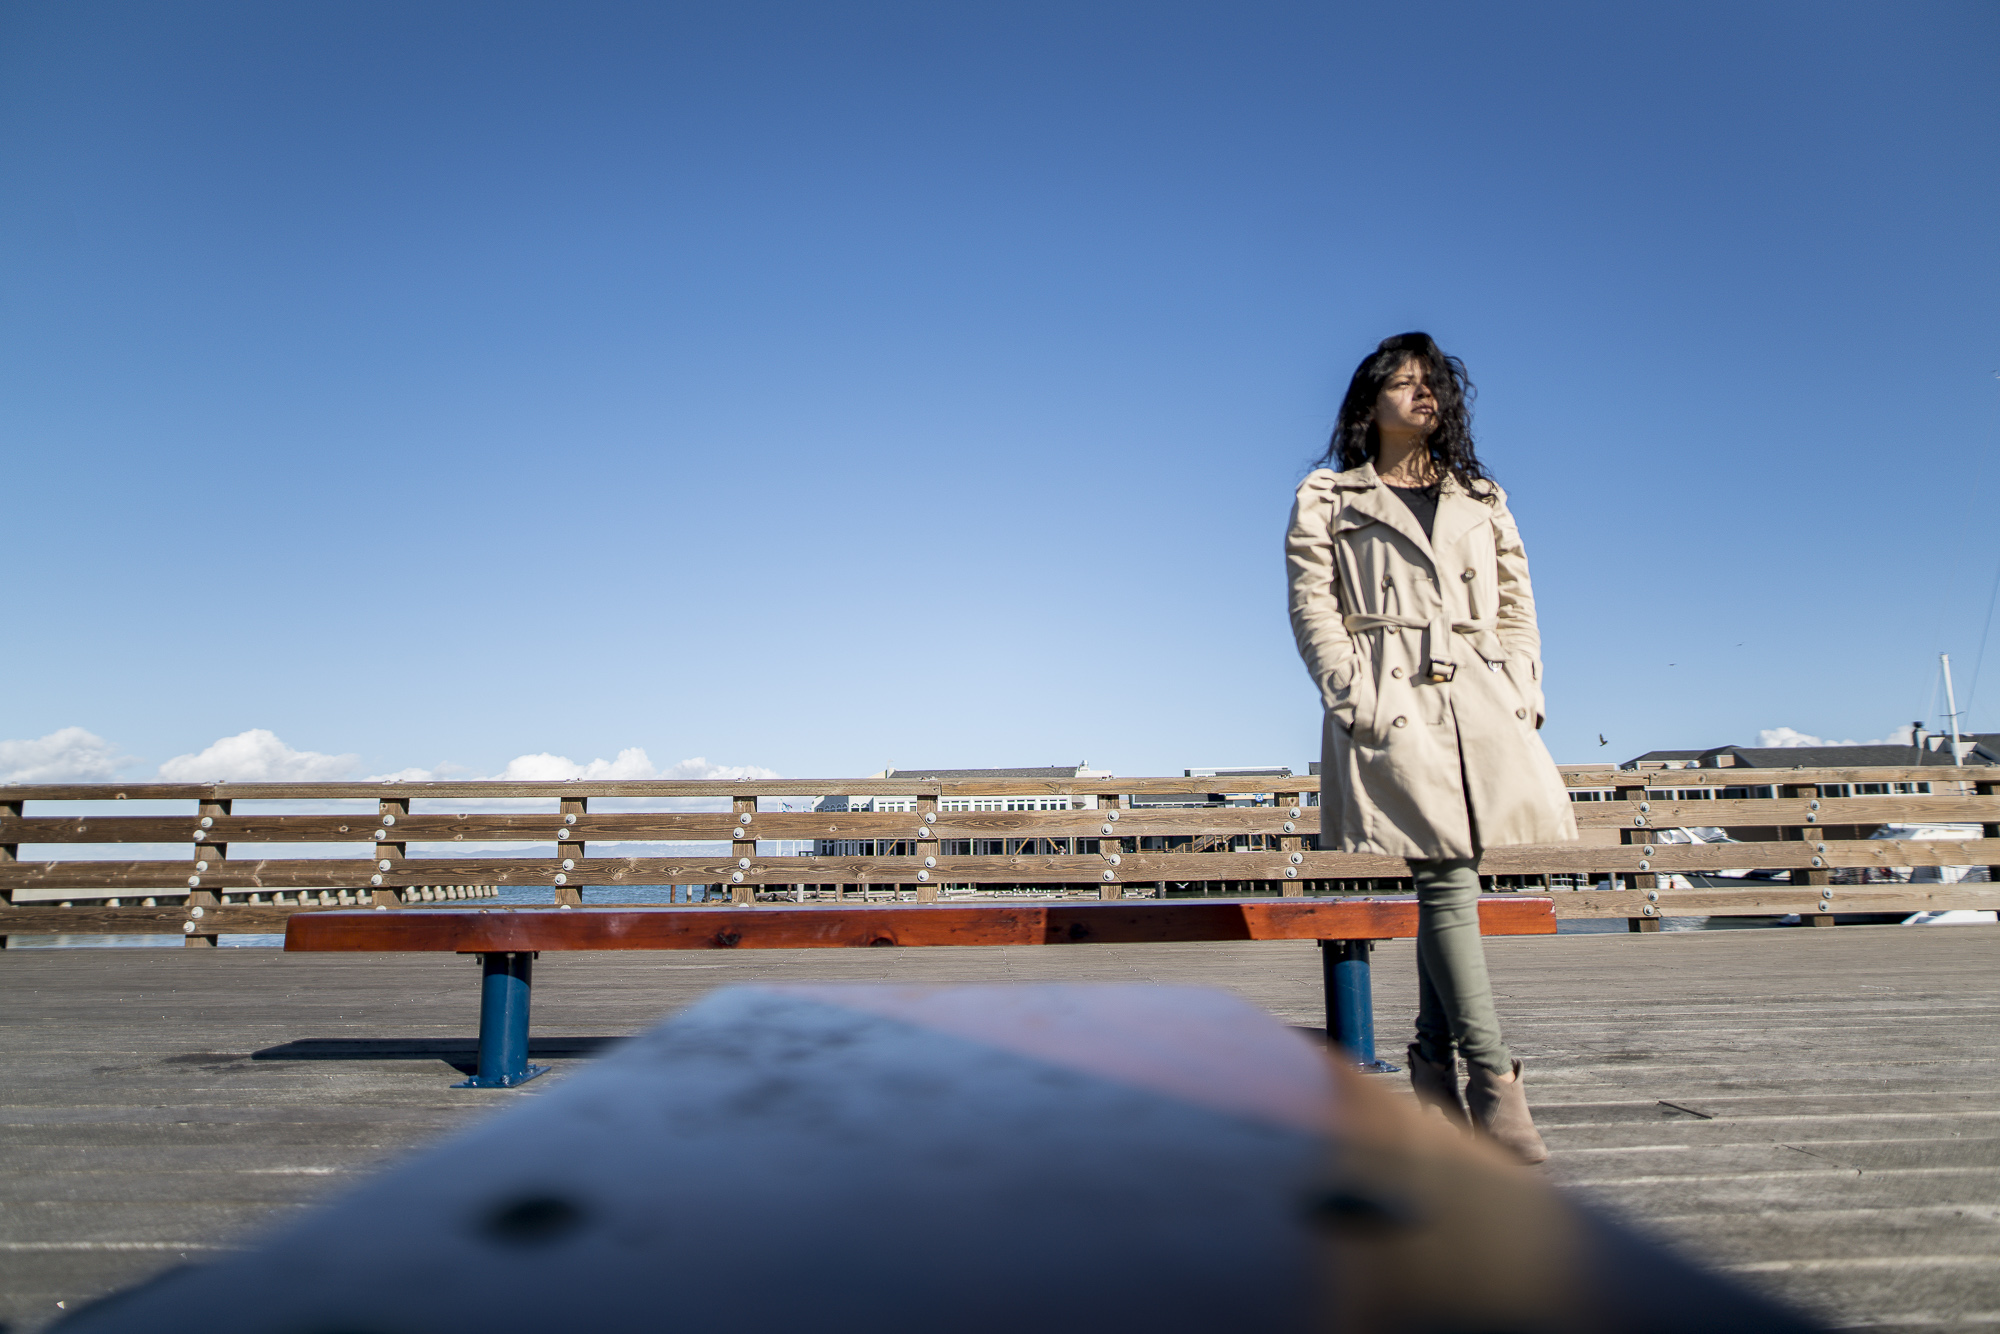
Below are images taken during the video where I reviewed the adapter.  We have many more videos, pictures and reviews coming where I will show all the different lenses I use with this adapter.  It's a game changer for me and I wholeheartedly recommend the Metabones Mark 4 Adapter as long as it's just for stills work with the camera bodies I mentioned (A7Rii, A6500, and A6300).  


I hope it helps!!

Thanks,

Jason

1 Comment

200mm Lens Aperture Challenge- f/1.8 vs. f/2.8 using Canon L glass.  Does it make a difference?

4 Comments

200mm Lens Aperture Challenge- f/1.8 vs. f/2.8 using Canon L glass. Does it make a difference?

So I've been lens hunting lately...quite a bit actually.  I own a ton of Sony native glass and since I'm a big believer in adapting glass to my Sony mirrorless system, I've been adding Canon L glass to my cupboard so to speak.

I picked up the Canon 200mm f/2.8 about a month ago and really loved it from the start.  For a 200mm it's light, easy to use, performs very well, and cranks out some KILLER shots.  I was in love.

I then found out about the Holy Grail lens.  The big boy.  The one we've nicknamed as "Jaws" because it's a great big white shark of a lens.  I already had the Canon 200mm f/2.8, so spending the money on "Jaws" was difficult to justify.  Do I spend thousands of dollars just to get that tiny difference between f/1.8 and f/2.8?

I searched online and couldn't find any videos that showed the difference between the two lenses. I looked at countless pictures that the two lenses rendered looking for the subtle differences between the two.  I still was a little hesitant.

But then I put it out to my followers on my Facebook Group and I asked my Canon shooters what their thoughts were....well, they told me the Holy Grails lens (F/1.8) was indeed a legendary lens.

So I got it.  I went up to San Francisco and did a shoot at the ruins of the Sutro Baths.  I wanted to put out the information to the photography world that I couldn't find.  I wanted to show them what I was searching for...and had to spend a LOT of money to find out.  Was the difference in the background rendering between f/1.8 and f/2.8 really that much?  Did it really make a difference int the shots?

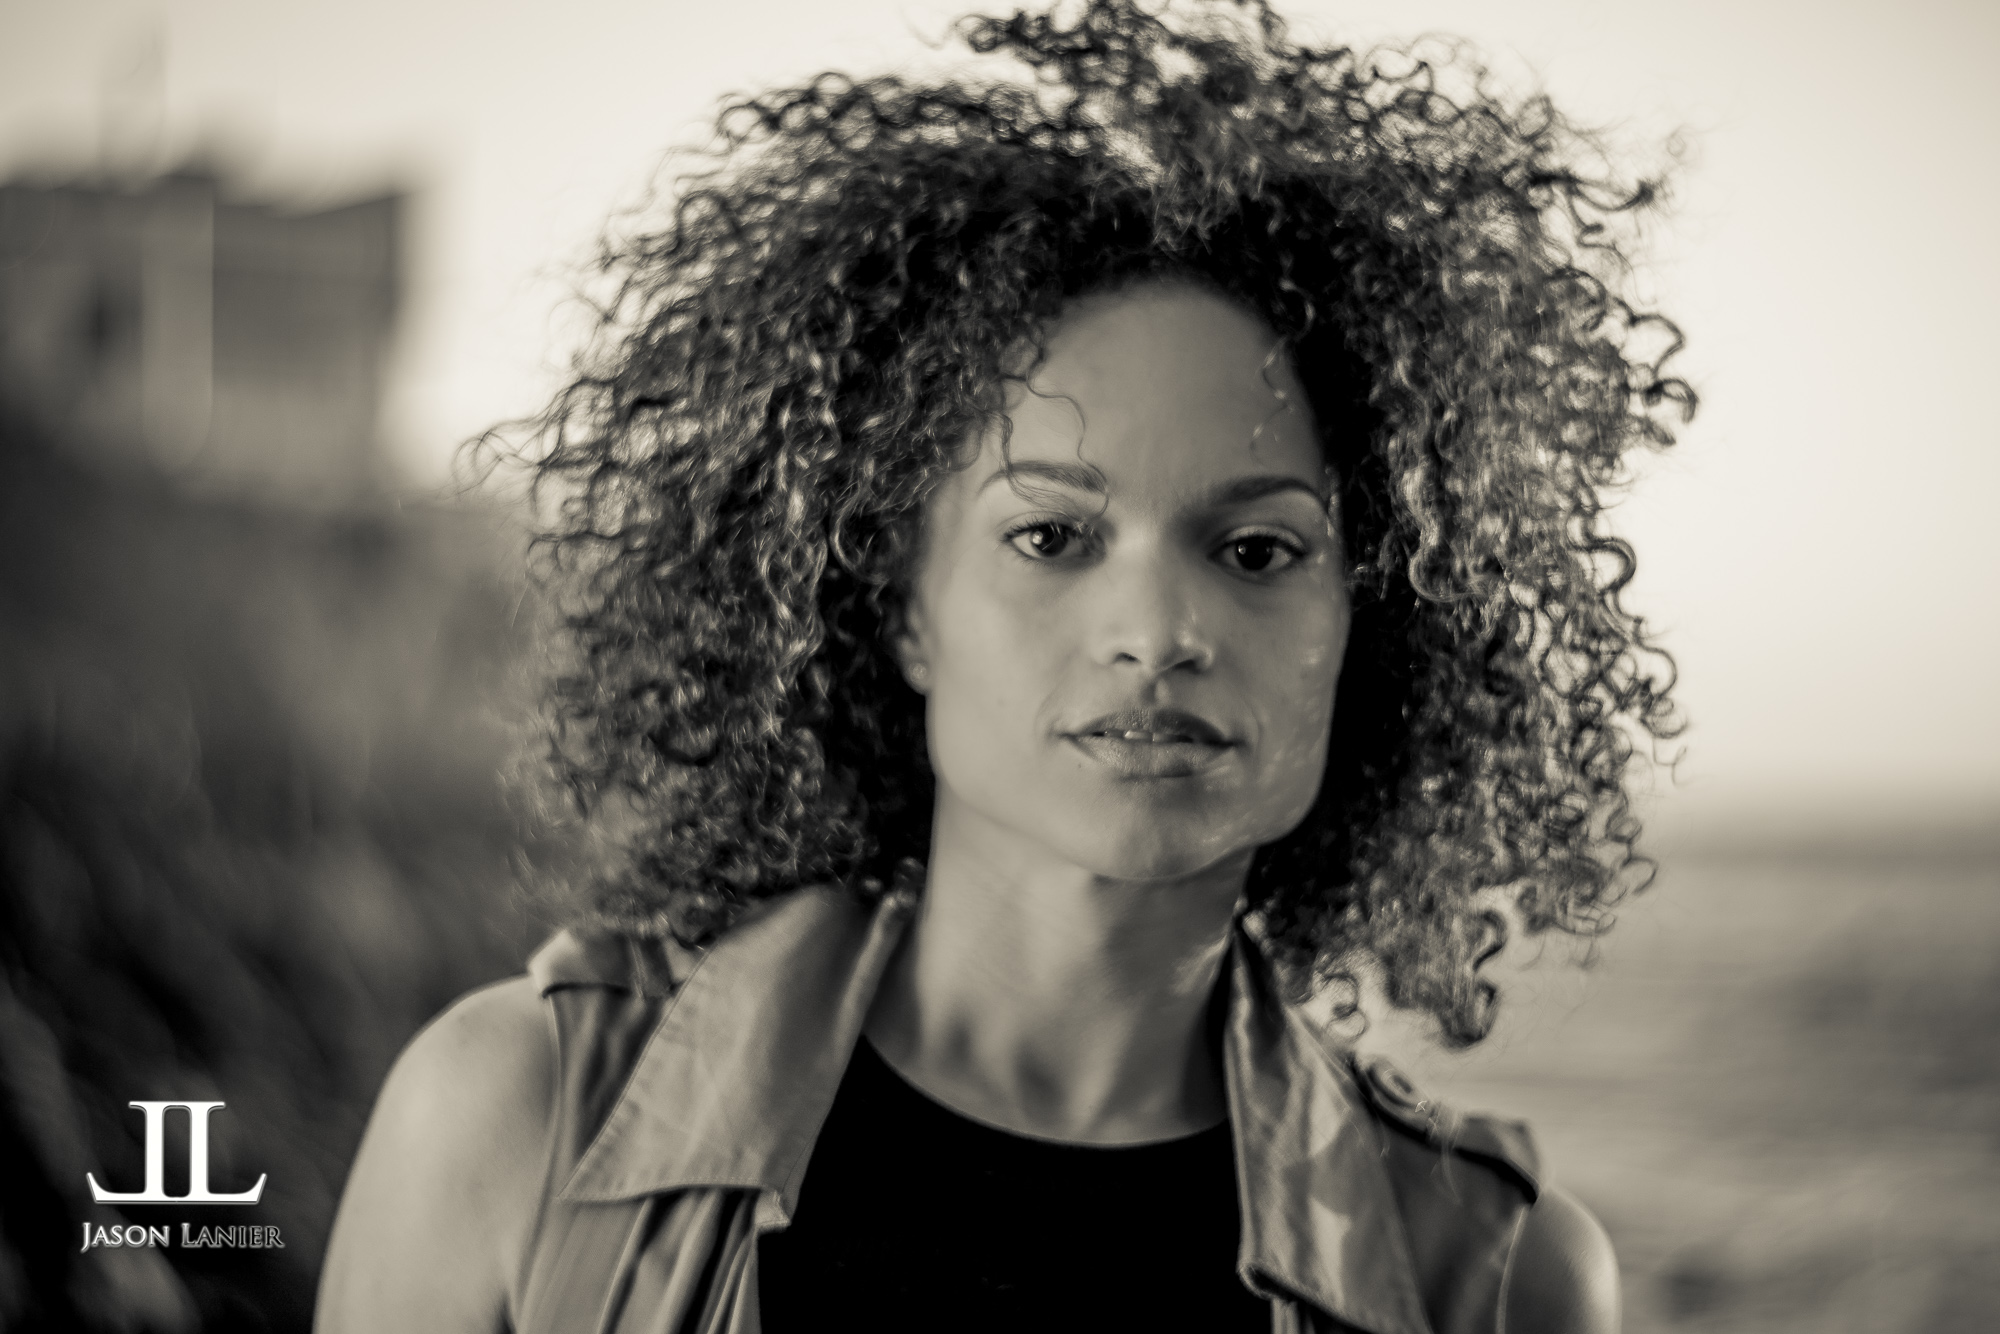
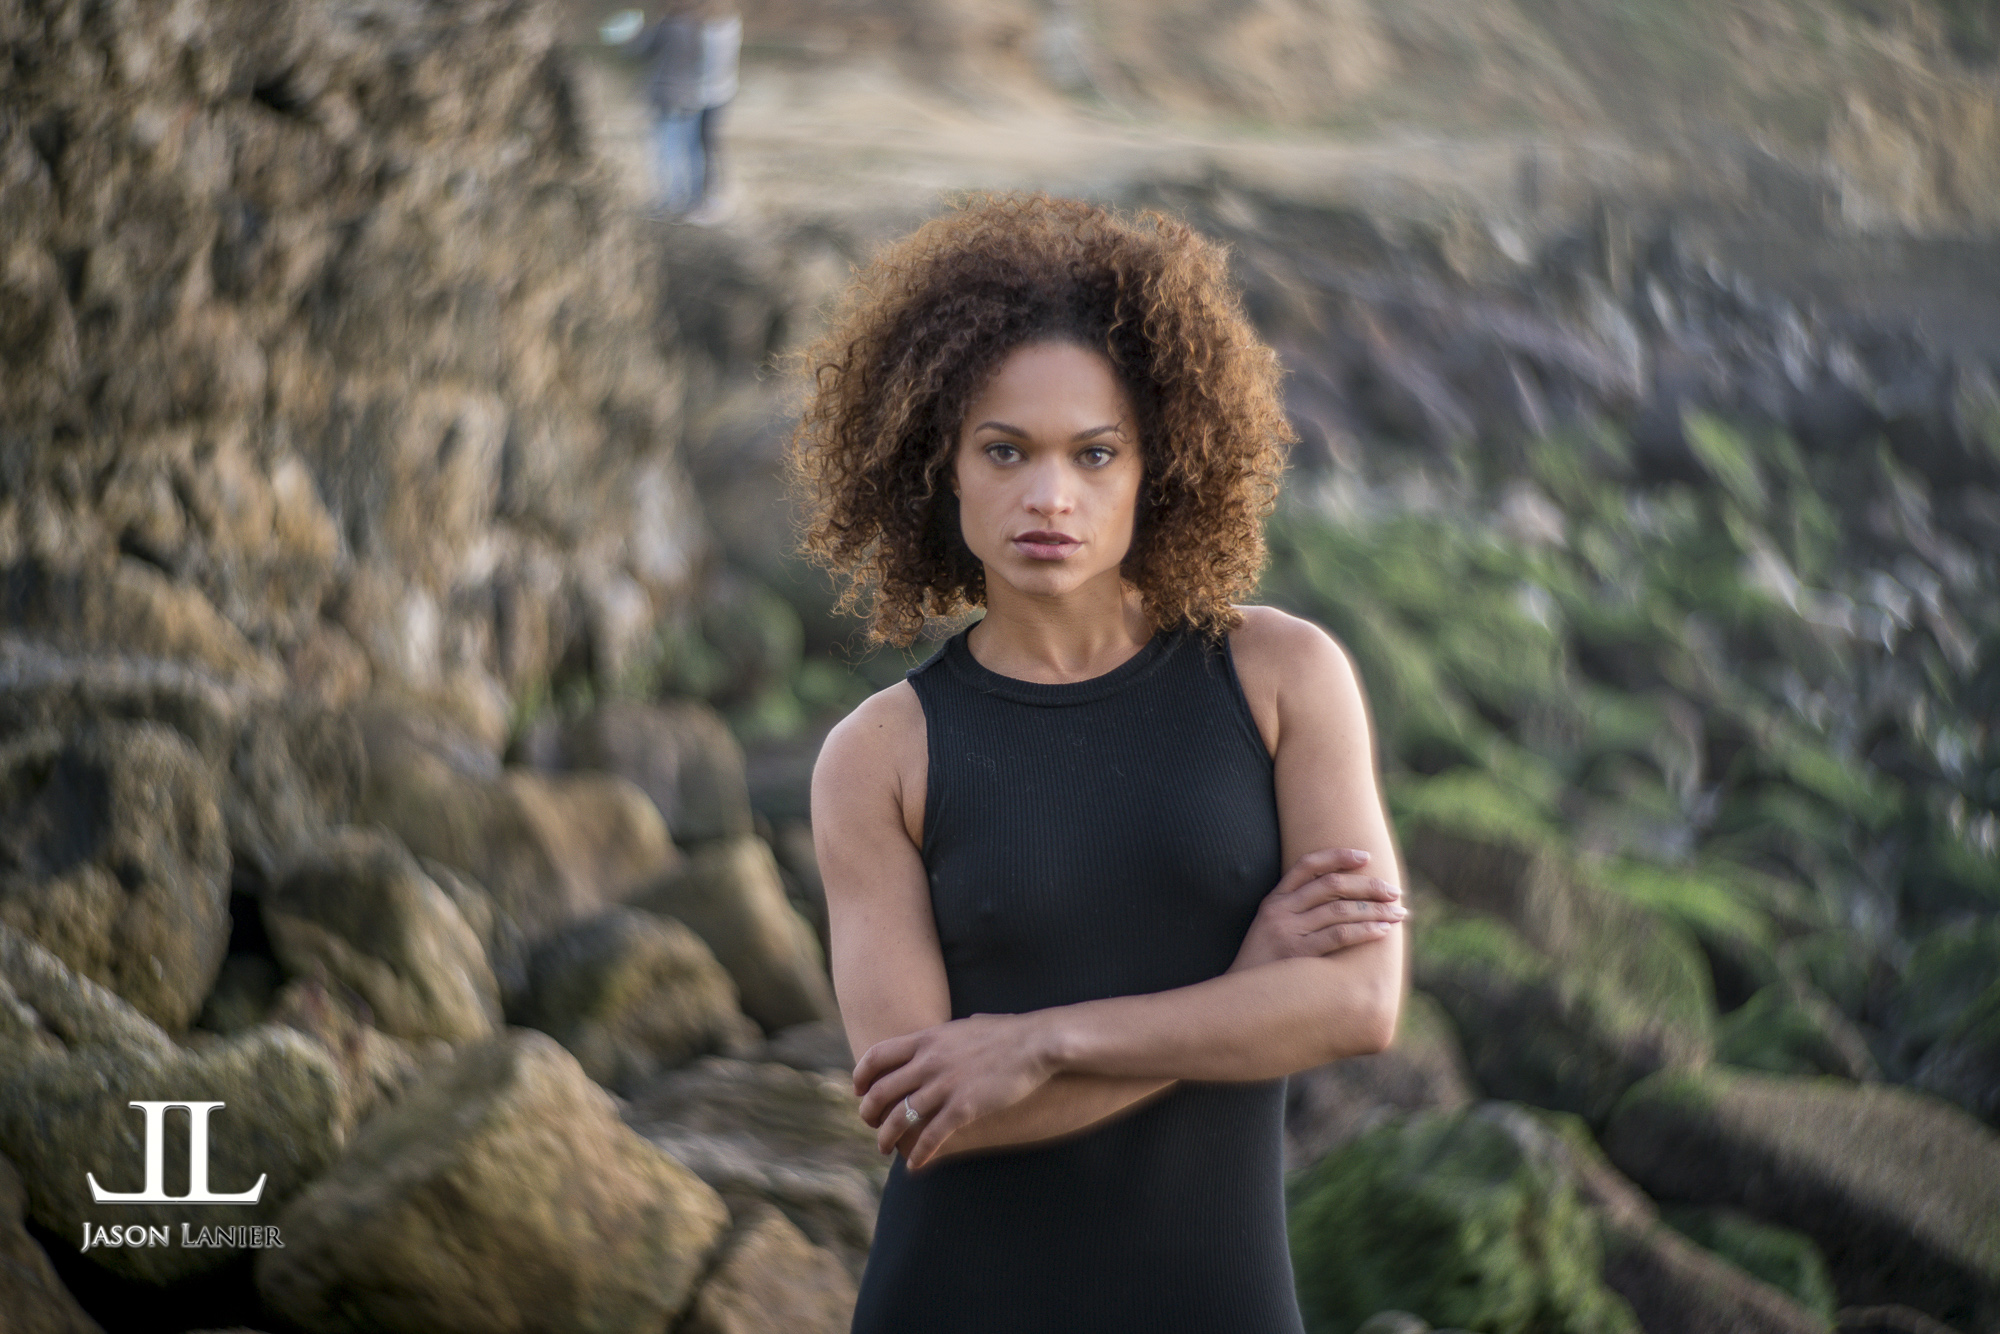
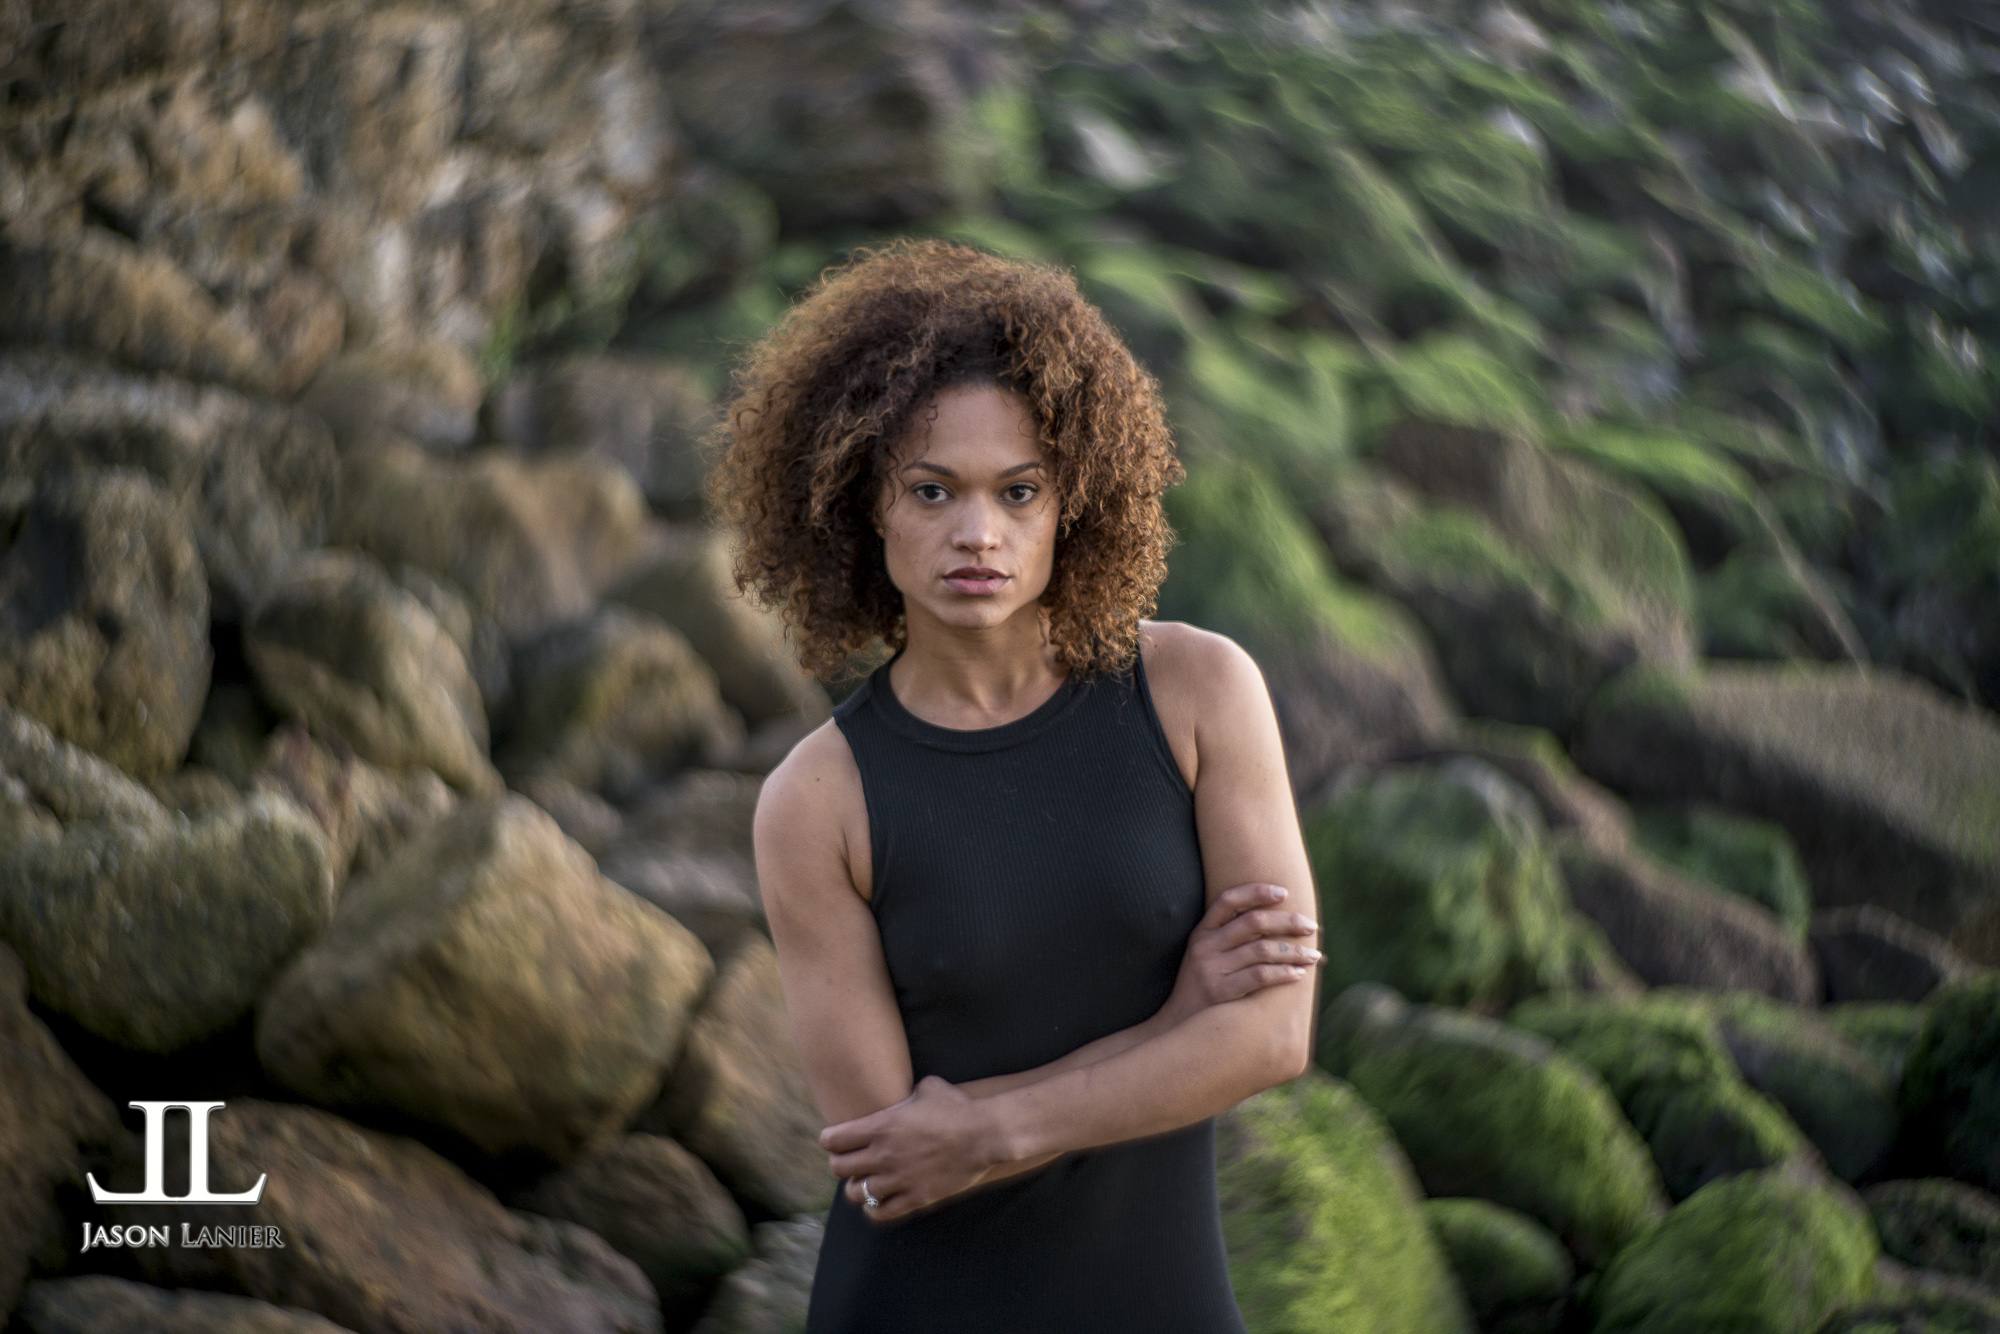
Hell Yeah it did!  If I'd never used the f/1.8 I'd still be madly in love with the performance of the f/2.8.  But once you see the comparison between the two, it's pretty obvious that f/1.8 really does make a difference compared to f/2.8.  Especially when you combine the compression factor of a 200mm lens.
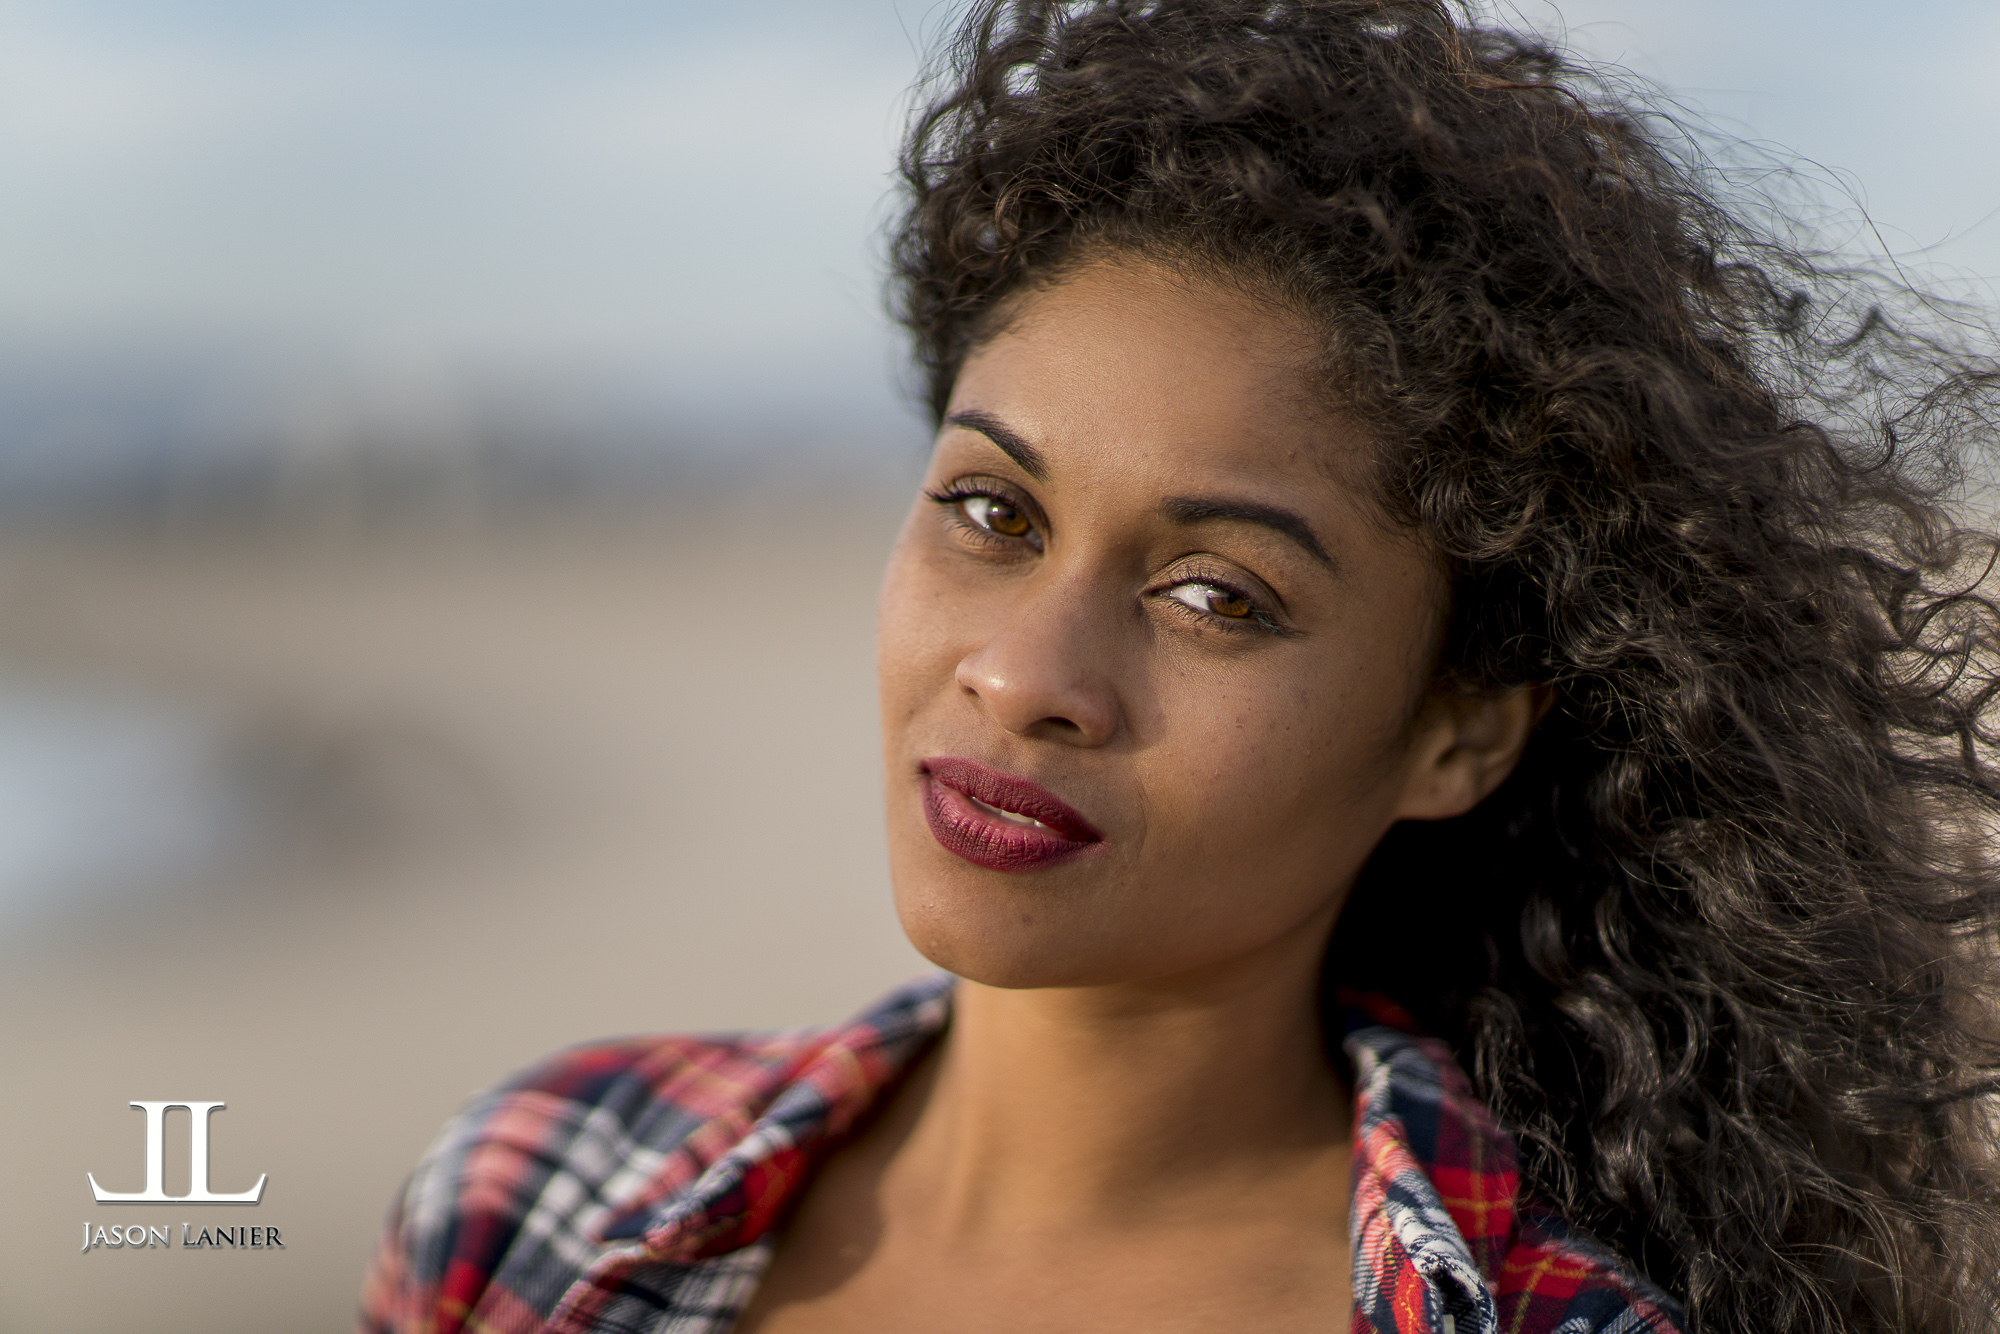
I've included a video of my experience and images below.  I hope it helps you all out there!

--Links to Gear:

*Sony A7Rii- 

*Canon 200mm f/2.8- 

*Metabones Mark 4 Adapter

*Canon 200mm f/1.8- sorry this lens is no longer sold.  The closest equivalent lens is the Canon 200mm f/2.  A link for that lens is shown below:

*Canon 200mm f/2- 

Images from "Jaws" the Canon 200mm f/1.8- all shot wide open.

Images from "La Chiquitita" the Canon 200mm f/2.8- all shot wide open.

4 Comments

Petzval Lens- 85mm f/2.2 Petzval Lens by Lomography- Swirly Bokeh Heaven

Comment

Petzval Lens- 85mm f/2.2 Petzval Lens by Lomography- Swirly Bokeh Heaven

So I read about this lens.  I watched videos about this lens and thought, "Hey, that looks pretty cool."  With a price tag of $600 it was hard to pull the trigger on a manual focus lens that is kind of a one trick pony.

For me, anytime I spend more than $500 on a lens that's starting to get closer to the pro level line of lenses.  I have many lenses in my lineup that are in the thousands of dollars.  But they all autofocus and are very sharp.  Two things the Petzval lens doesn't do particularly well.

So I happened into a local camera store a few weeks back and while just looking around, I saw a Petzval lens for Canon mount sitting in the display.  Being a Sony shooter makes it easy for me to shoot any lens mount with the wide array of adapters.  I regularly use the Metabones Mark 4 Adapter on my Sony A7Rii and had it handy when I was at the store.  So I put the Petzval on the adapter with the camera and started firing away.

I was impressed enough to give it a try knowing in the right circumstance it would give my pictures a very distinctive and unique look.  So I bought it, put it in my camera bag and a few weeks later I found myself in San Francisco and took it out for a quick shoot as part of my Gear I Use video series where I demonstrate the gear that I use for my own work.

The pics and corresponding video from that shoot are shown below.  Initial thoughts on the lens:

PROS:

*Easy to use- with the focus peaking turned on in my camera finding focus is pretty easy.  The focus knob is on the side of the lens which is a new thing for me and many photographers, but its very easy to use and has a good resistance.  Not too much, not too little.

*Very unique look- it definitely delivers on the promise of swirly bokeh.  If you're looking for a lens that turns your images into something that not many people see nowadays, this could be your answer.

CONS:

*Sharpness- It isn't the sharpest lens out there, especially wide open.  I very regularly shoot wide aperture lenses wide open.  Some of my favorite lenses are the Canon 85mm f/1.2, Sony G Master f/1.8, Canon L lens 200mm f/1.8 and more.  These lenses are all sharper than the Petzval at their widest aperture which is saying something considering the Petzval is a f/2.2 compared the the other lenses mentioned.

*Aperture Blades Fall out- this is a BIG bummer for me.  The aperture blades do not securely lock into the lens.  If you haven't watched the video and you're wondering what I'm talking about, WATCH THE VIDEO.  The blades are placed on top of the lens with an opening.  It's very easy to do, but if you turn your camera from a horizontal position they fall out.  If you are used to moving around with your camera and lens like I am, that's a problem as you'll see in the video.  We are very lucky to have found the aperture blade that fell out!

*Lens Cap- the lens cap also comes off very easily and there's no off market replacement available.  So if you lose it, good luck.

So if you have extra funds and you're looking for a lens that will give you a really distinctive look, this definitely delivers.  Don't rely on it for super sharp images, especially wide open.  But in the right circumstance it can be a real winner of a lens.  But as I always say, take a look for yourself and just decide what works best for you!!


Comment

The Holy Grail of Lenses- my first shoot ever with the Canon 200mm f/1.8 lens and the Sony A7Rii

6 Comments

The Holy Grail of Lenses- my first shoot ever with the Canon 200mm f/1.8 lens and the Sony A7Rii

WOW!  I've heard about this lens.  But as a longtime Nikon shooter that transitioned over to Sony two years ago, shooting Canon glass was just well...blasphemy.

But when Sony came out with the A7Rii, that changed everything (which will be covered in a separate blog post).  That opened the door to shooting Canon lenses with near native autofocus capability on my Sony cameras!

So recently I had the opportunity to acquire this lens and when I did, I jumped on it.  I chose the 200mm f/1.8 version over the 200mm f/2 version simply because the f/1.8 is a little wider and faster.  Why didn't I choose the lens stabilized versions of the lens with the f/2 versions?  Well, since 5 axis image stabilization is built into my camera, I simply didn't need it on the lens.

So I got my crew and a model together and went to Venice Beach to test this lens for the first time, and boy it didn't disappoint.  While the lens is used, it performed like a champ!  The autofocus was fast and it was unbelievably sharp.  Anyone who knows me knows that I love shooting wide open and I did this entire shoot at f/1.8.  All shots were edited using Lightroom only.  Below is a video of the shoot and some images as well.  I absolutely love this lens and can't wait to knock out some more shoots with it.  I hope you enjoy it!

I adapted the Canon lens to the Sony A7Rii using the Metabones Mark 4 Adapter.  It's simply the best adapter I've found for Canon lenses on Sony bodies.

**Links to Gear:

*Sony A7Rii-  

*Metabones Mark 4 Adapter-  

*Lastolite Large Rapid Kit-  

*Flashpoint Xplor 600-  

*Westcott Rapid Box XL- 

6 Comments