Viewing entries tagged
sony a7rm2

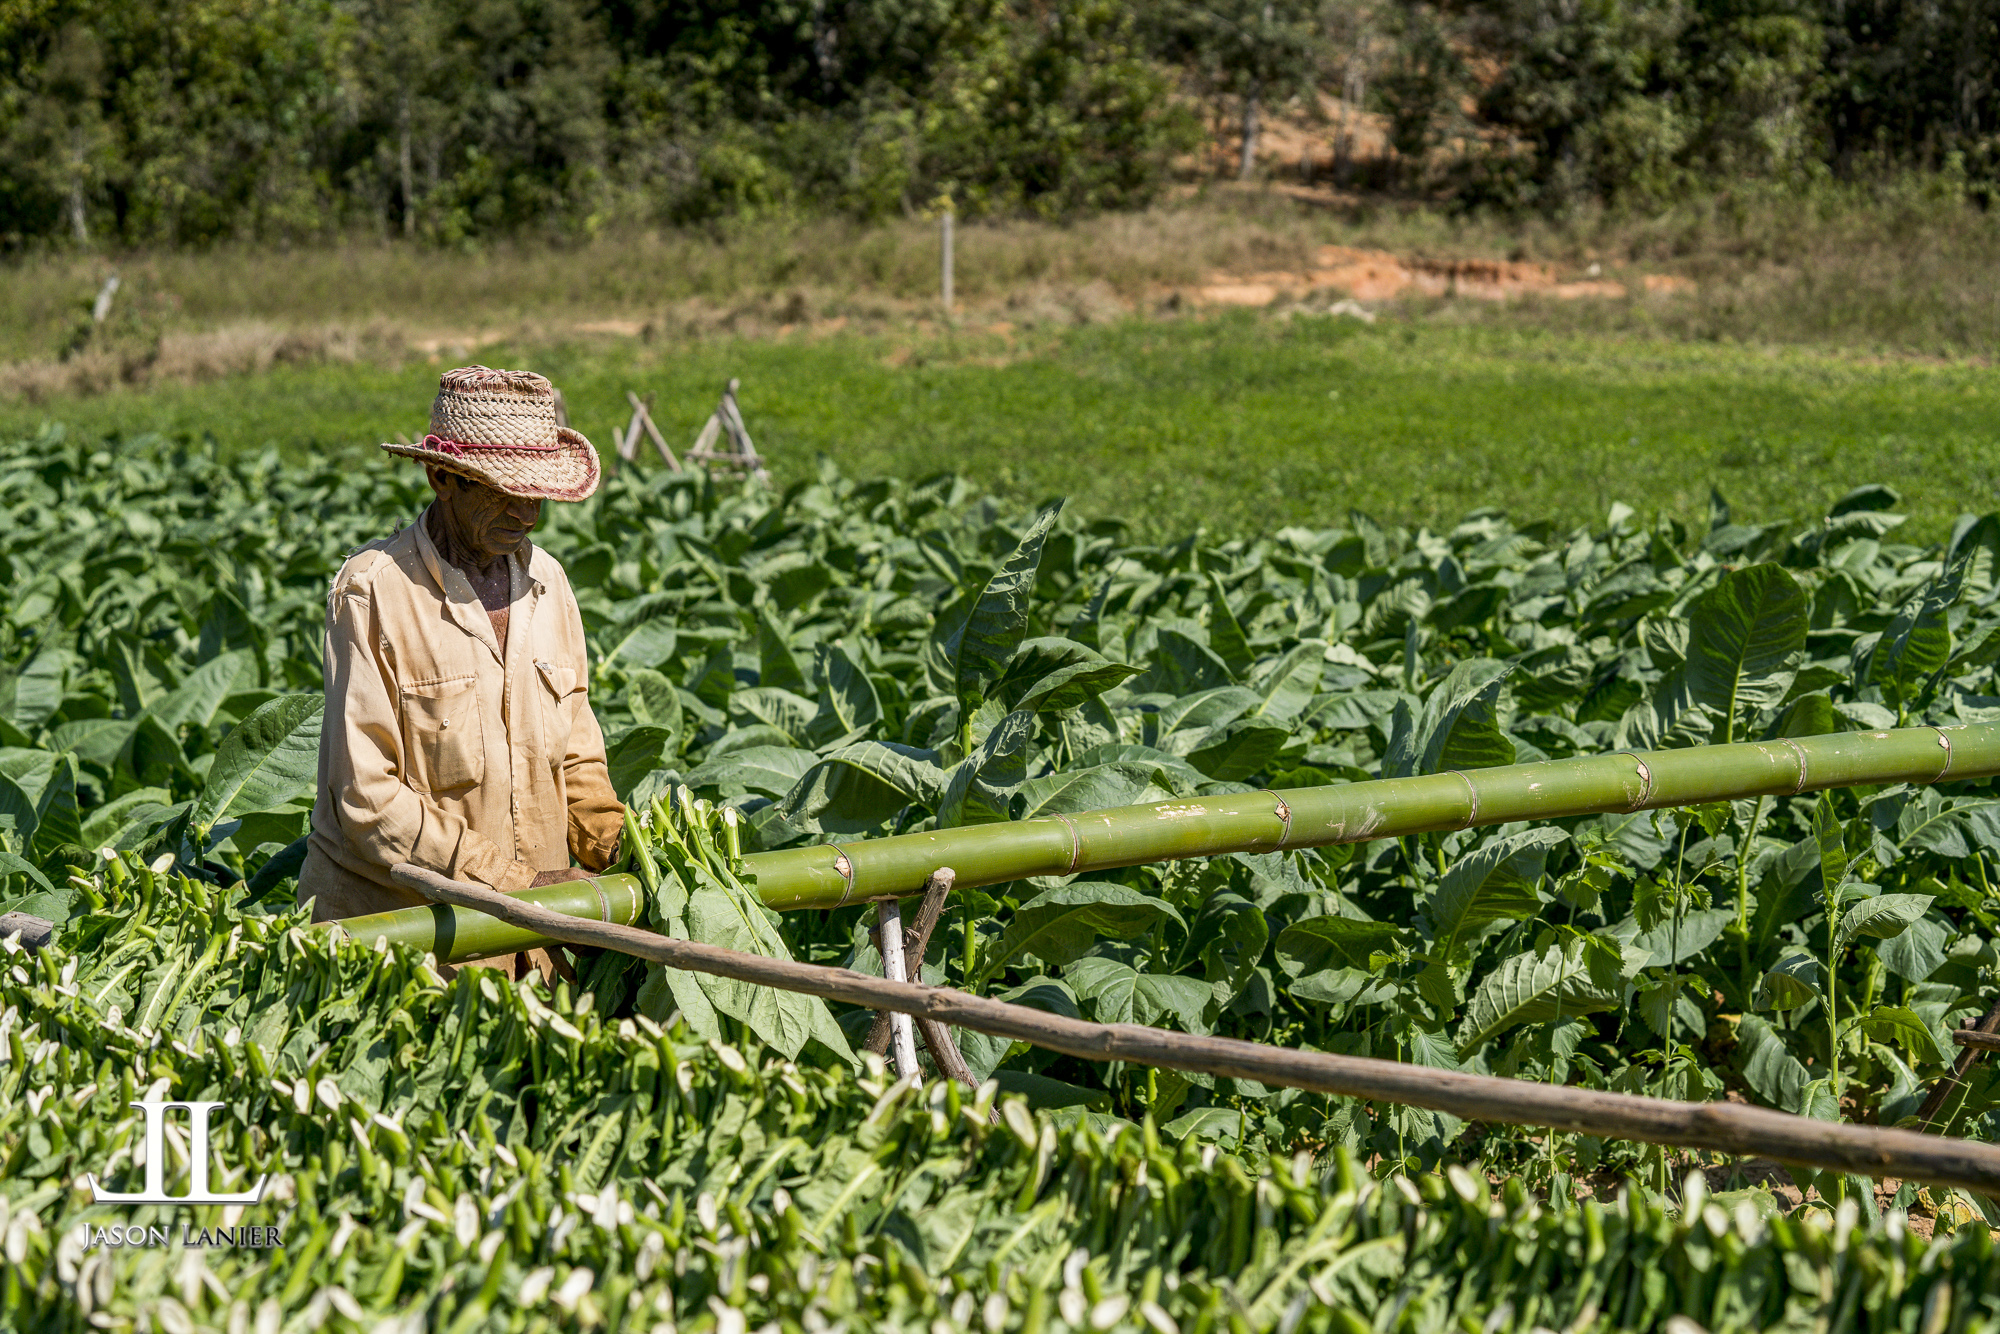
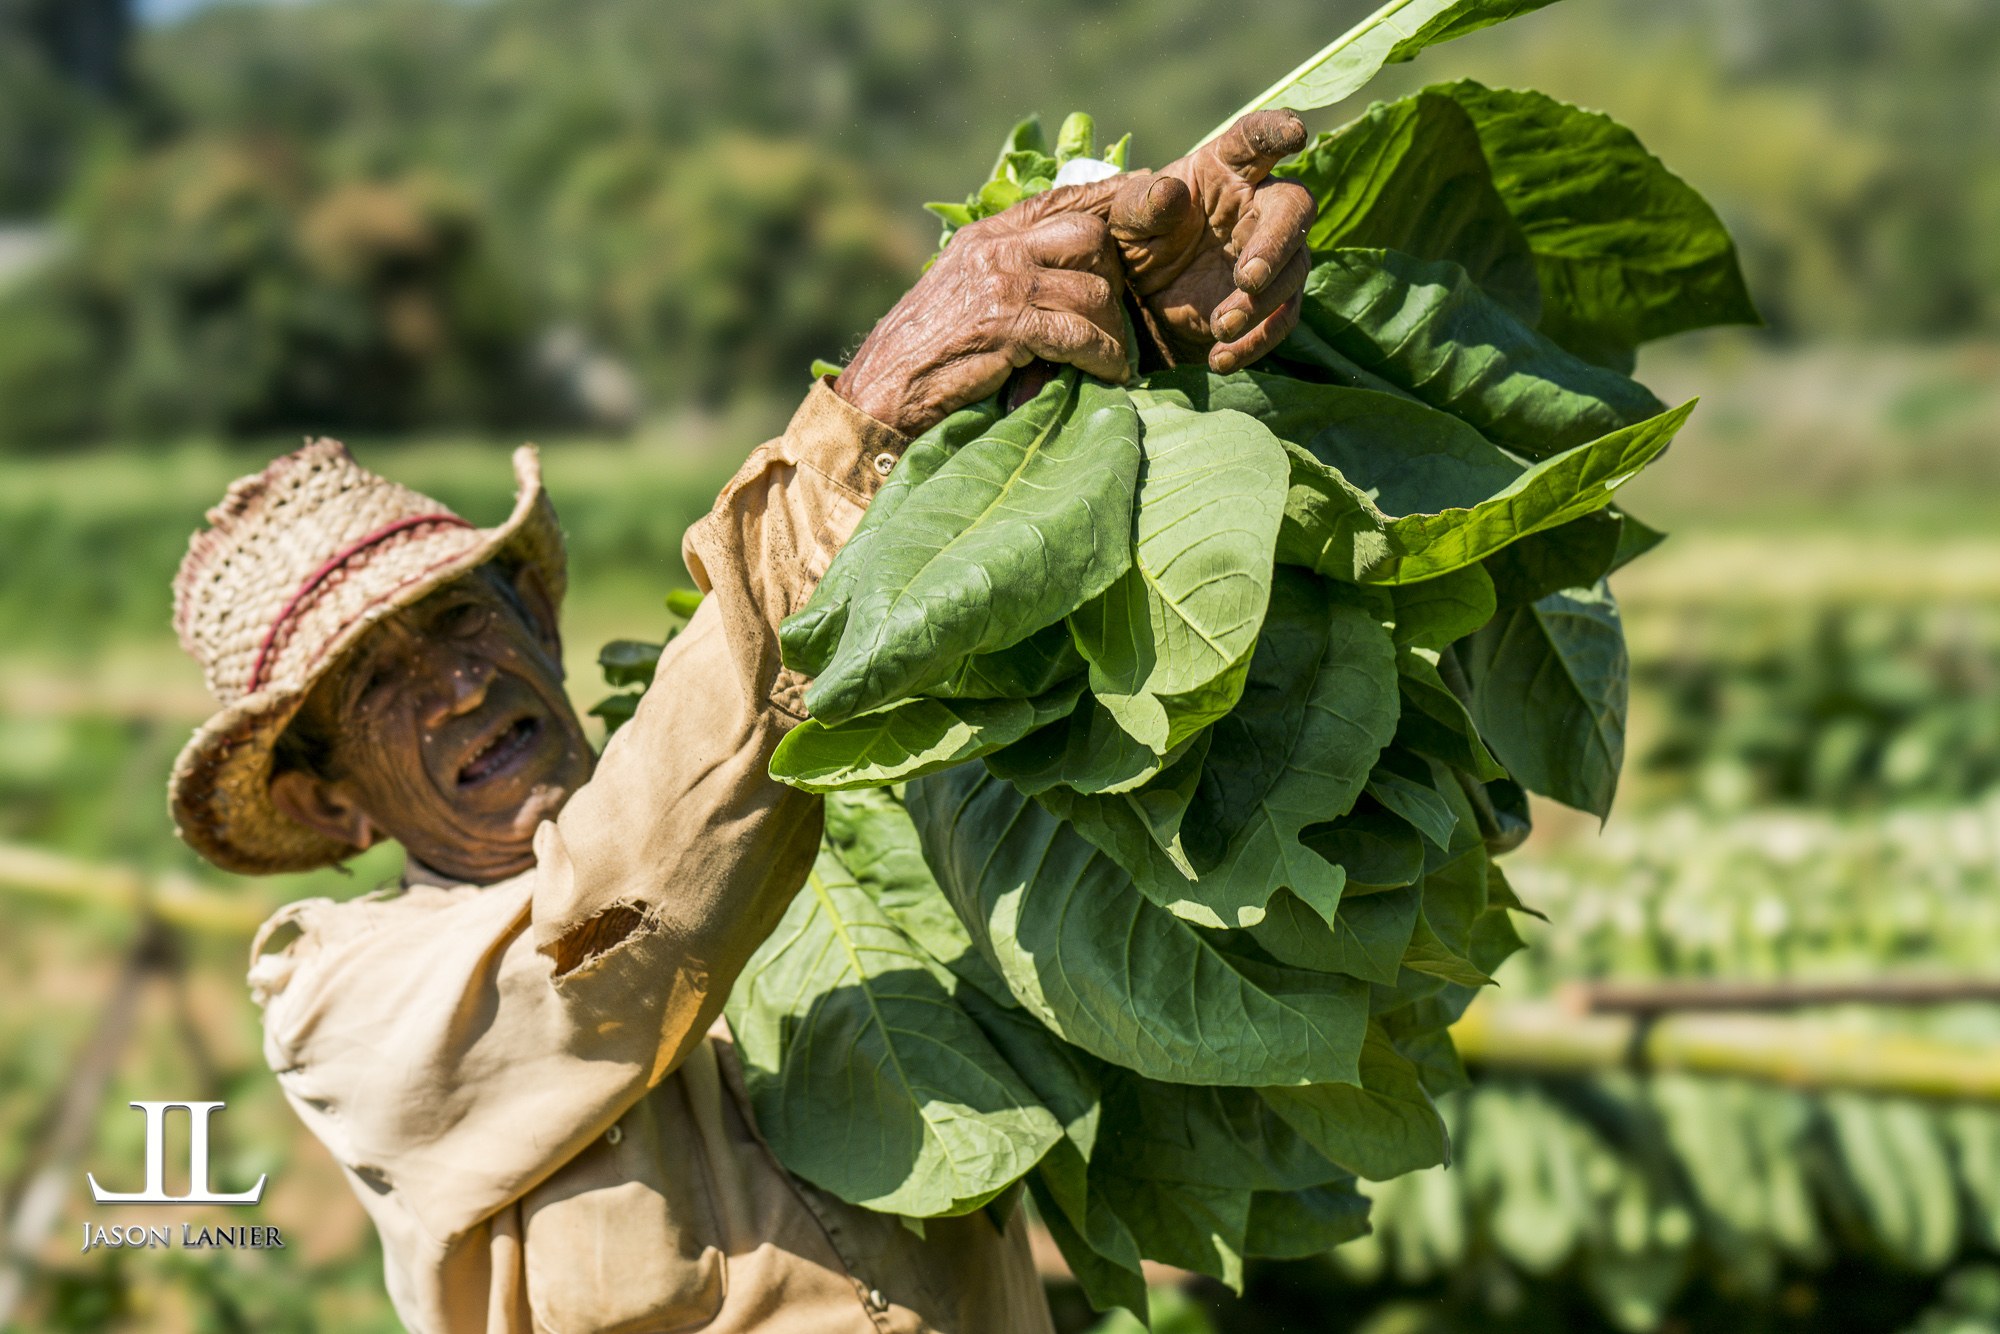
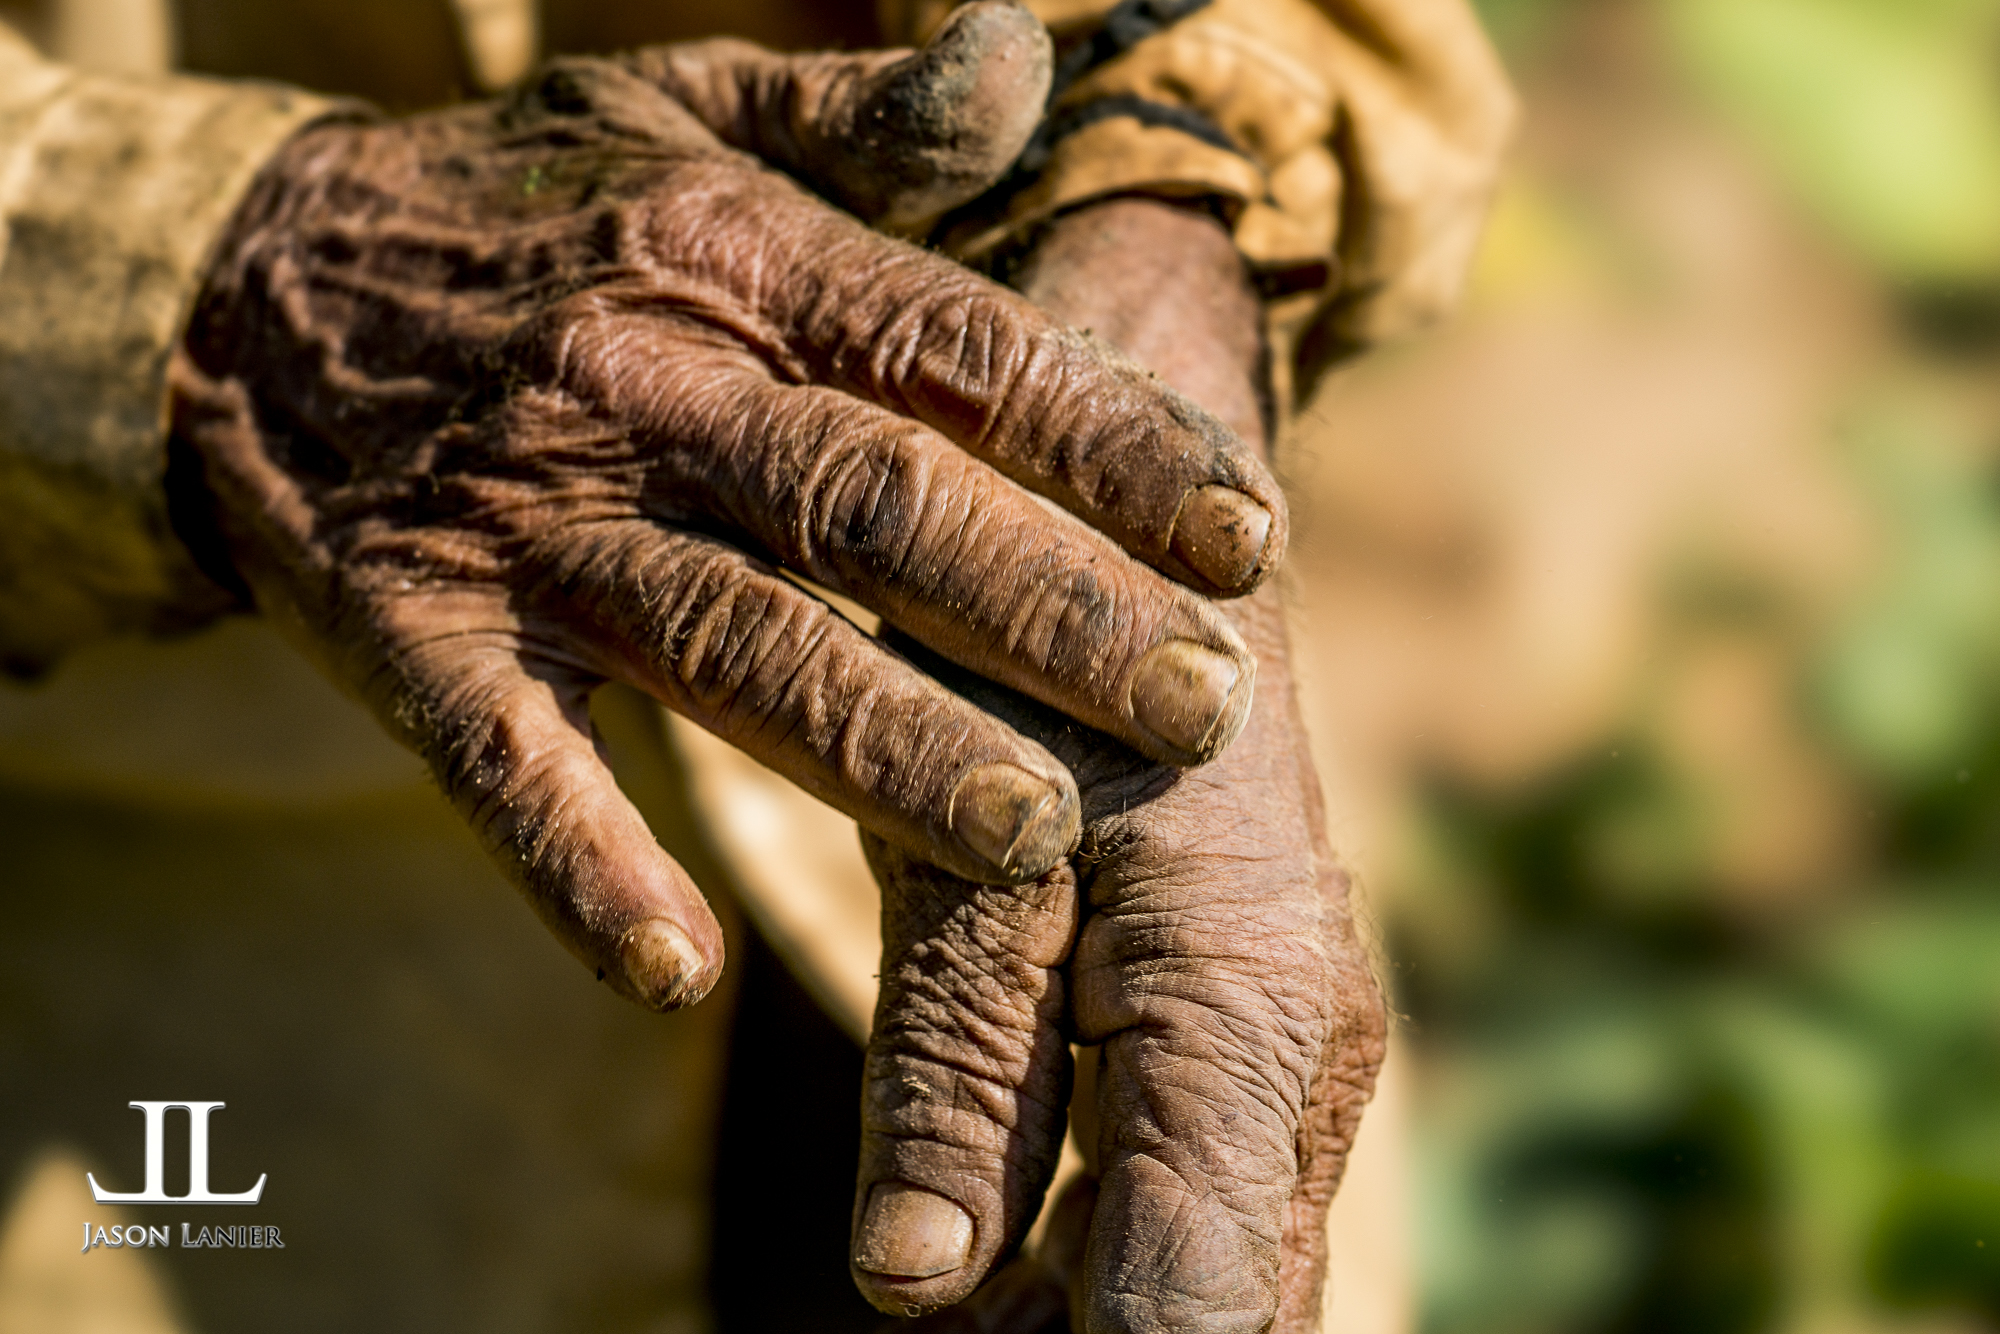
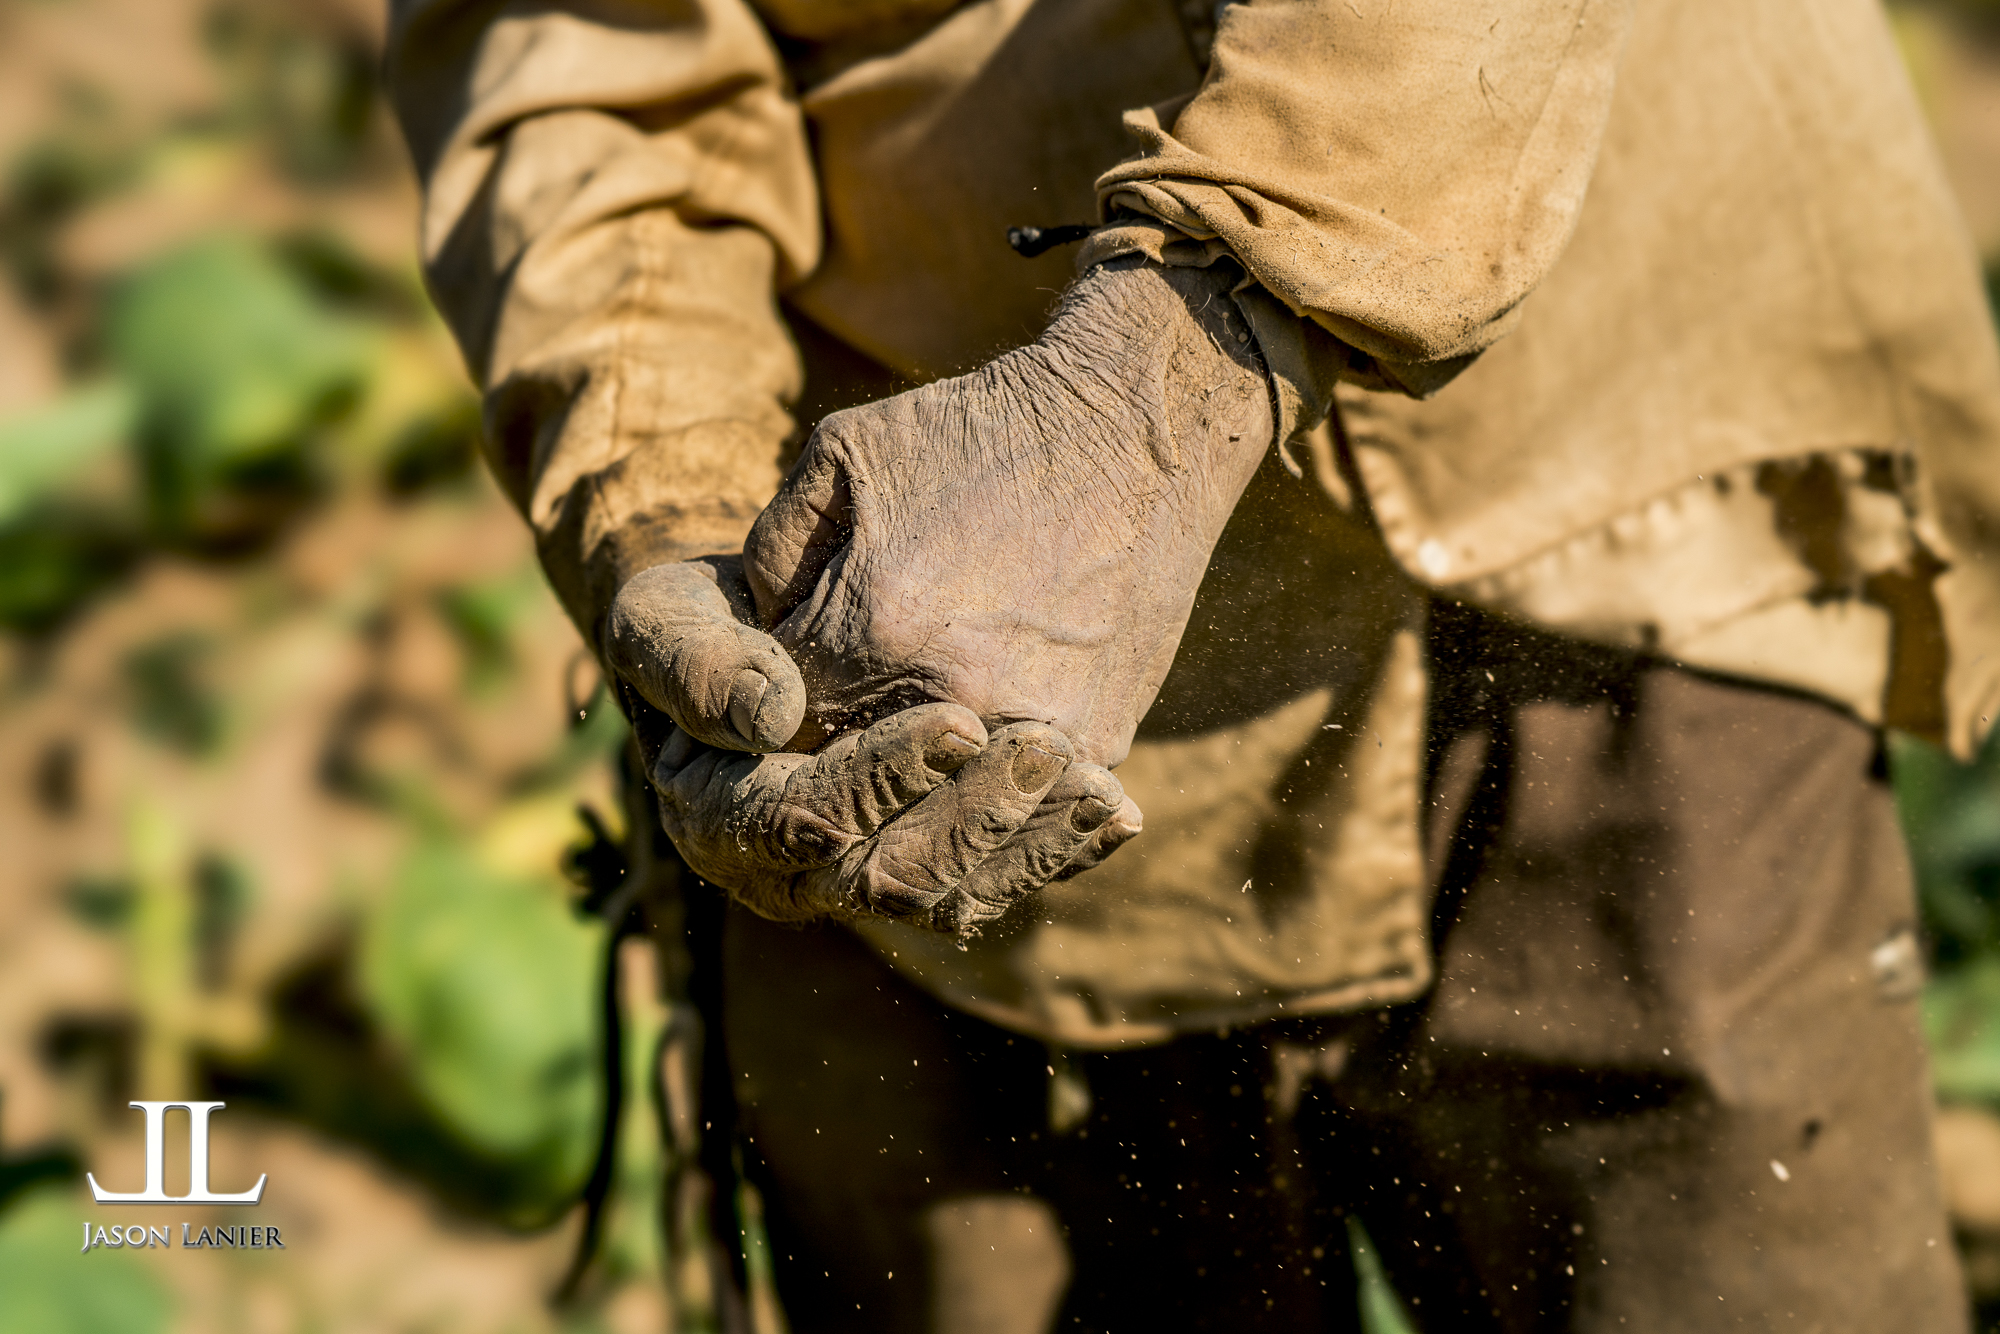
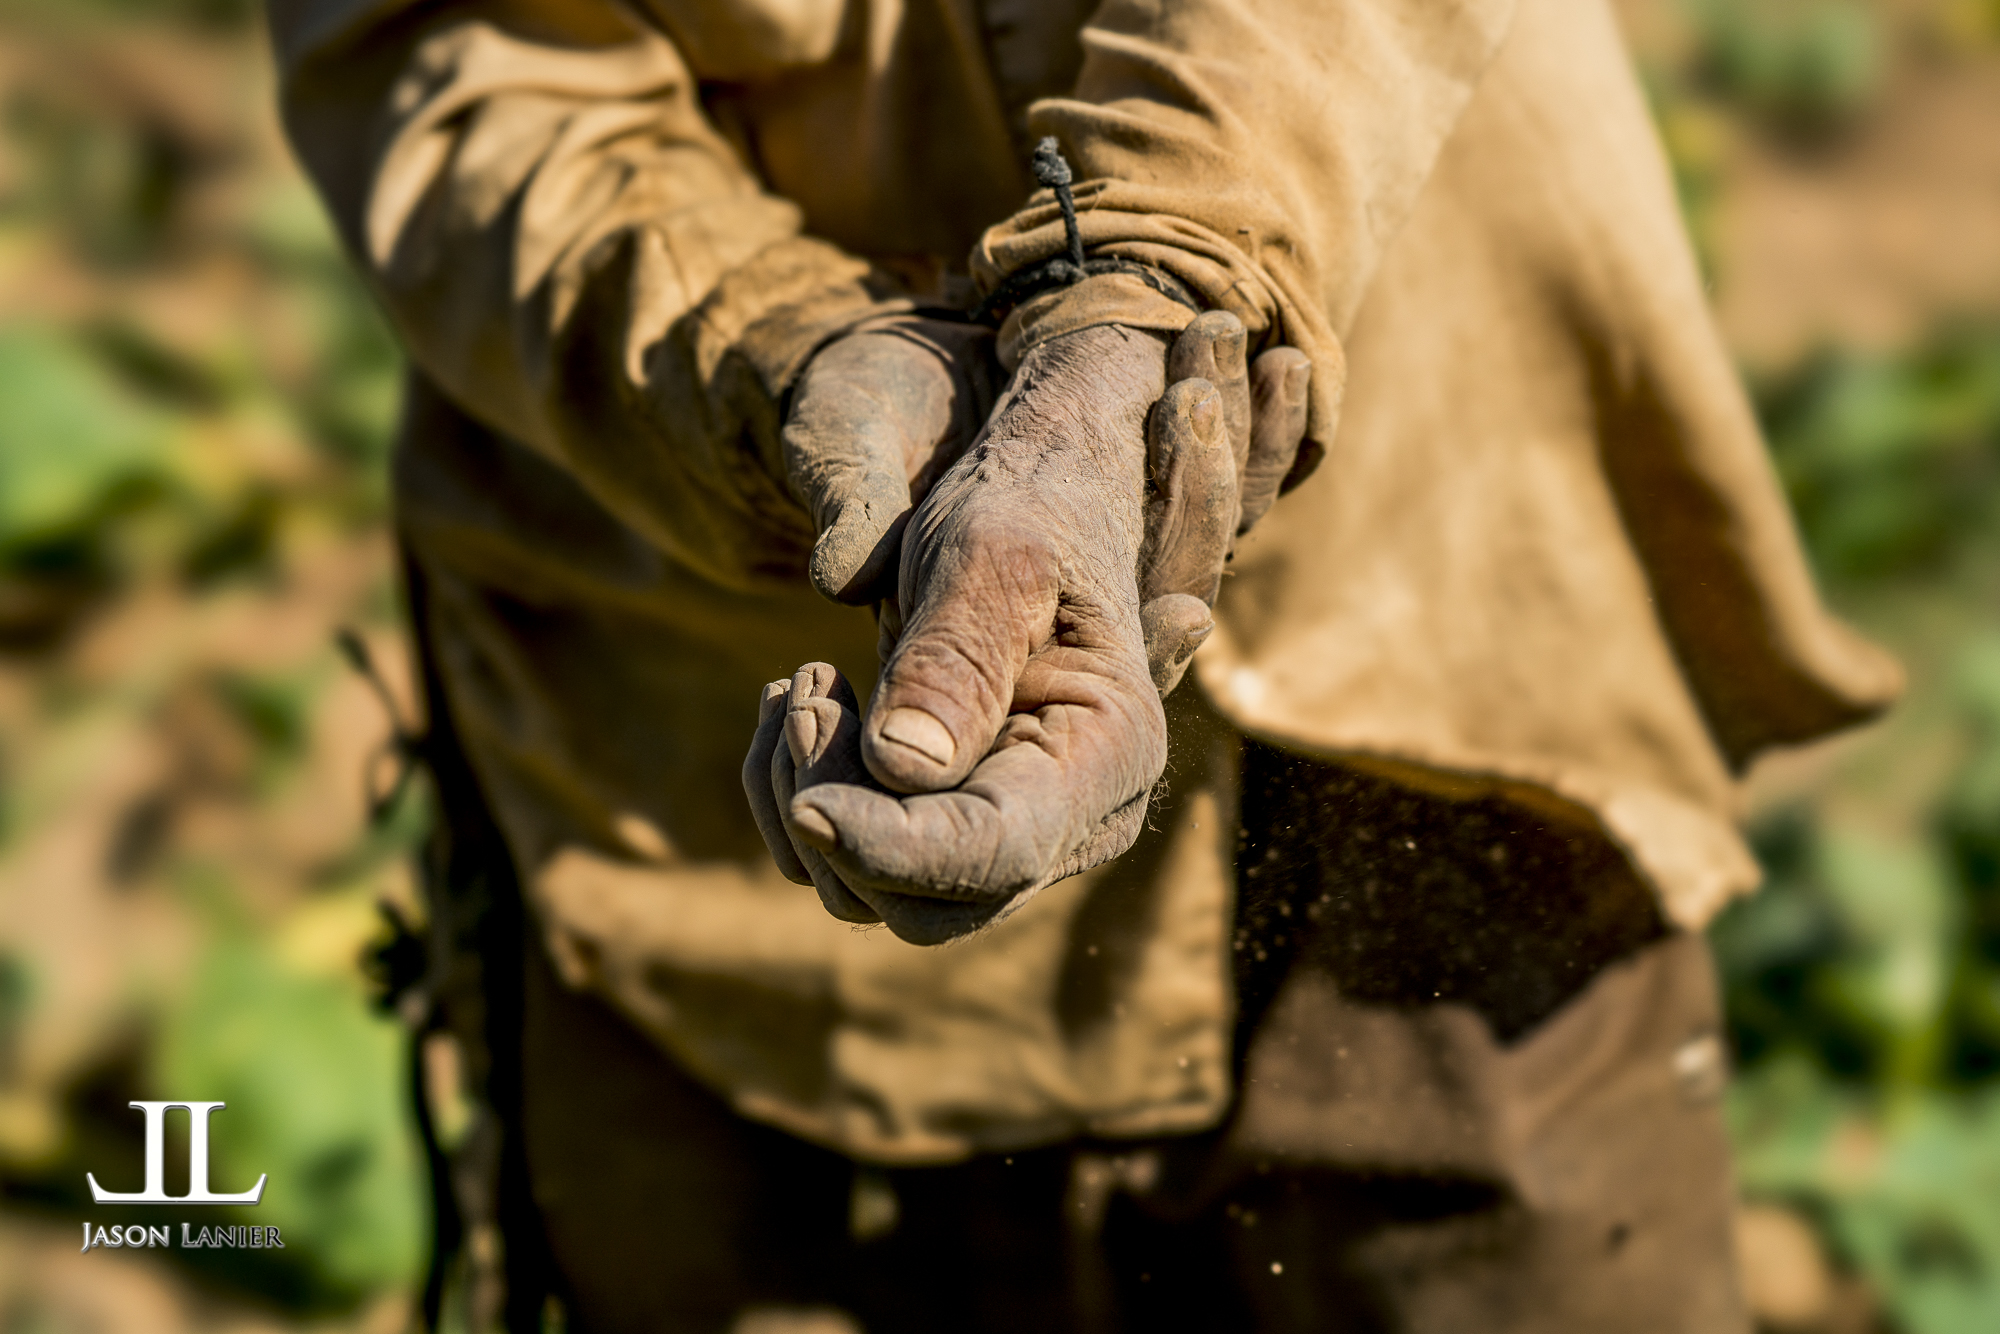
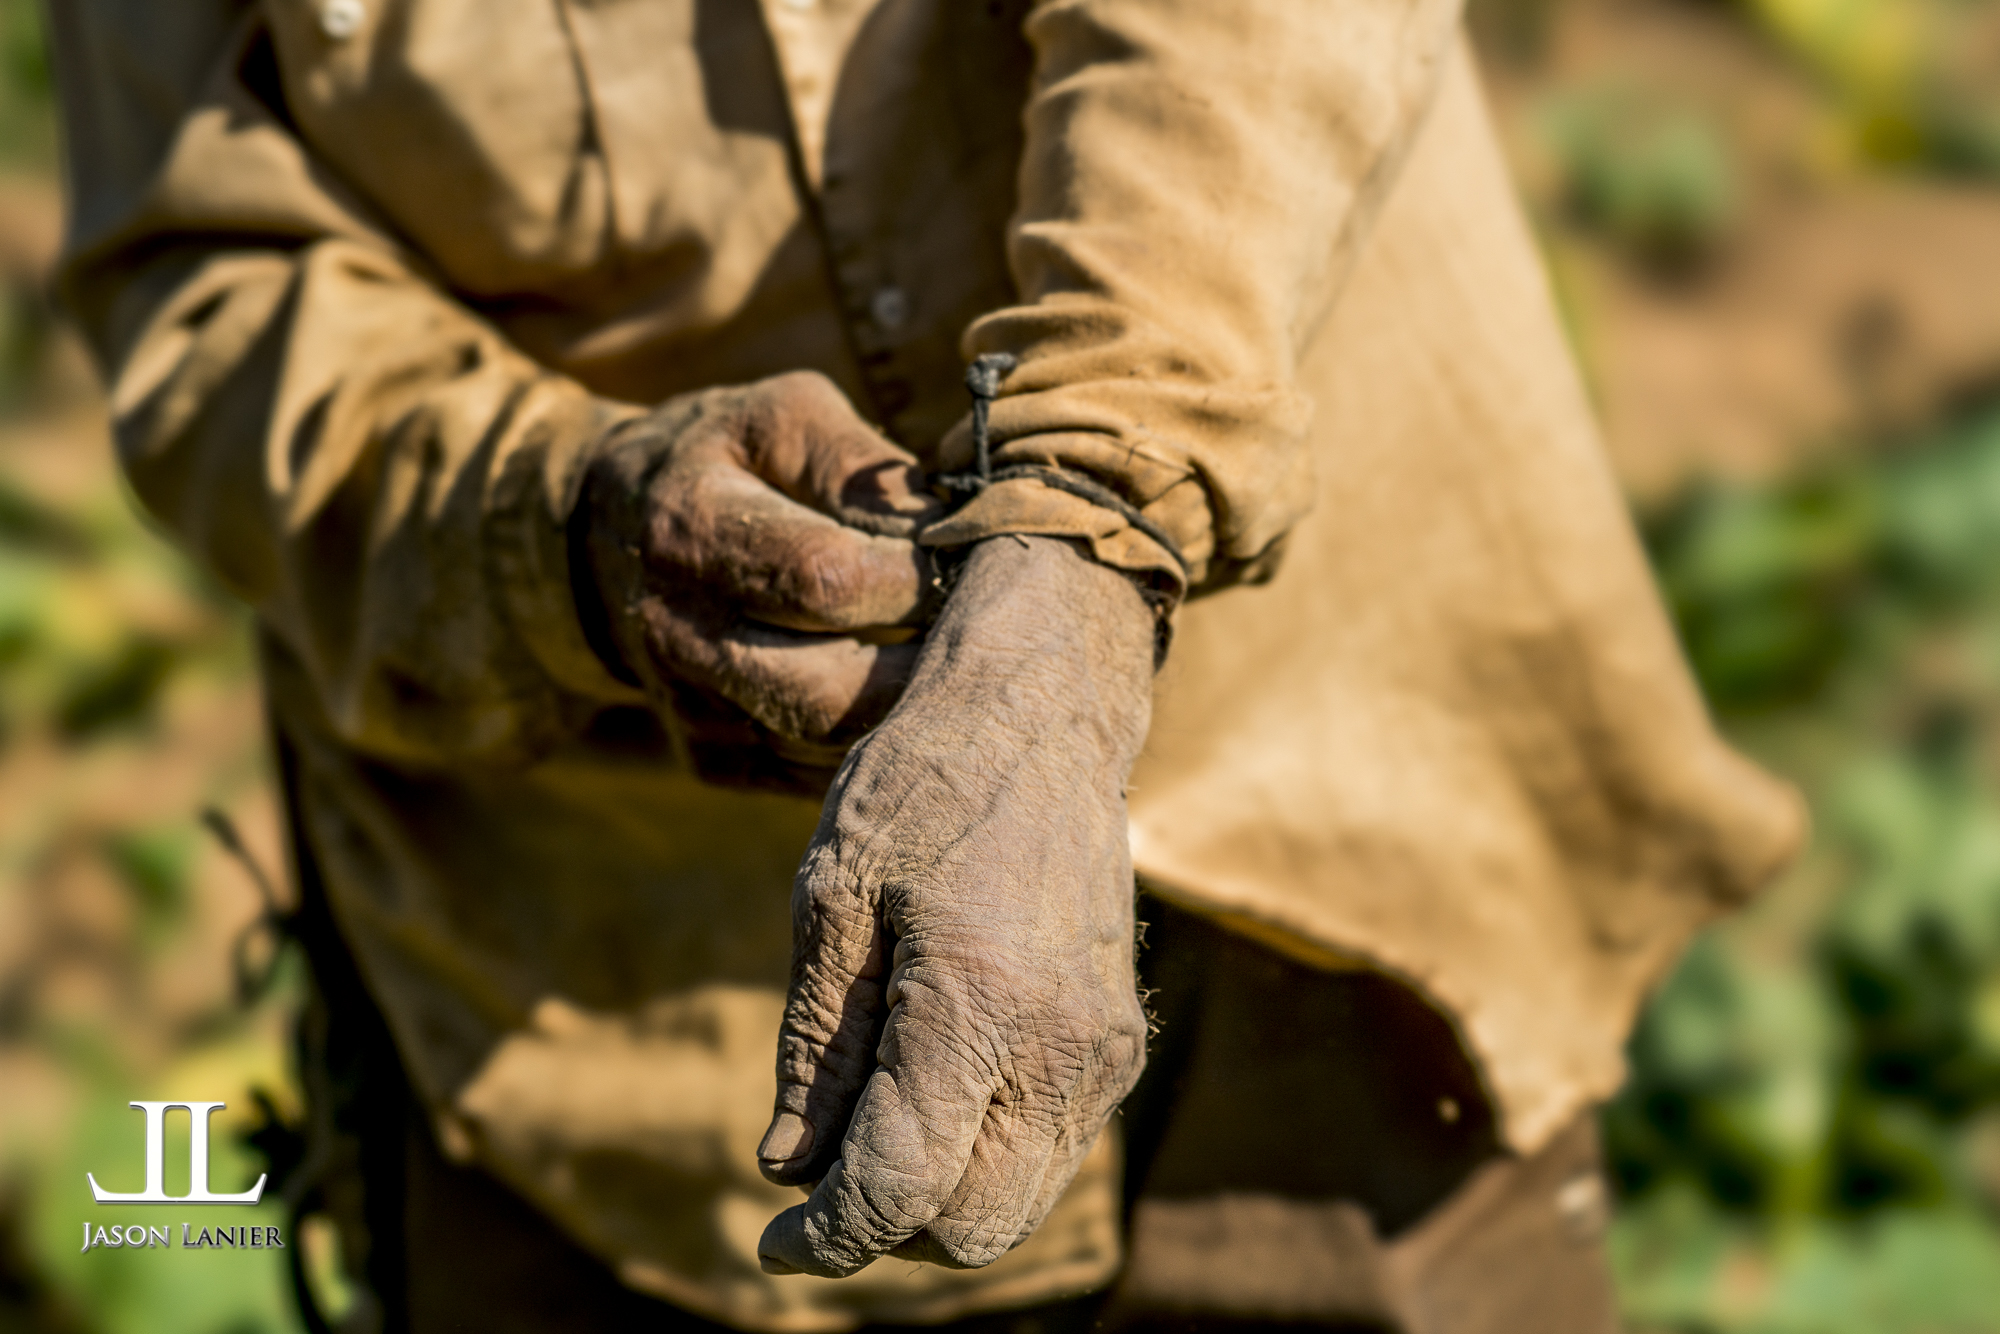
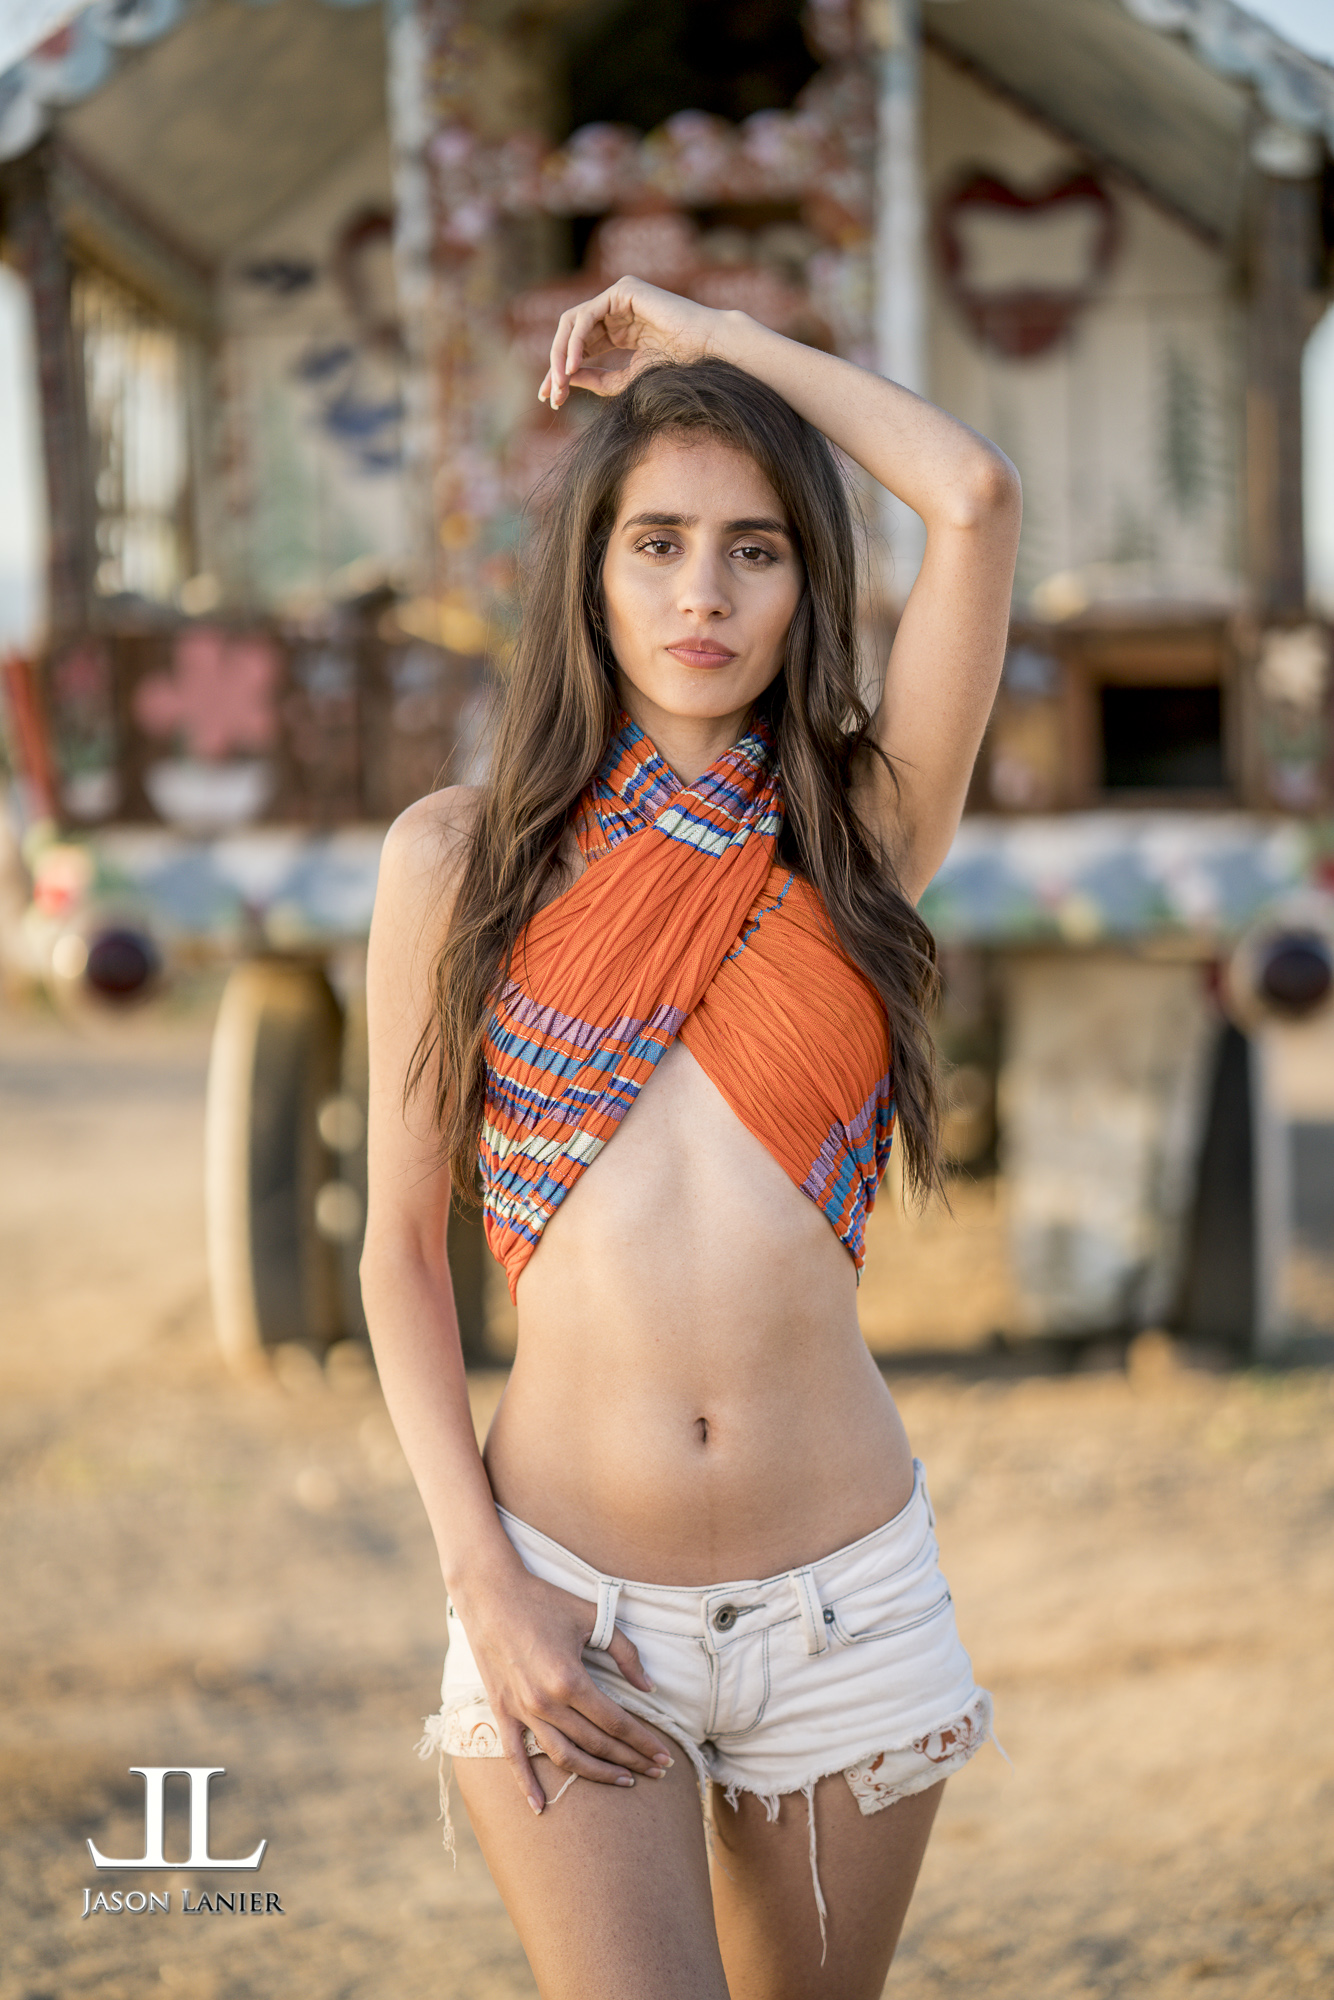
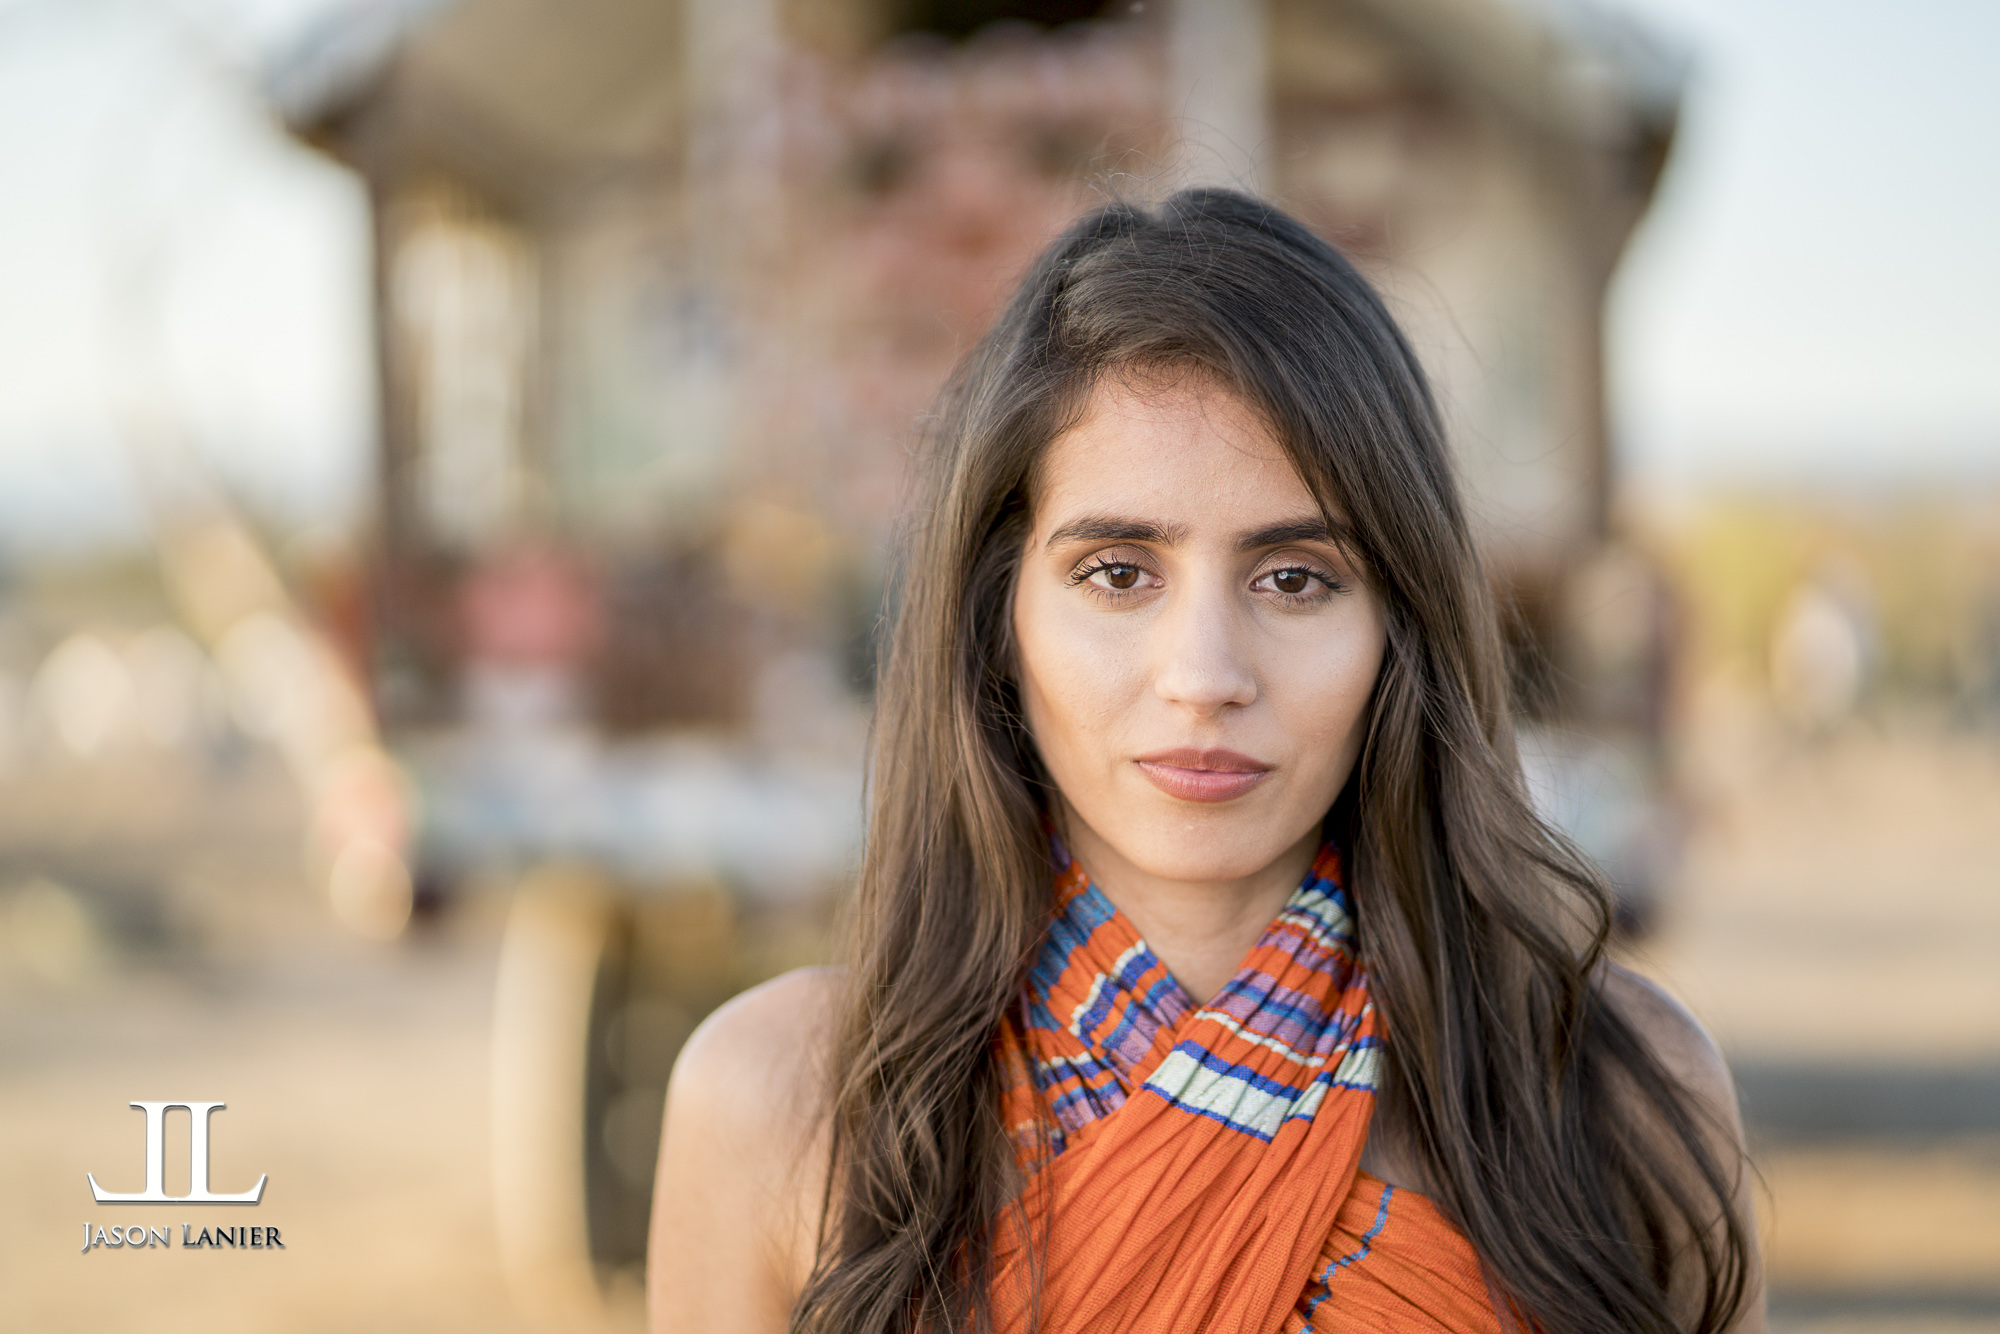
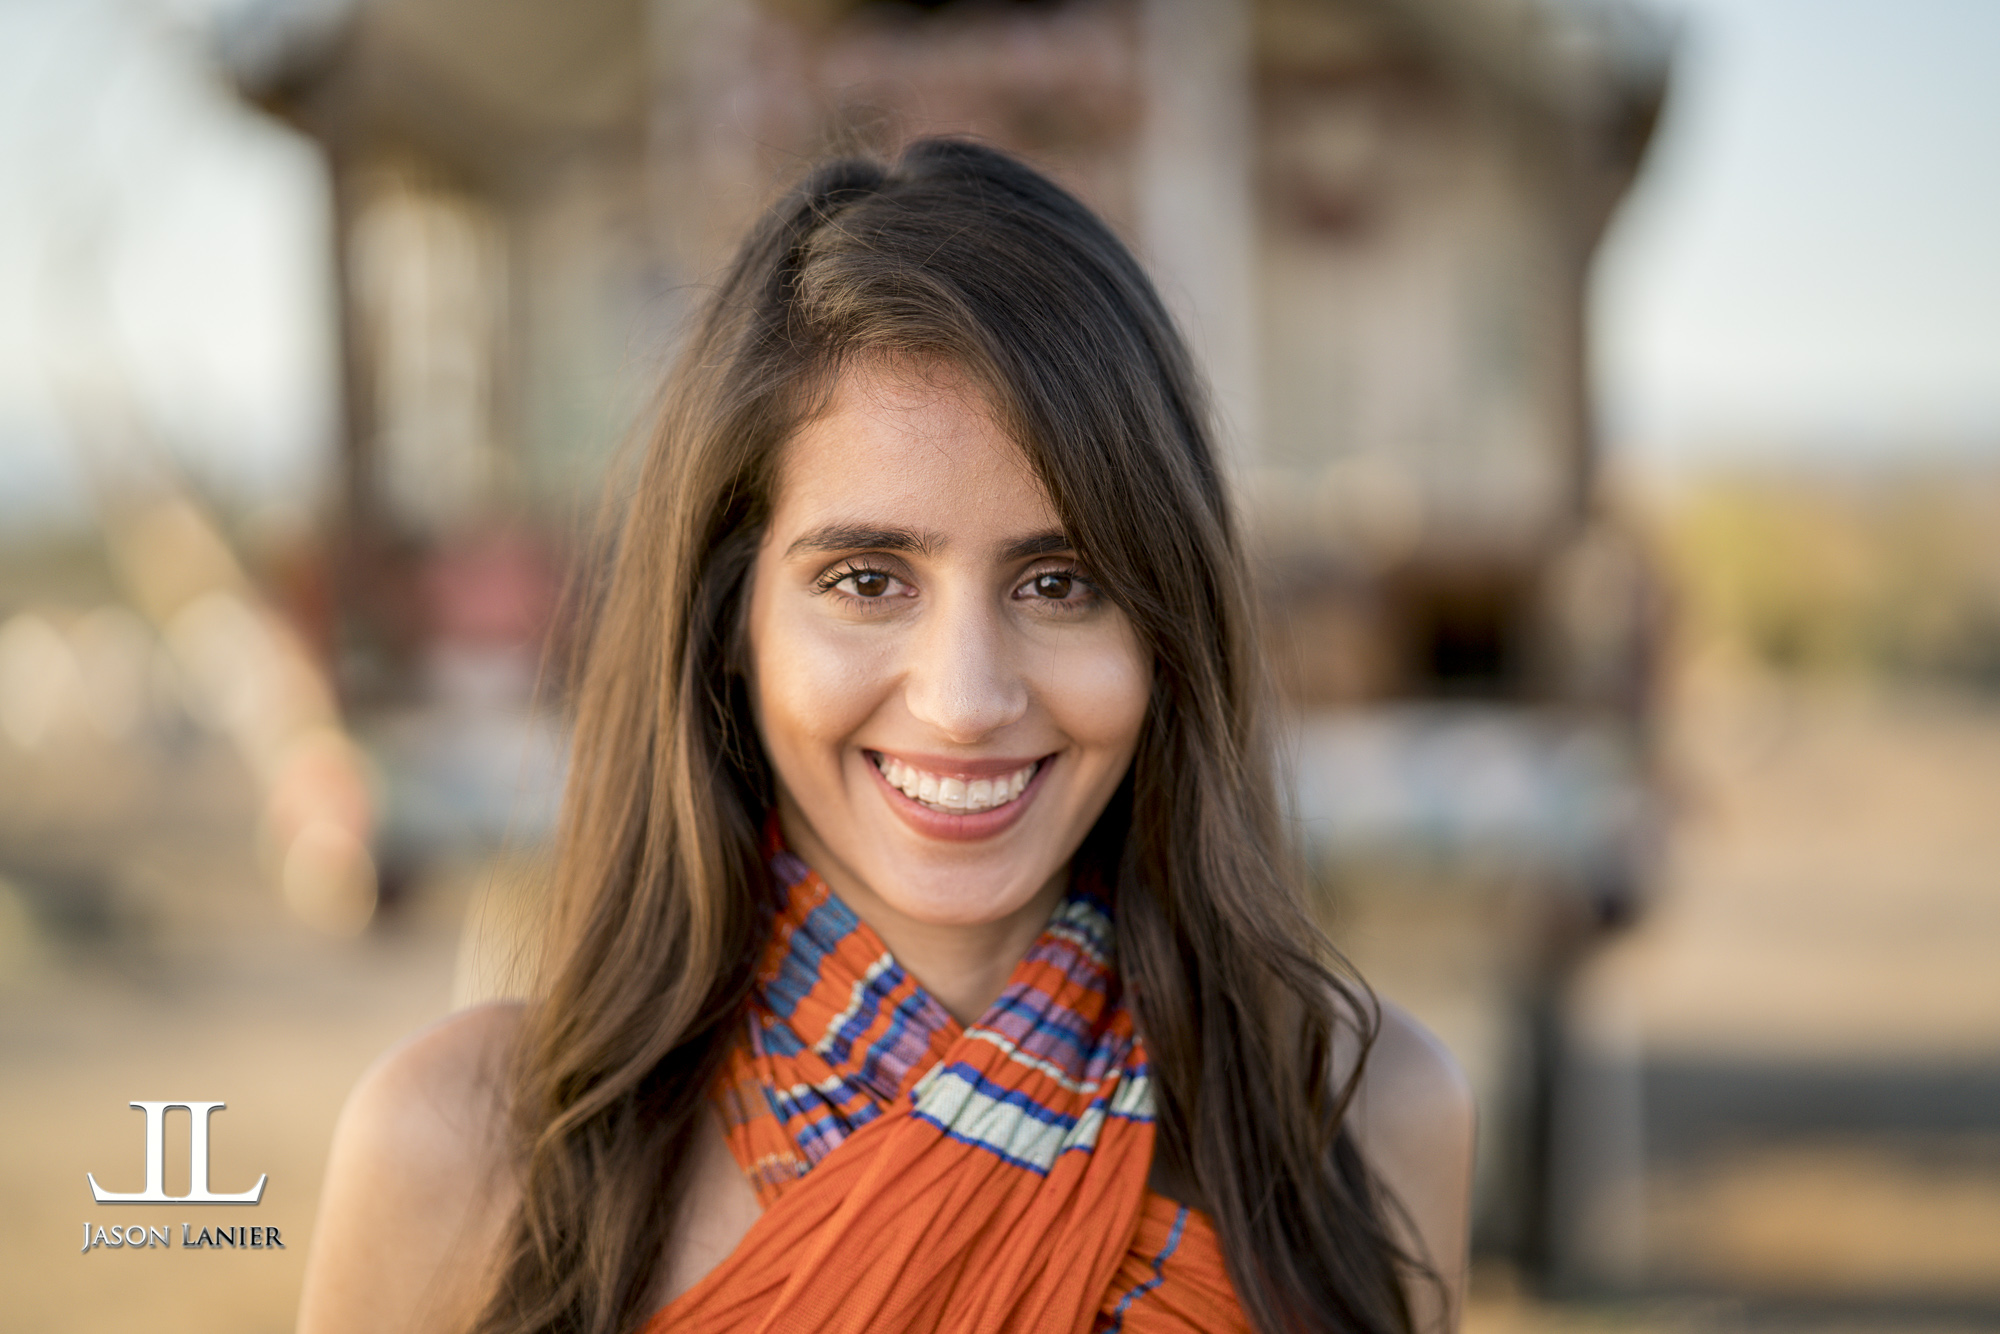
Portraits of a Cuban Tobacco Farmer using the Sony FE 100mm STF and 70-200mm G Master Lenses by Jason Lanier

Comment

Portraits of a Cuban Tobacco Farmer using the Sony FE 100mm STF and 70-200mm G Master Lenses by Jason Lanier

Recently I had the opportunity to visit Cuba for the first time.  Like many folks from the United States I was very excited to do so since it has been closed off for visiting for the last 60 years. One of the main things I wanted to do was to visit some traditional Tobacco Farms.  It isn't because I'm a smoker, because I'm not.  It's because Cuba is world famous for their Tobacco and I just had to visit the farms that create this product that is coveted the world over.

So my Assistant Brenda and I ventured into the beautiful countryside of Vinales on horseback where we found some beautiful people and locations to shoot.  I really recommend watching the video above to get a real feel for the shoot.  I also did a voice over in the video to explain everything going on and why I decided to use what lenses.

Below are the images taken during the shoot and I'm separating them by the lens used.  Both sets of images were taken with the lenses shooting wide open at 100 ISO with the Sony A7Rii.

Images taken with the 70-200 G Master Lens

Images taken using the Sony FE 100mm STF lens

***Links to Gear***

*Sony A7Rii-  

*Sony 70-200 G Master-  

*Sony 100mm STF G Master-  

I really hope you enjoy the video and this complementary blog post.  I invite you guys to subscribe to both my Youtube Channel and my blog and thank you for visiting today.

Adios!

Jason
Comment

Budget Batis- is the new Sony FE 85mm f/1.8 lens as good as the Zeiss Batis for half the price?

17 Comments

Budget Batis- is the new Sony FE 85mm f/1.8 lens as good as the Zeiss Batis for half the price?

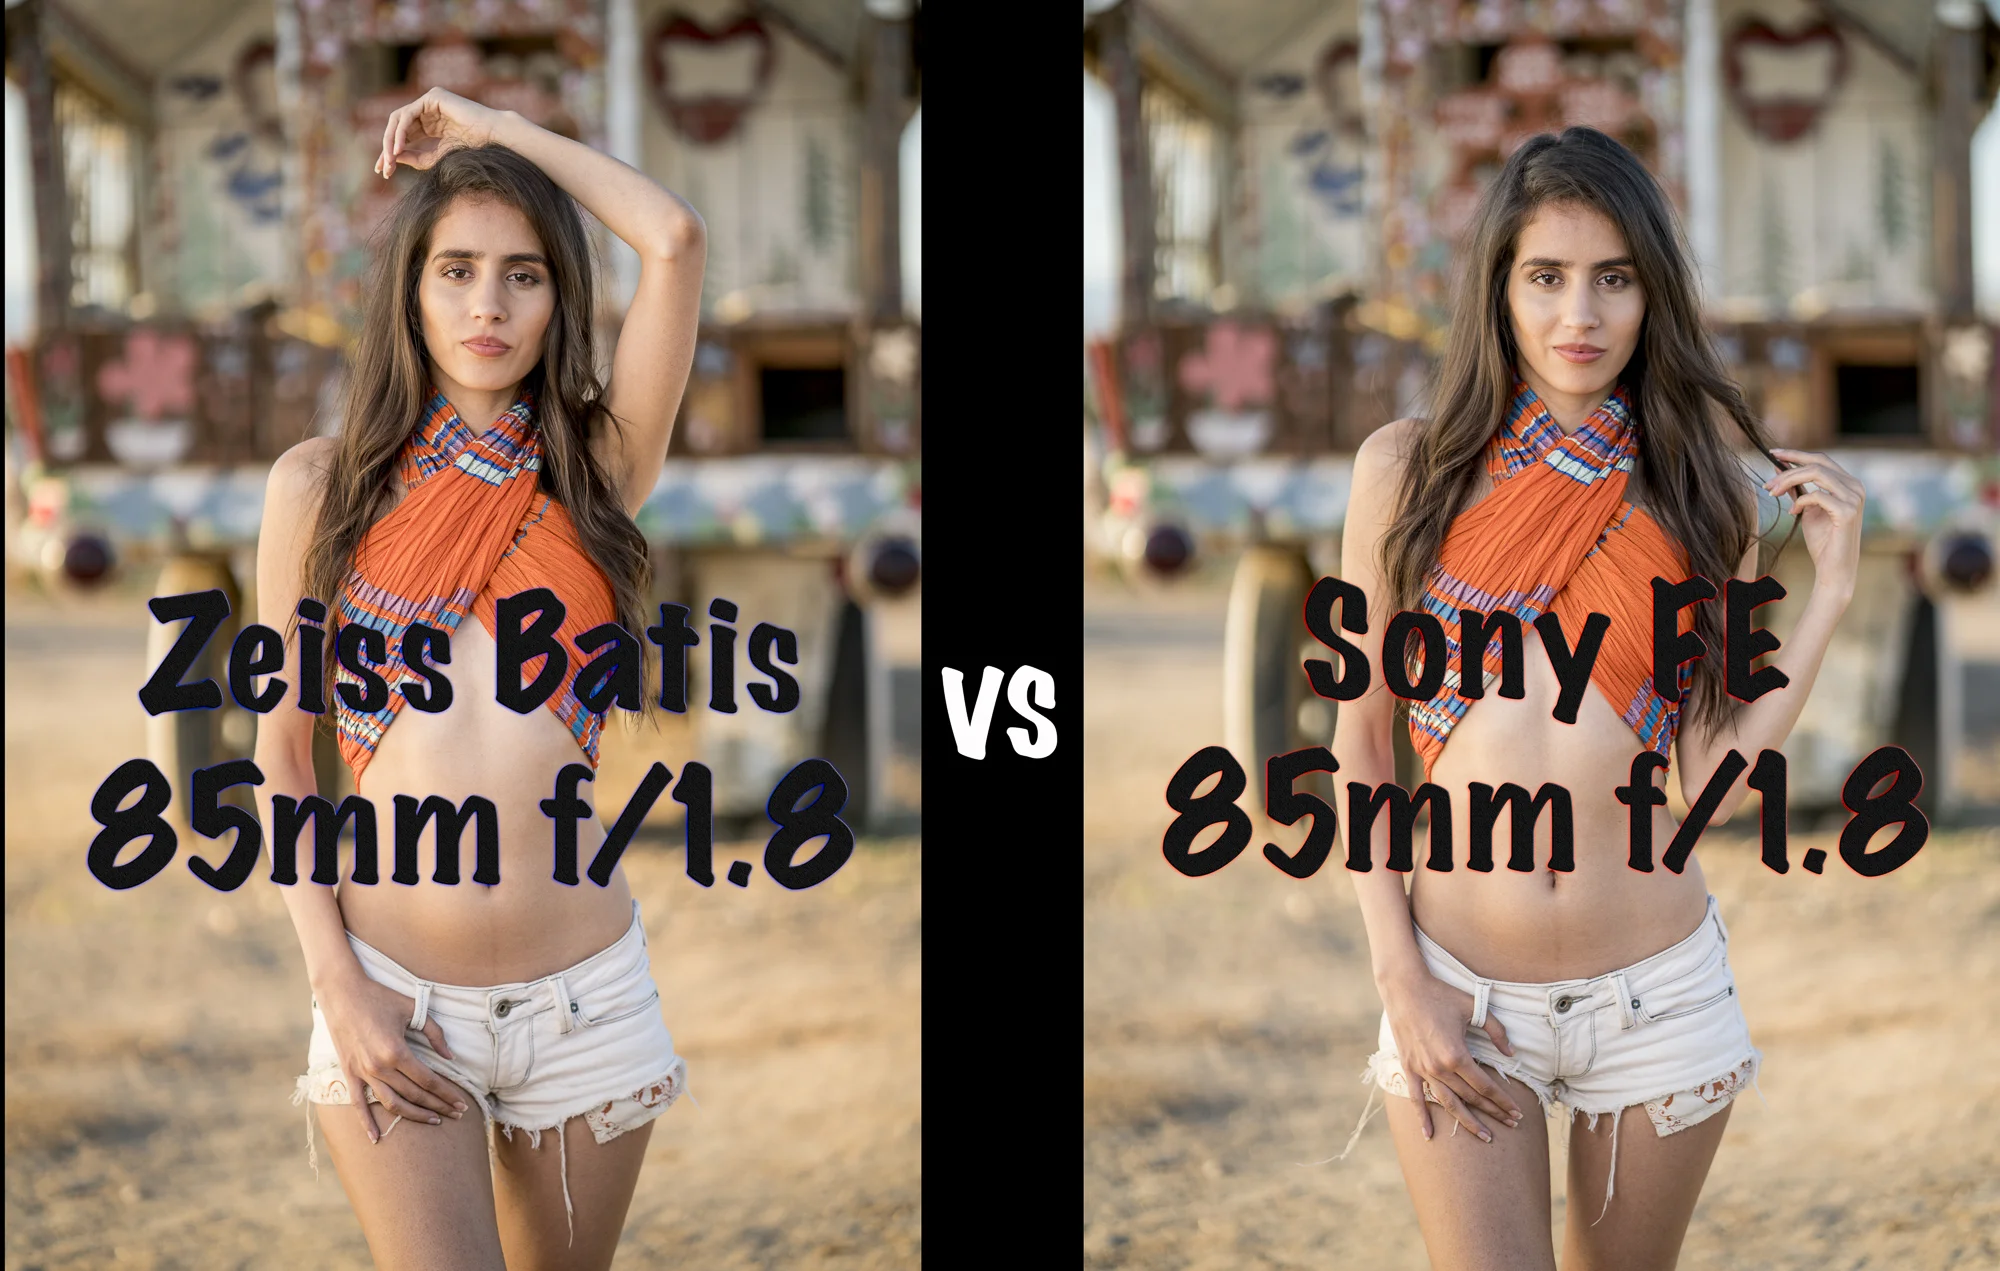
Recently I had the opportunity to get the Sony FE 85mm f/1.8 lens on loan from Sony to be able to take out and test in the field.  When my followers found out I had the lens one of the first things they asked me to do was to compare the new lens against the sought after Zeiss Batis 85mm f/1.8.  Below is a video of the shoot took place doing this very comparison:

The Zeiss Batis was the first Auto Focus 85mm lens available to Sony Mirrorless users and I fell in love with the lens about two years ago.  I must have done at least 20-30 videos on Youtube using this lens that I just loved.

Then Sony released the 85mm G Master f/1.4 lens and that thing is a BEAST.  It is definitely a pro level top of the line lens and while the Batis is amazing, it can't keep up with the G Master.  BUT, the G Master also comes at a premium price and due to that many Sony users still consider going for the Zeiss Batis because it's about $600 less than the G Master.

Then earlier this month Sony announced their own FE (Full Frame E Mount) 85mm f/1.8 lens. What made this a game changer for many is the fact that it's $600 less than the Zeiss Batis and over a $1000 less than the G Master.  Hence, that's why I received so many requests to compare it to the Zeiss Batis.  Because if it's even CLOSE to the Zeiss Batis it's definitely a lot more affordable.

So we went out to Salvation Mountain in the California desert and I did a straight apples to apples comparison between the two lenses.  Both lenses were shot on a tripod using the Sony A7Rii with the exact same settings and lighting.  All images were developed using Lightroom only using the exact same settings via Batch Processing.  So the results are identical.

As you'll see in the video and or the images you are viewing below, I was pretty stunned on just how the shots look identical.  If I didn't know any better I would swear they are the same lenses in different shells lol.  Take a look below for yourself:

Set 1- Sony FE lens- 85mm, f/1.8, 1/2500 sec, ISO 100

Set 1- Zeiss Batis- 85mm, f/1.8, 1/2500 sec, ISO 100

Set 2- Sony FE85mm, f/1.8, 1/2500 sec, ISO 100

Set 2- Zeiss Batis-  85mm, f/1.87, 1/2500 sec, ISO 100

Set 3- Sony FE- 85mm, f/1.8, 1/2000 sec, ISO 100

Set 3- Zeiss Batis-  85mm, f/1.8, 1/2000 sec, ISO 100

Set 4- Sony FE-  85mm, f/1.8, 1/1600 sec, ISO 100

Set 4- Zeiss Batis-   85mm, f/1.8, 1/1600 sec, ISO 100

**Links to Gear:

*Sony A7Rii-  

*Sony FE 85mm f/1.8-  

*Zeiss Batis 85mm-  

*Lastolite 6x6 Diffuser-  

*Westcott Rapid Box XL-  

Thanks for coming by and checking out this post.  Don't forget to subscribe to my Youtube Channel and also this blog for future posts!!

Thanks,

Jason

17 Comments

Groom Getting Ready and Groom Portraits at a REAL Indian Wedding Workshop

2 Comments

Groom Getting Ready and Groom Portraits at a REAL Indian Wedding Workshop

Many times so much emphasis at a wedding is placed upon the Bride.  While the Bride is certainly an extremely important person, we of course can't forget the groom right?  This shoot comes from my REAL Indian Wedding Workshop in Cherryhill, New Jersey with Akshar and Arti Patel.  In case you haven't seen Part 1 which includes my images taken of the bride Arti, you can find a link to them by clicking below:

http://www.jasonlanier.com/blog/real-indian-wedding-workshop-bride-getting-ready-at-the-crowne-plaza-cherry-hill-new-jersey

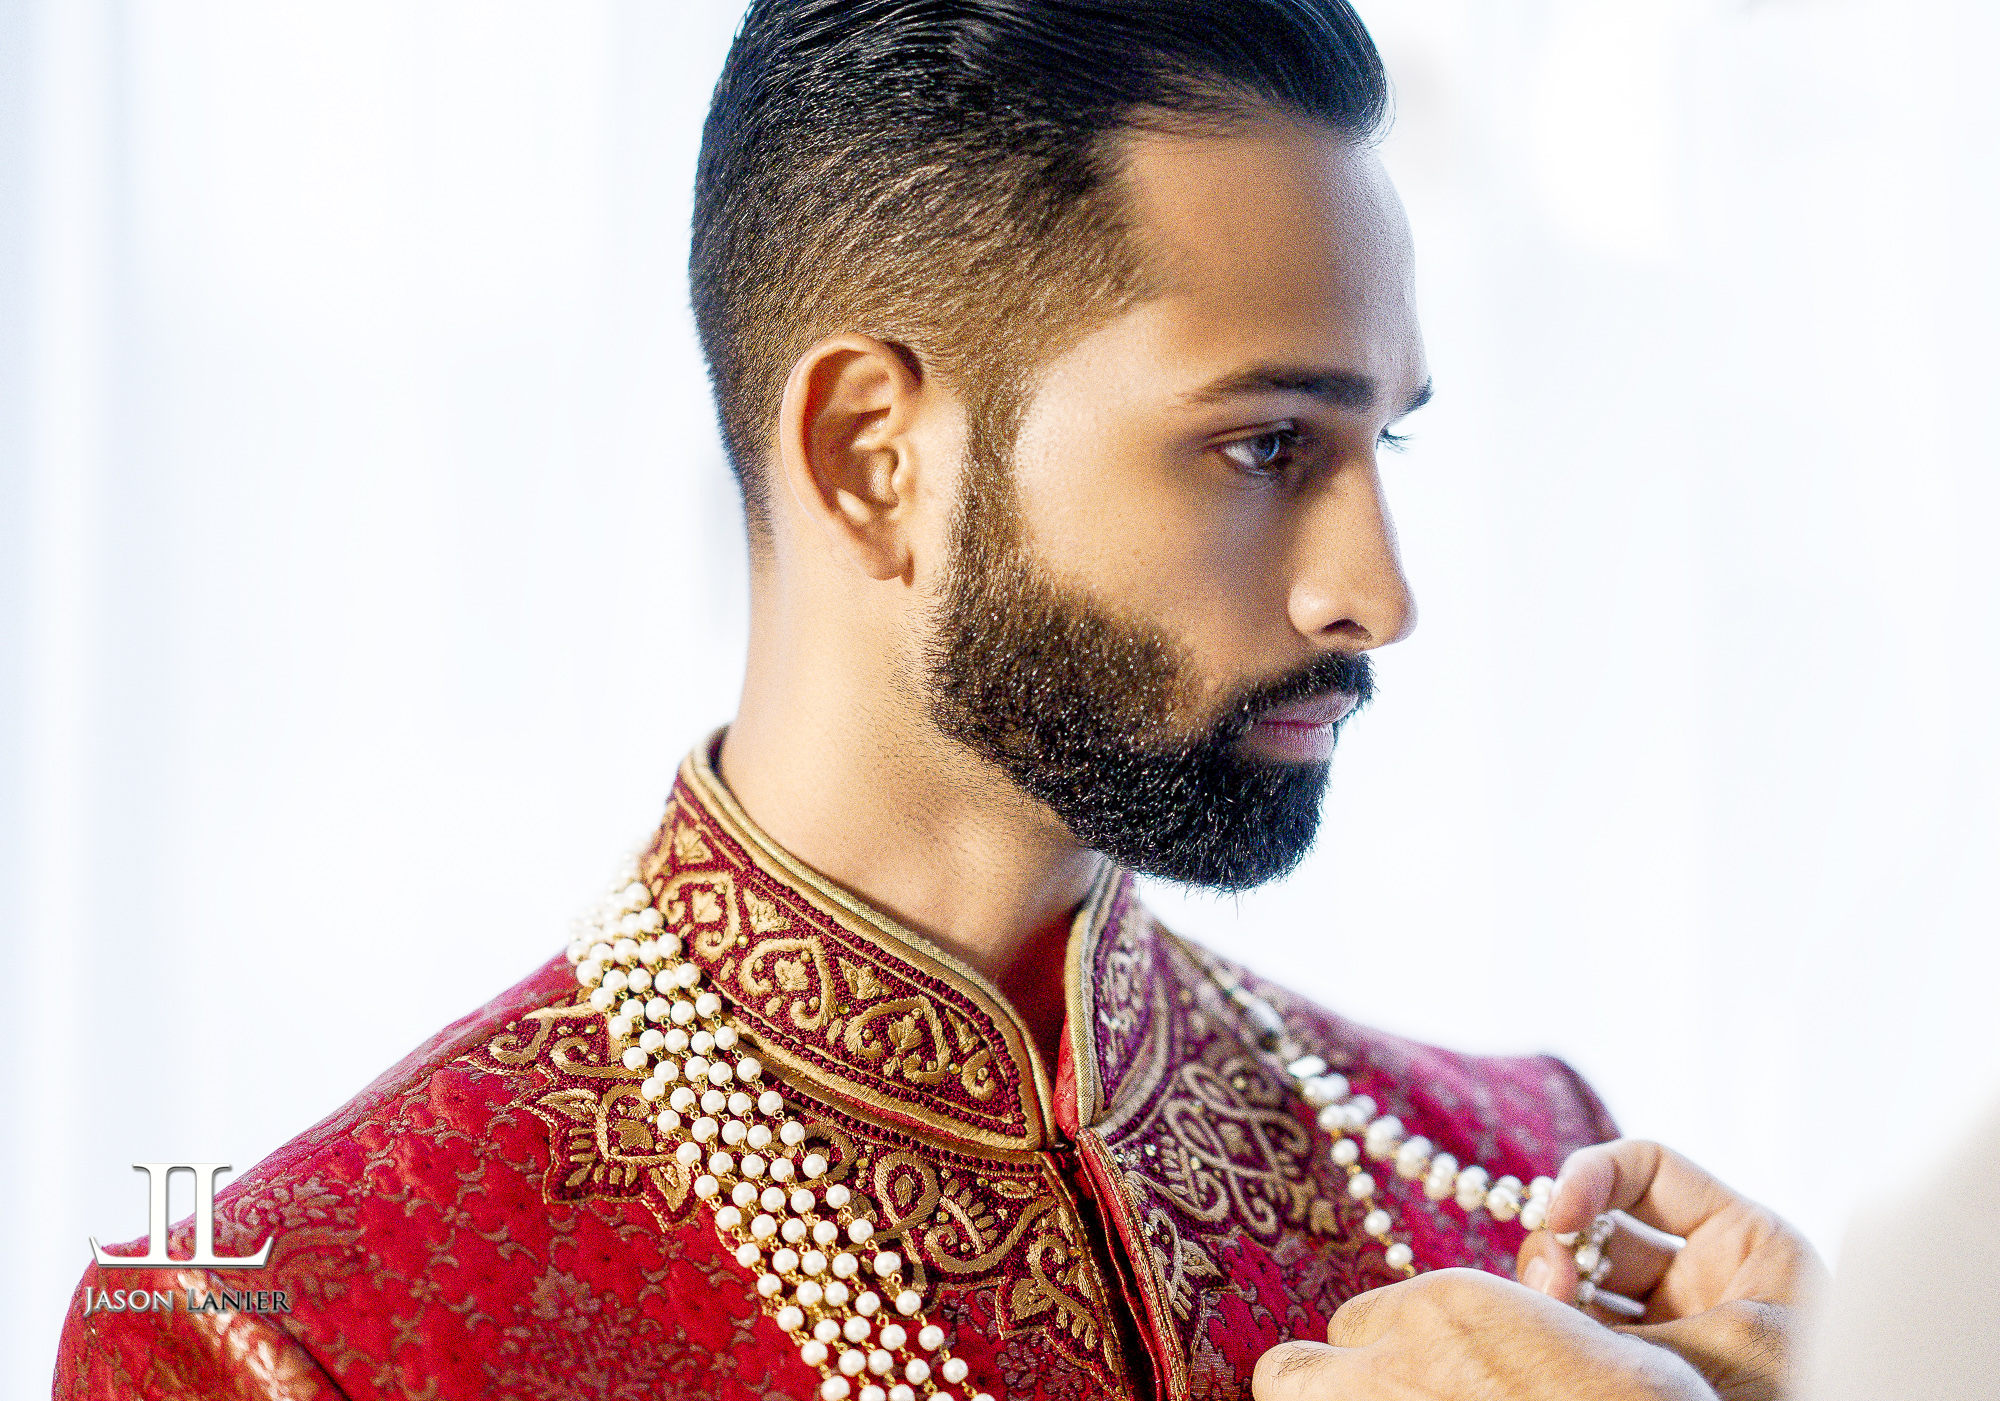
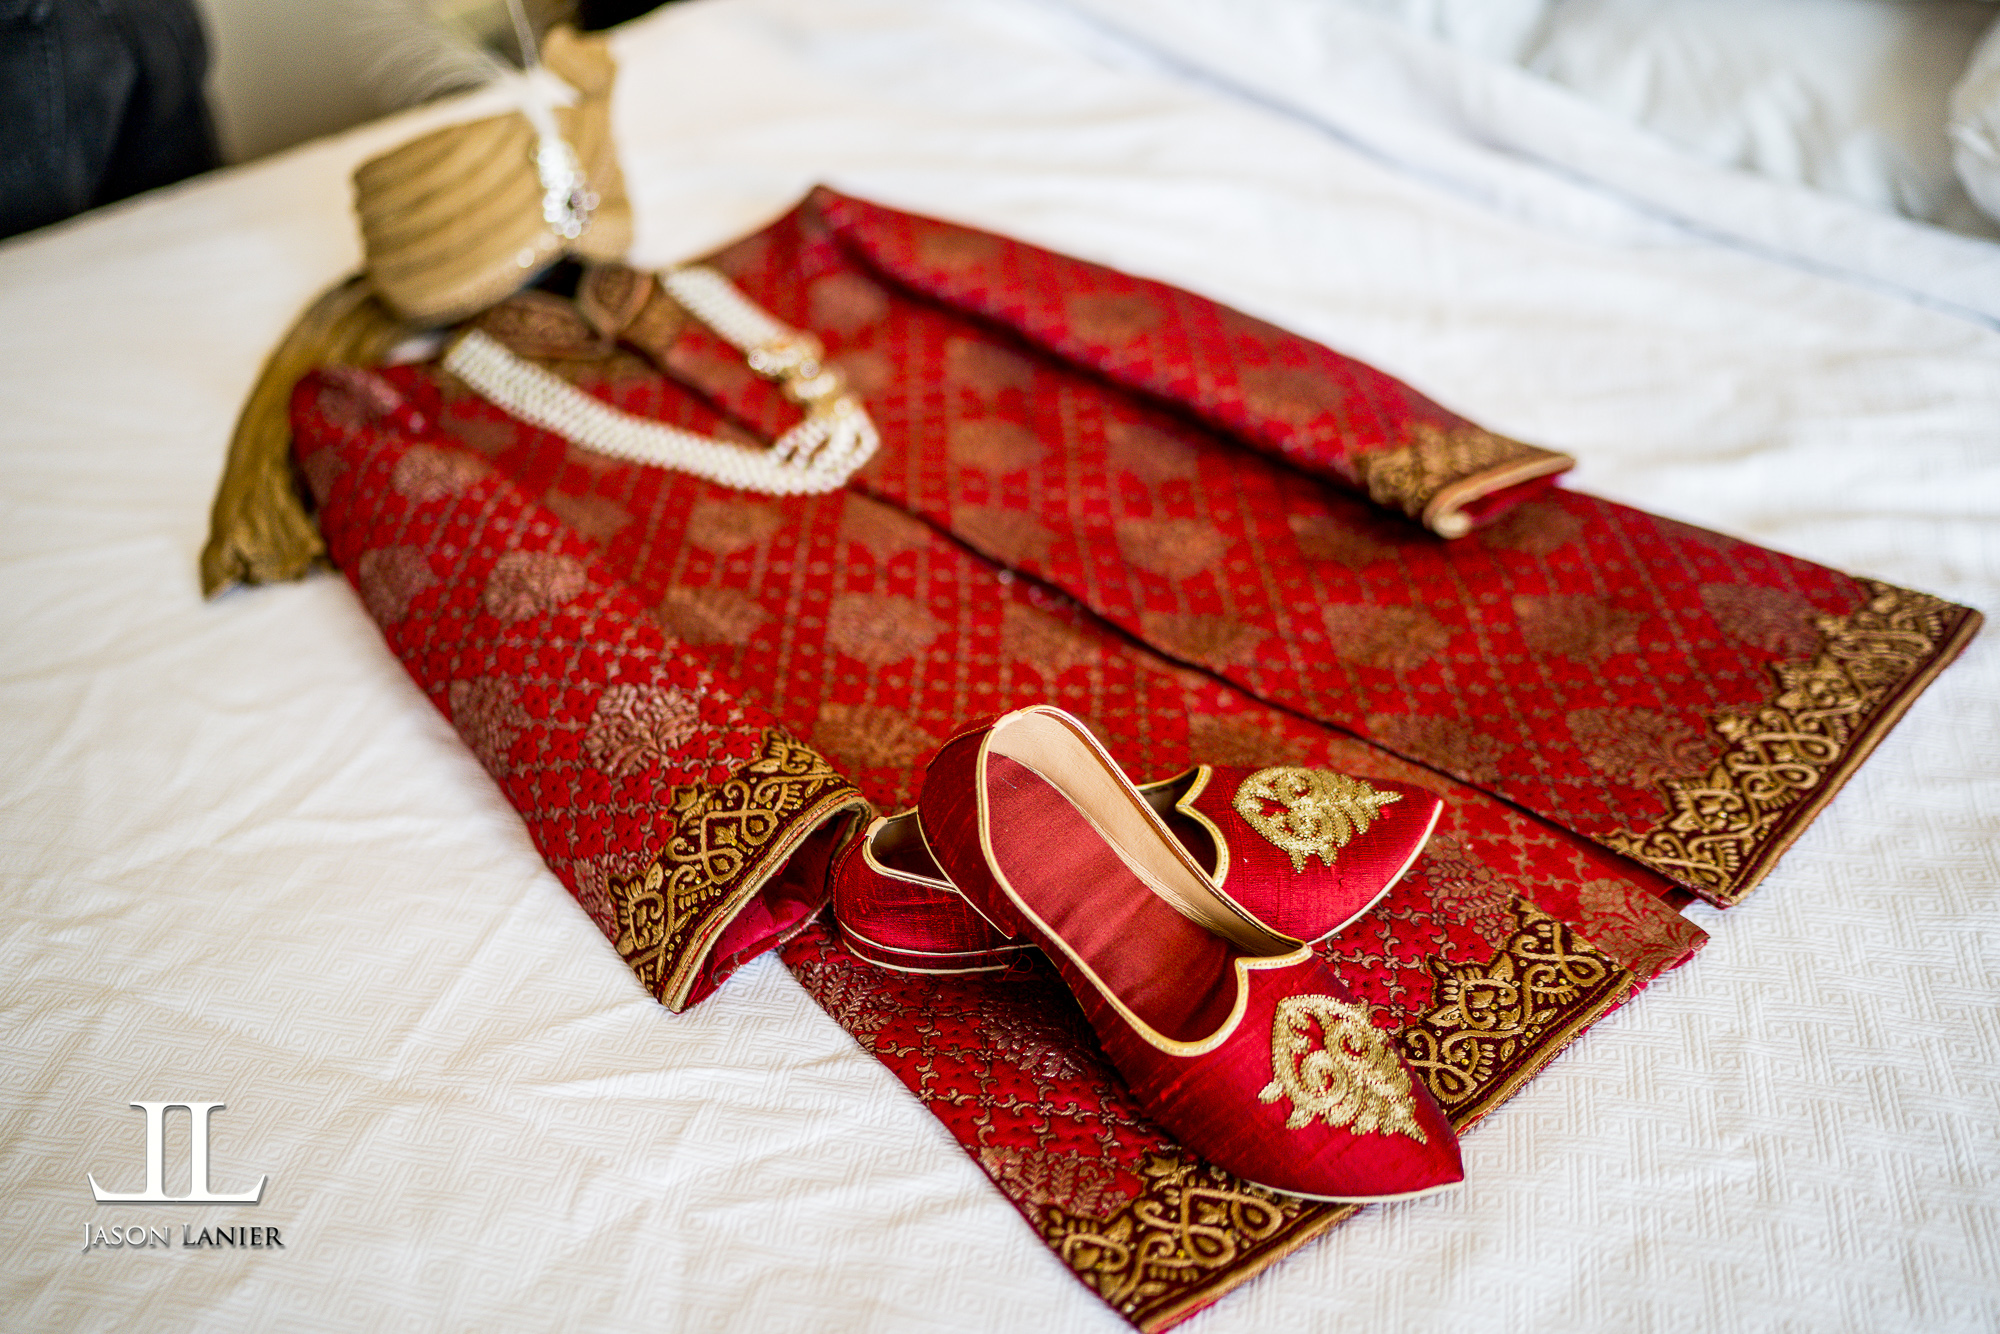
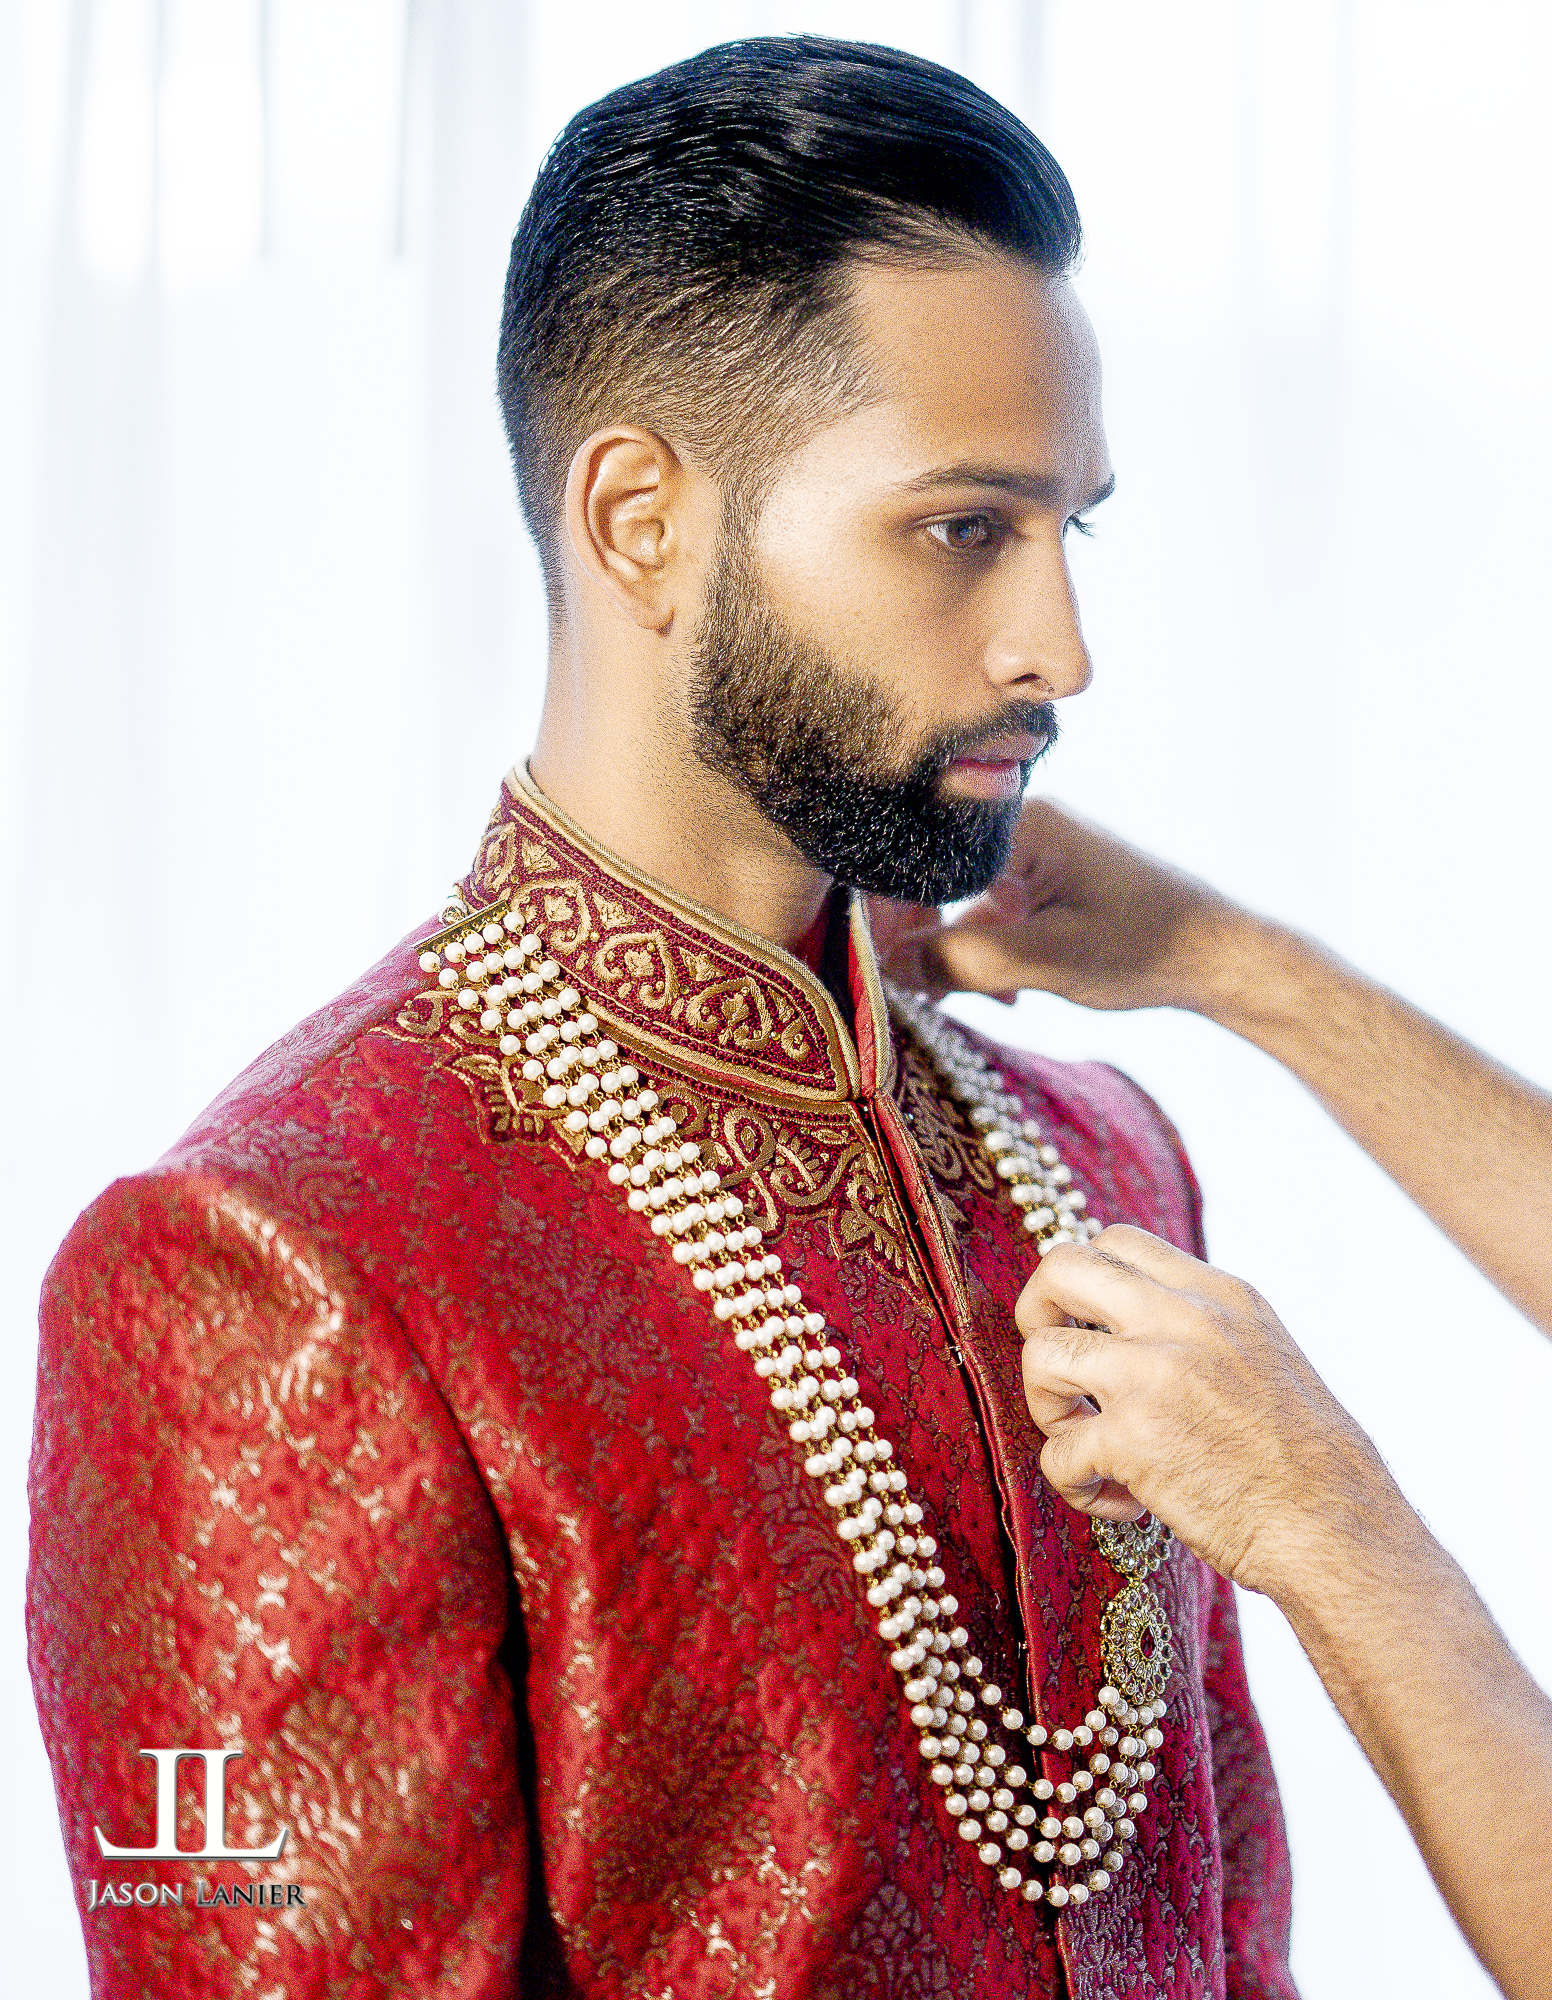
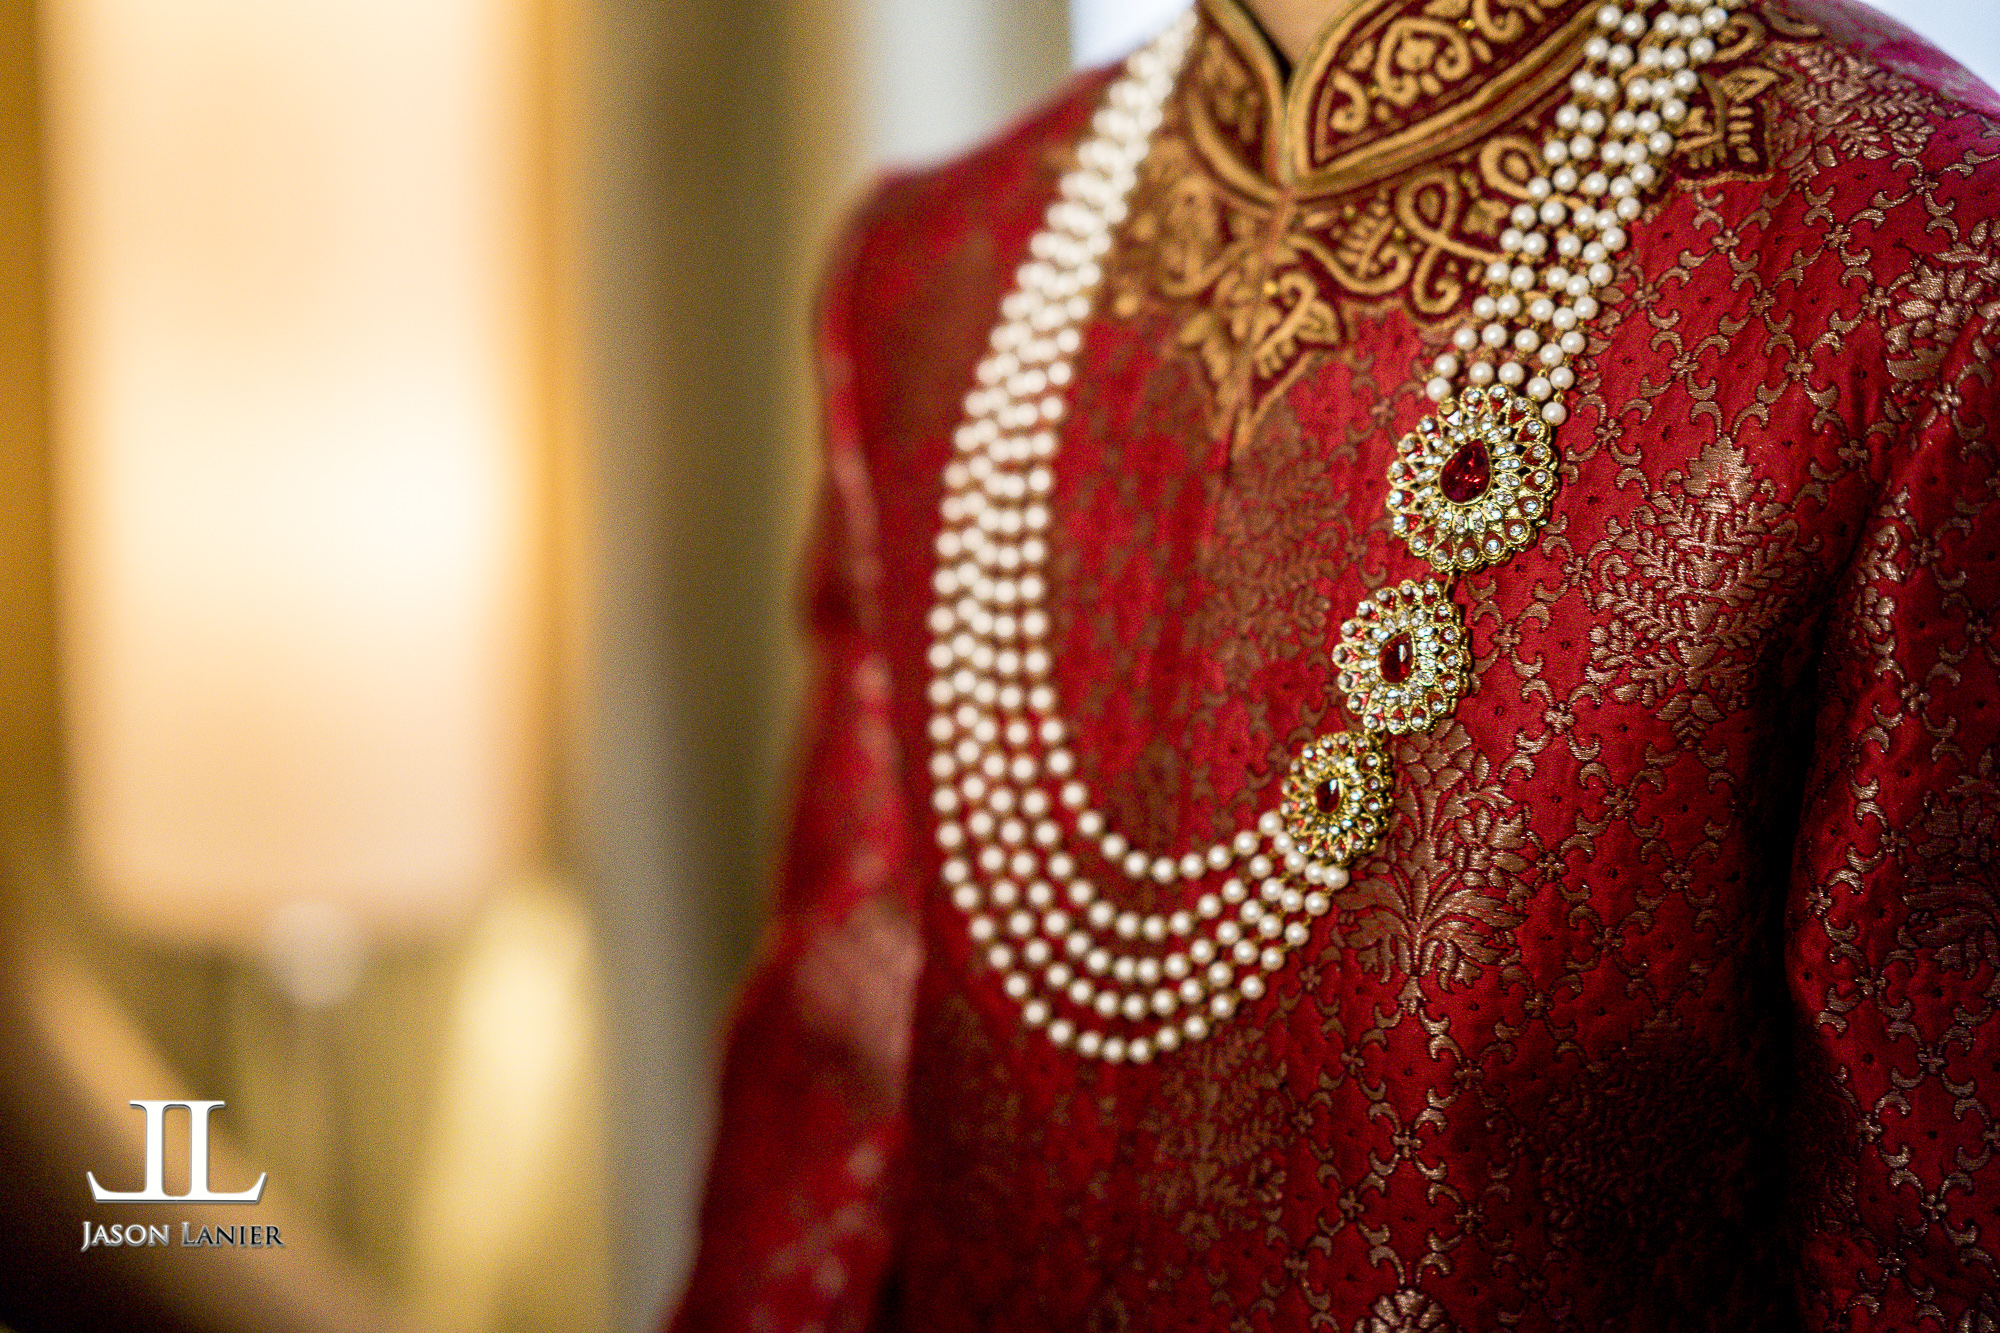
We went into the Groom's room and took the following shots that are included in the video as shown above.  It's important to capture the groom in a dignified and flattering manner which you can do by blending a style of photojournalism with light yet deliberate posing methods.  In other words, direct the shoot but don't overly pose the shoot.  Below are images taken of the Getting Ready portion:

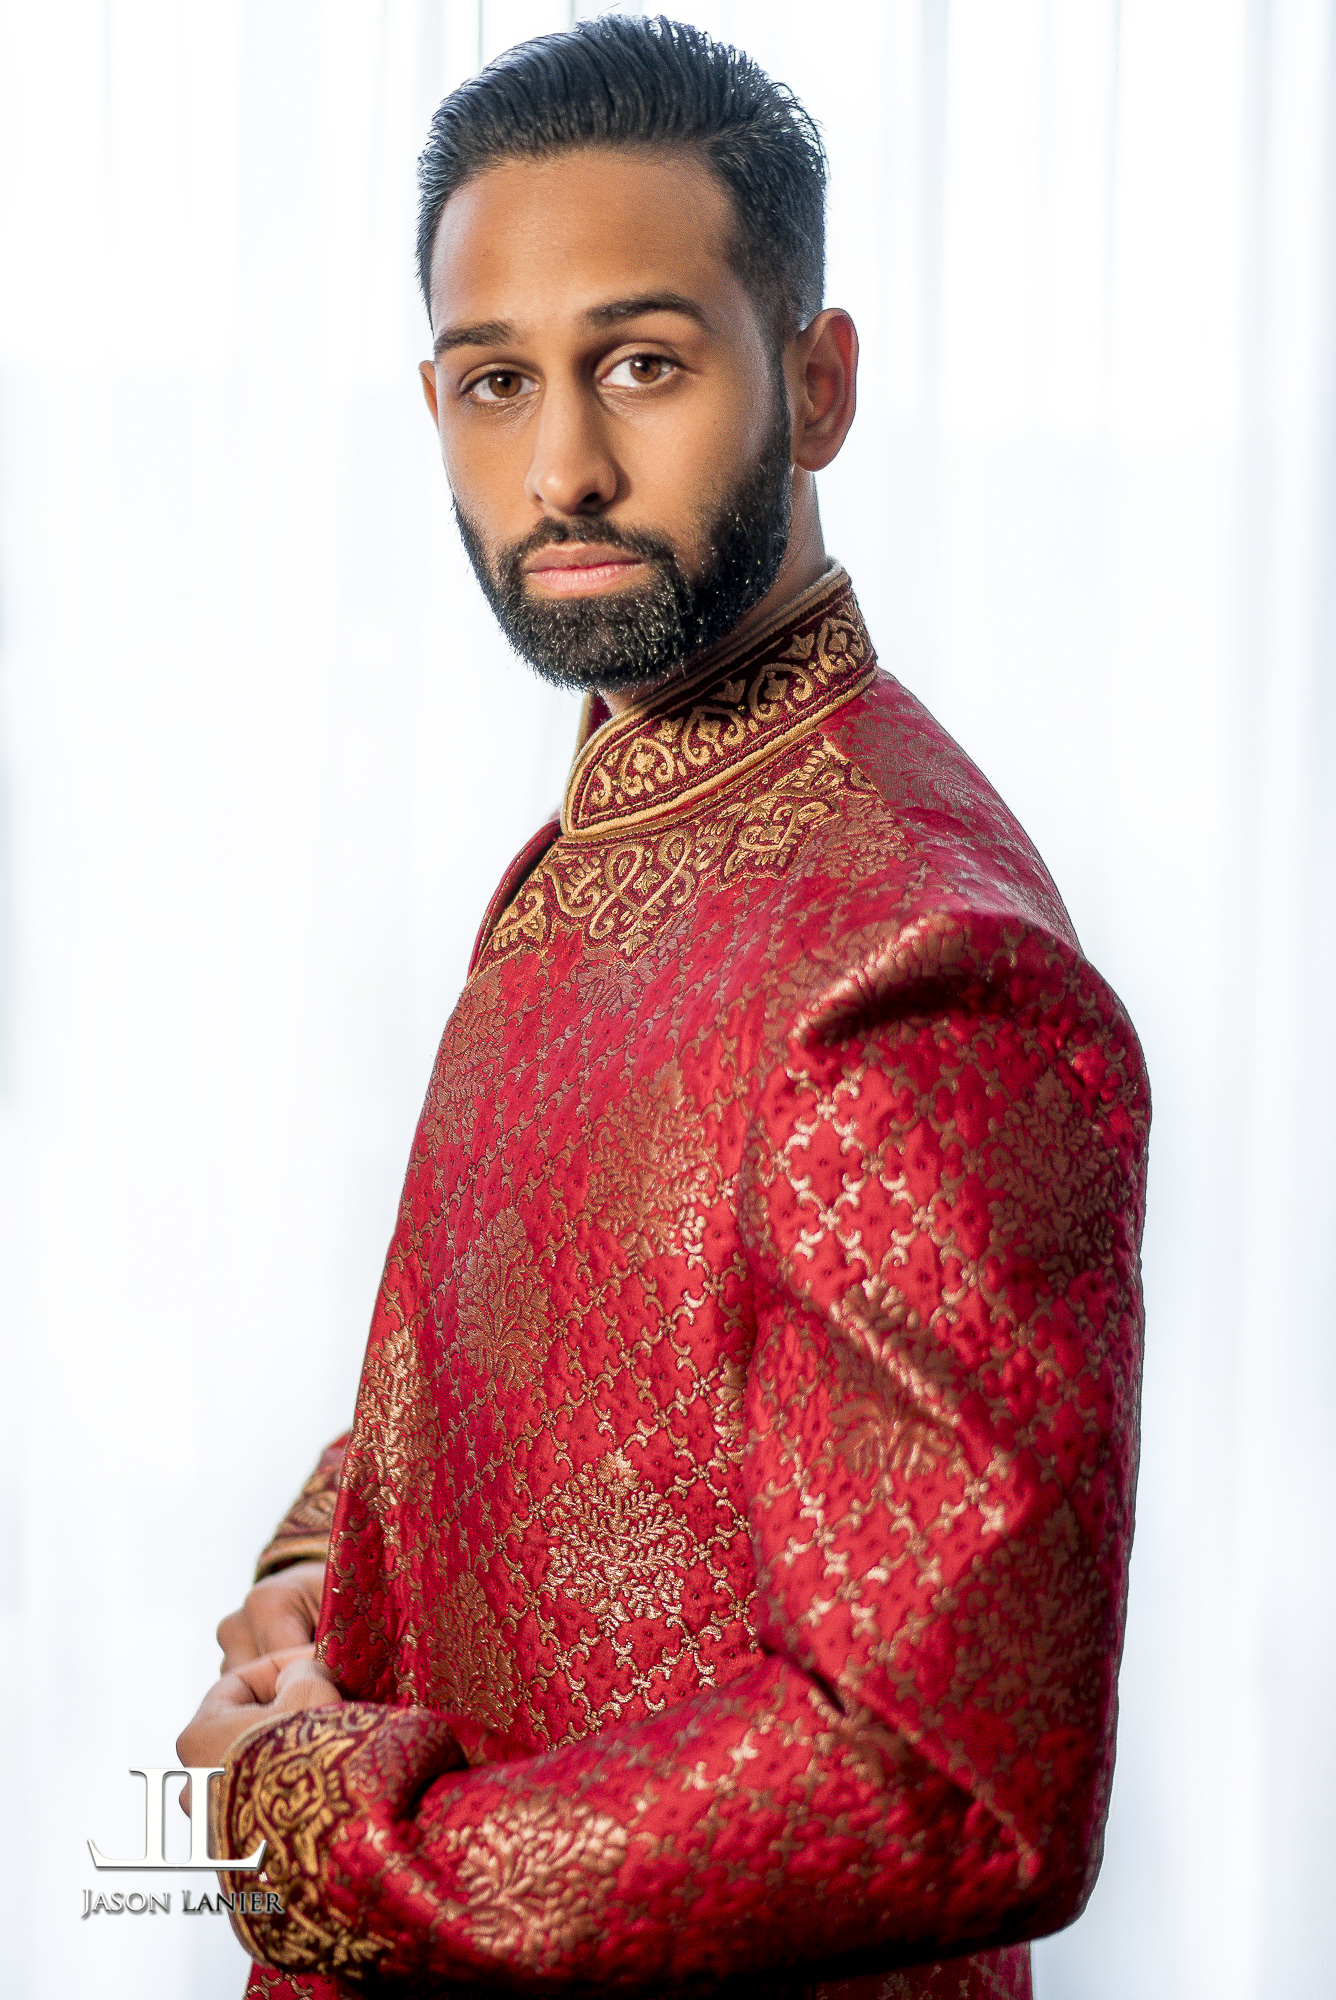
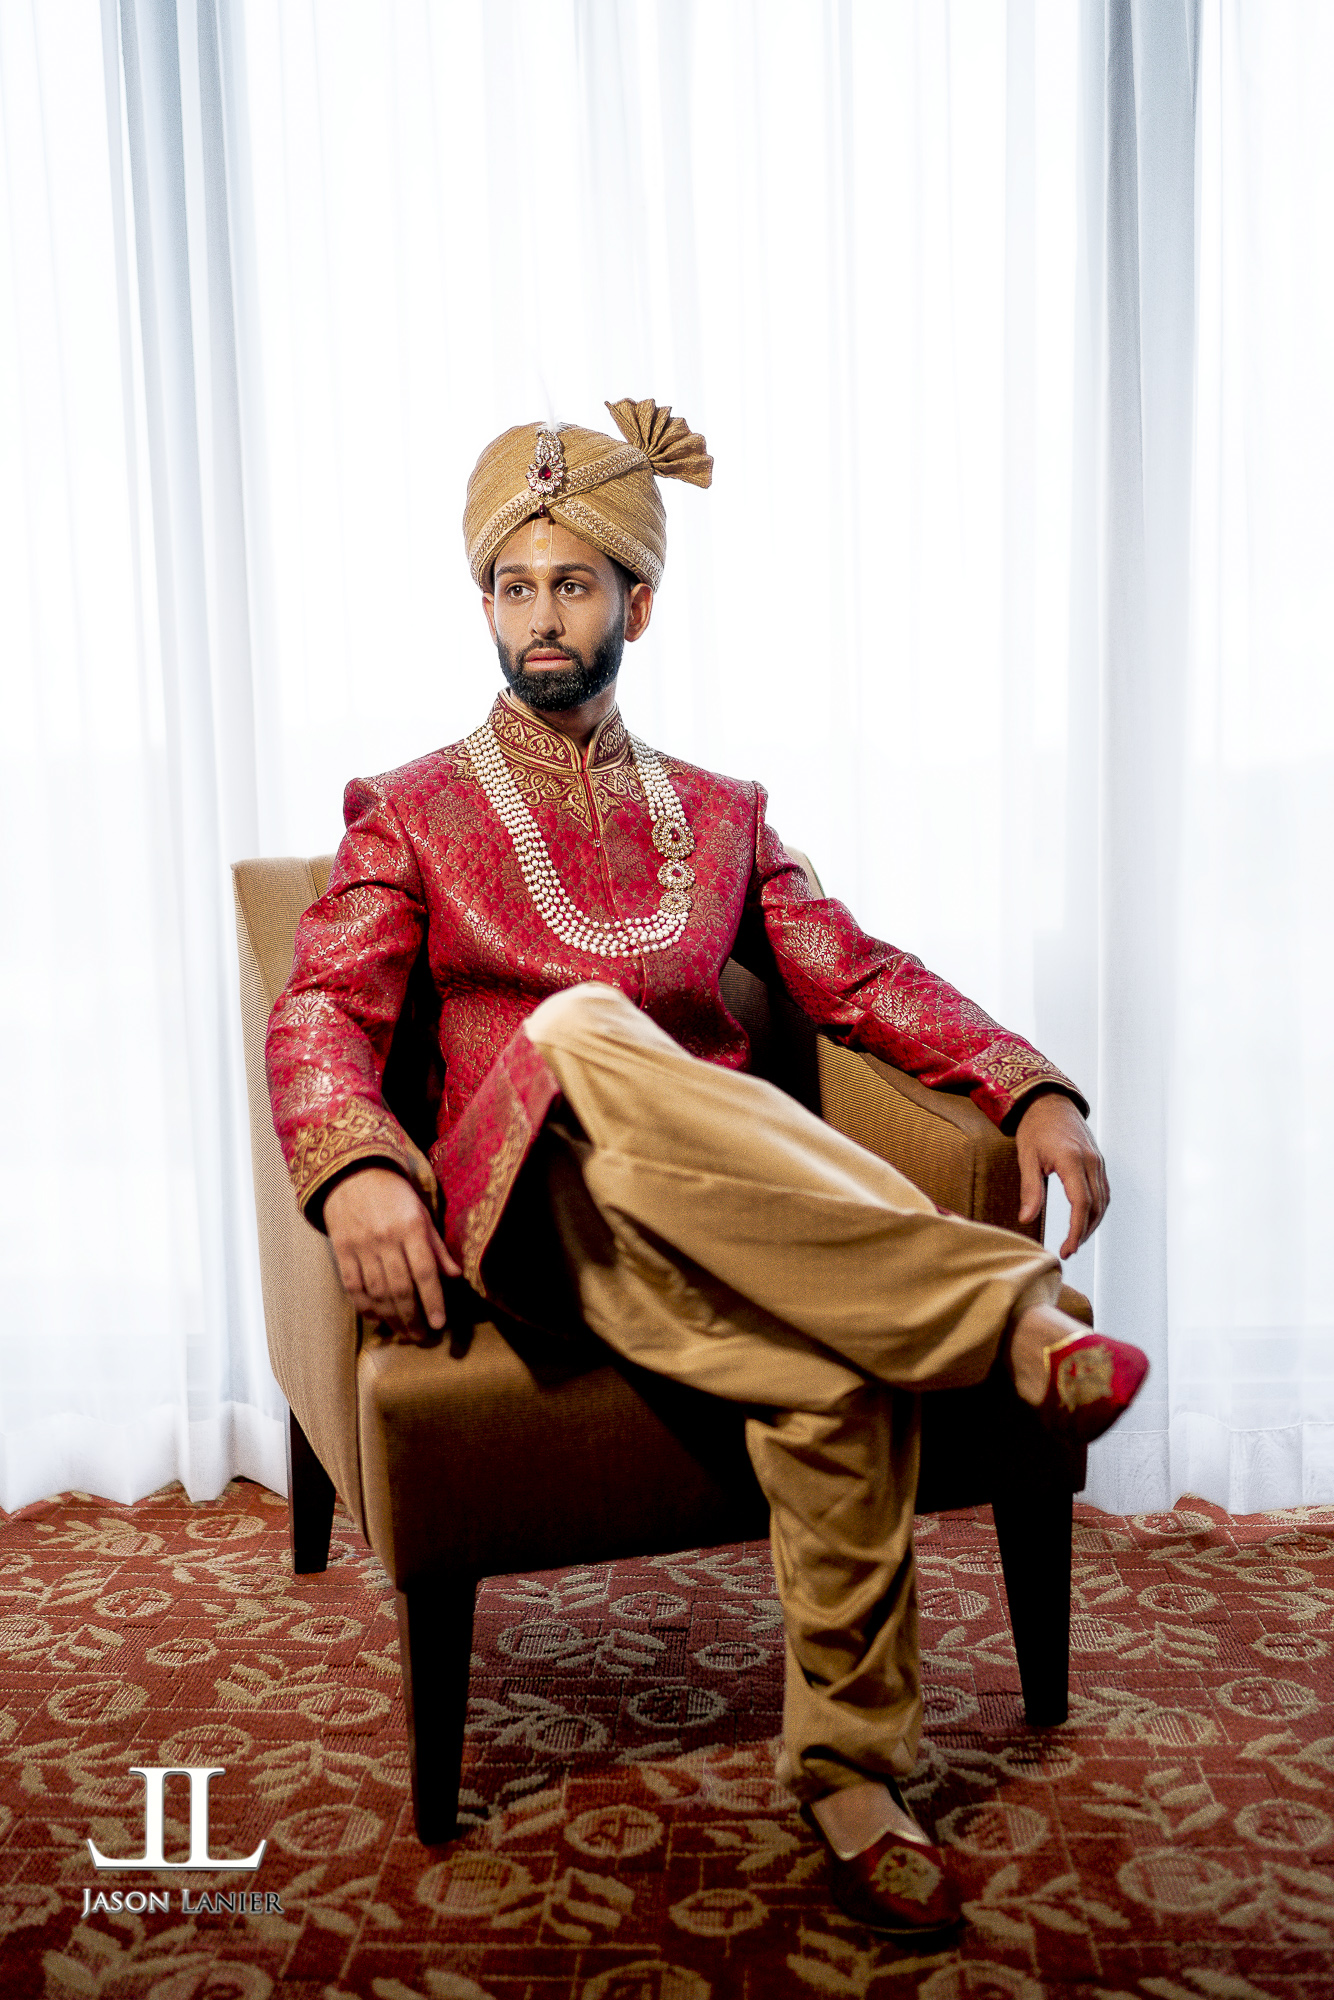
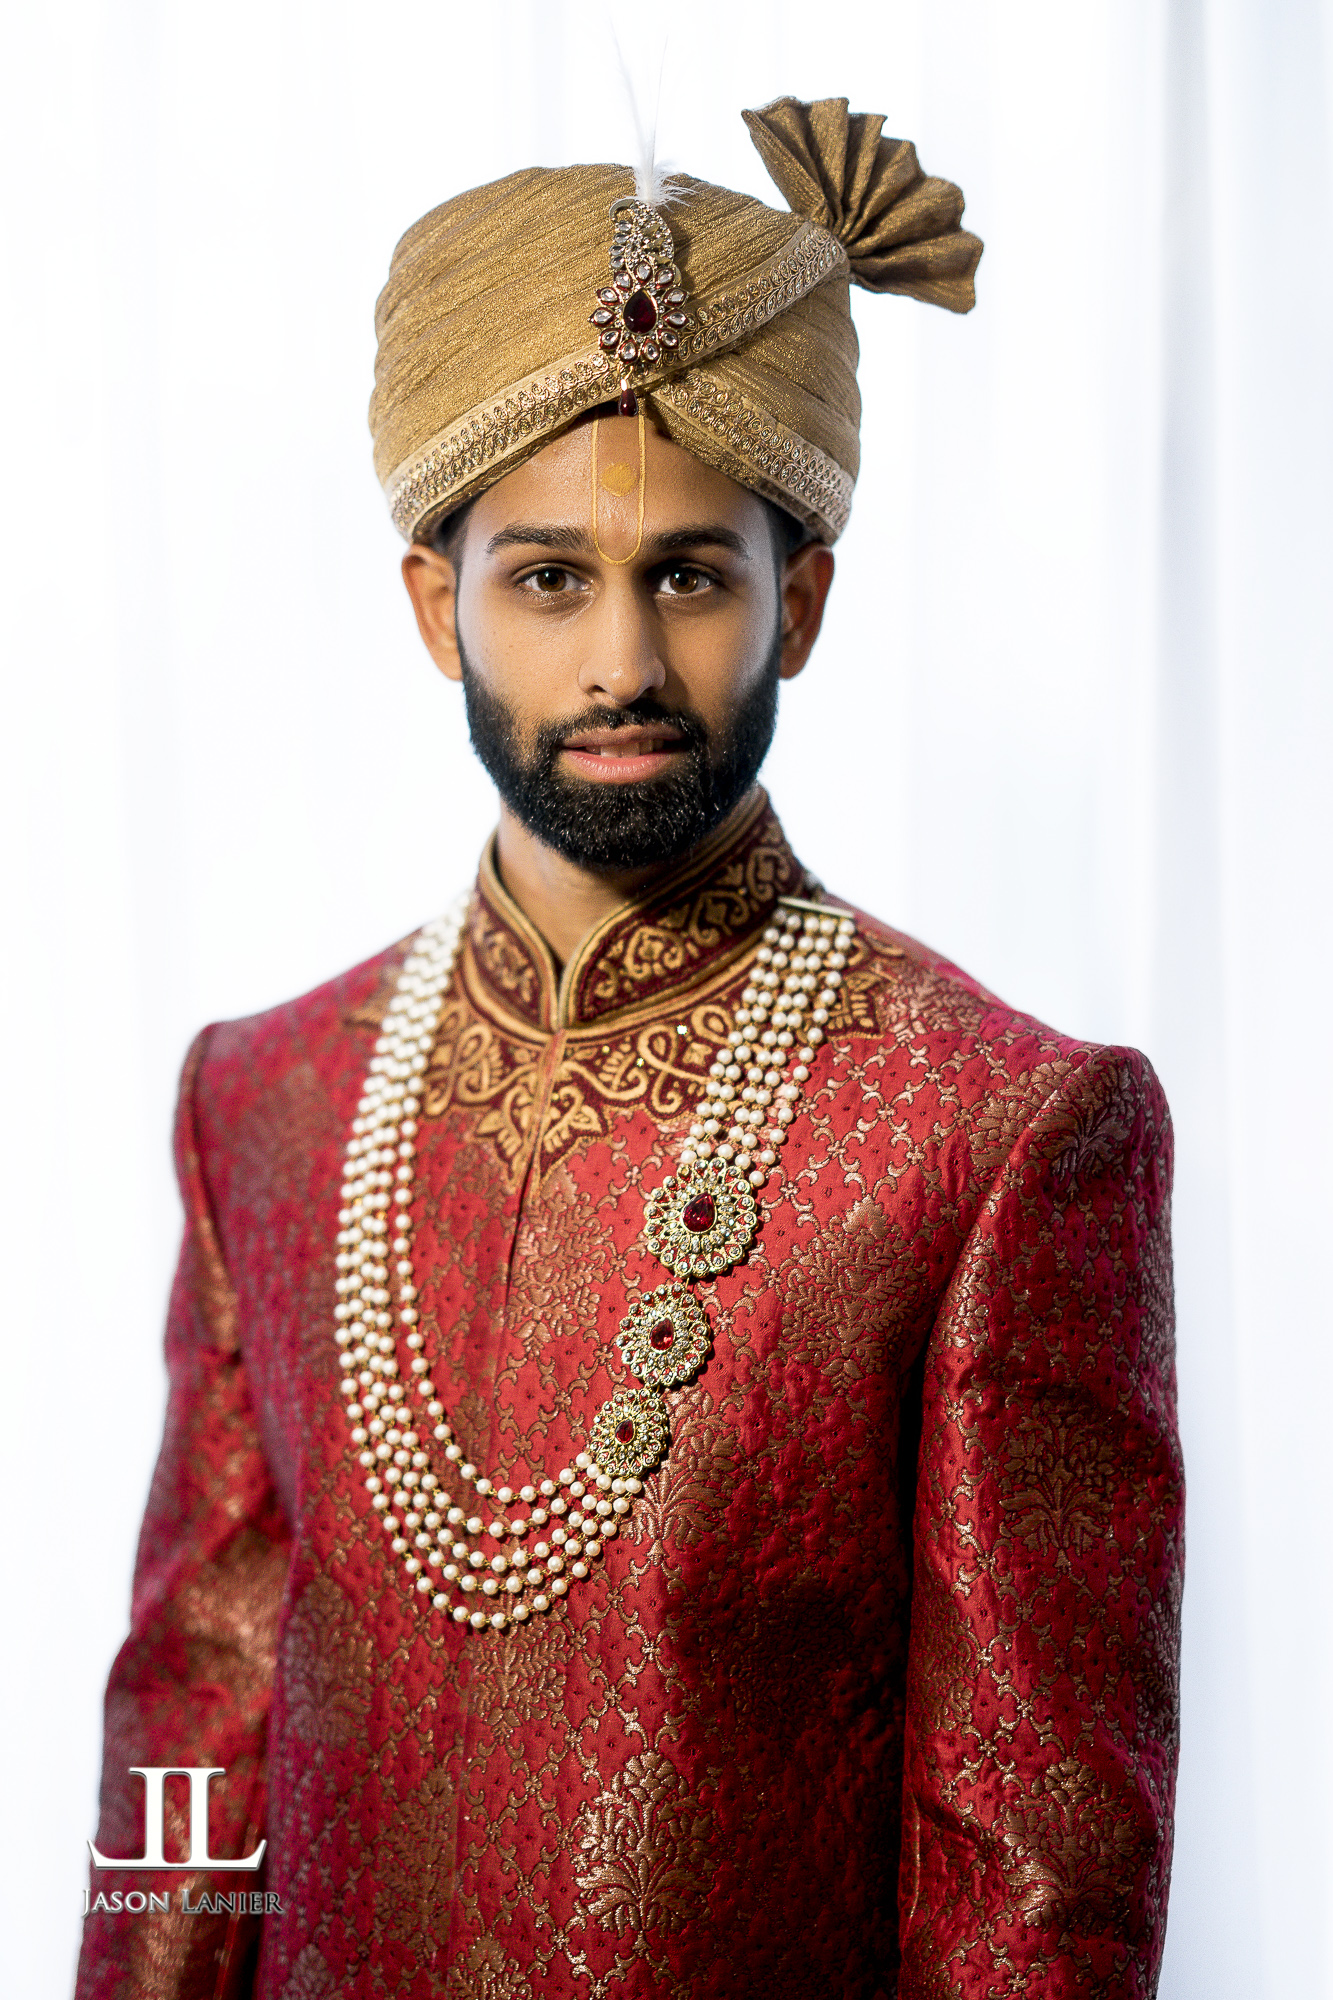
After the getting ready portion we prepared for the First Look.  While waiting for the bride to arrive for the shoot I took a few minutes and did some groom portraits with Akshar as well.  All of these images were taken with lighting from the Rotolight Neo.  Below are the portraits of the groom taken at the ceremony site:


**Links to Gear:

*Sony A7Rii-  

*Sony 85mm G Master-  

*Sony Zeiss 35mm-  

*Rotolight Neo-  

Don't forget to subscribe to my Youtube Channel and my blog to get updated whenever we release new content!

Thanks,

Jason

2 Comments

Real Indian Wedding Workshop- Bride Getting Ready at the Crowne Plaza Cherry Hill, New Jersey

7 Comments

Real Indian Wedding Workshop- Bride Getting Ready at the Crowne Plaza Cherry Hill, New Jersey

For those that don't know, I've been doing REAL wedding workshops for years as a means to help photographers out there gain experience at great venues with wonderful clients.  In July of 2016 I had the opportunity to do a real indian wedding and hold a workshop at the wedding.


Why would clients agree to let me hold a workshop (where I bring photographers to shoot the wedding)?  The way the real wedding workshops work is that I give a discount to a wedding client in exchange for them allowing me to bring photographers along to shoot the wedding.

The photographers are allowed to use the images for their portfolio which is a huge boon for them to be able to bolster their portfolio at a great wedding that most of them would otherwise not be in a position to shoot.

The photographers have to obey rules set forth that makes sure the wedding goes off without a hitch including the way they act, the clothes they wear, even going as far as where they can stand during the wedding.  So far it's been a win-win as both the wedding clients and workshop attendees have benefited from the experience.

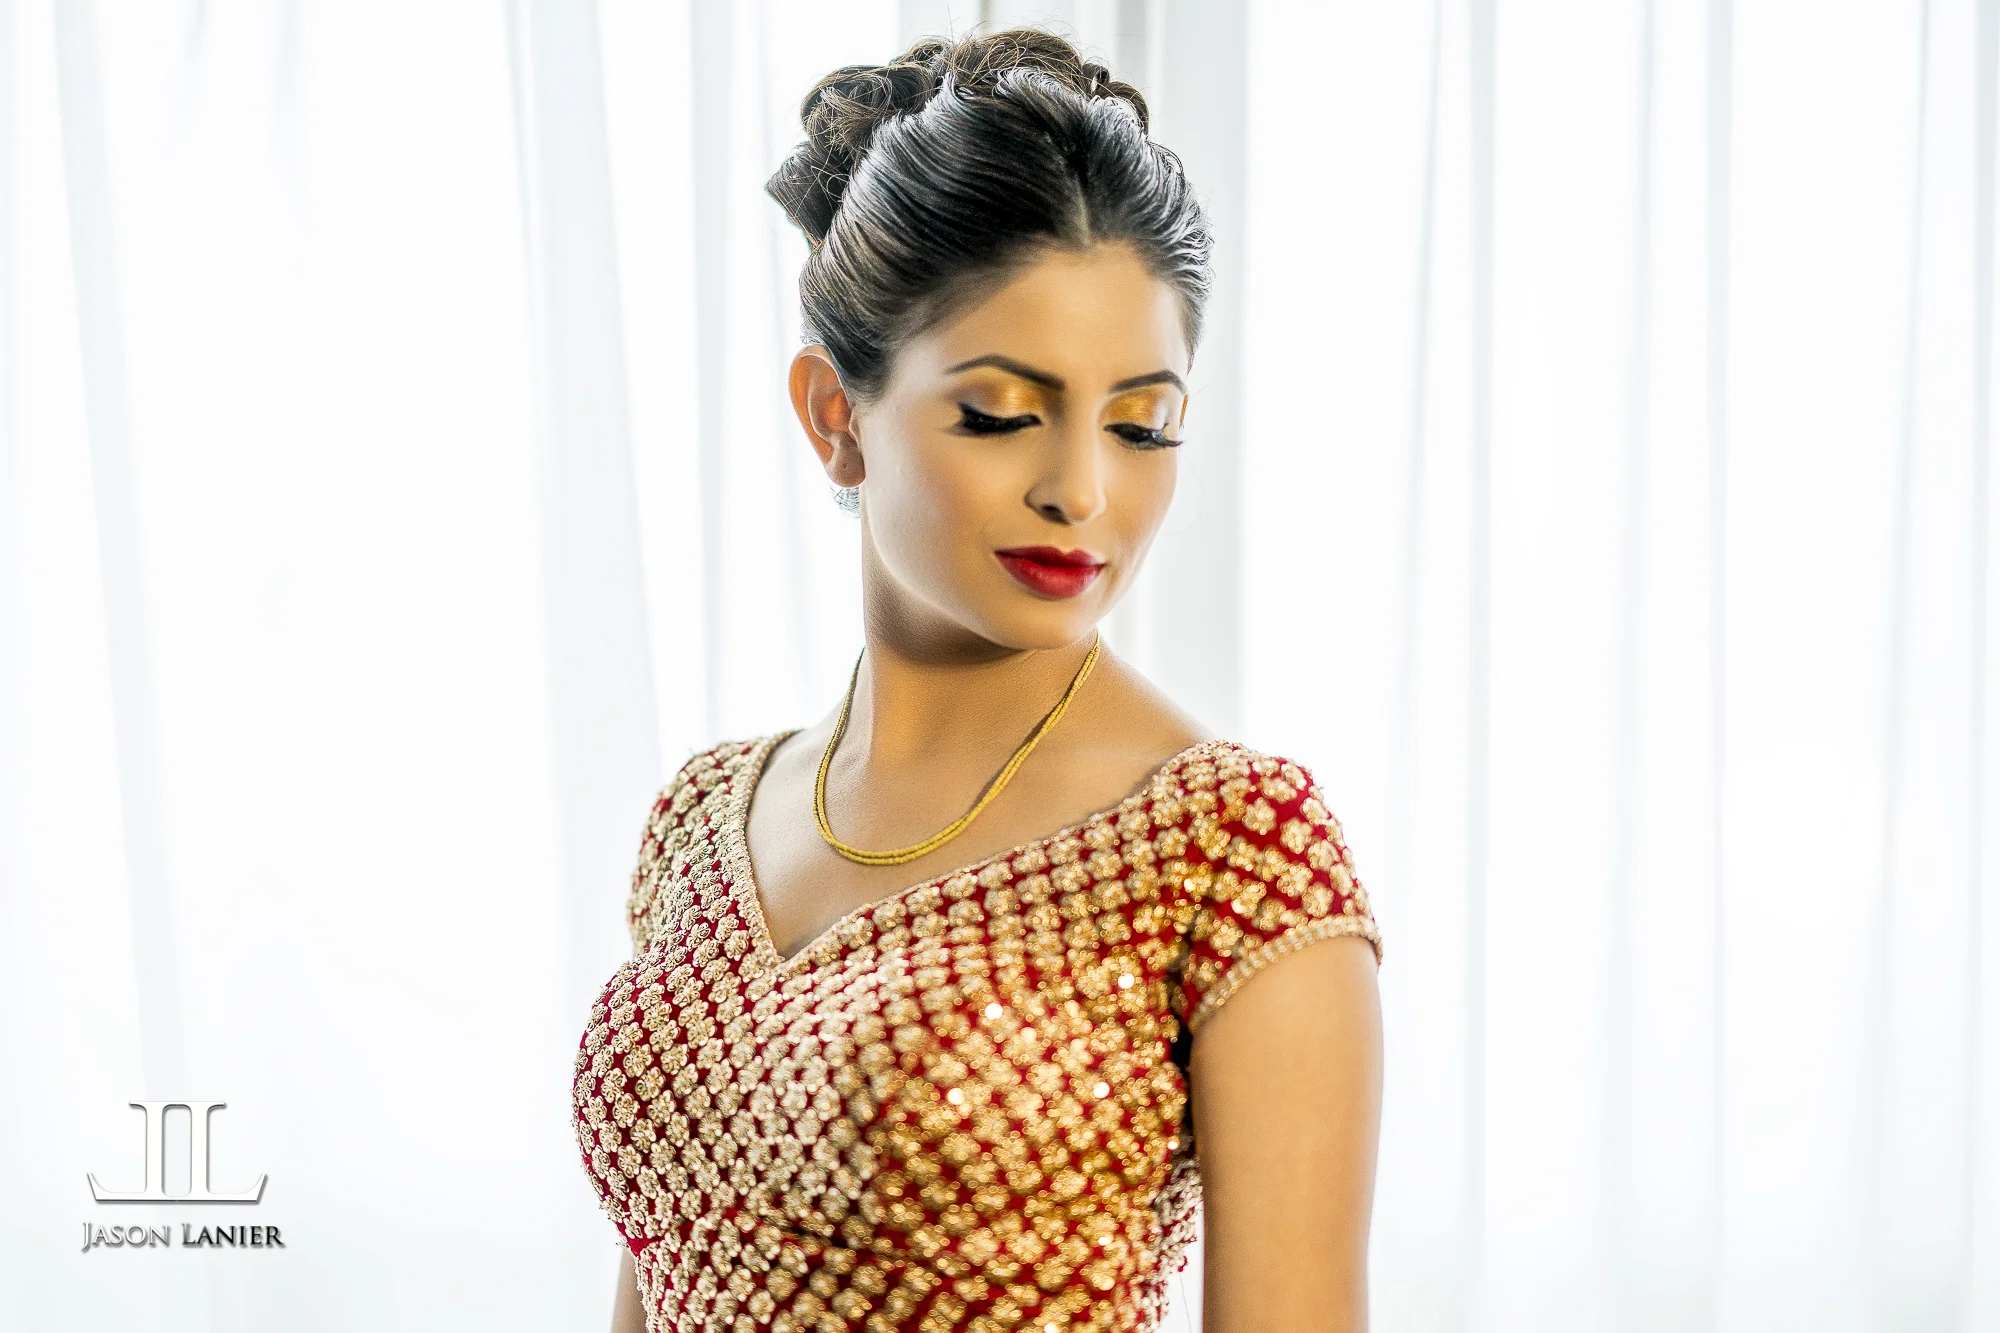
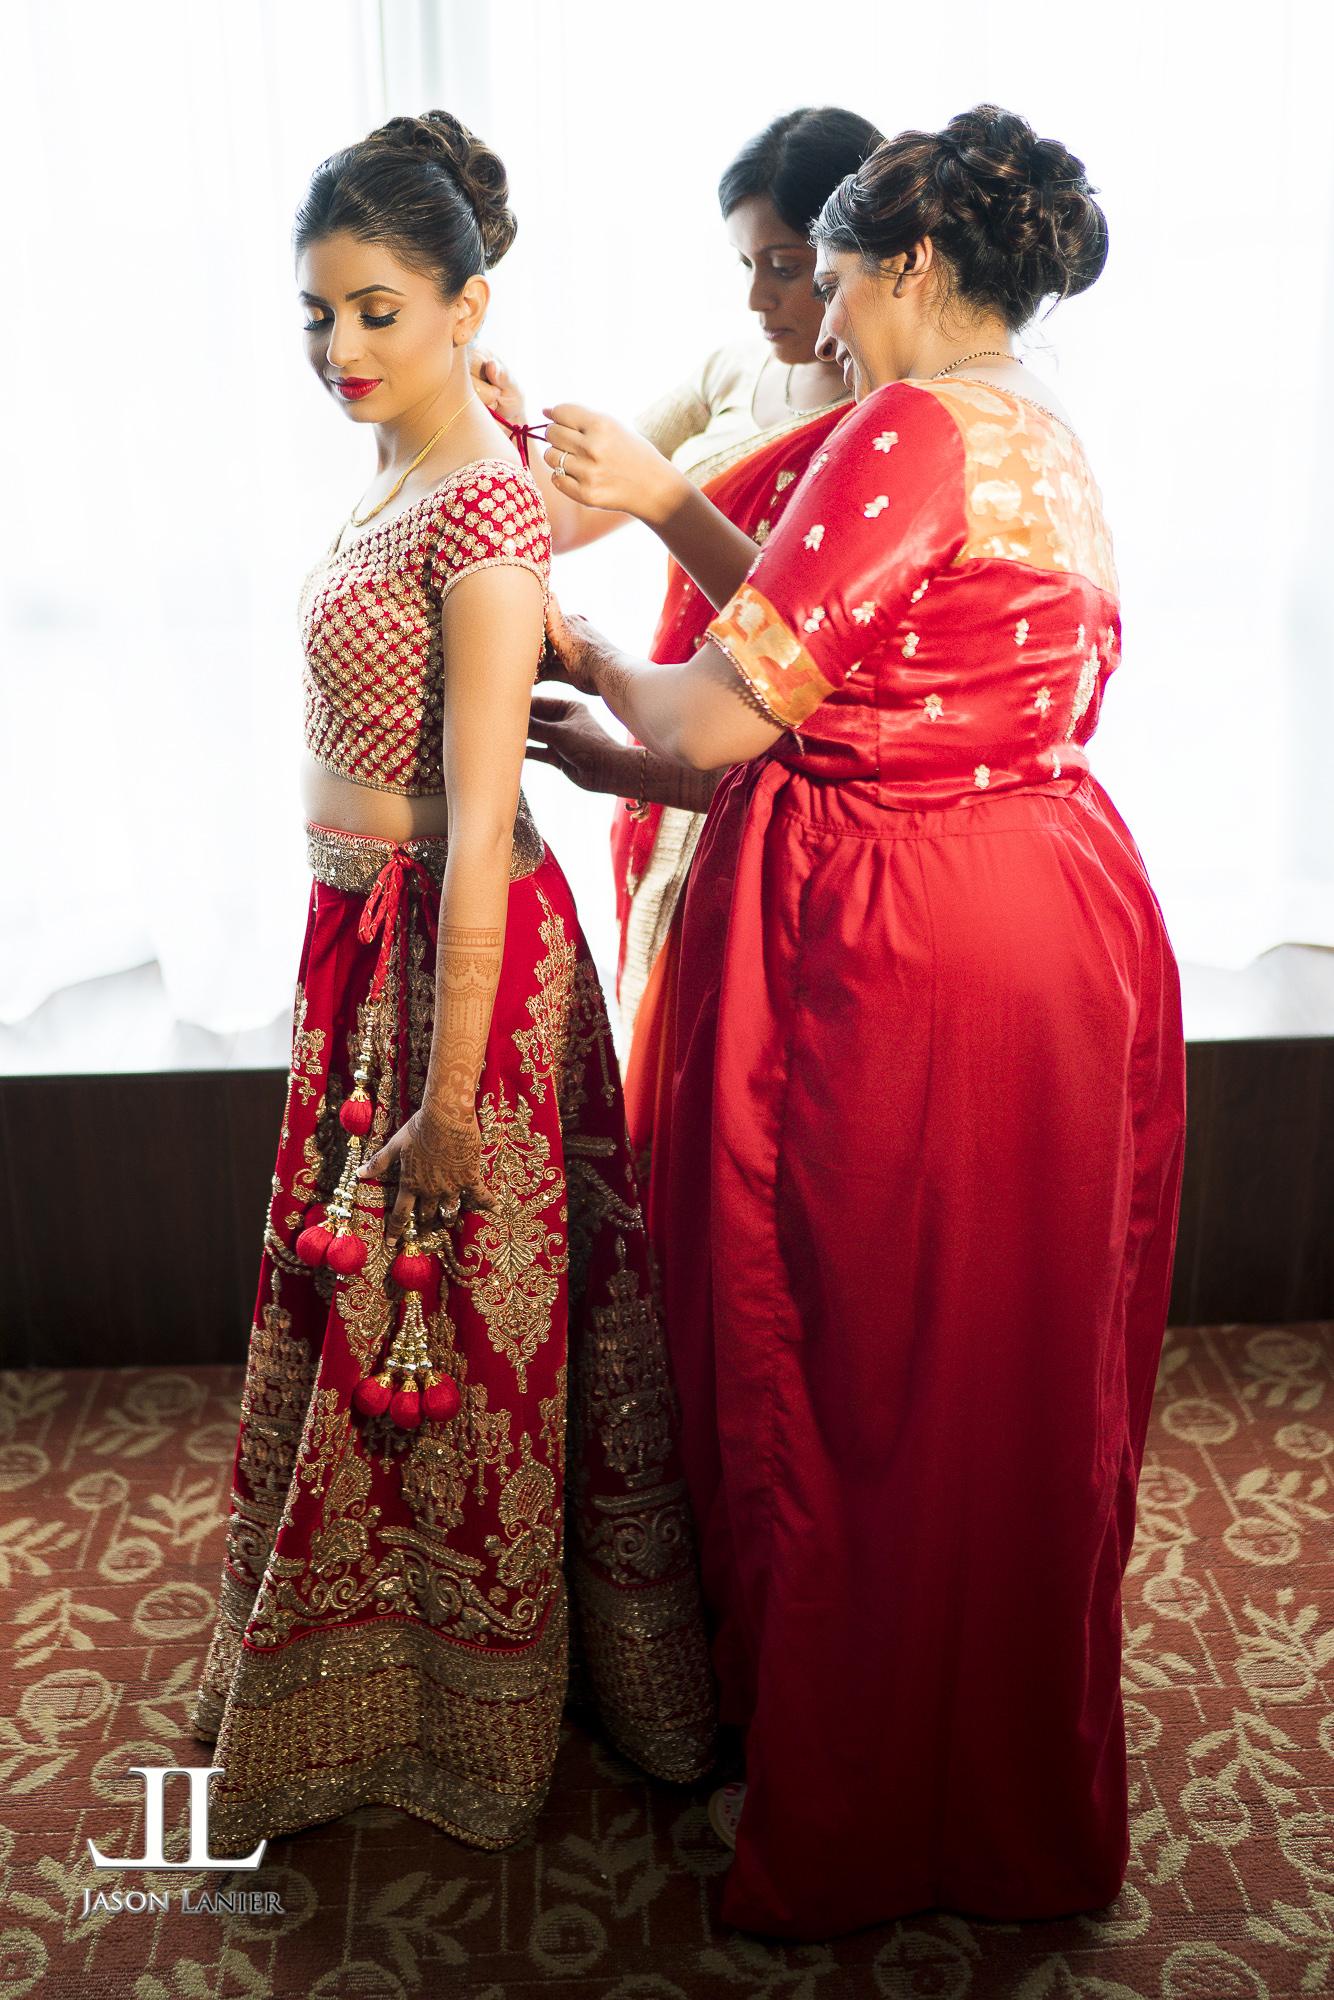
So I had a beautiful wedding couple to shoot, Akshar and Arti.  We first went to the bride's room where we did a shoot of Arti in her beautiful gown.  She is just one of the most stunning bride's I've ever been able to shoot.  The shots below were taken with the Sony A7Rii using the 16-35, 85mm G Master and the 35mm Sony Zeiss lens using the Rotolight Neo.


**Links to Gear:

*Sony A7Rii-  

*Sony 85mm G Master-  

*Sony Zeiss 35mm-  

*Sony 16-35mm Zeiss lens-  

*Rotolight Neo-  

Thanks and don't forget to subscribe to my blog!!

Jason

7 Comments

Wedding Bridals in Balboa Park

1 Comment

Wedding Bridals in Balboa Park

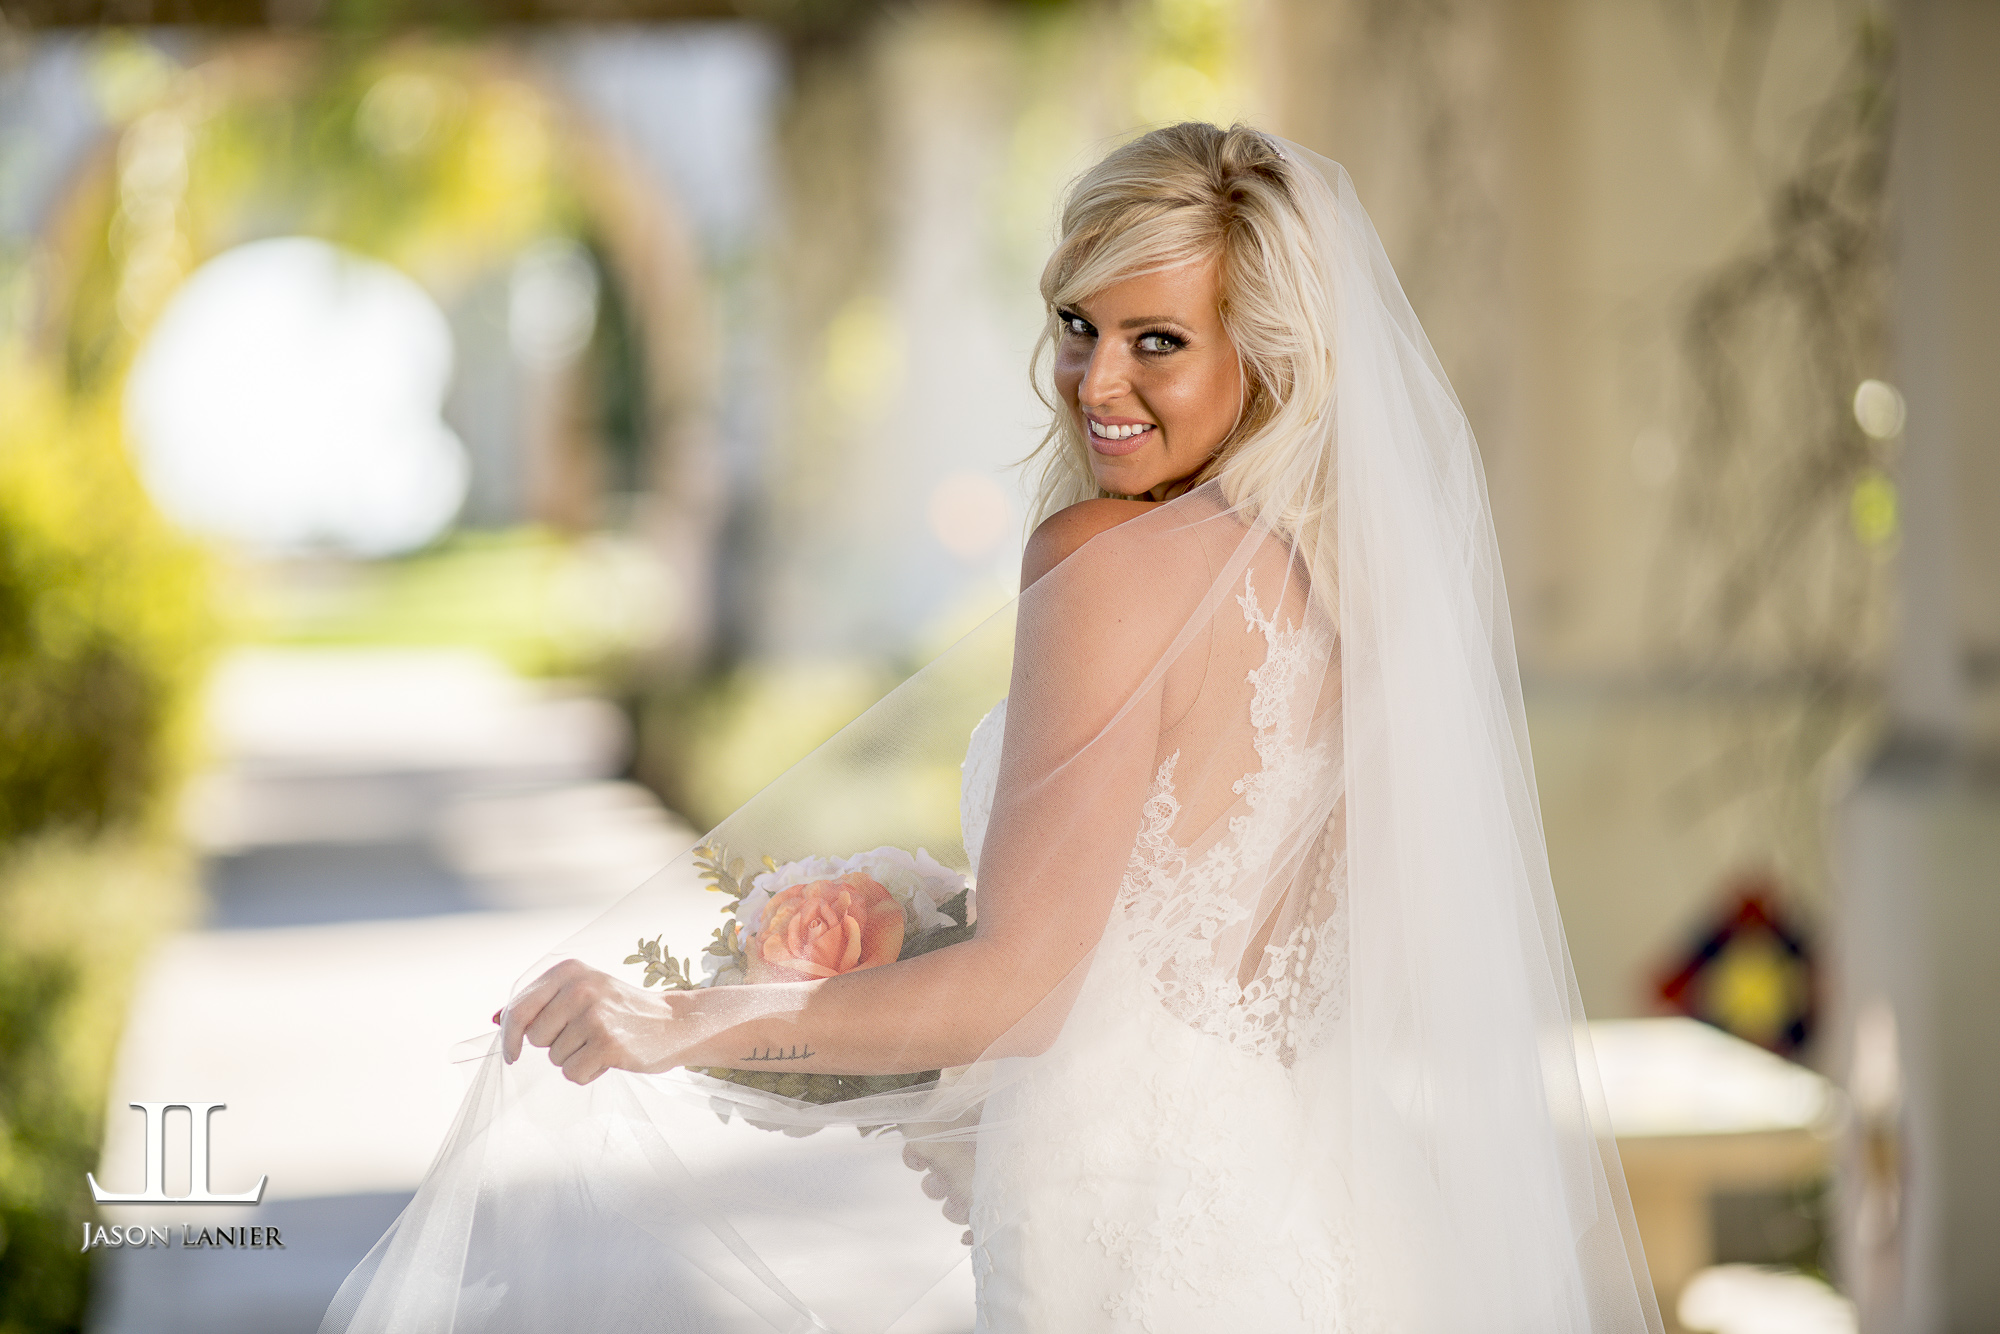
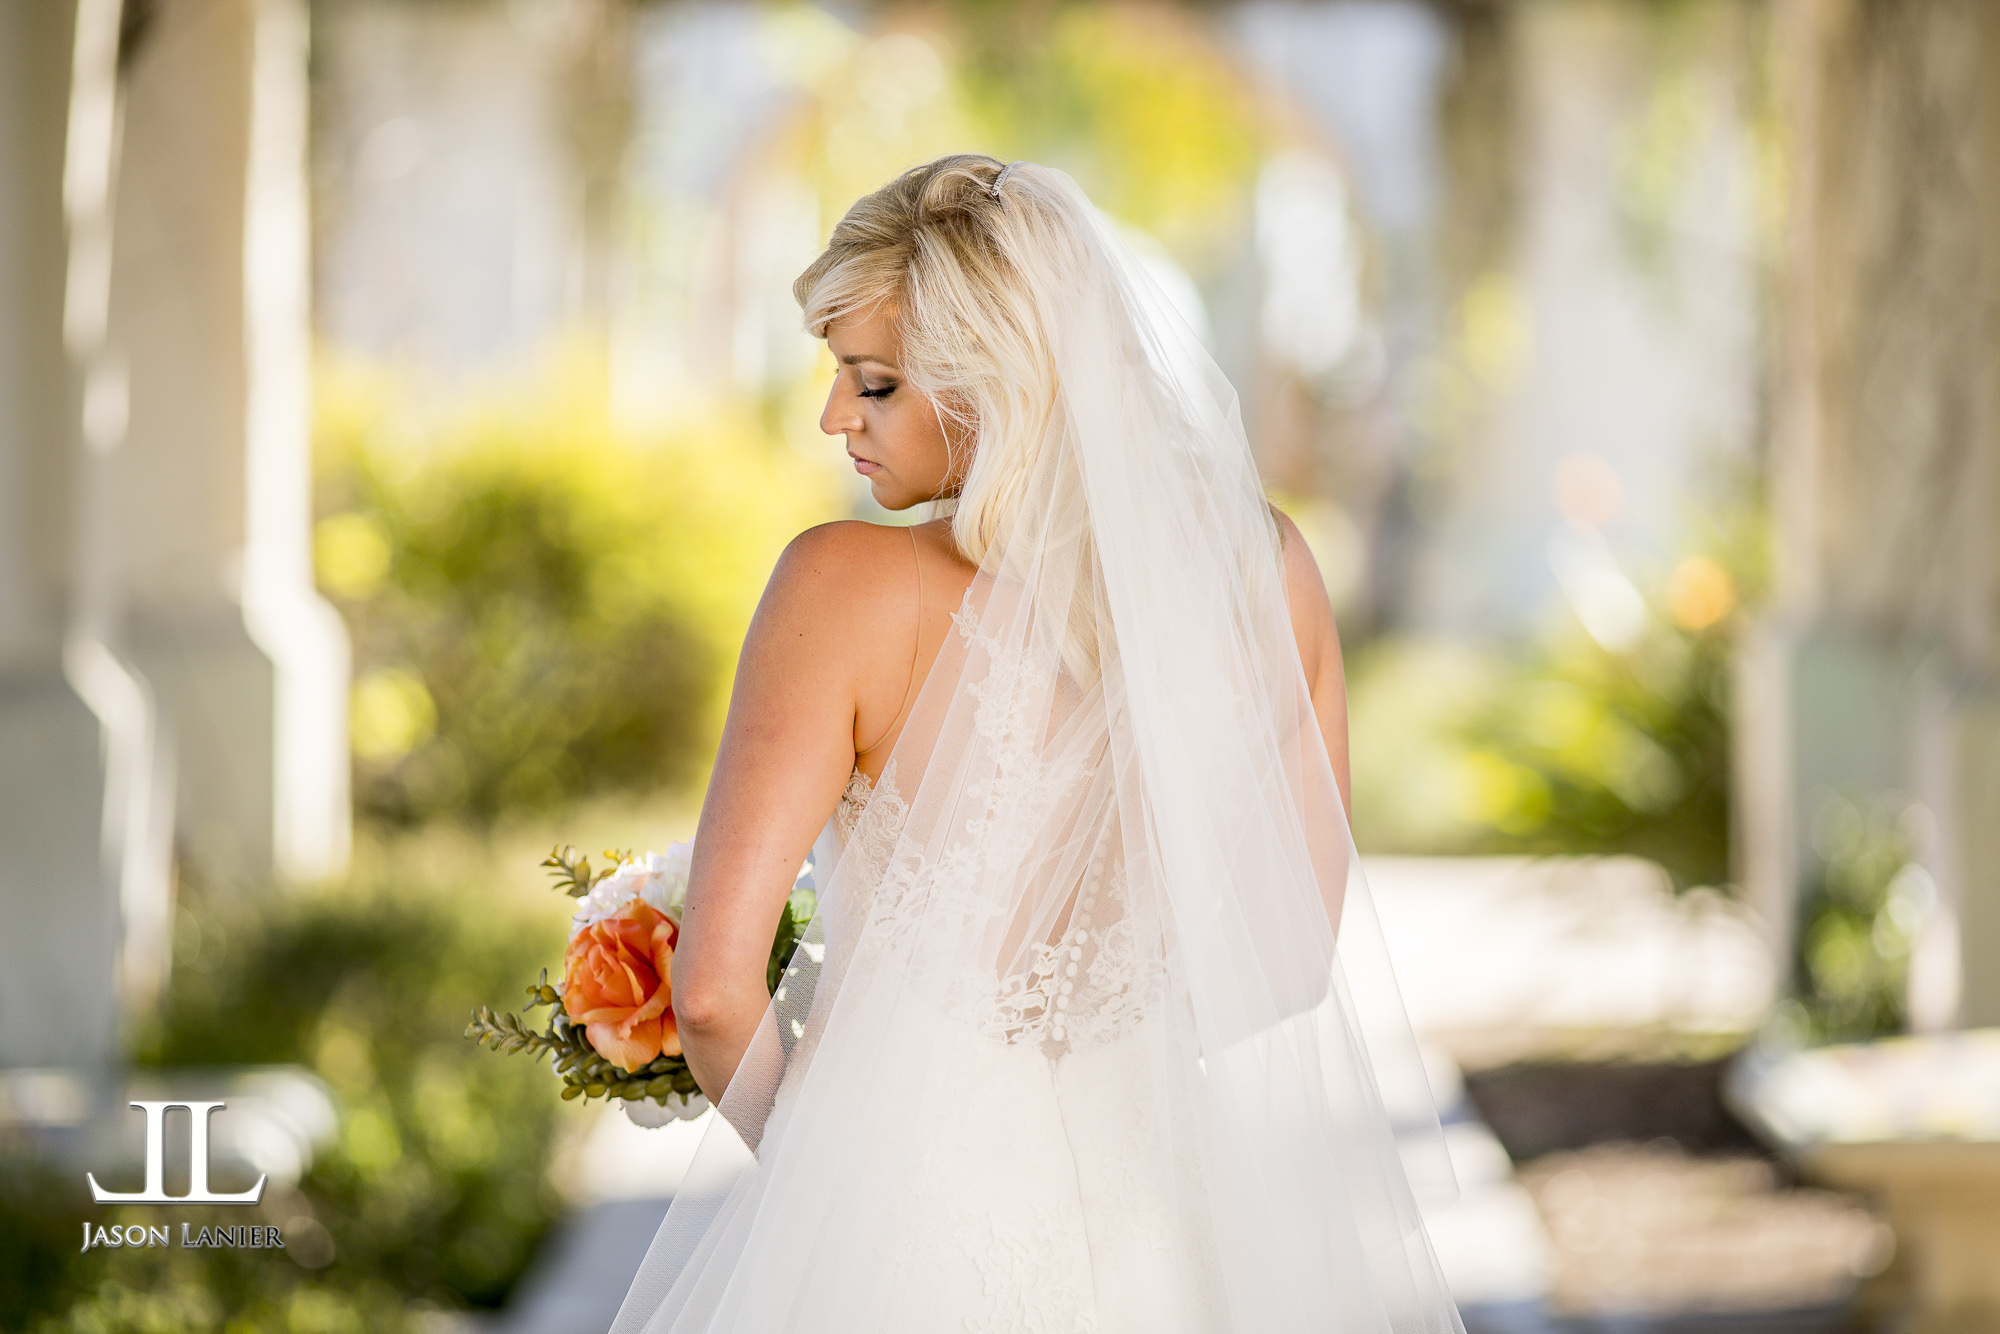
So in my career I've shot 250+ weddings all over the world.  In recent years my wedding workload has diminished quite a bit due to picking up commercial work along with my teaching and speaking schedule.  But when I got the opportunity to do a commercial shoot with Mia Bella Couture shooting wedding gowns, it took me right back to my roots as a wedding photographer.

We went down to Balboa Park in San Diego which is an absolutely beautiful location.  Using a reflector and the Flashpoint Xplor 600 I started shooting with my Sony A7Rii and the Canon 200mm f/2.8.

My mail goal with this shoot was to create a very light, bright, romantic type of a shoot.  The model was Daryl Rene and she did a truly fantastic job in helping me create these shots.  The mood of the shoot was created by the combination of using the off camera flash with a beauty dish on it (the Westcott Rapid Box XL) and the reflector on the other side.  It should be noted that this shoot took place at around 1pm on a day where the lighting was very harsh, so controlling the light by overpowering the sun was crucial.

Below are some of the shots created by using this lighting set up under a row or lattice work and columns in Balboa Park;

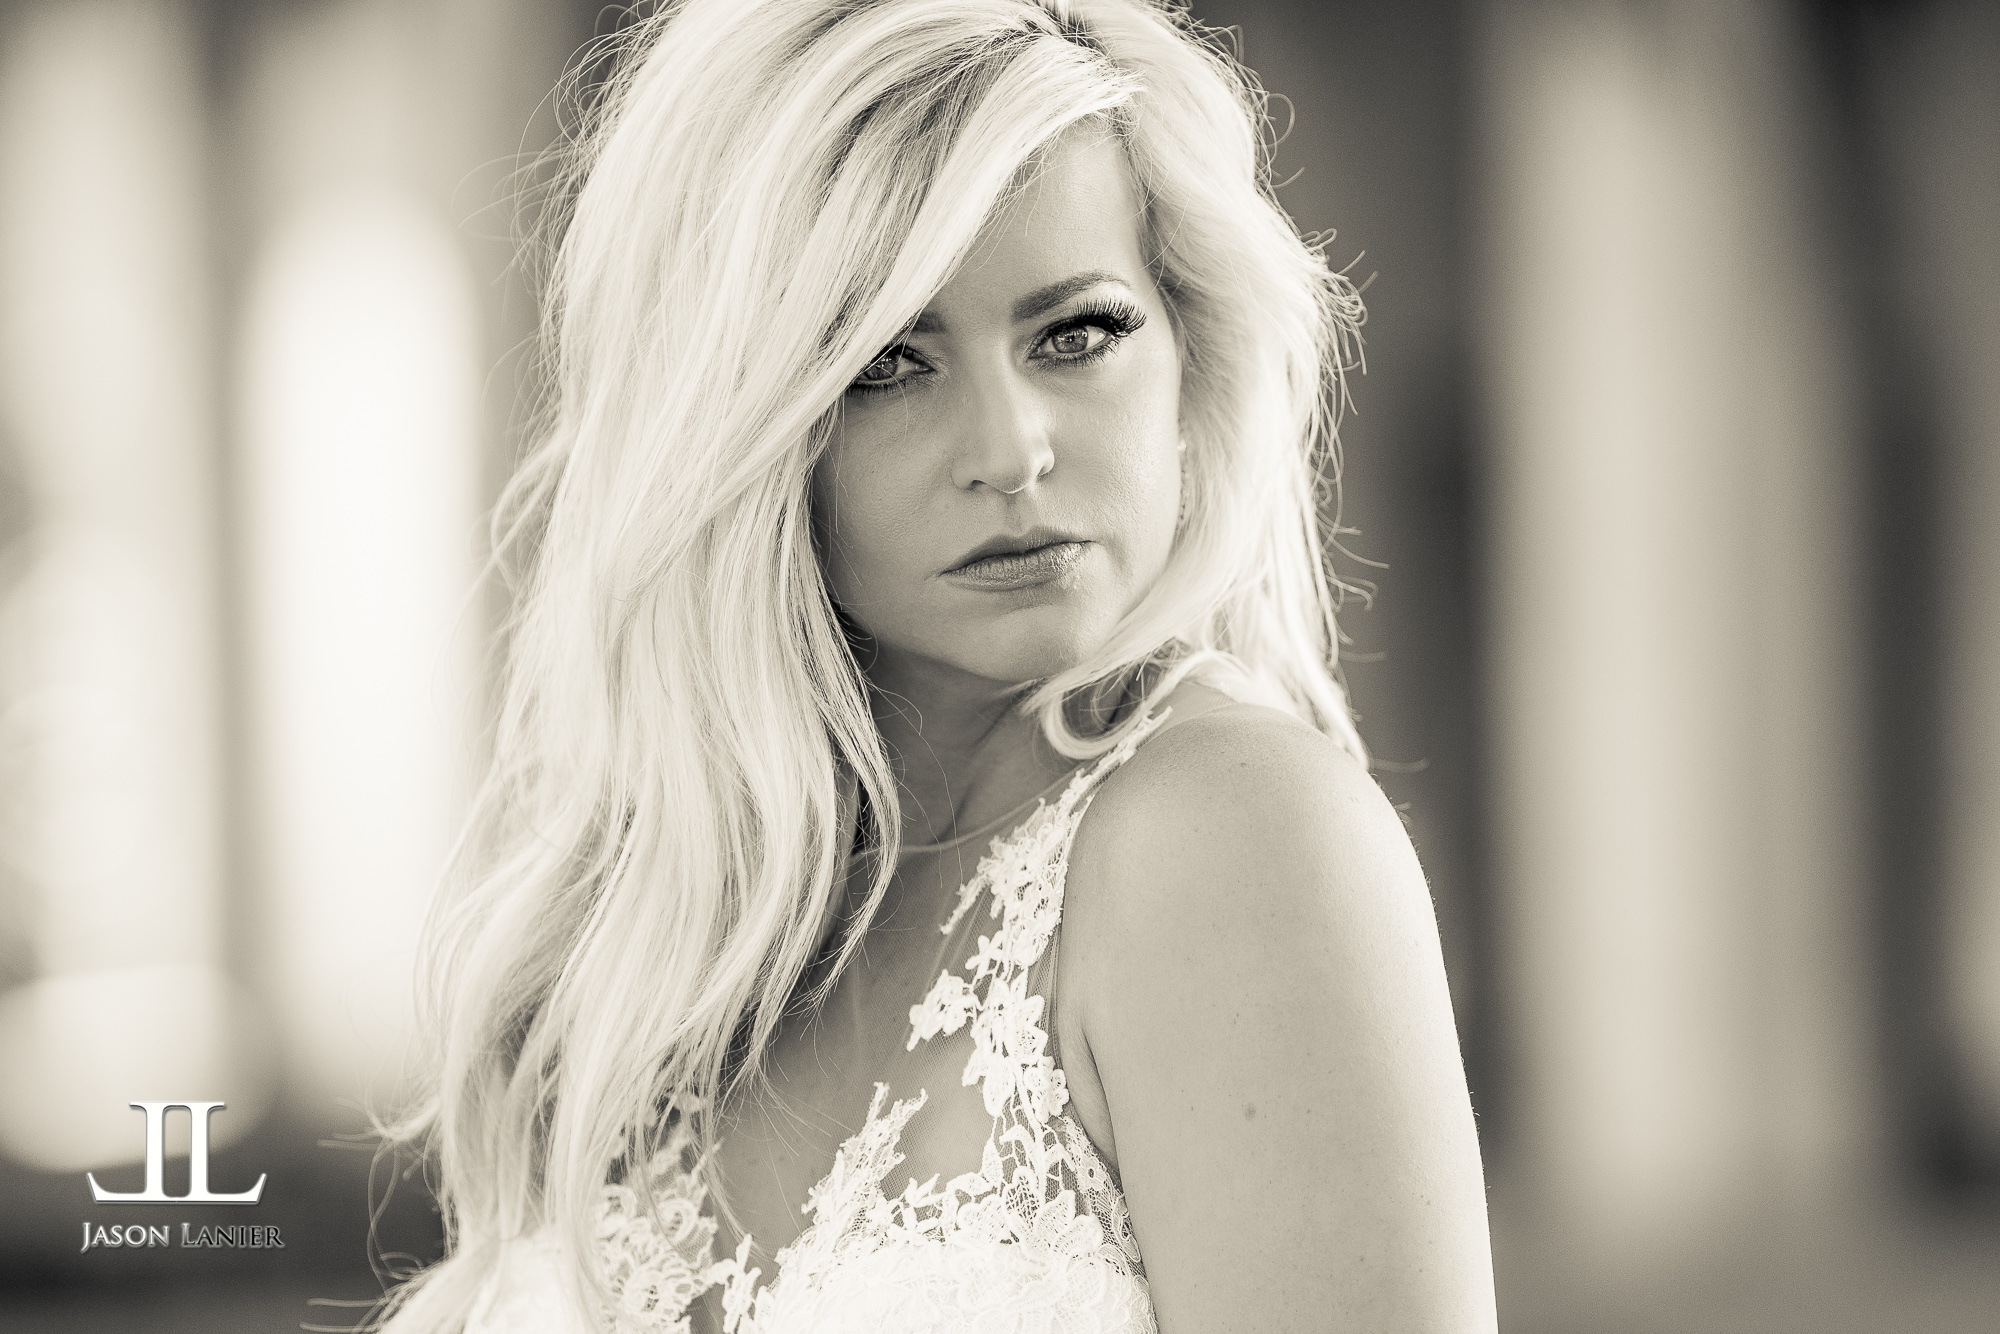
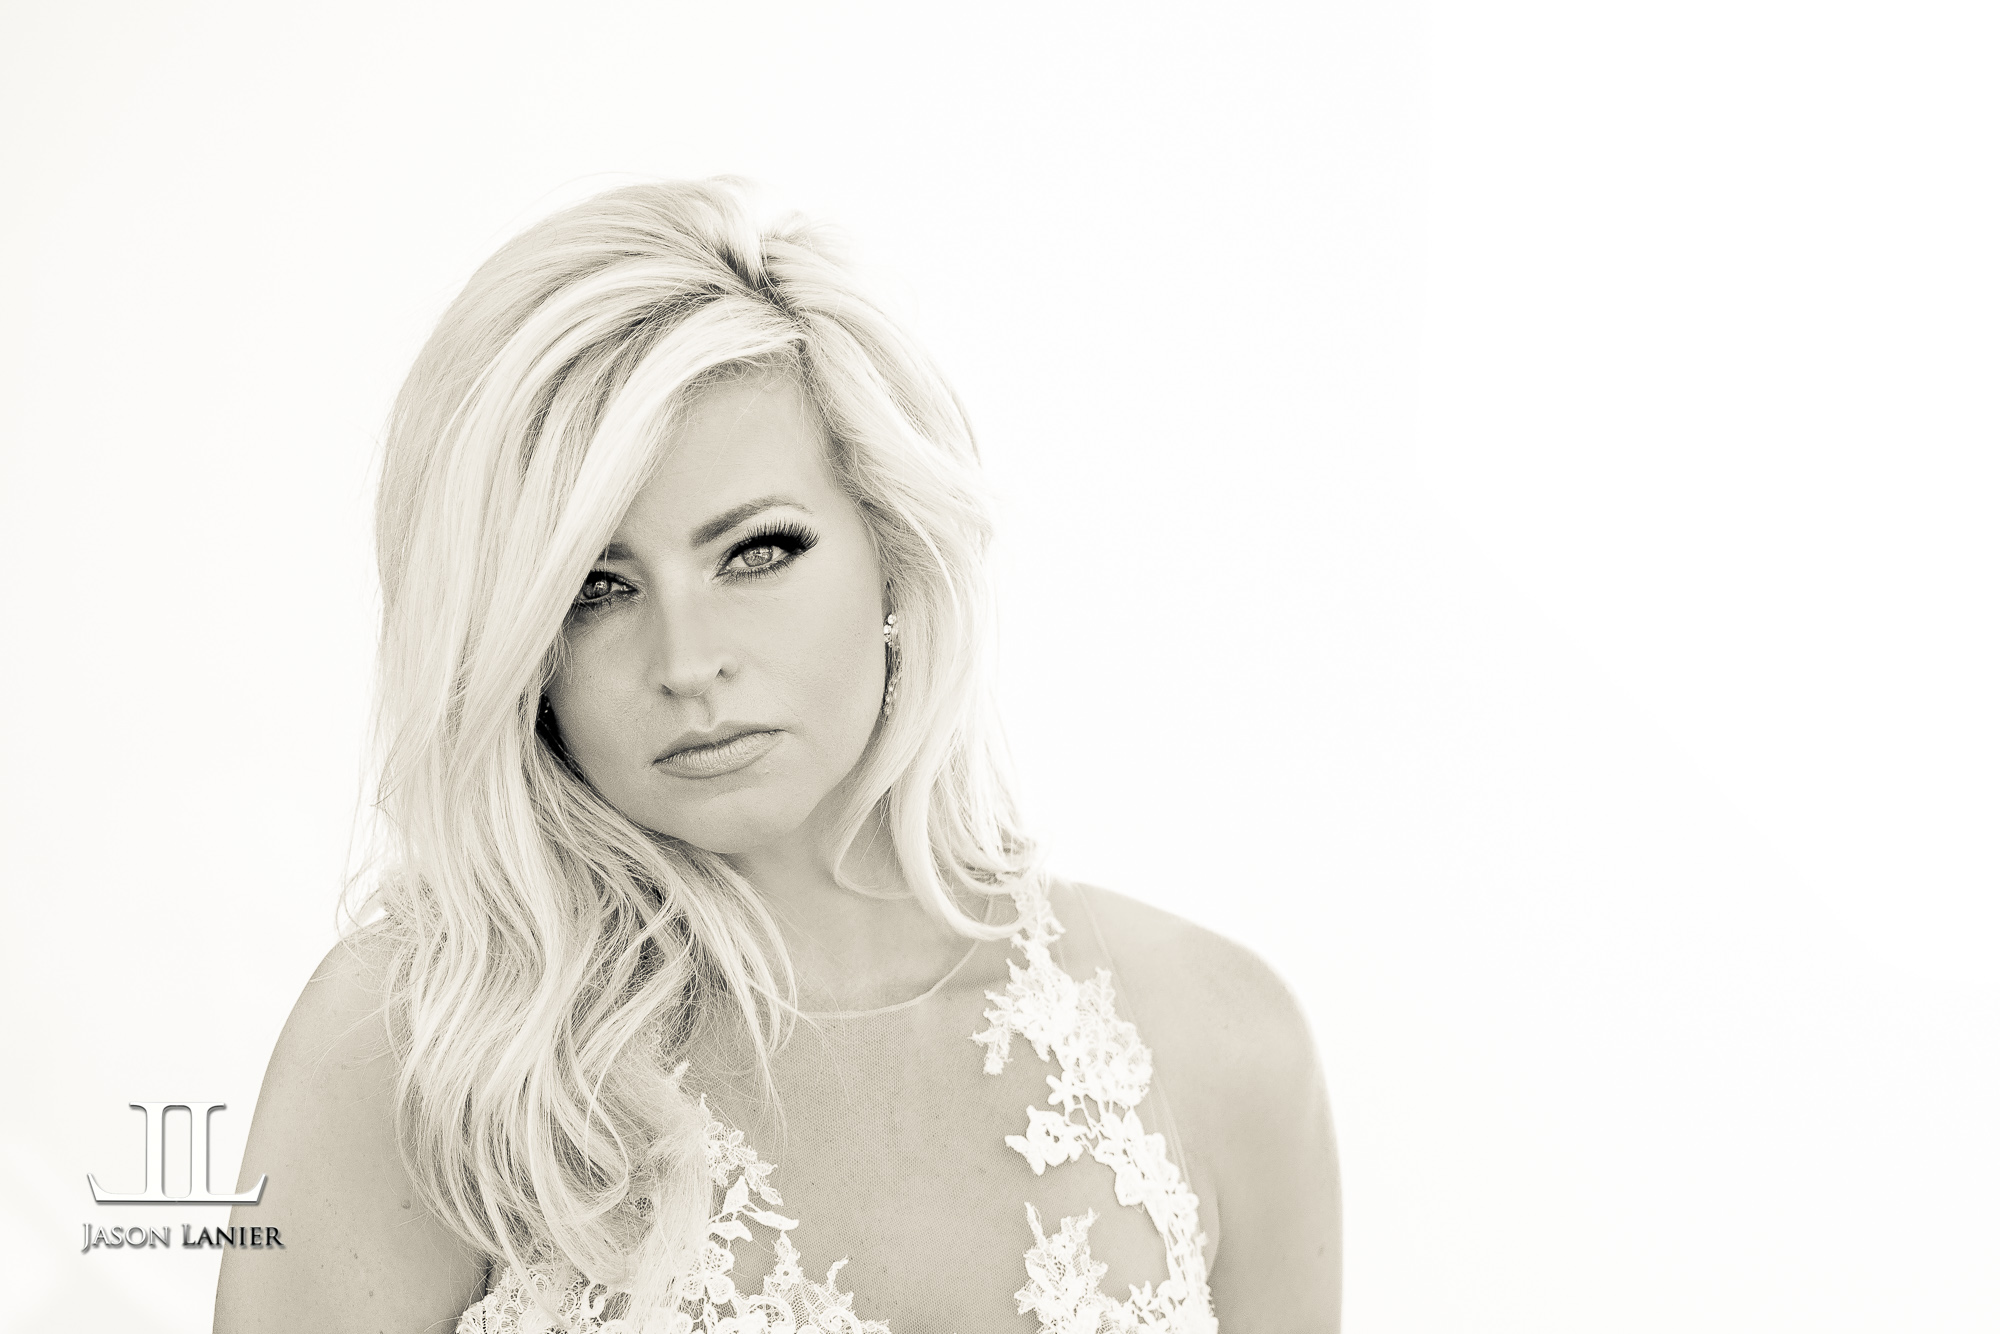
We then tried something new and I fired the Flashpoint through the Scrim Jim just to see what effect it would give.  The thought was in essence to create a giant outdoor softbox.  I thought the shots came out pretty cool and created some very soft light.  You can see these shots below:

It was a really great shoot and I hope you take a moment to watch the video as well so you can see how these were created.  A big thanks to Mia Bella Couture for hiring me to do the commercial shoot.  If you'd like to get in contact with us for wedding or commercial photography please contact me at jason@jlpros.com.

**Links to Gear:

*Sony A7Rii-  

*Metabones Mark 4 Adapter-  

*Canon 200mm f/2.8 lens-  

*Westcott Scrim Jim-  

*Westcott Rapid Box XL-  

*Flashpoint Xplor 600-  

Thanks!

Jason

1 Comment

Using Manual Focus for Fast Action Shots to get Amazing Results using the Sony A7Rii and Canon 200mm f/1.8

1 Comment

Using Manual Focus for Fast Action Shots to get Amazing Results using the Sony A7Rii and Canon 200mm f/1.8

San Francisco- so my team and I drove up from So Cal up to the Bay area to do some shooting. We found ourselves at the ruins of the Sutro Baths where the waves crash into the rocks and ruins with some pretty dramatic results.

I had my Sony A7Rii and Canon 200mm f/1.8 lens with me and wanted to see just what we could capture with our model Kyli and the waves coming in.  While I'm used to great auto focus from this combo of camera and lens, I'm also aware of the fact that shooting a solitary object like a model can be difficult to get consistent sharp focus on when things like waves and mist fly in front of her as it did in the shooting scenario we did here.

So using Focus Peaking (which I love by the way), I focused in on the model to get tack sharp focus.  Since my camera and lens were on a tripod, and the model was in a set position, I was able to set the focus and make sure it was on her so no matter what flew in front of her, the focus wouldn't change.

Well the waves didn't disappoint.  They rolled on in crashing on the rocks beneath her giving off some amazing spray as well as background.  One particular set was so strong the splash of the wave completely filled the frame behind the model giving it a truly beautiful effect.

So if this kind of work is of interest to you, you might just want to try this technique so you can create some really cool shots of your own.  I hope it helps!  Below are the pics from the shoot.  I truly hope it helps.  Don't forget to subscribe to my blog by clicking below!

Thanks,

Jason

Shots taken at 1/6400 sec, f/1.8, ISO 50 at 200mm

1 Comment

Commercial Photography Photo Shoot and Workshop for Mia Bella Couture by Jason Lanier

Comment

Commercial Photography Photo Shoot and Workshop for Mia Bella Couture by Jason Lanier

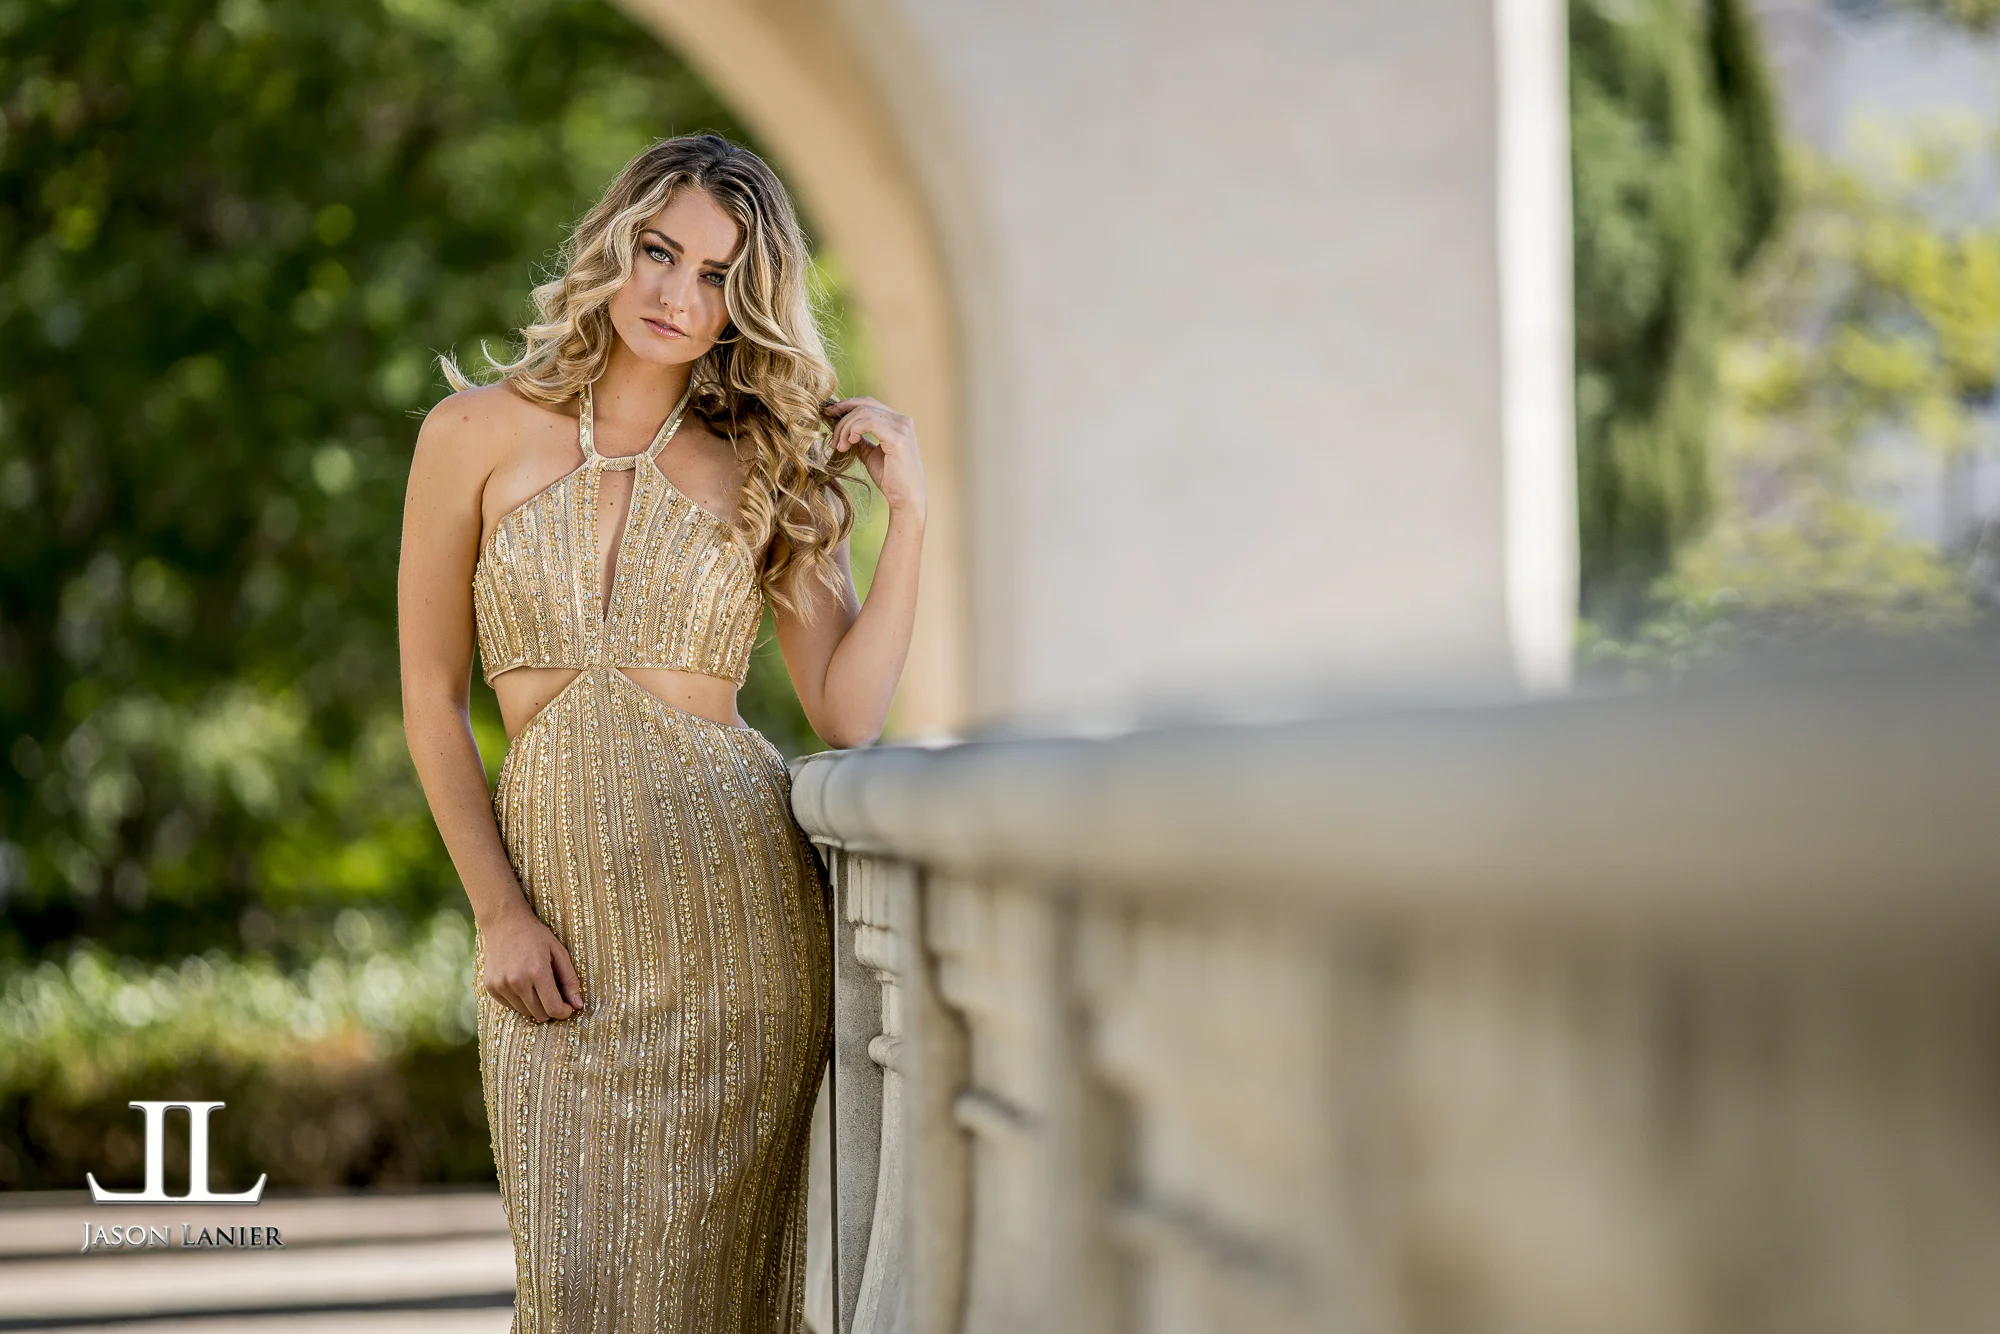
Recently I had the opportunity to do a commercial photo shoot for a beautiful gown company called Mia Bella Couture.  When they first contacted me to do the shoot they knew that I sometimes allowed some of my followers to attend my shoots as part of a workshop and asked if I'd be interested in doing so with them.  I thought it would work out well so we booked the shoot.

When we got to the shoot down in San Diego it was truly awesome.  This is a shoot that you truly have to watch the video to see how we handled it.  We started off the day at 11am and my clients wanted to shoot in a specific location that was beautiful, but given the time of the day it was not ideal for lighting.  So we had to bring out a ton of diffusers and reflectors to make the lighting work.

This shoot was done using the Flasphpoint Xplor600 with a bunch of different gear that is showcased in the video.  This is just Part 1 of the shoot as we crammed so much into one day that I needed to break up the videos to show it all.

A big thank you to the beautiful models Lauren Lebouef and Tiffany Brock as well as Daryl Rene for the amazing work with Hair and Make Up.

I hope you all enjoy the video and I can't wait to share the other parts of the shoot with you as well.  Beautiful gowns, gorgeous models, and my team all came together to make it a tremendous shoot.  

**Links to Gear:

*Sony A7Rii- 

*Canon 200mm f/2.8- 

*Metabones Mark 4 Adapter- 

*Flashpoint Xplor600- 

*Westcott Rapid Box XL- 

*Westcott 8x8 Scrim Jim- 

Below are some images from the shoot taken with my Sony A7Rii and the Canon 200mm f/2.8 lens using the Metabones Mark 4 Adapter.  Stay tuned for Part 2!!!

Comment